Meshing the Frame Model Using HyperMesh
Aim:
The main goal to give the connections to the given frame assembly model.
Methodology:
The process in which the connections are made is as follows
- Opening the File
- Checking the components and generating the mid surface.
- Performing a mesh
- Giving the connections
Procedure:
- Opening the File:
- The File opening does requires few steps to be followed which then results in the opening of the file.
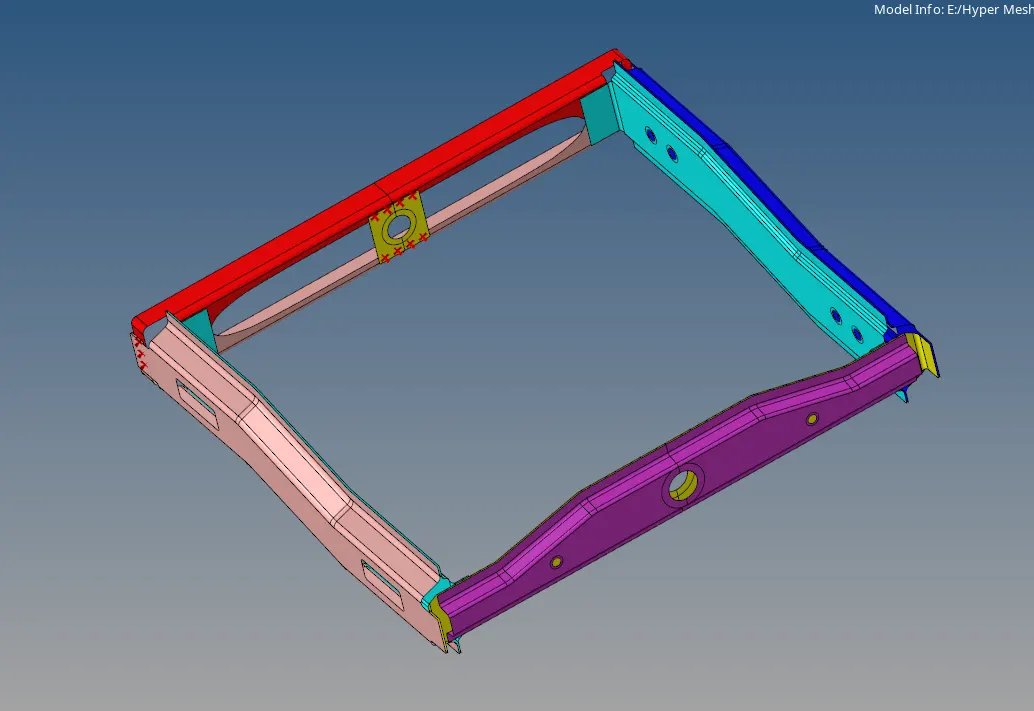
- If the Model is of ‘.hm’ format just go to the Files>> Click Open >> Select the File >> Click Open.
- Generating the mid surface(If necessary):
- If the mid surface is not given, the mid surface needs to be created.
- Go to the Geom, Select the mid surface tab >> select the surface >> click extract.
- If the mid surface is given the meshing can be done directly.
- Performing a mesh:
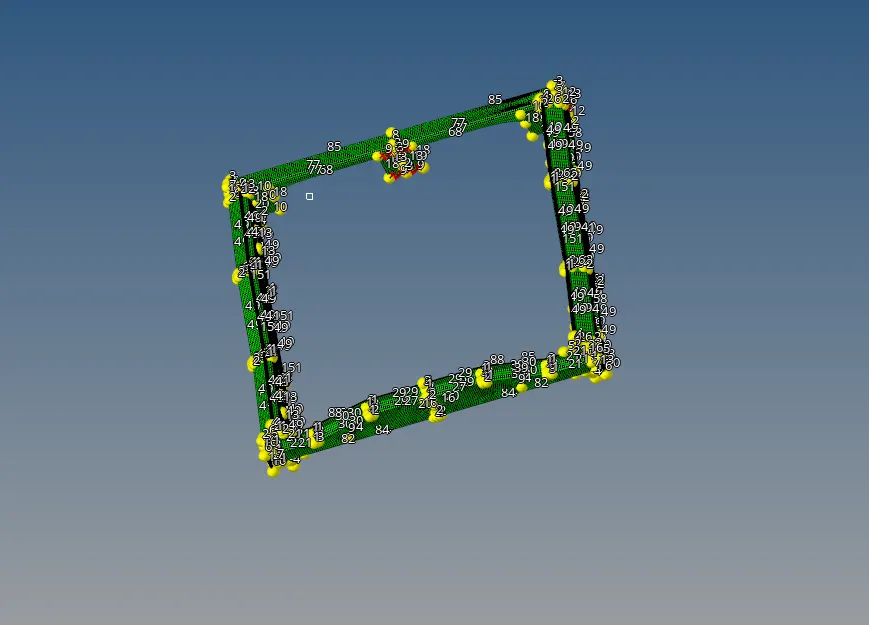
- Meshing can be done clearly by using the auto mesh option.
- Giving the Connections:
- Seam:
- Quad(angled+capped+L):
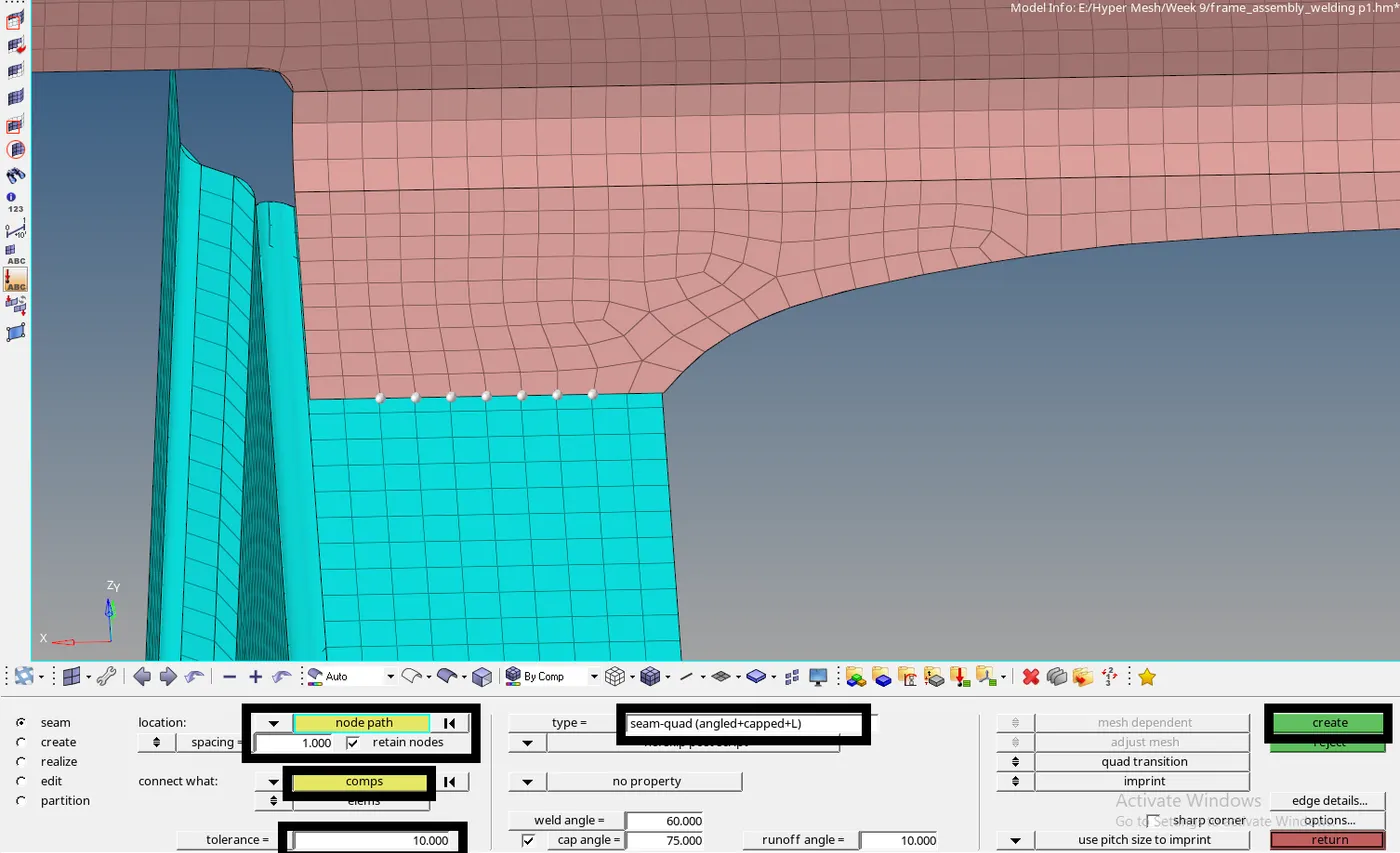
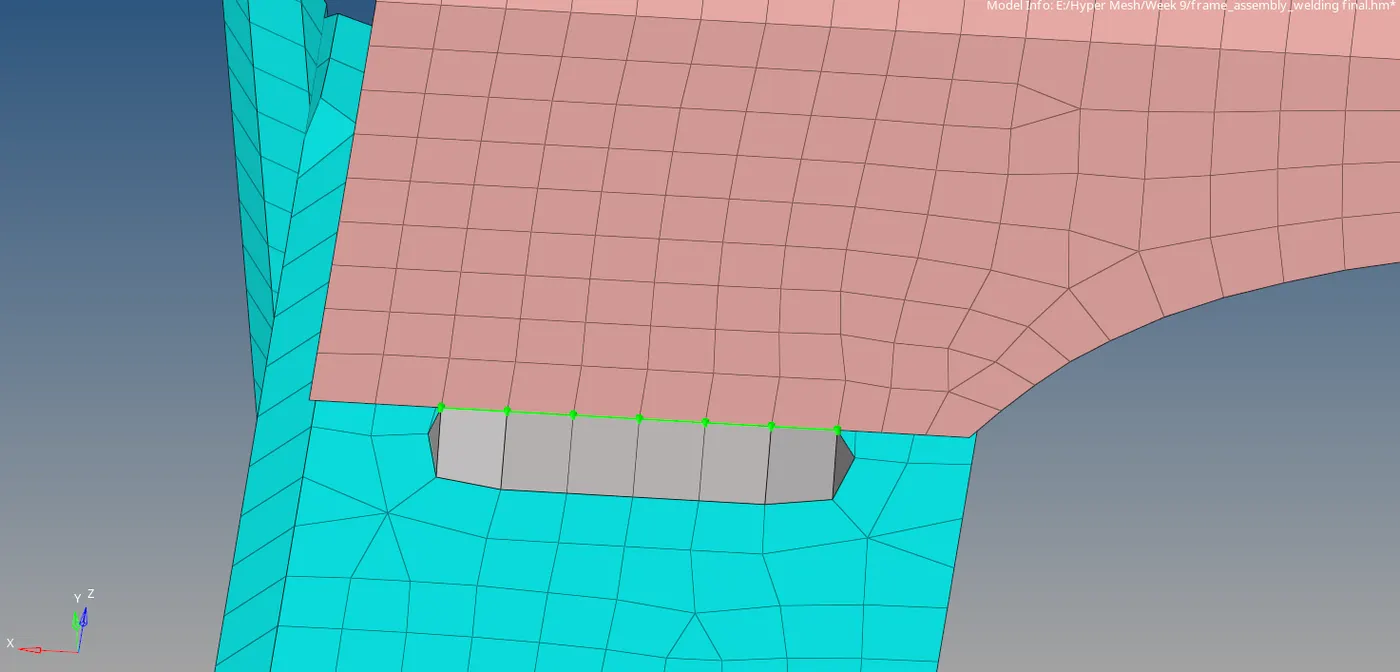
- Go to the 2D panel, connectors option >> Select Seam>> select the nodelist >> check the box of retain nodes >> specify the spacing >> select comps (which parts are needed to be connected) >> specify the tolerance >> select the type as seam-quad(angled+capped+L) >> check for the weld angle, cap angle, and run off angle (if specified else leave it as is)>> click on create.
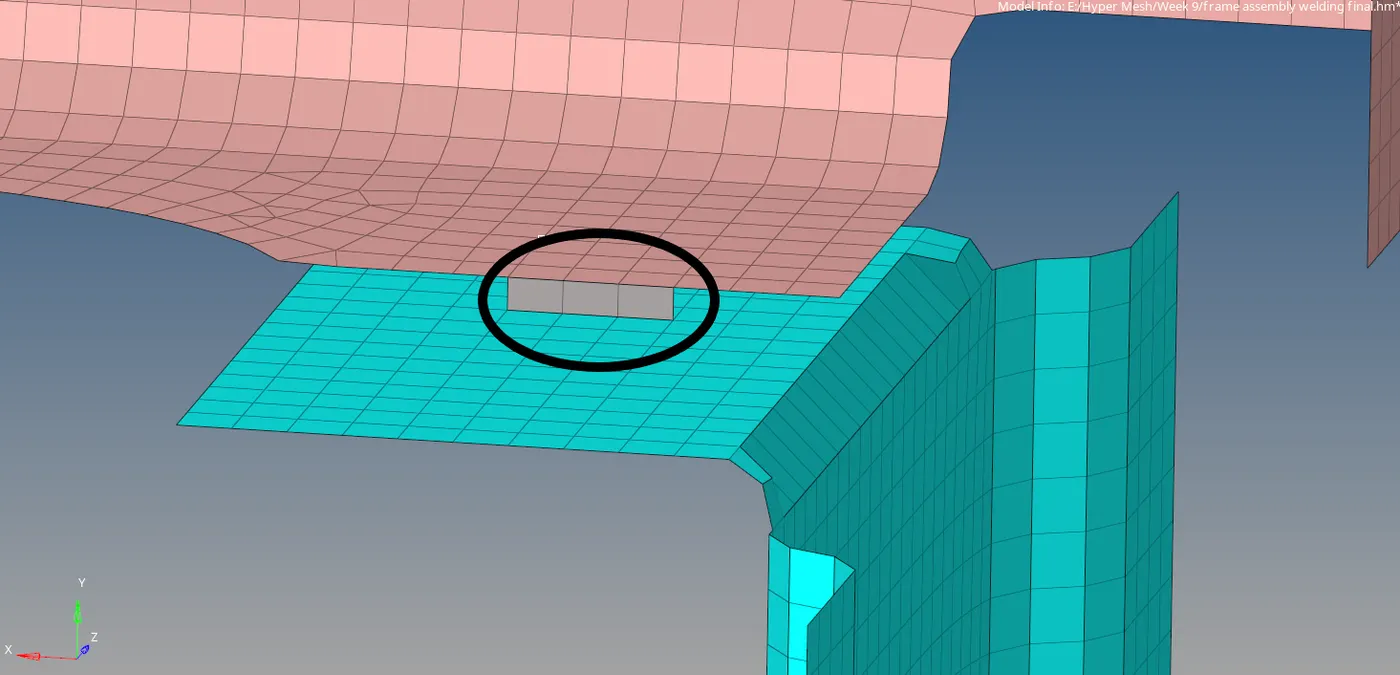
- Quads:
- Go to the 2D Panel, connectors option >> select Seam >> Select the Nodelist >>check the box of retain nodes >> specify the spacing >> select comps (which parts are needed to be connected) >> specify the tolerance >> select the type as quads >> check for the weld angle, cap angle, and run off-angle (if specified else leave it as is)>> click on create.

- Hexa Adhesive:
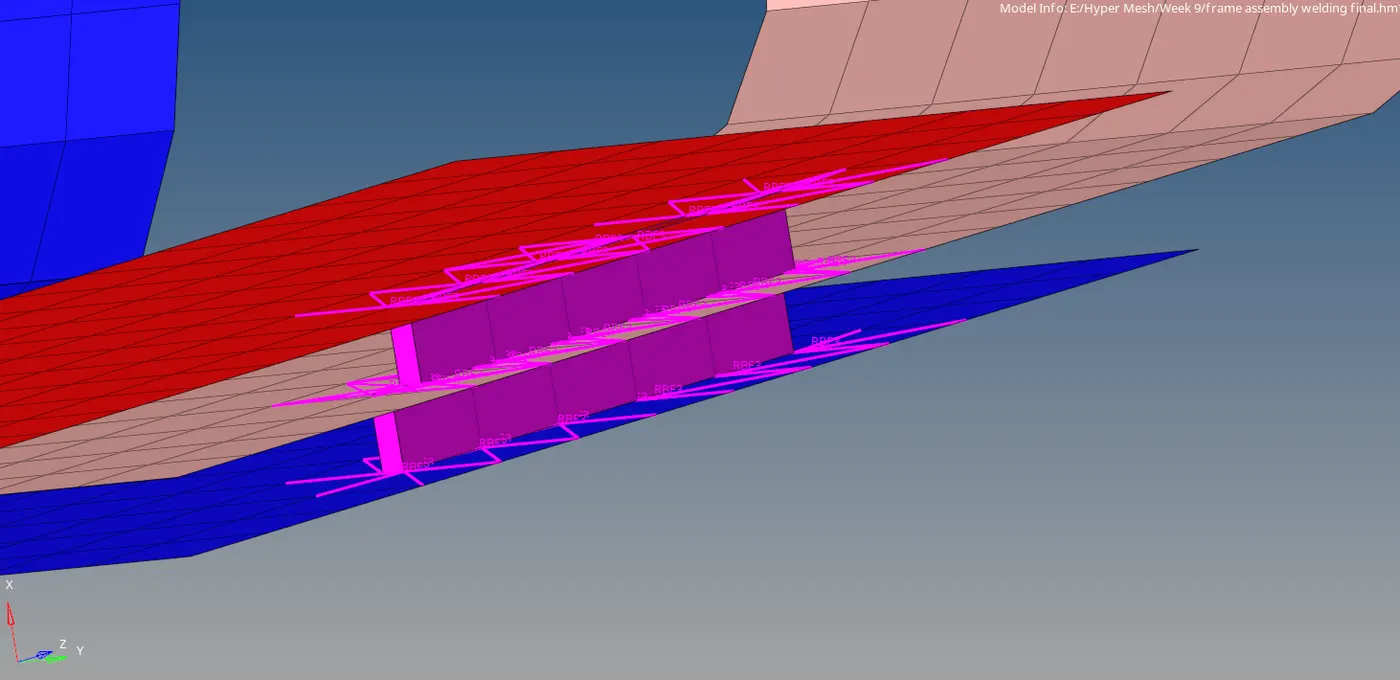
- The Hexa (adhesive) is similar to that of the quad only the type needs to be changed from plot to Hexa (adhesive).
- Go to the 2D Panel, connectors option >> select Seam >> Select the Nodelist >>check the box of retain nodes >> specify the spacing >> select comps (which parts are needed to be connected) >> specify the tolerance >> select the type as Hexa (Adhesive) >> check for the weld angle, cap angle, and run off-angle (if specified else leave it as is)>> click on create.

- Spot:
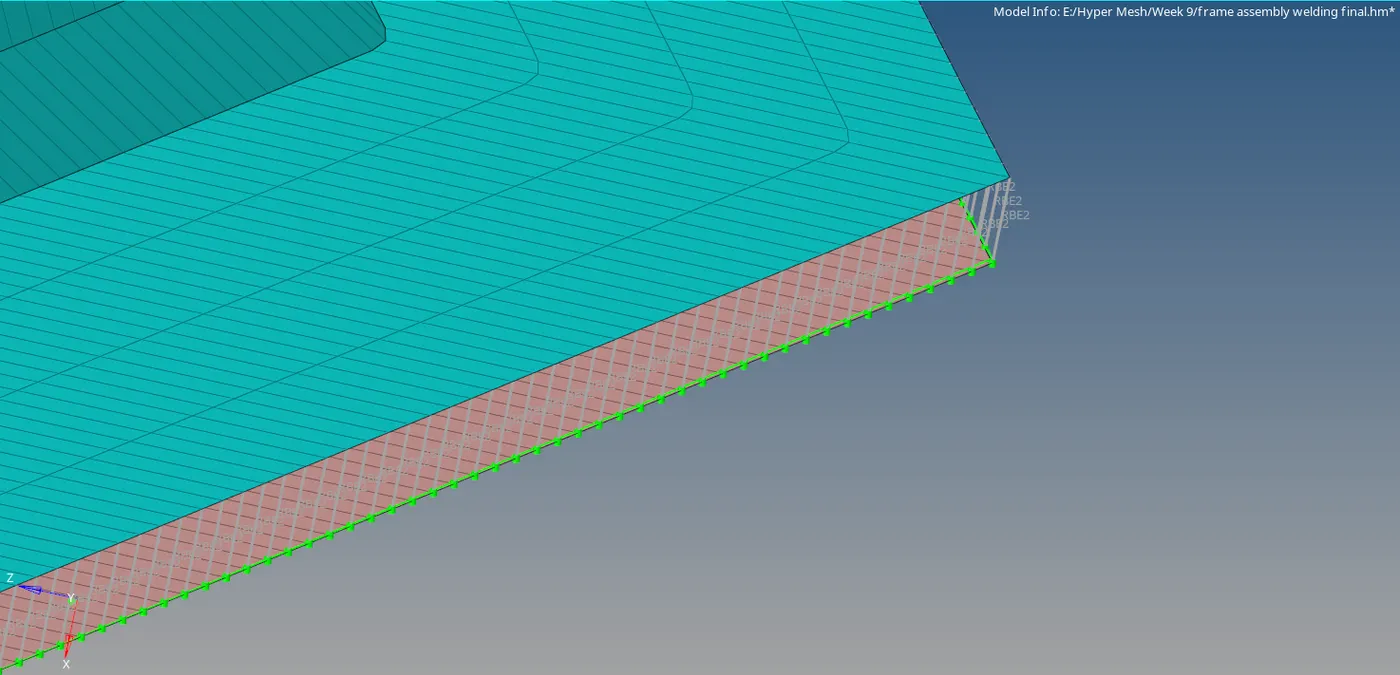
- With Rigids:
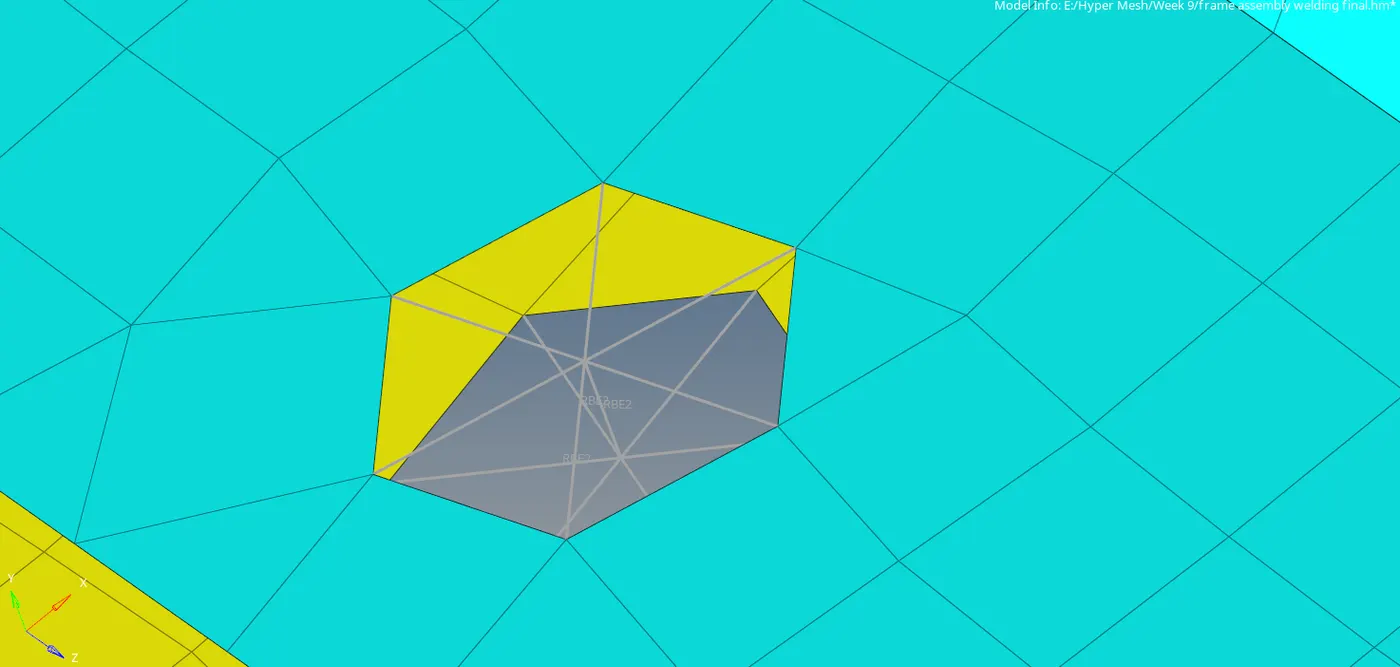
- Go to the 2D panel, Connectors>> Select Spot >> select the nodelist >> check the retain nodes box >> specify the spacing >> select the components (parts that needed to the connected) >> Give the Diameter >> select the type as Rigids >> click Create.

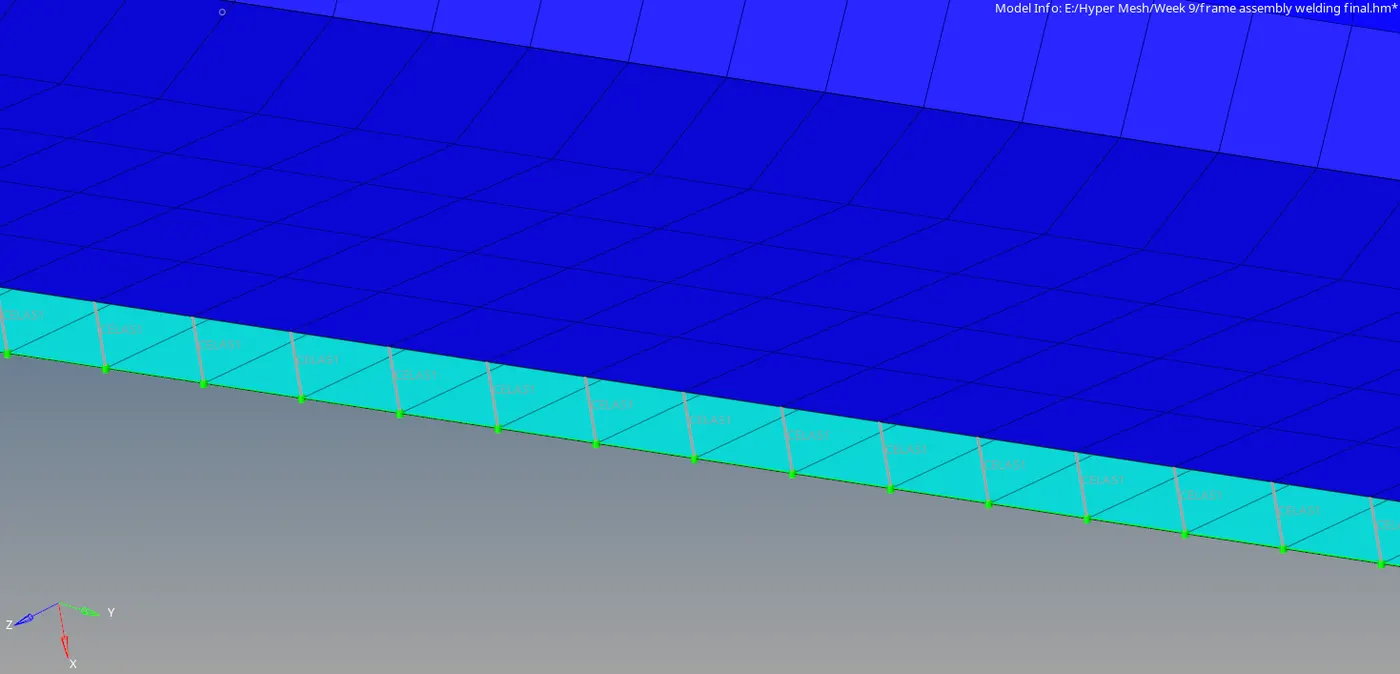
- With Springs:
- Go to the 2D panel, Connectors>> Select Spot >> select the nodelist >> check the retain nodes box >> specify the spacing >> select the components (parts that needed to the connected) >> Give the Diameter >> select the type as Springs >> click Create.

- Bolt:
- Go to the 2D panel, Connectors>> Select Bolt >> select the nodes >> select the components (parts that needed to the connected) >>Select the Number of Layers >> Give the Tolerance >> select the type as Bolt(general)>> Select create hole, if none and adjust hole position(2D) >> click Create

Tools Used:
Seam:
The Seam welding is to be done along the length of the workpiece made of similar or dissimilar materials along a continuous seam. It connects the geometry.
Spot:
Spot weld is a resistance welding process that is used to weld two or more sheet metals. For different types of spot weld, only the type needs to be changed and the rest of the process is similar.
Bolt:
Bolt is a connection between structural members made with plates and is generally used at hole locations.
Terms Used:
Connectors:
Geometric entities that define connections between other entities
- Used for welding, bolts, adhesives, etc.
- Link geometry or FE entities.
- Connectors allow for easy and rapid:
- Creation of FE welds, bolts, adhesives, etc.
- interactively or from:
- XML file
- MCF (master connectors file)
- Spot welds only
- Switching between different FE configurations of welds, bolts, adhesives, etc.
- Part swapping and re-connection
- Replacement by names or IDs
Results:
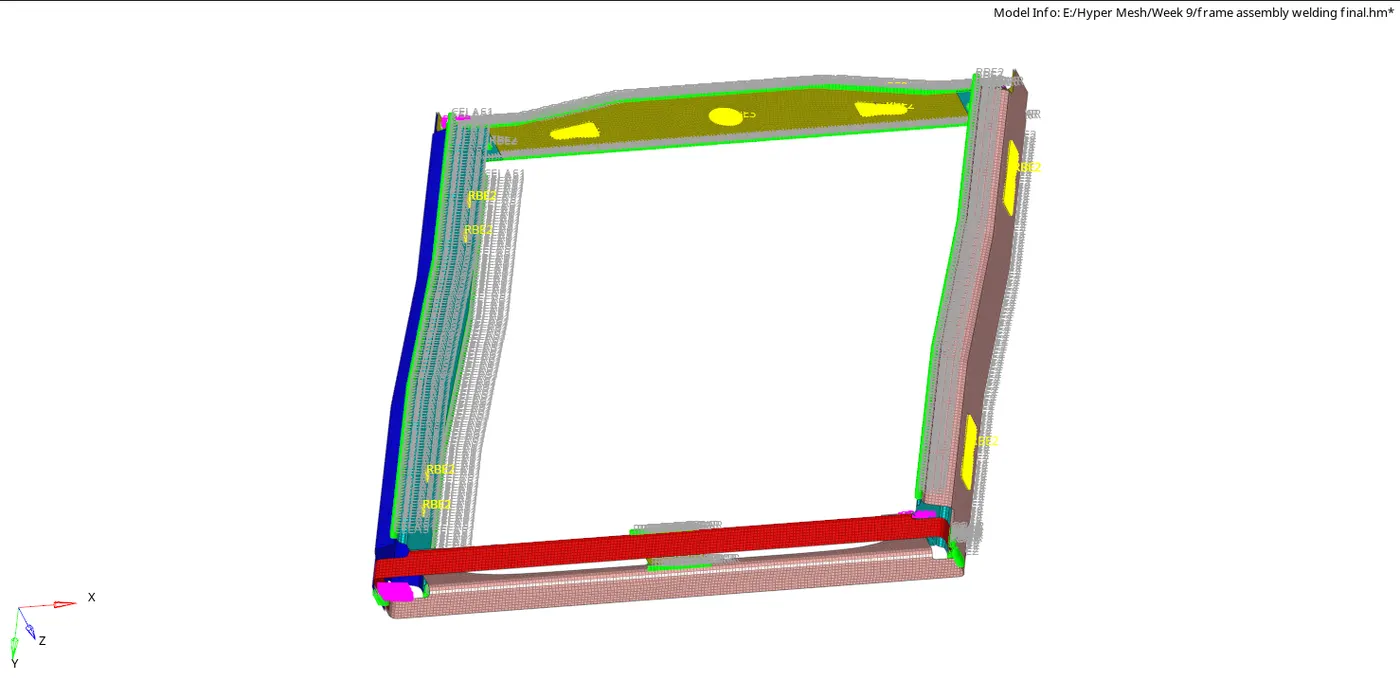
The Connections of the given component are given as per the given dimensions.
Links:
Google Drive Link: Week 9 Challenge