Week 9 - Attachment Feature Creation - Challenge 2
Create the Dog House for the Door Trim considering the design rules mentioned in the video. Consider the thickness of the part to be 2.5 mm.
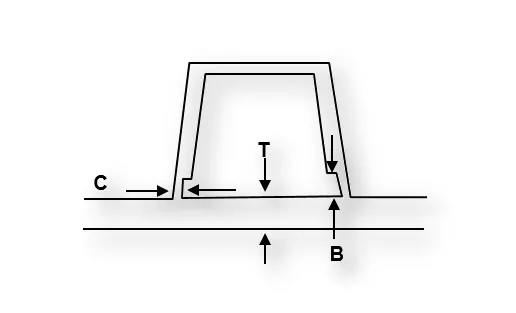
"C" is where the doghouse contacts the backside of the surface
-
Doghouse wall thickness at the intersection of the part wall ( C ) should be 40% or less than the main wall stock ( T ).
-
The height of ( B ) should be between 3.0 – 6.0 mm
NOTE:
- Sketches
- Use Positioned sketch
- Sketches should be Iso-Constrained
- Tree Structure
- Ensure Proper Tree Structure
- Geometrical sets should have a proper name based on the sketches present inside of it
- All the sketches should be created under the Geometrical set
- Report
- A detailed report should be done explaining the draft analysis and the tooling axis creation.
- An explanation should be given on the way of creating the tooling axis, particularly the Bisecting method
- Reference
- Refer to the below-given image to understand the positions of the Dog House
Submission Requirements:
- Submission in challenge box
- Screenshots of the completed design in various orientations (Isometric, Front, Side, and Top View)
- Below images/screenshots should be inserted into the challenge box
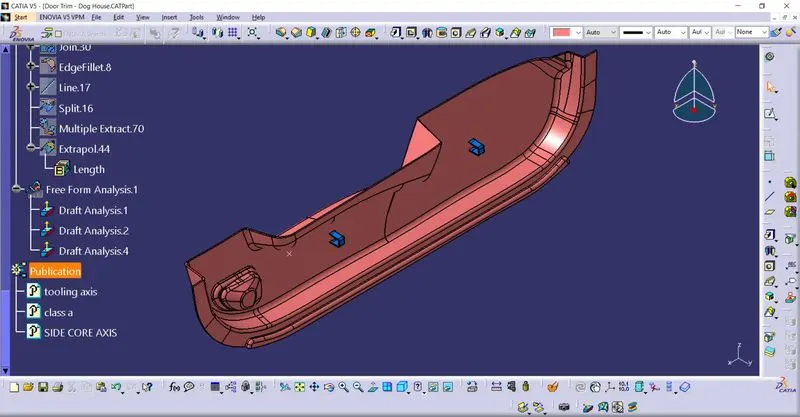
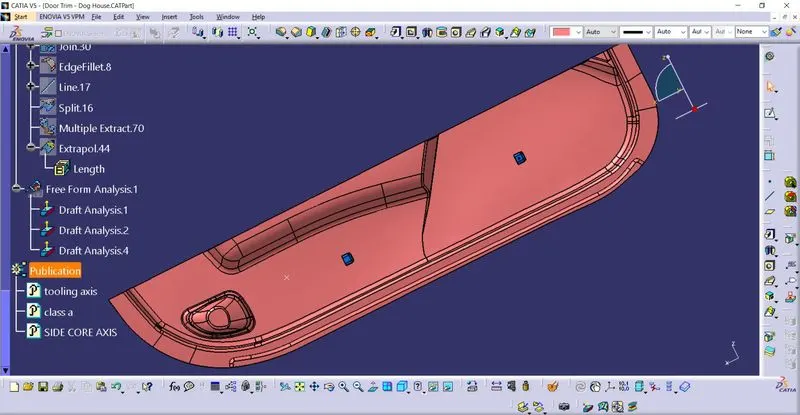
Here we have the class-a surface of the door trim and we have to create the tooling axis, class-b,class-c and solid body. then we have to create the dog house for the door trim part as shown in the picture given
now we start with the class-a surface
class-a
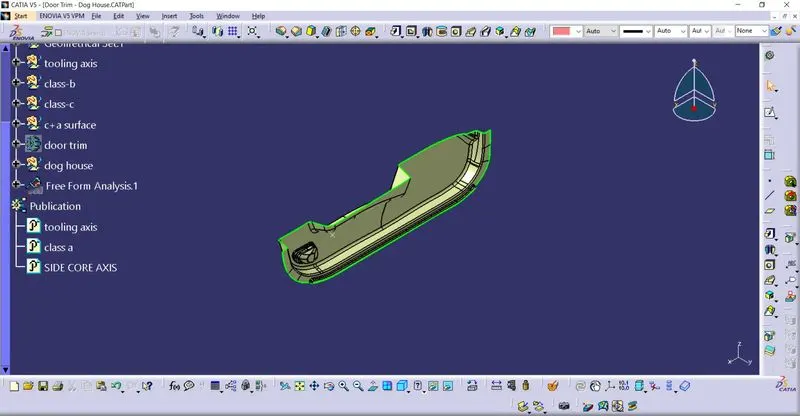
his is the class-a surface given, now we have to create the tooling axis using this
now we have find the flat surface to create the tooling axis.
for creating the tooling axis we have take the bottom face and create the point on the surface on middle and create the line perpendicular to the face and that line is called tollng axis.
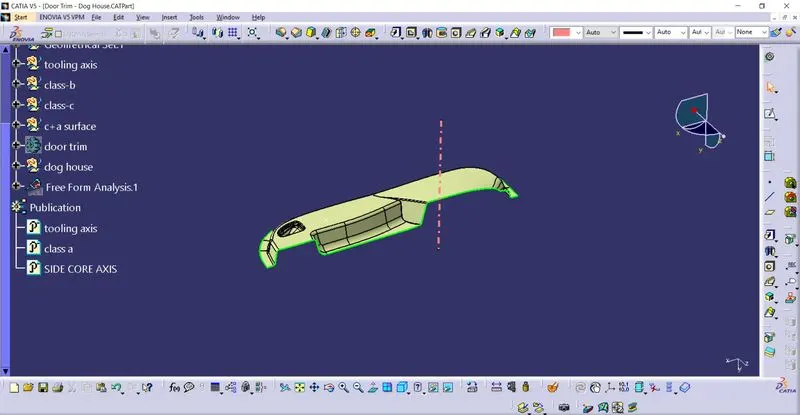
after the tooling axis we have perform the draft analysis W.R.T to the tooling axis
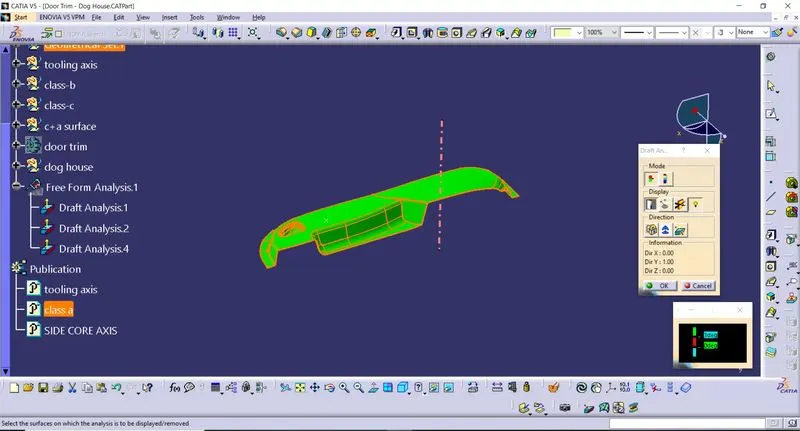
in the above image we can see clearly the red marks that means it is clearing the draft angle at 3 deg
from the above image we can see that the your tooling axis is clearig the all draft angle with 0.5deg, so that we can proceed for the next operations otherwise we have to cxhange the tooling axis
next generating the surface-b
here we have the thickness of 2.5mm, so we have to take the offset of 2.5 mm the offset surface is shown below
offset
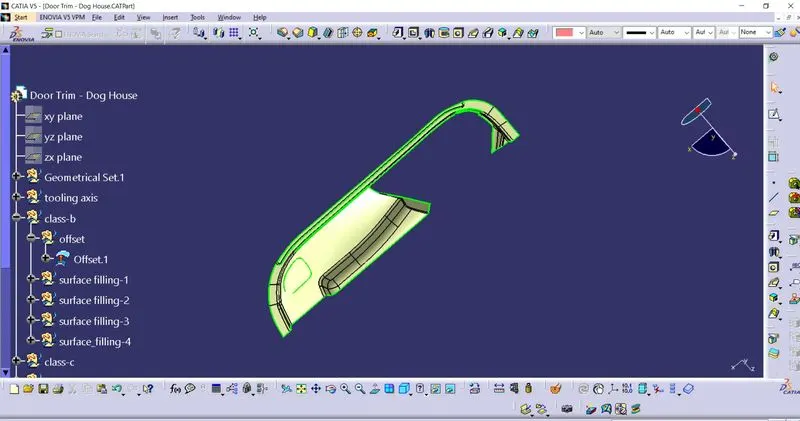
when we have offset the surface the we got thesome patches missing then we have to filling these patche highlighted using some commands
surface filling-1
in this surface filling 1st we have too remove the exsiting radius to fill the complete radius, for removing the radius we have to etract the surface using the multiple extracts and some command created b-surface
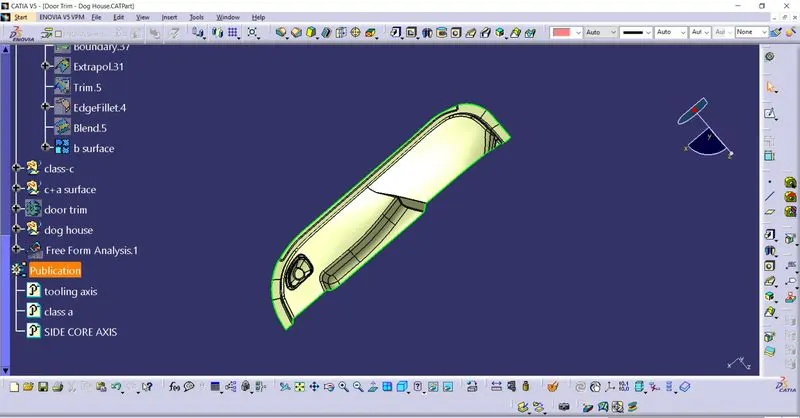
c-surface
now we have to create the c-surface from the class-a surface by using the sweep command at 90 degrees from the class-a surface and join the class-a and class
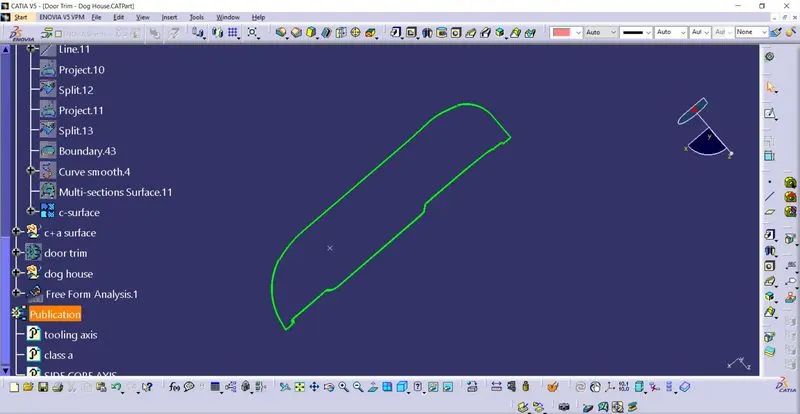
need to create c+a surface
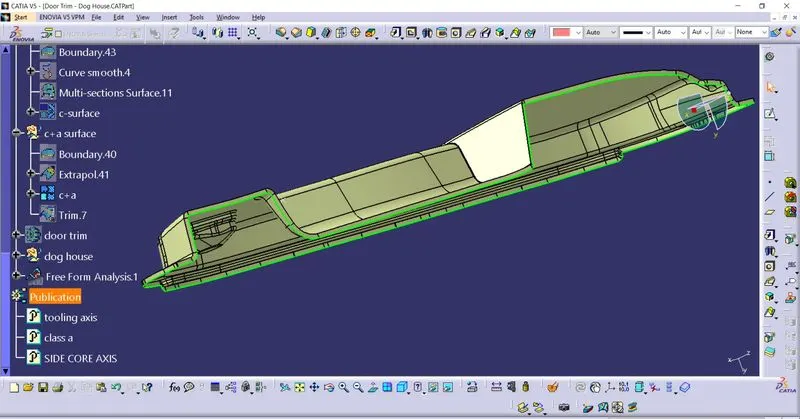
then trim the class-a+c surface with the class-b surface the closed surface will be formed the apply solid by using the closed surface command
closed surface
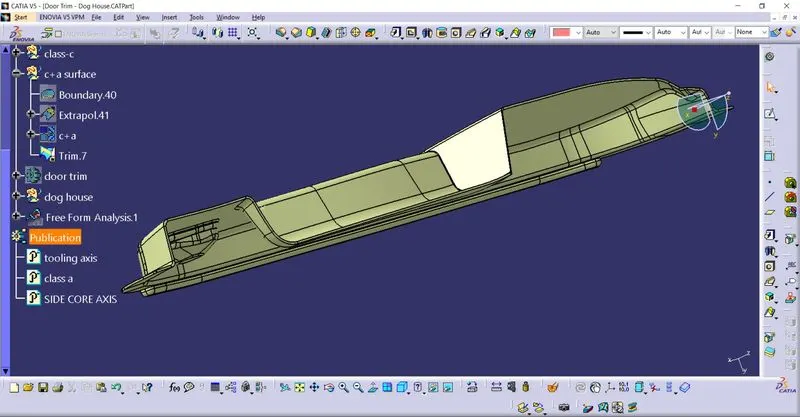
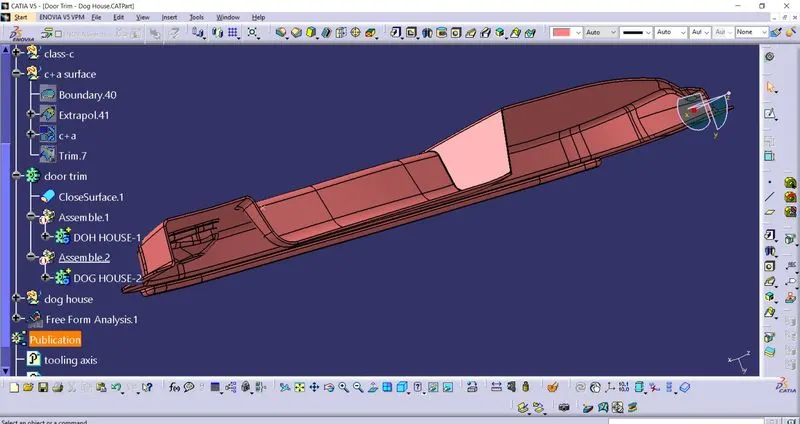
draft analysis for the closed surface
at draft angle 0.5 it will clear
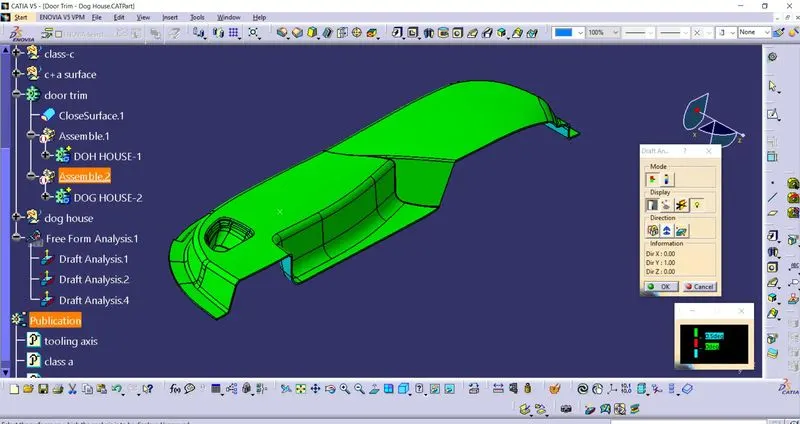
now, we have to start the creation of dog house
we need to create the sketch 1st for creation of dog house
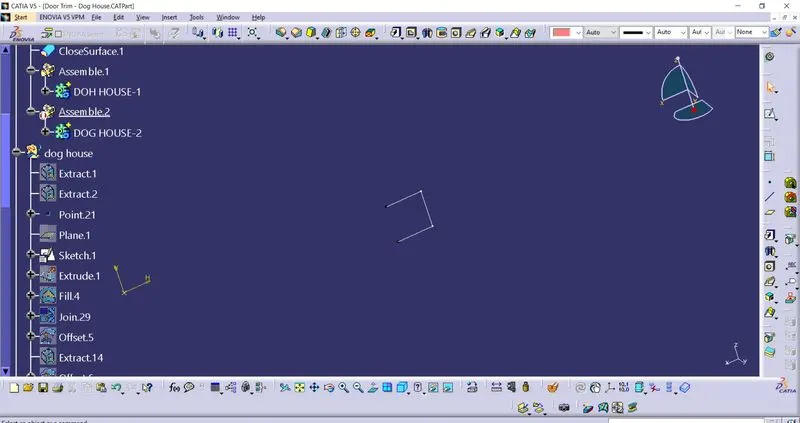
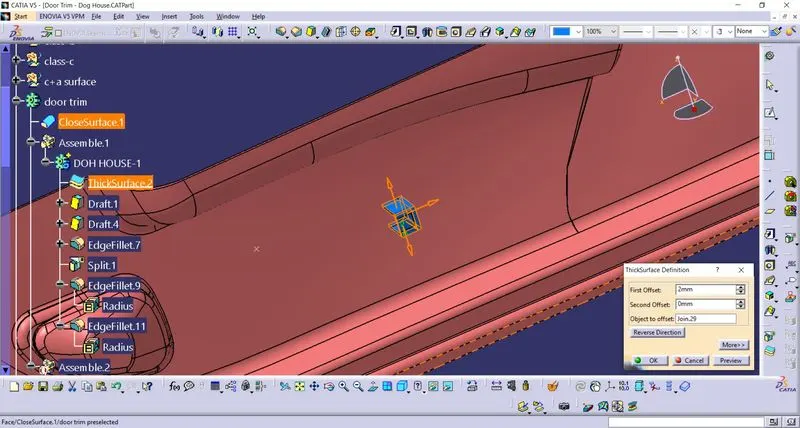
after that we need to extract the skecth and apply the thickness with 2mm to it
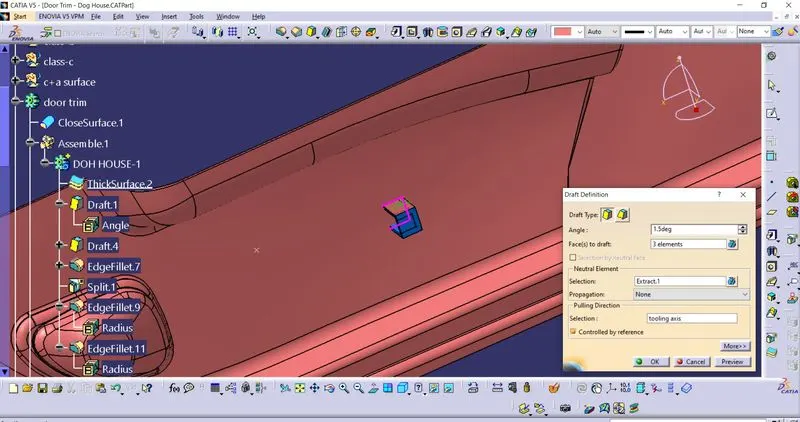
give the draft to the thickness with respective to the tooling axis
and also create the other tooling axis(perpendicular to tooling axis) called side core tooling axis for the internal draft
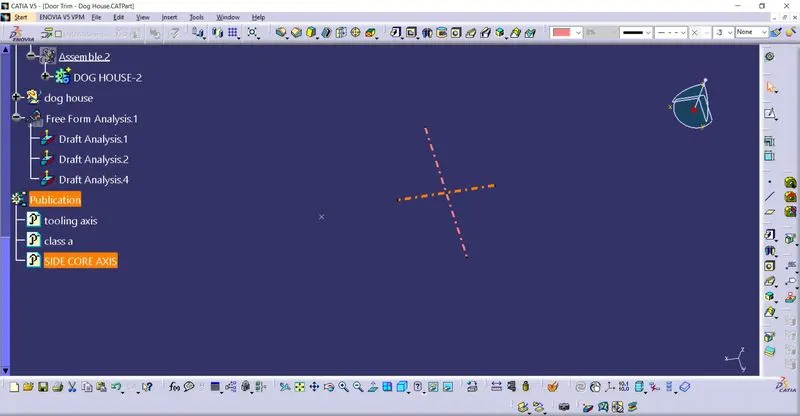
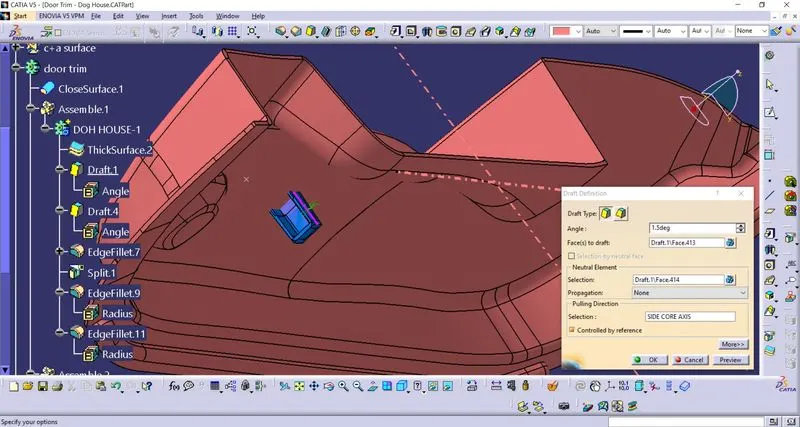
create one extrude surface at the bootom for creation of the C width and B height as per given in question
added 1 mm gap for the c- width
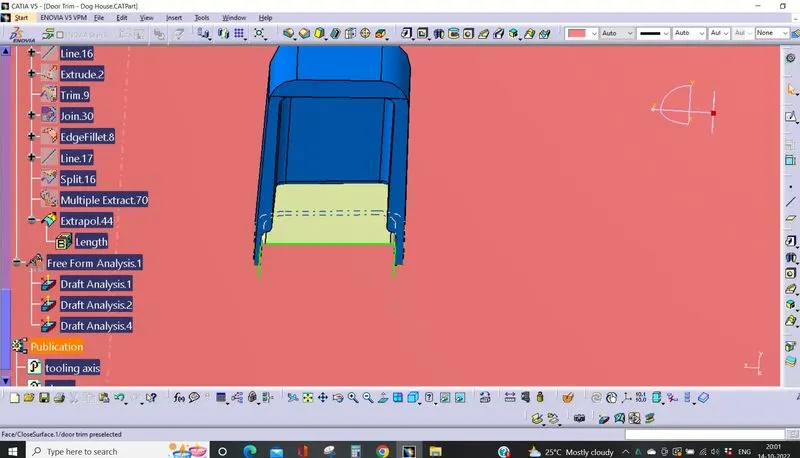
then split that with dog house then looks like below
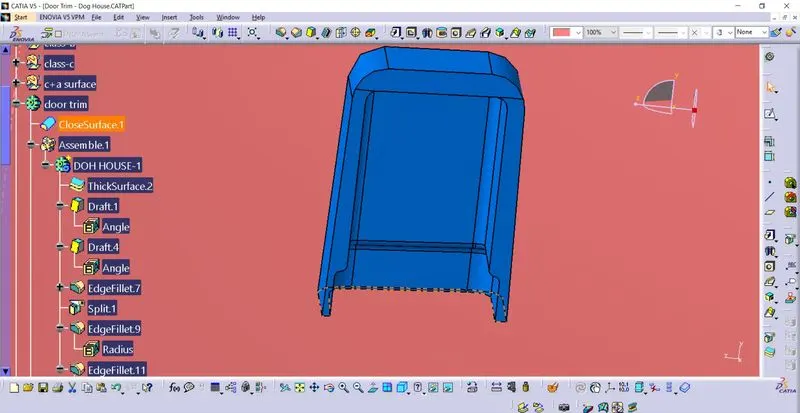
then perform the draft one more time i have perform the draft seperatly but not able to show here because alrady assemble.
the create the copy of the dog house and translate to the required position.