Week 9 - Attachment Feature Creation - Challenge 2
Aim
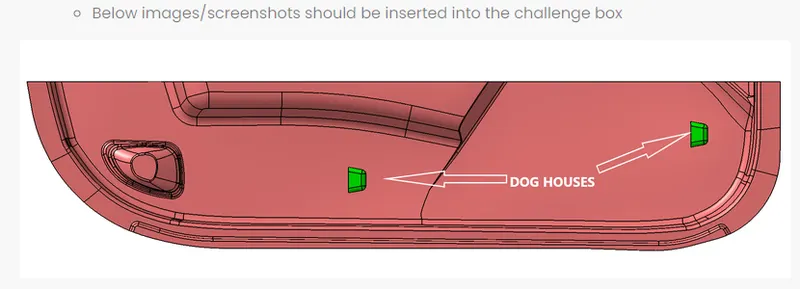
Create the Dog House for the Door Trim considering the design rules mentioned in the video. Consider the thickness of the part to be 2.5 mm.
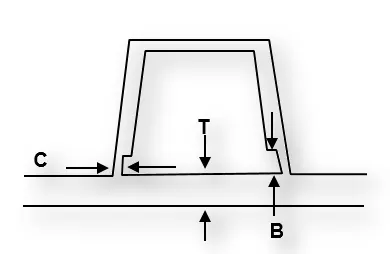
"C" is where the doghouse contacts the backside of the surface
-
Doghouse wall thickness at the intersection of the part wall ( C ) should be 40% or less than the main wall stock ( T ).
-
The height of ( B ) should be between 3.0 – 6.0 mm
INTRODUCTION:
CLASS-A SURFACE: A surface made by the designer which is given as an input to the plastic modeler/ sheet metal designer to work on. It is aesthetic surface and the outer most surface.
CLASS-B SURFACE: A surface below a certain thickness from the class-A surface is class-B surface. This is the surface that contains engineering aspects of a model for example Ribs cutout.
CLASS-C SURFACE: A surface that joins class-A and class-B surfaces together is called as a class-C surface.
Dog house: is an engineering feature used in plastic trim design. Dog houses are used as supporting feature. Sometimes other engineering features like snaps; locators etc. are mounded on them to increase their strength.
Report
A detailed report should be done explaining the draft analysis and the tooling axis creation.
An explanation should be given on the way of creating the tooling axis, particularly the Bisecting method.
Draft Analysis:- Draft is a taper applied to the faces of the part that prevent them from being parallel to the motion of the mold opening. This keeps the part from being damaged due to the scraping as the part is ejected out of the mold, to do that the analysis is done and known as Draft Analysis
Tooling axis: The direction in which the mold or core and cavity opens is called as the tooling axis.
Tooling axis creation
As we can see in 3D the tooling direction should be Y direction we can conclude by seeing that the tooling axis should be in this direction but for surity we need to do a visual inspection from every direction
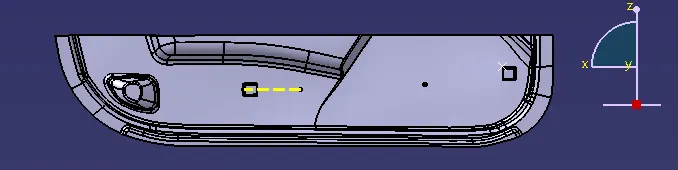
Visual inspection
As we are seeing the class A surface in X direction but not able to see all the faces
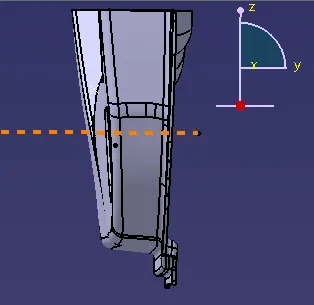
As seeing the class A from z direction but not able to see all the faces
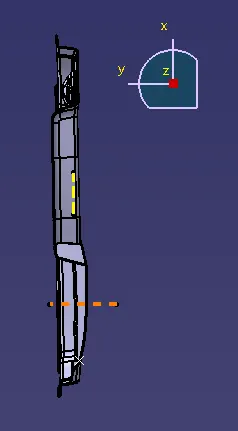
But seeing it from y direction we are able to see all faces thats means the tooling axis will be in y direction
Bisecting Method
The one section surface of the class A was extracted and a point at the centre is created and an axis system was inserted to the point with the current feature is disabled.
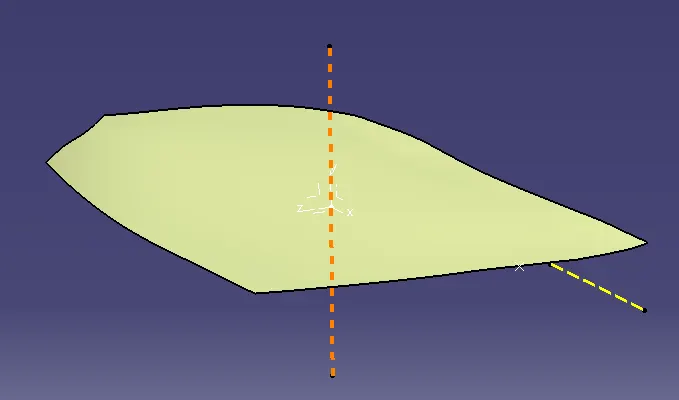
Then use the intersection curve command to intesect the class A along YZ direction and get the intersection and draw 2 lines from the curved faces and then use the Bisecting line command to make the Tooling axis and the line appear will be our Tooling Axis
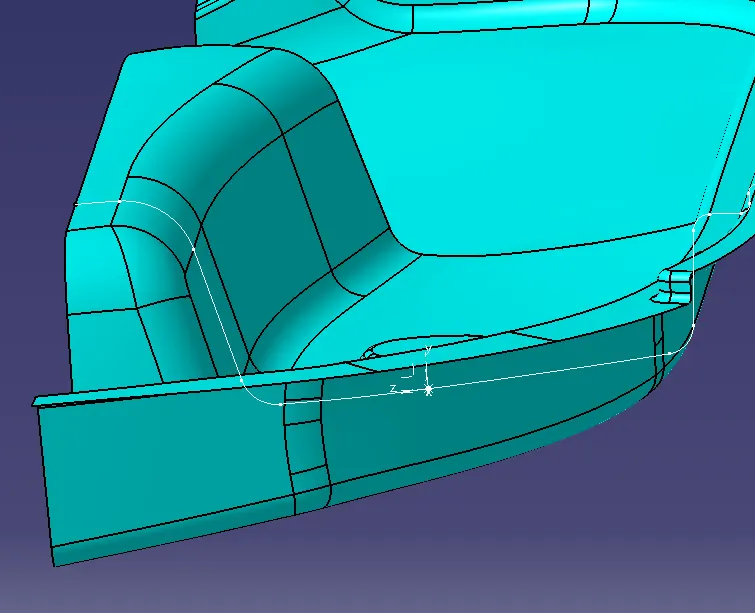
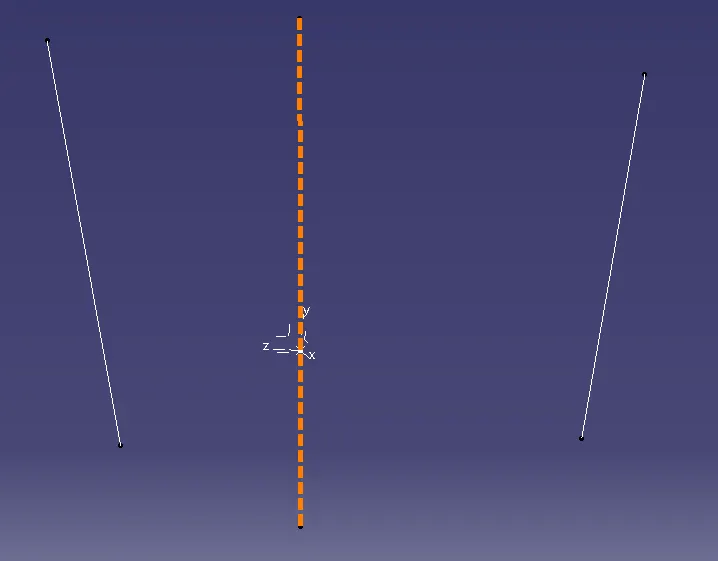
In order to check the correctness off the tooling axis choose tooling axis and select normal to view you didnt able to see the tooling axis by this check we can be sure that the tooling axis is correct
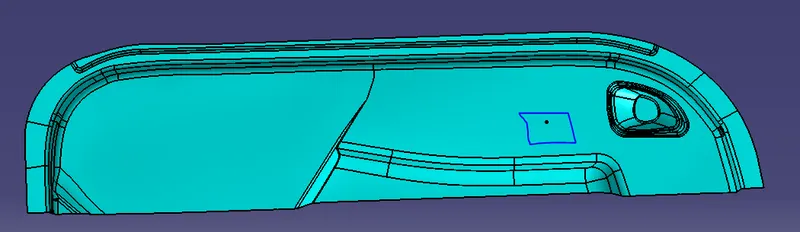
Class A Surface Draft Analysis
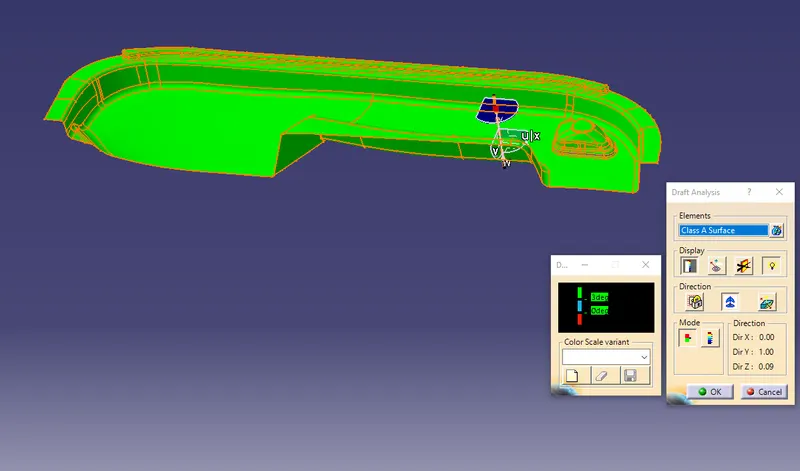
Note- Due to the irreguraties in class A surface the Blue region is appear in draft analysis to rectify this issue we need to send an RFI to Class A surface team mentioning that there need to be draft provided and they will rectify this issue and correct and send the new class A surface to work
Creation of Class B:
- Now for Class B creation, we need to offset the class A surface inside by 2.5 mm and this is going to be our B surface
- Then we use the boundary command to check whether this is a gap or missing surface (mostly fillet created this problem)
- Then we need to make the missing surface either use the blend command, multi section solid or the last option is extract the both surface extrapolate it and then trim them and then join them
- Use Multi Section Surface to Fill that region
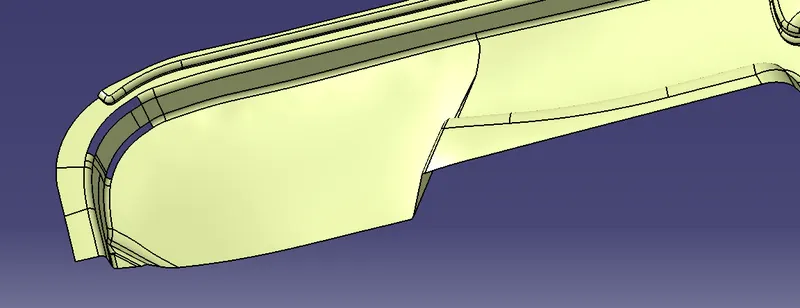
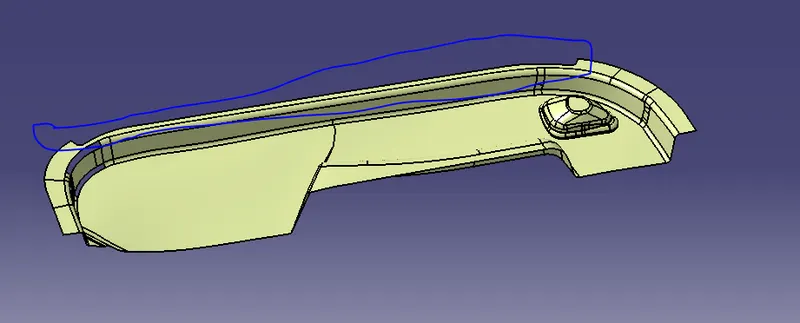
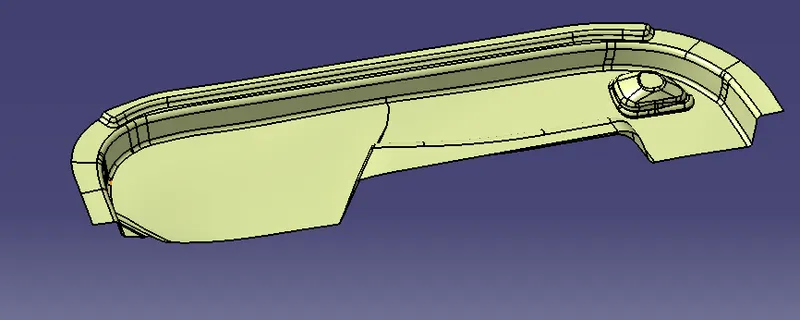
Final Class B Surface
Creation of Class C:
The outer edges are extracted and then using the sweep (with reference surface) command the class C surface is created and at some egdes use the multisection to creat the surface which is not sweep and then join all the surfaces with the Class A surface
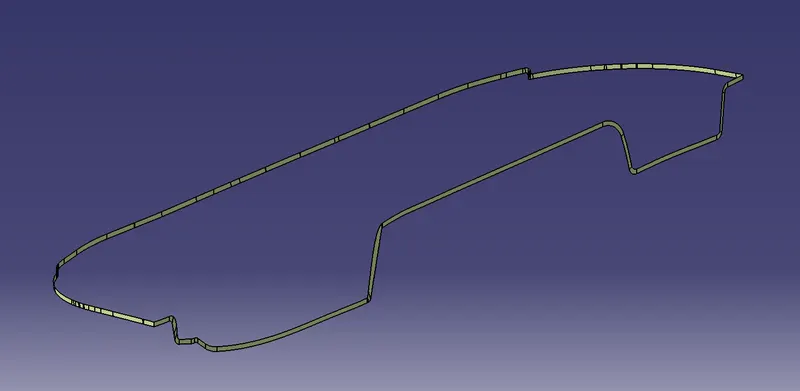
Class A + Class C:
Then both class A and class C surface are joined to get the surface which is going to be trimmed off with class B surface in order to get the closed surface
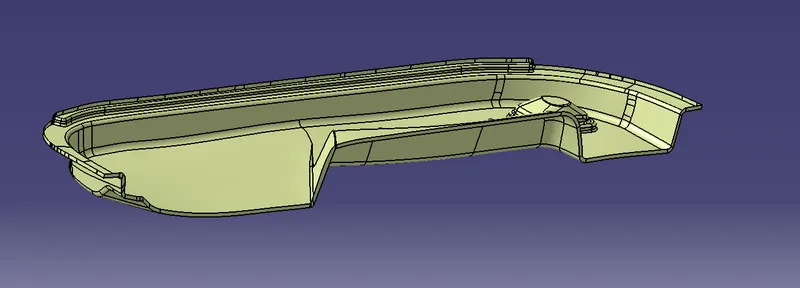
Class A + Class B + Class C:
After trimming we get the closed surface and then we go to part design and use closed surace to create the plastic part
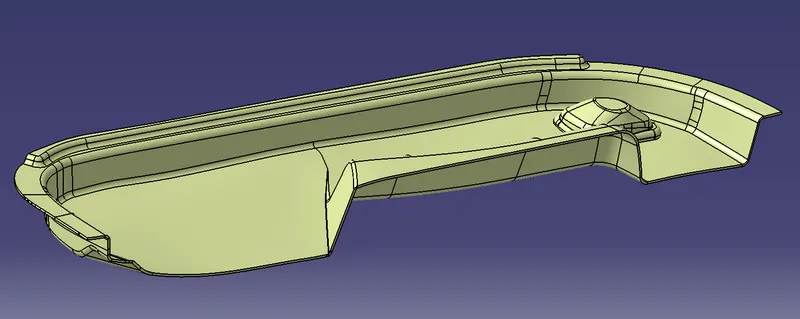
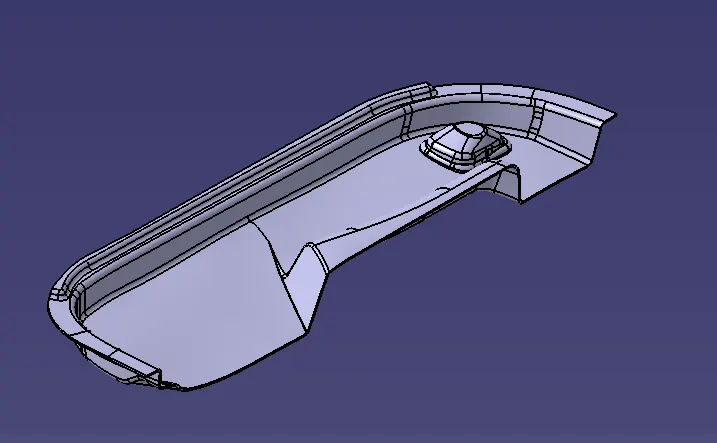
Draft Analysis for Solid Plastic Part
First the class – A surface is checked before creating the Class –B&C surface and finally the solid body must be analysed. Both can be done by following the below procedures.
By changing the view mode to custom view parameters – Material mode then the feature draft analysis is enabled.
Then the compass was activated and placed with the tooling axis by dragging the red pointer and then locked it.
Then, by selecting the quick analysis mode, the nominal value will be 3 degrees and checked for the component's draft angle.
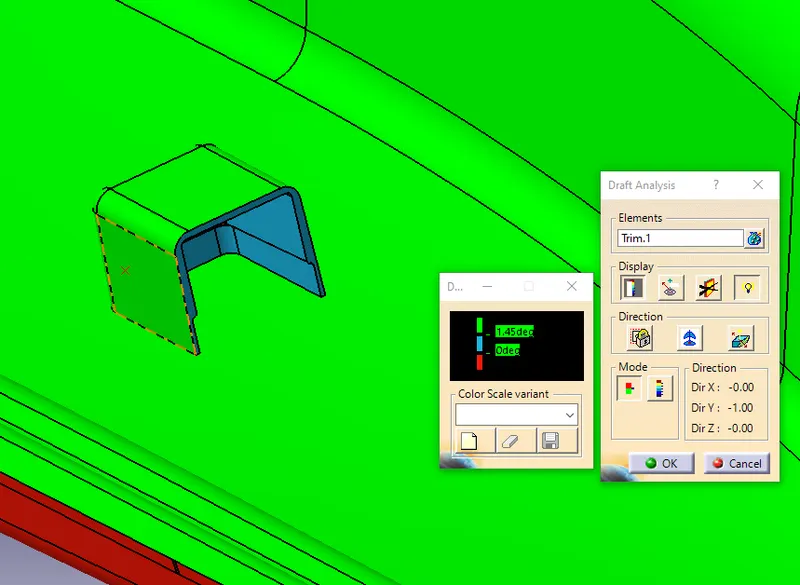
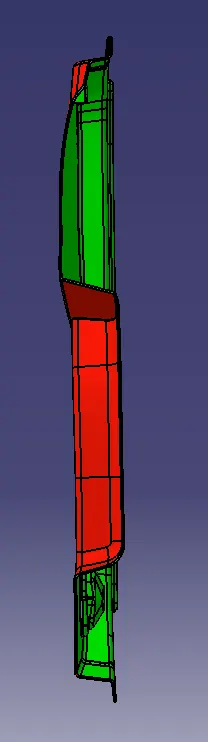
The green colour area shows that it satisfies the 3-degree draft angle. If not satisfied then by using the Running point tool the area is measured and then altered to get a successful draft for the created tooling direction.
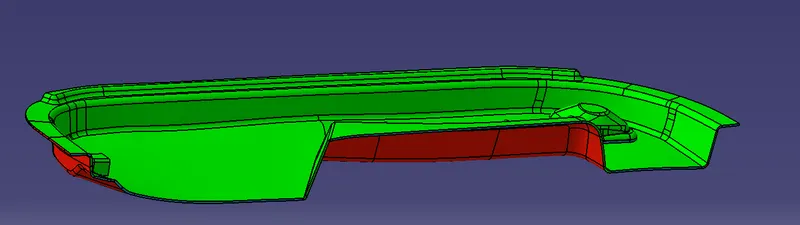
Note: As due to irregularities in the class A surface the edges are showing the negative draft but the draft given is correct and after discussion with TSC it was confirmed that there are irregularities in the class A surface thats why it is showing the red region on the side edges.
B Side Features Creation
Dog House Creation
Design Priincipals for Dog House Creation
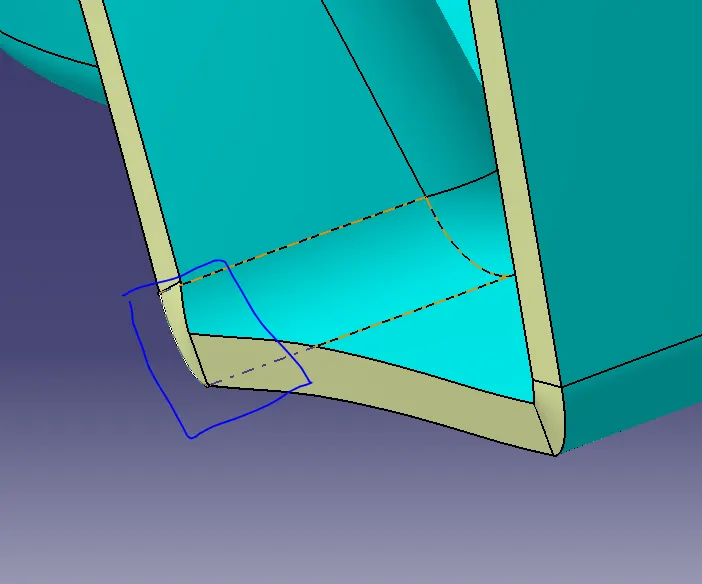
"C" is where the doghouse contacts the backside of the surface
-
Doghouse wall thickness at the intersection of the part wall ( C ) should be 40% or less than the main wall stock ( T ).
-
The height of ( B ) should be between 3.0 – 6.0 mm
The Surfaces That Are Cleared Along The Lifter Axis Are Also Given a Minumal Draft
-The Height Of The Attahcment Walls Should Be a Minimum Of 3 Mm
-This Avoids The Plastic Defects On The B Side And Maintains The Texture Of A Side
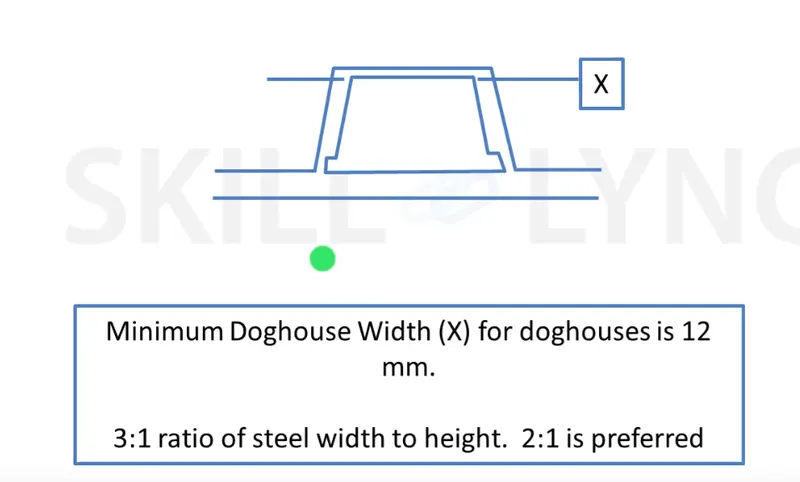
Procedure for creating the dog house
- First extract a face and create a rectangle and extrude it (Give direction as tooling Axis) and with shell command remove the face with a thickness of 2 mm.
- Give the draft of 1.5 degree on outer walls with the pulling direction as tooling axis (make sure you cut the material).
- For inside faces make a tooling axis (Side Core) by following the same method and then give a draft of 0.5 inside (make sure you cut the material) and then extract the inner face.
- Extract the bottom surface and give a offset of 3-6mm and trime with the side wall and then extrapolate the trim and then split the surface with the solid and then take an draft analysis and after that provide draft to the faces which didnt have draft and provide the required fillets.
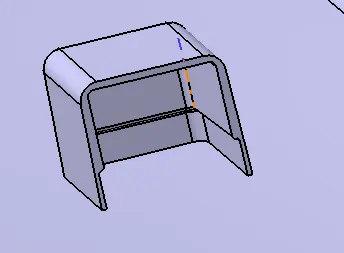
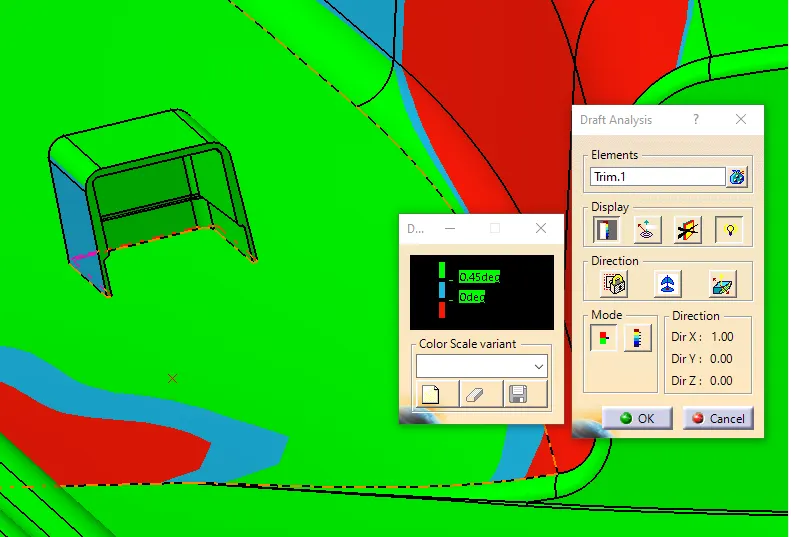
Draft Analysis of the final part with Dog House and the Dog House (Engineering Features)
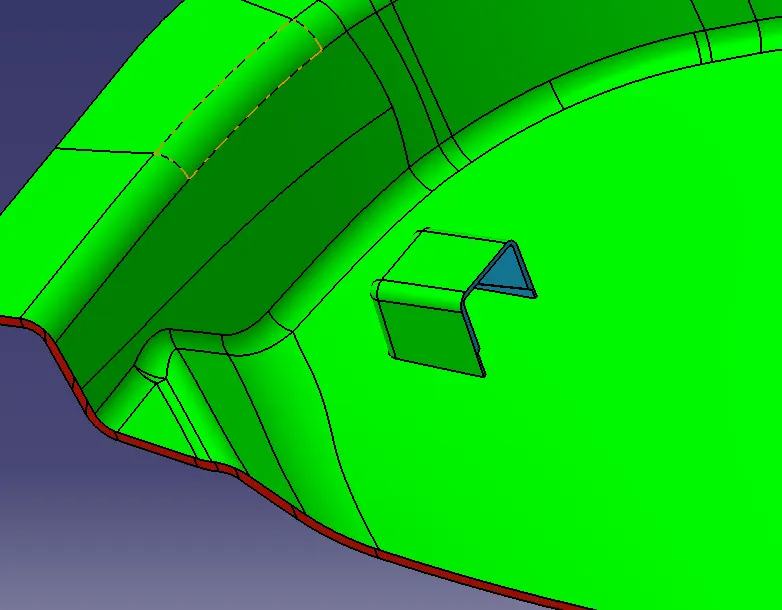
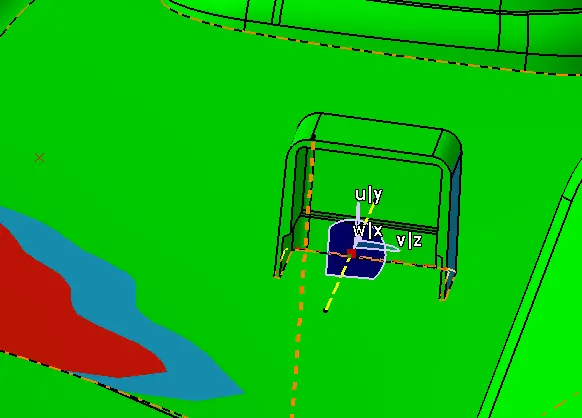
Draft analysis with tooling direction at 1.45 deg it is passing the analysis
Draft analysis with Side core tooling direction at 0.45 deg it is passing the analysis
Draft Analysis of Final Part with Dog House
The Door Trim is passing the draft analysis and at some places there are irregularities in the class A surface thats why it is showing the red and blue.
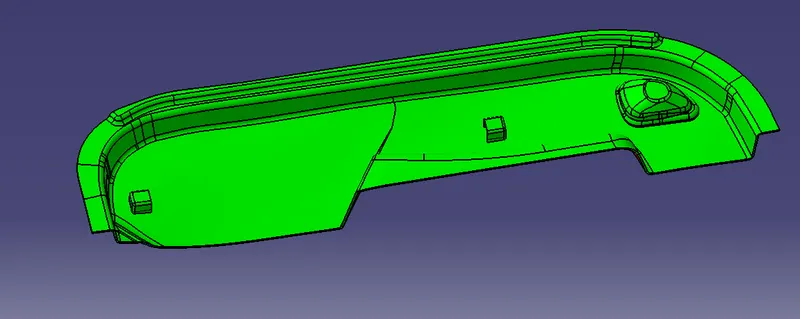
Screenshots of the solid model with the proper color code of the draft angle in various orientations (Isometric, Front, Side, and Top View)
Isometric View
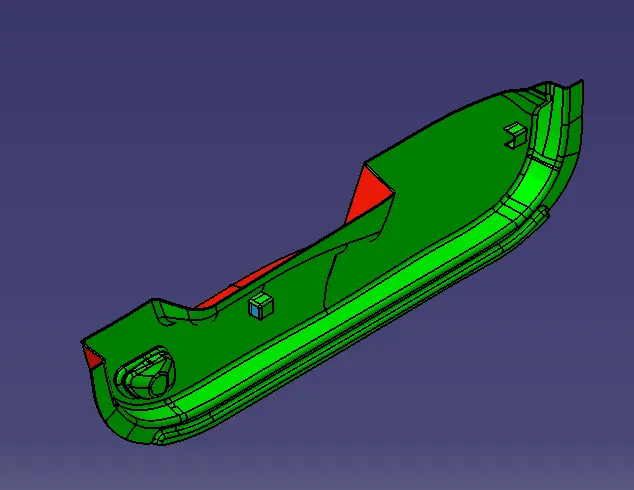
Front Side
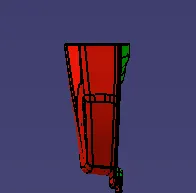
Side View
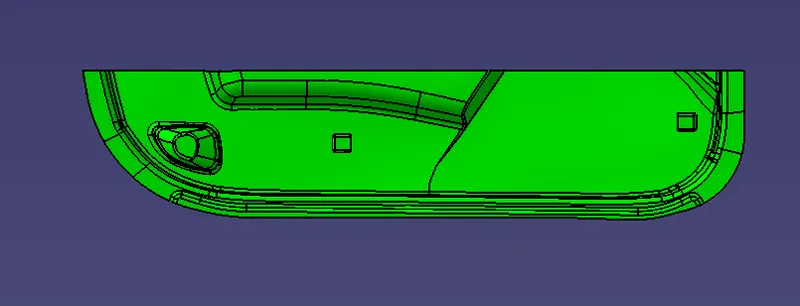
Top View
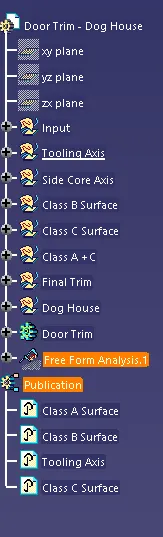
Tree Structure
Below images/screenshots should be inserted into the challenge box
Please find the attached part file for your review