Week - 8 - Morphing
#18 / WEEK-8 // MORPHING.
AIM: To perform the Morphing for the given model.
OBJECTIVE:
-Importing geometry to ANSA software.
-Topology clean-up.
-Morphing the required surfaces.
INTRODUCTION:
Morphing
Morphing in ANSA is a very powerful and intuitive tool, it can be used to reshape, redesign, and detail a CAE model without the need for a 3D CAD model. During the concept phase of product development, simplified CAD and CAE models are used to retain model versatility and minimize the setup time and the analysis complexity. This means the already existed model can be reshaped and redesigned just with the help of moving the nodal element position with the help of a morphing tool.
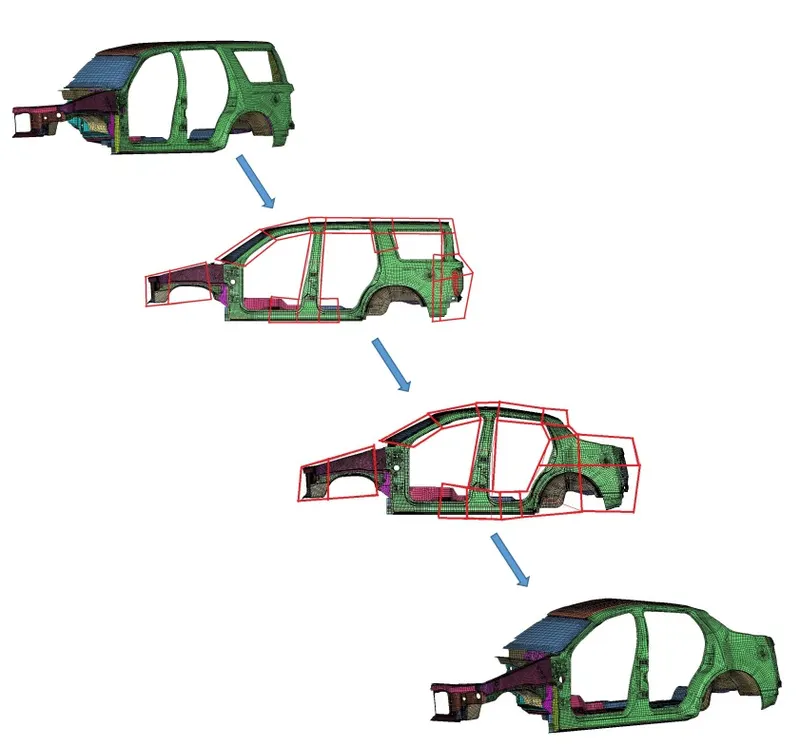
Benefits and applications:
- Component and full system level FE/CFD models (such as automotive vehicle Crash, NVH and durability models) can be morphed to fit target design features such as styling lines, sections, proportions etc. precisely.
- Minimizes time in design modification by directly working at mesh level thus improves the overall lead time
- Creation of ‘n’ number of parameters for different designs, enabling easy trial and error method of design correction
- For the cases where, parametric CAD is not available or is not easily linked to the CAE, morphing software’s allow engineers to study parameterized changes in the attributes of vehicle geometry.
- In automotive industry morphing is commonly used for match styling, upper body to carry over under body matching, morphing sedan to station wagon or SUV etc. rapidly.
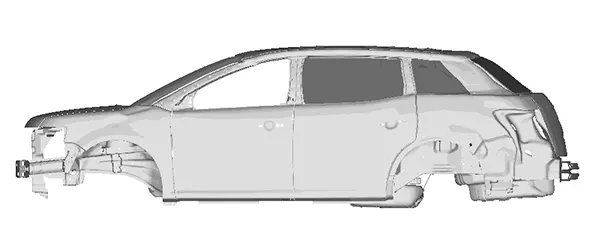
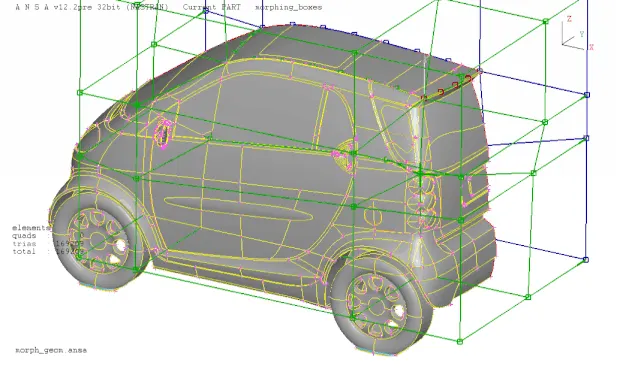
PROCEDURE:
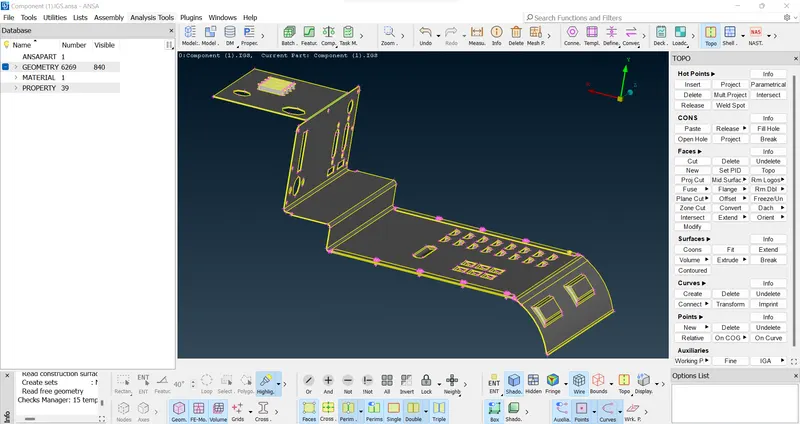
- First, the component is imported into ANSA. The component that will be morphed is shown in image below.
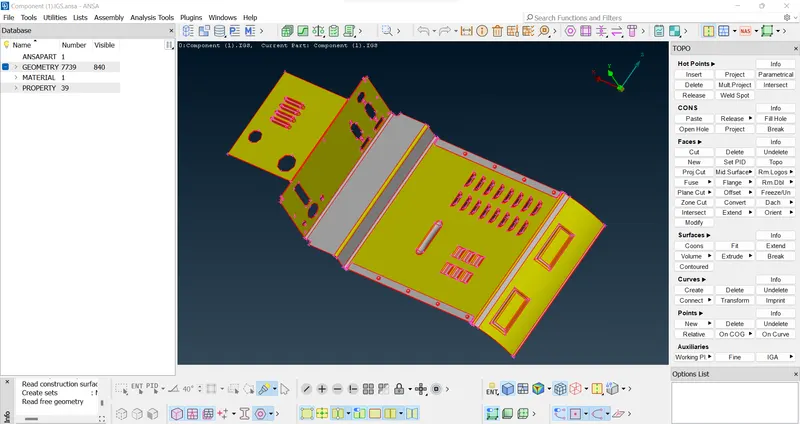
- Perform topo on it.
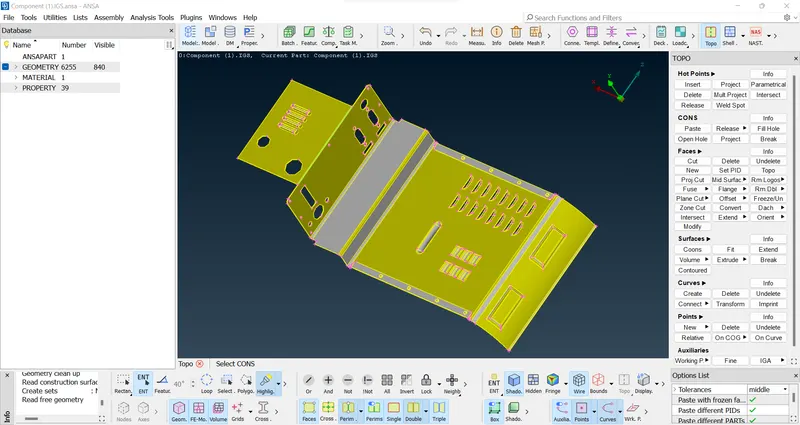
- Do proper orientation by using Orient > auto.
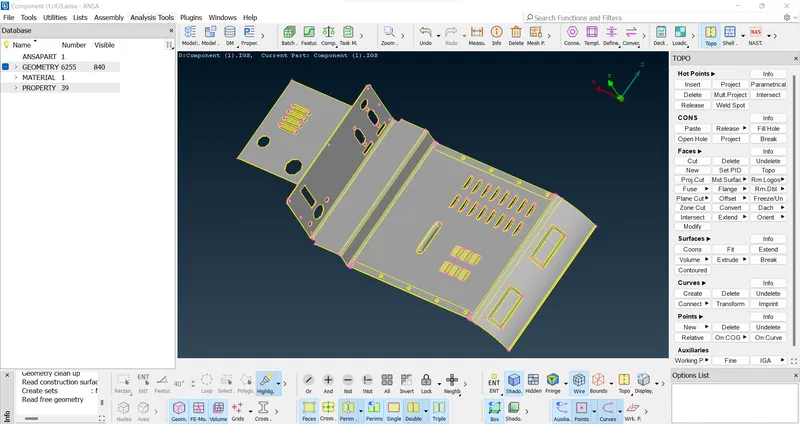
- Perform geometry check & fix it by auto fix.
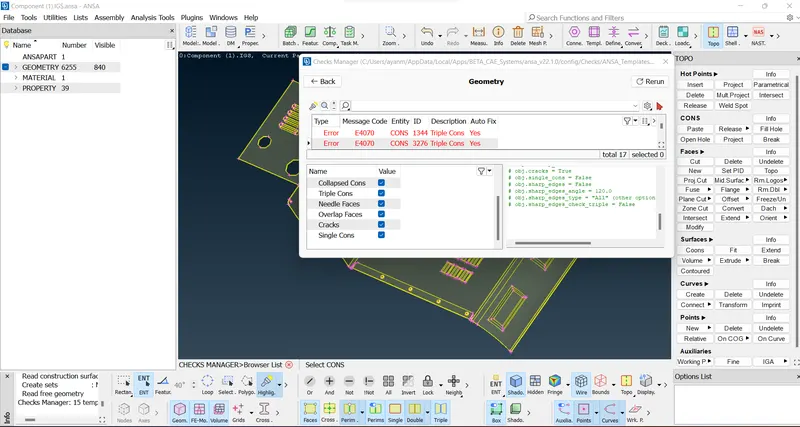
- To perform morphing actions, switch to Morph module.
- There are lot of tools to perform any given task.
- For box morphing, we first need to create a box volume around the geometry that needs to be morphed.
- To do so, got to Boxes>New>Ortho and 'New morph' window pops-up. Here,
- we can select the type of entities that needs to be selected and morphed and the type of box.
- As we only have a geometry model, geometry is selected as the entity type and Ortho as the box type.
- Then select the geometry and confirm selection, to create a morph box around it,
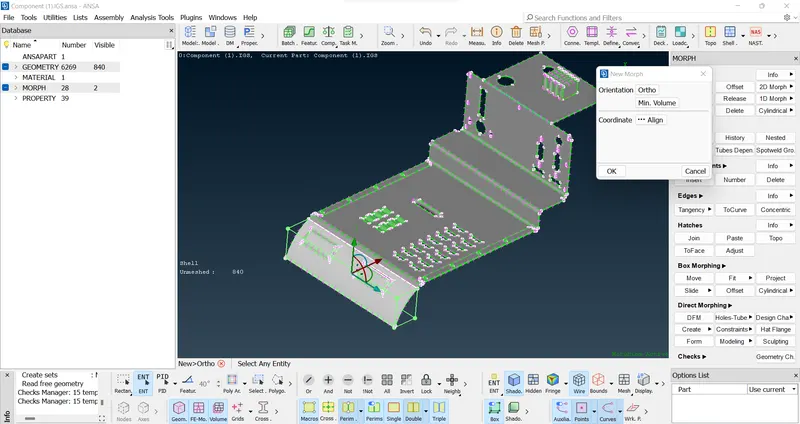
- The box created has control points on its vertices, which are translated to change shape and size of the enclosed geometry.
- To translate the control points, go to Box morphing>move.
- Select the points that need to be translated and direction if required, then move the points freely in the specified directions.
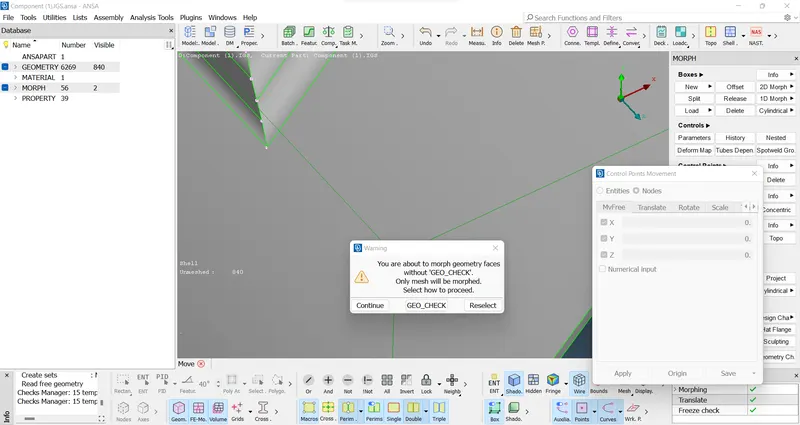
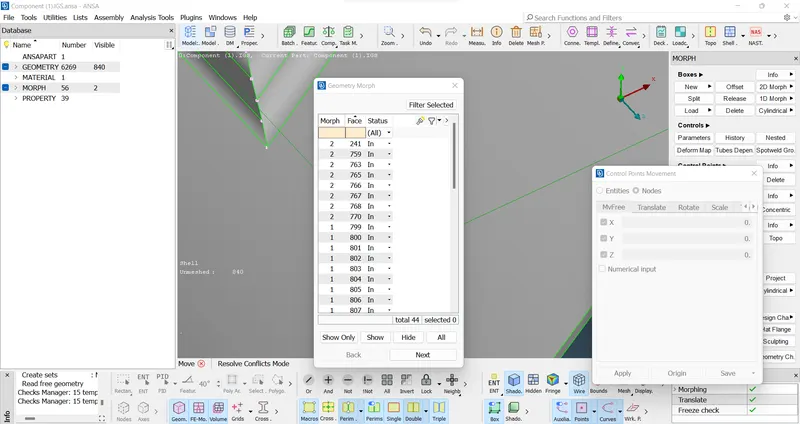
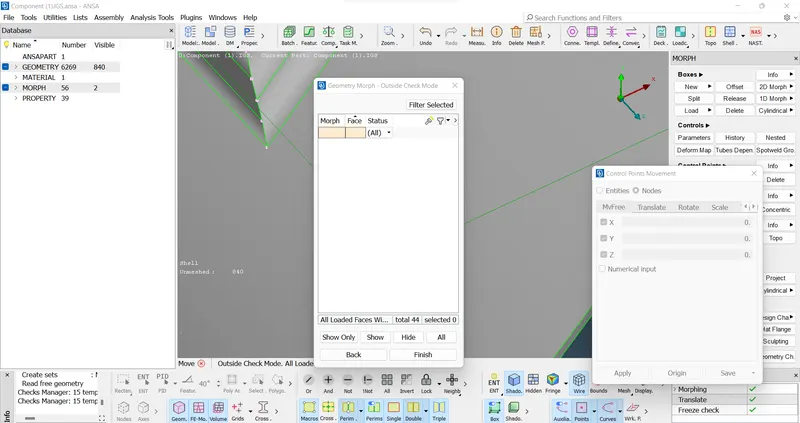
- Now its perform geo-check > next > finish.
- The image below shows the enclosed features height increased along the y-direction.
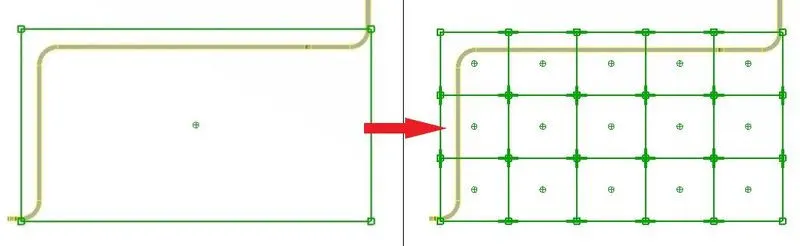
- The morph box can also be split into multiple sections to have more control points and therefore more control over the geometrical changes.
- To split the morph box, go to Boxes>split. Split tools allow a lot of options to split the box, like user, project, parametric, number, etc.
- Select the appropriate option and click on the box to split. The image below shows a box volume split using number option both horizontally and vertically.
- To split the morph box, go to Boxes>split. Split tools allow a lot of options to split the box, like user, project, parametric, number, etc.
- Select the appropriate option and click on the box to split. The image below shows a box volume split using number option both horizontally and vertically.
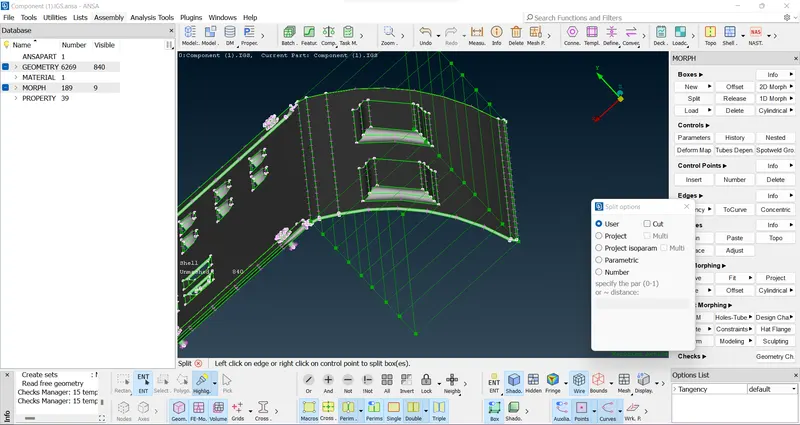
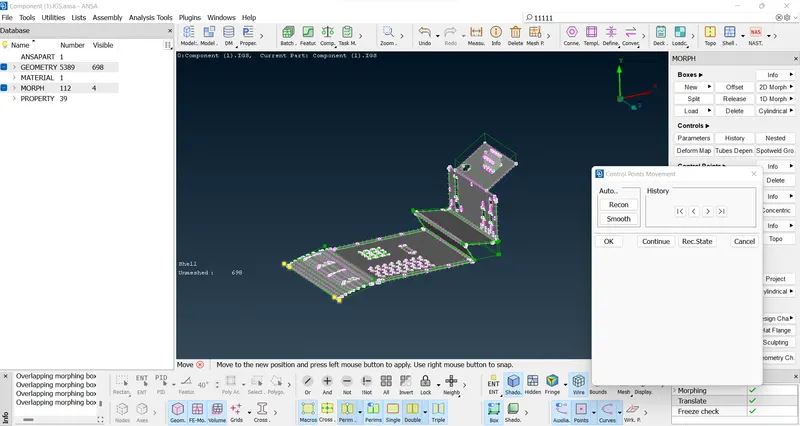
> before morphing..
> the morph box view..
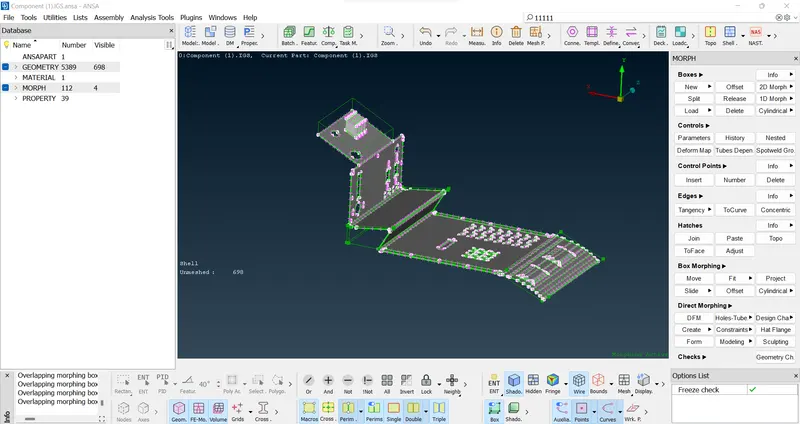
>After Morphing..
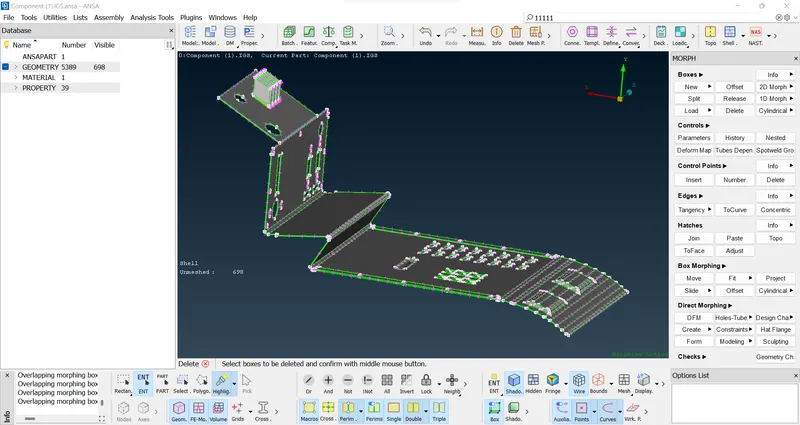
- Again, the control points are selected and moved using the move tool to achieve the desired shape, as shown in the image below.
- Similarly, some more changes are also made to the geometry. The final morphed geometry is shown above.
MODEL 2//
Similar process done also here....
1/ Iomport the model to ANSA..
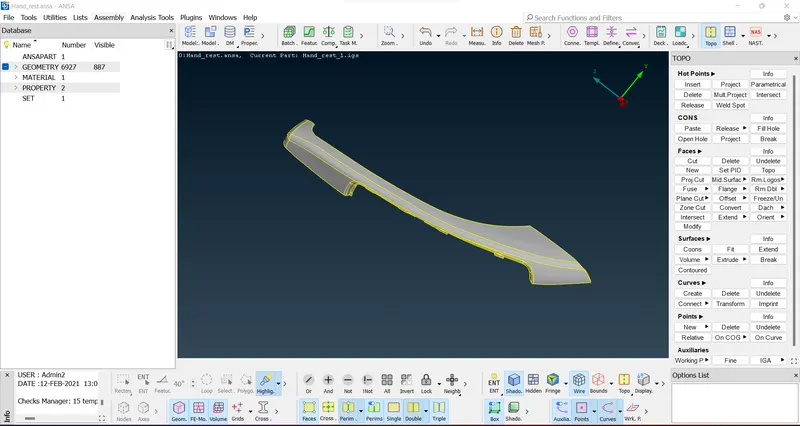
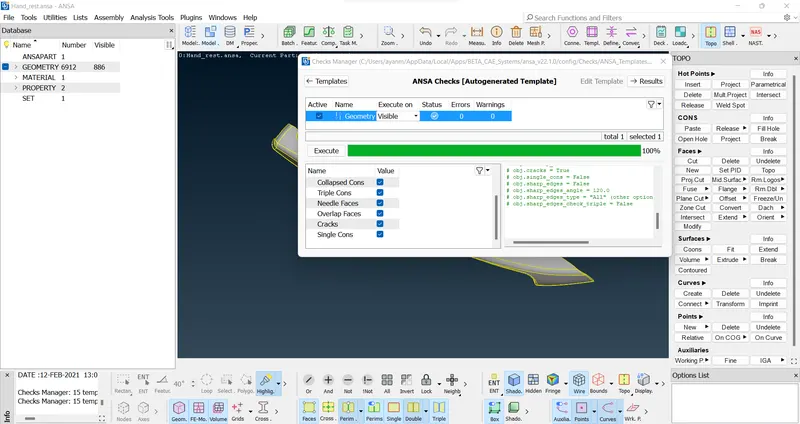
2/ Performed topo & geometry check on it..
> Before Morphing view of the dog houses.
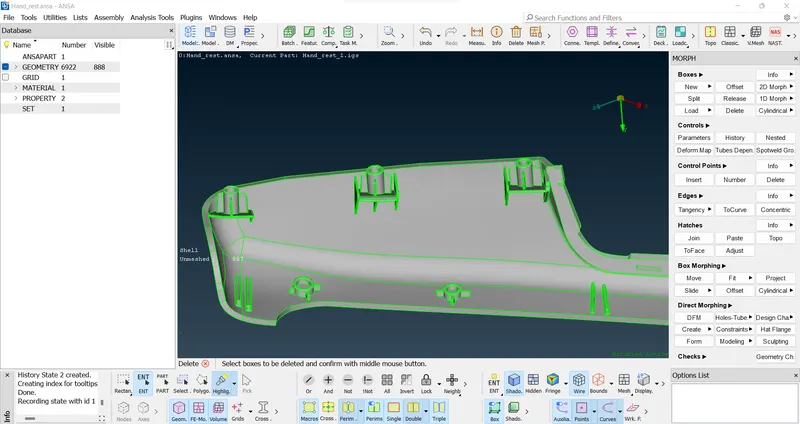
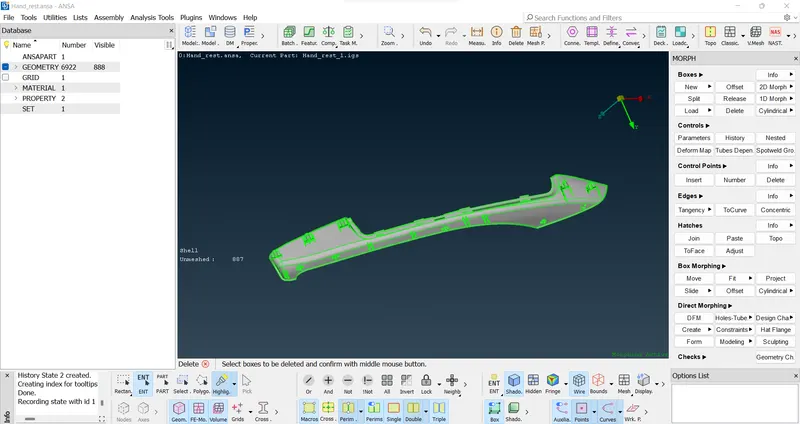
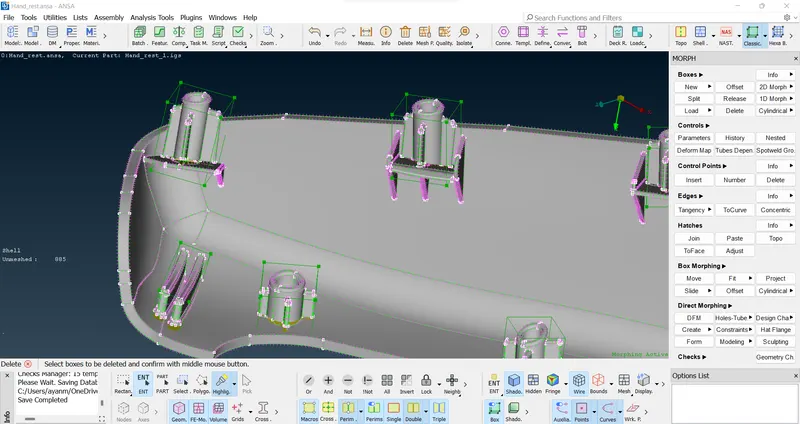
3/ Go to Morphing module & create morph boxes..
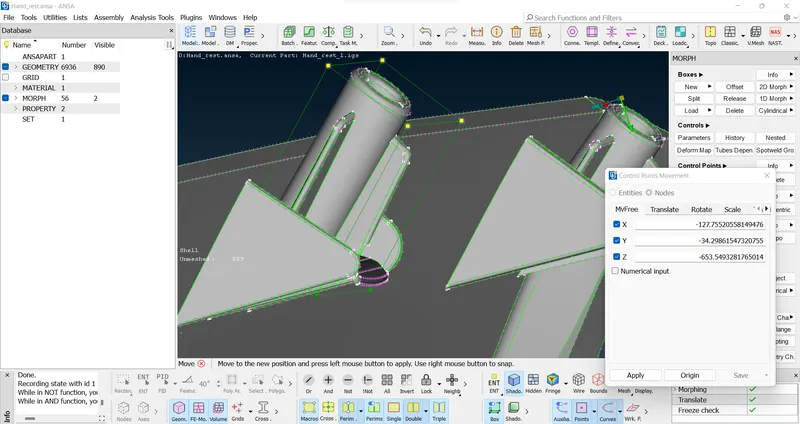
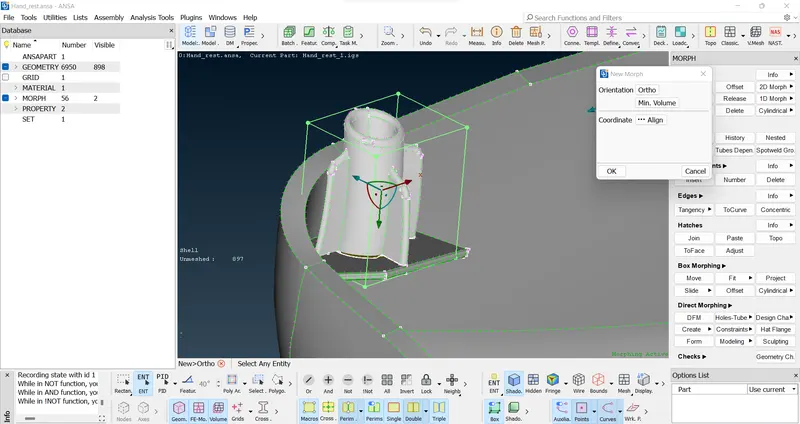
3/ Using Box Morphing > move > select the morph box nodes middle click..
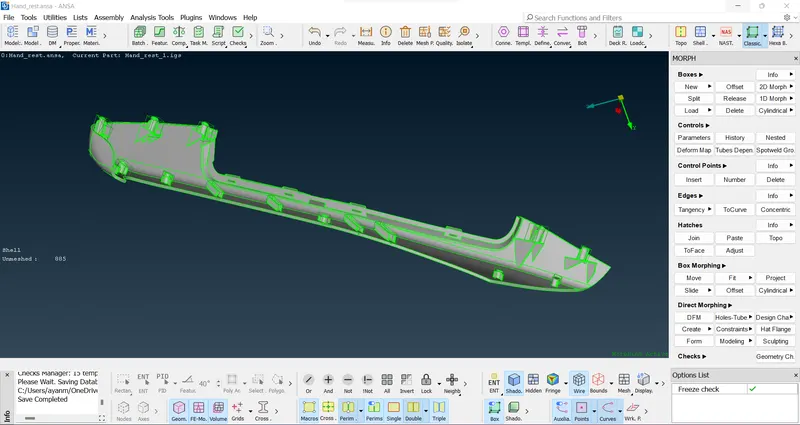
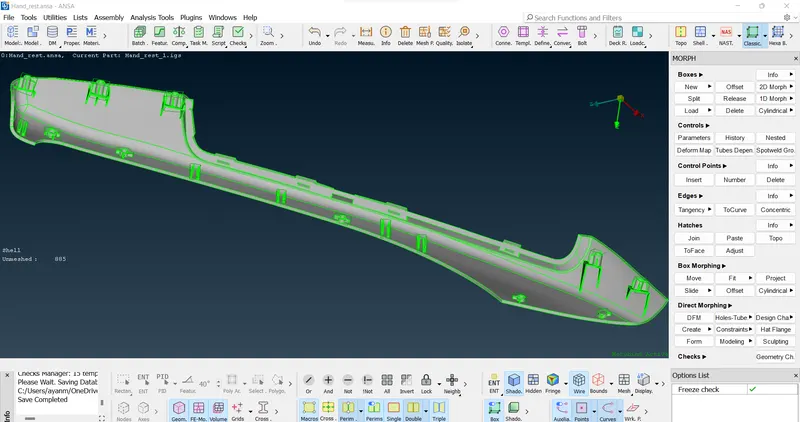
. After Morphing..
LEARNING OUTCOME:
- Learned to use the Morphing module.
- Different tools are used to morph both the modules.
- Basic overview of Morphing.
- Industrial usage of Morphing.
CONCLUSIONs: Morphing is performed for the given components.
FINAL MODEL LINKs:
model1>>
https://drive.google.com/file/d/1d6ct77SV166pZb1nVnEnOB5ky3iqNVK5/view?usp=sharing
model2>>
https://drive.google.com/file/d/1mZm5k30mFAmcg0mhGZnJzW-5ibbvfM36/view?usp=sharing