Week 8-Challenge
3D Meshing using Tetra elements in Hyper Mesh
Aim
Perform Tetra Meshing on given components and clear Tet collapse failures for tetra elements.
Procedure
Methods to generate Tetra Meshing:
There are three methods to generate Tetra Meshing as stated below:
-
Conversion of 2D tria to Tetrahedral Elements, by using Tetra Mesh panel.
-
Using the Quick Tetra Mesh, from the Utility panel.
-
Using the Volume Tetra Mesh panel.
1 ) Conversion of 2D Tria Elements into Tetrahedral Elements, by using Tetra Mesh panel
Steps to be followed to generate Tetra Mesh:
-
Import the Model into HyperMesh and clean the geometry.
-
Delete the solid from the model, by selecting the Delete→ Solid→ Delete entity.
-
Now perform the 2D meshing on the model, by selecting the Mesh type as “Trias”.
below figure shows deploying 2D mesh on the Housing model.
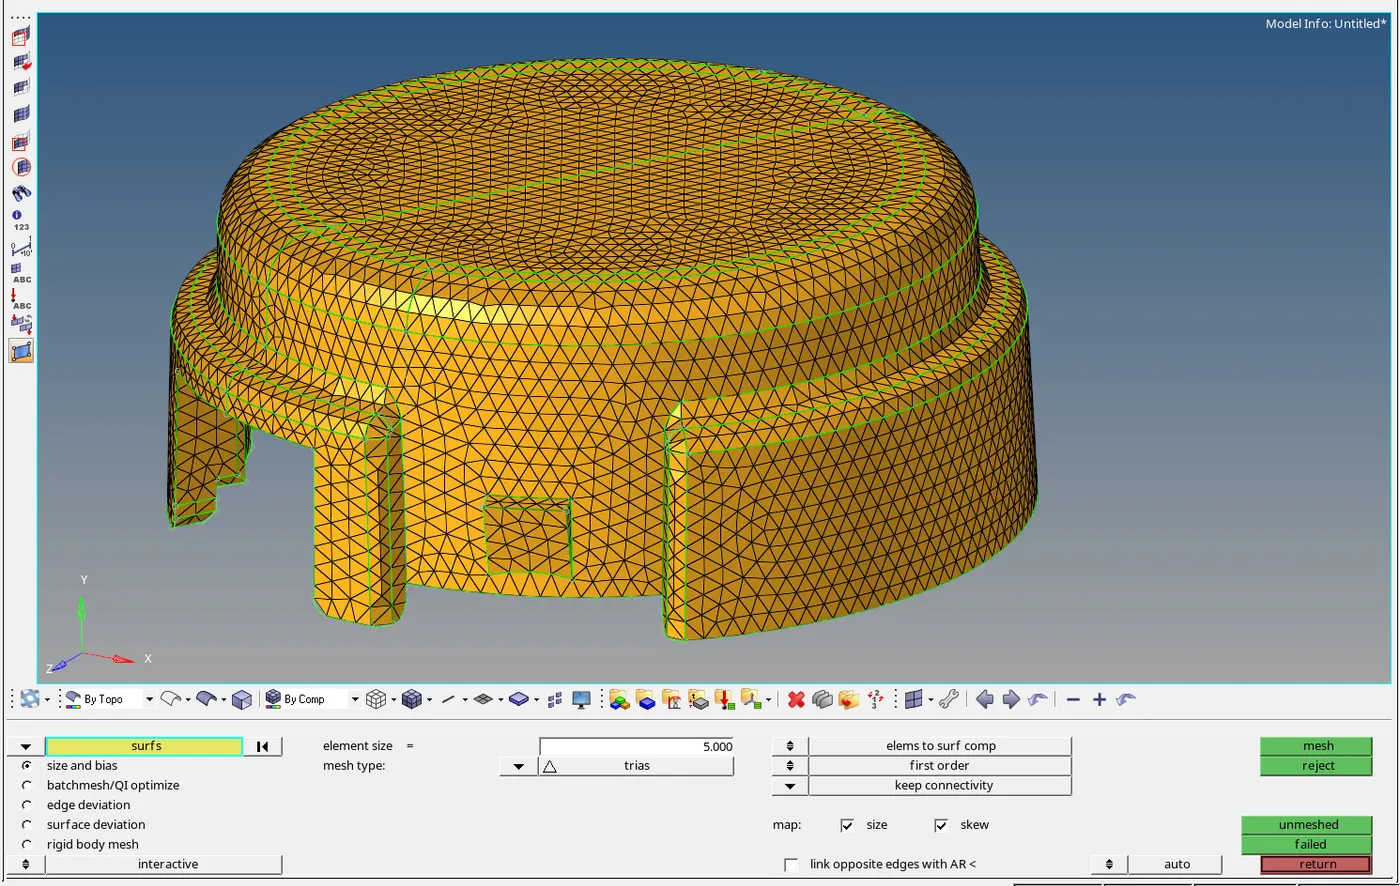
4. After completing the 2D meshing, the model should be cleared with the Minimum and Maximum Elemental error
5. Now the model is ready to perform the Tetra Meshing. Select the 3D→ tetramesh option.
6. In the tetra mesh panel, select the elements under the “Fixed trias/quads to tetra mesh” option
7. After selecting the elements, click on the “Mesh” button
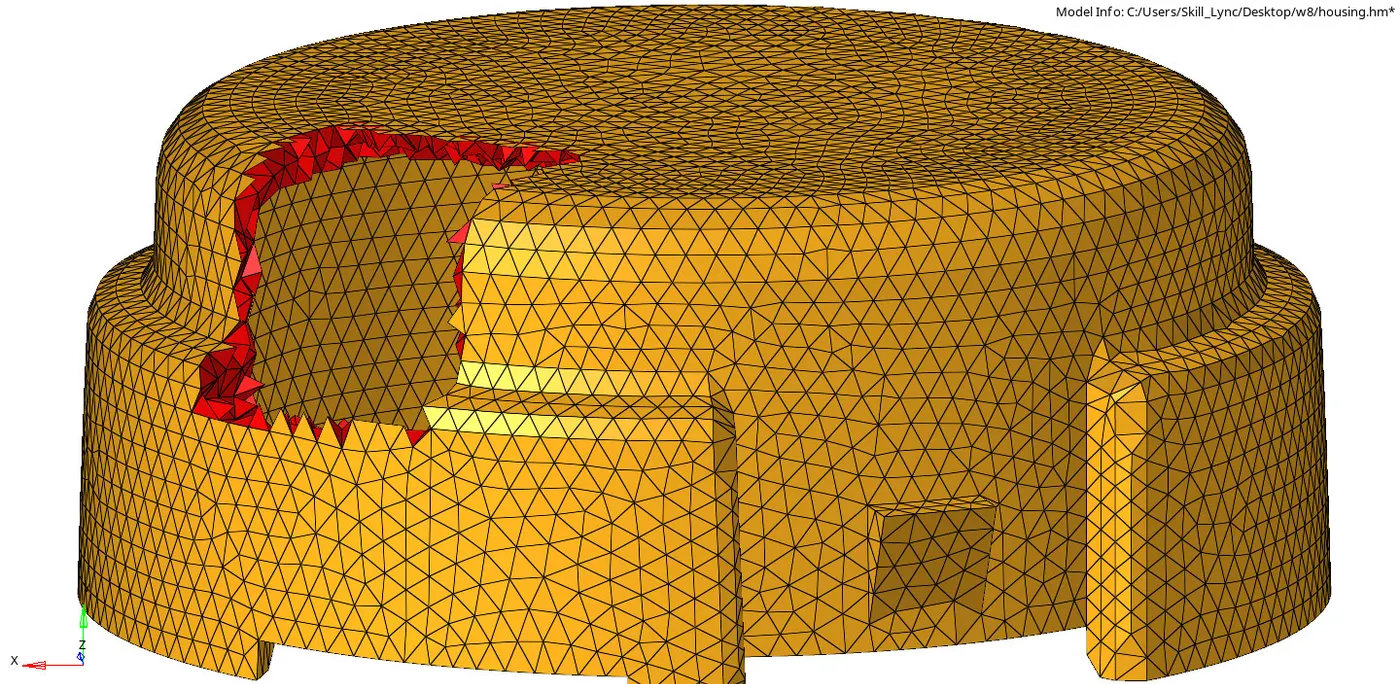
Housing Model after creating Tetra Mesh
Once the Tetra Meshing was completed, mask a few elements to check the mesh generation.
2 ) Generating Tetra Mesh, by using “Quick Tetra Mesh, from the Utility panel”
Steps to be followed to generate Tetra Mesh:
-
Import the Model into HyperMesh and clean the geometry.
-
Delete the solid from the model, by selecting the Delete→ Solid→ Delete entity.
-
Click on the View→ Browsers→ HyperMesh→ Utility, as shown below:
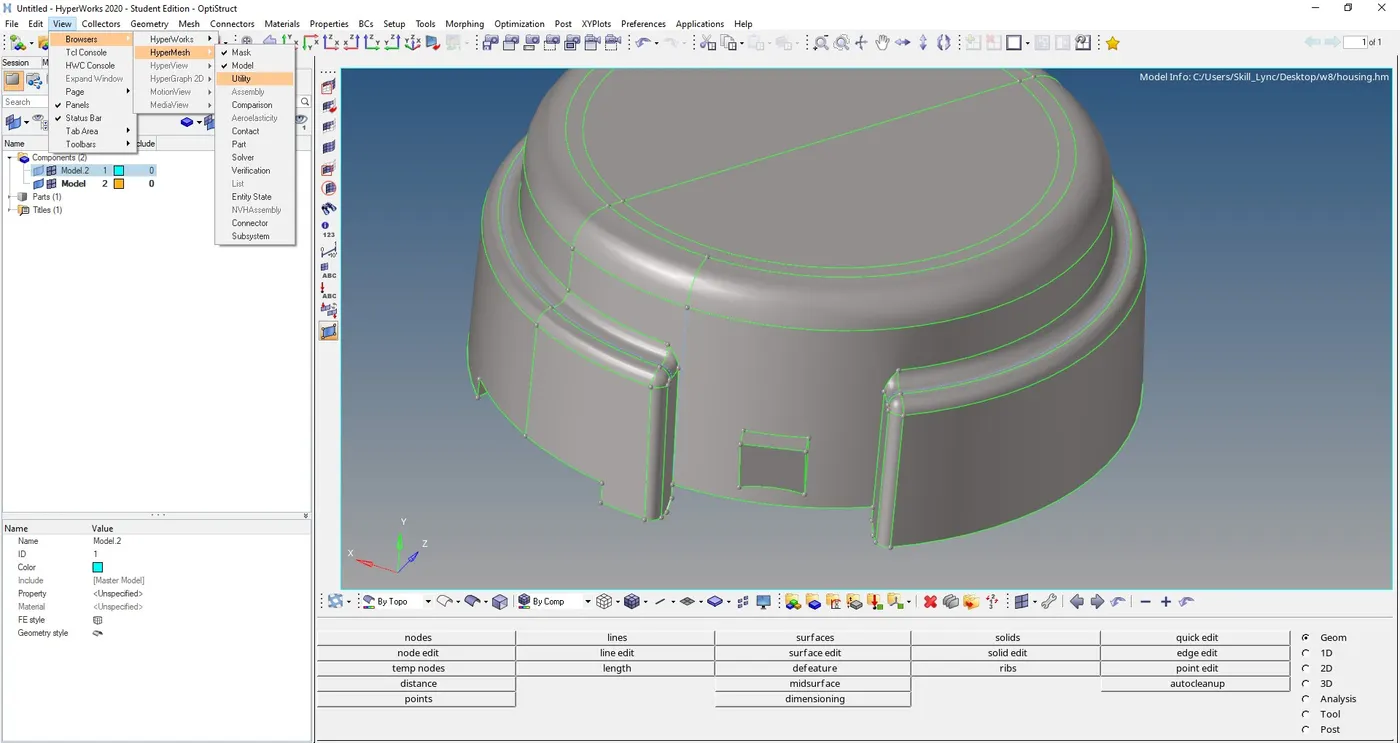
4. Now select the Geom/Mesh from the “Utility Menu”, then click on the Quick TetraMesh
5. ) In the Quick Tetra tab, select the Components and Surface.
-
Specify the Mesh size (as per the Quality mentioned).
-
Then change the Mesh type to “Trias only”.
-
Click on the Mesh button to generate the Tetra Mesh
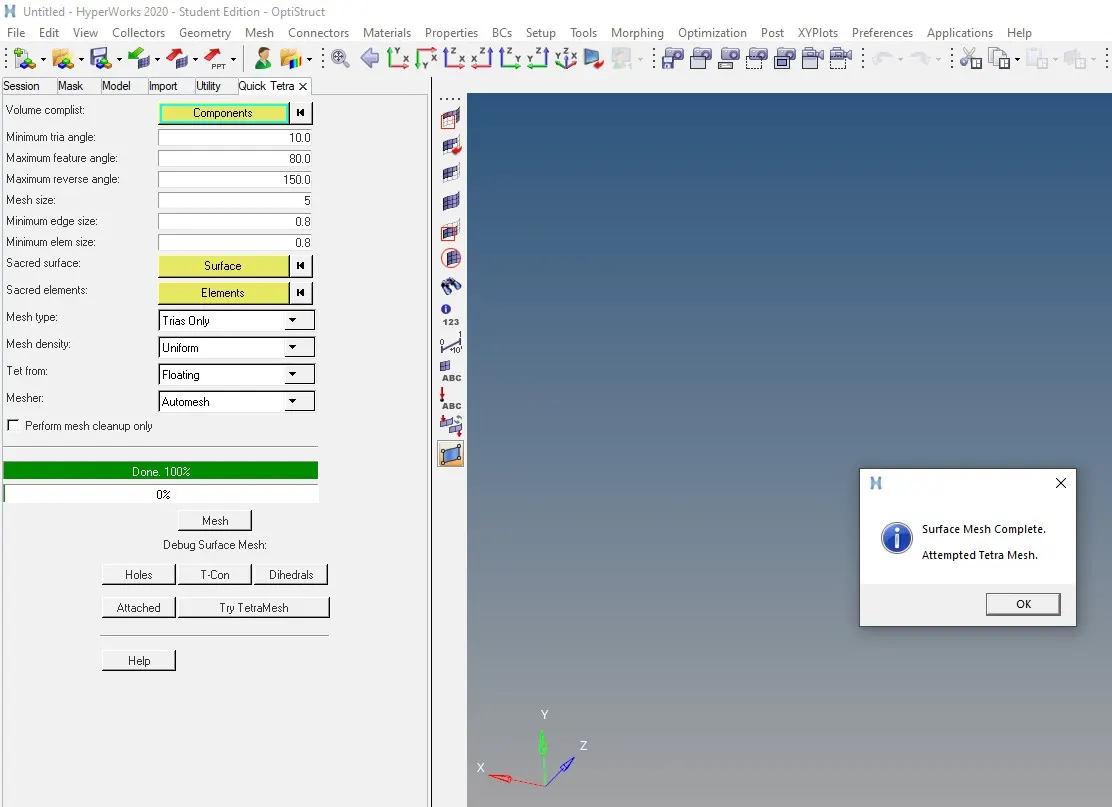
Tetra Mesh using “Quick Tetra Mesh, from the Utility panel”
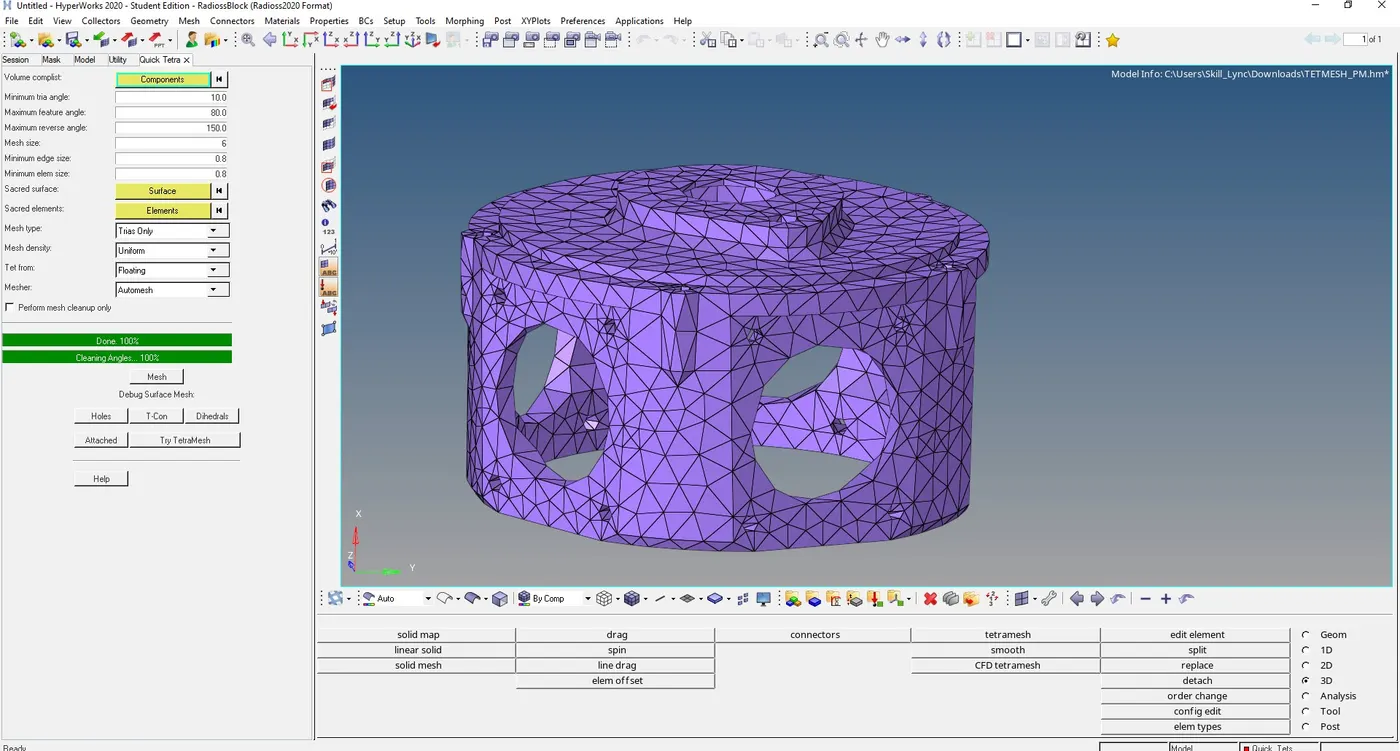
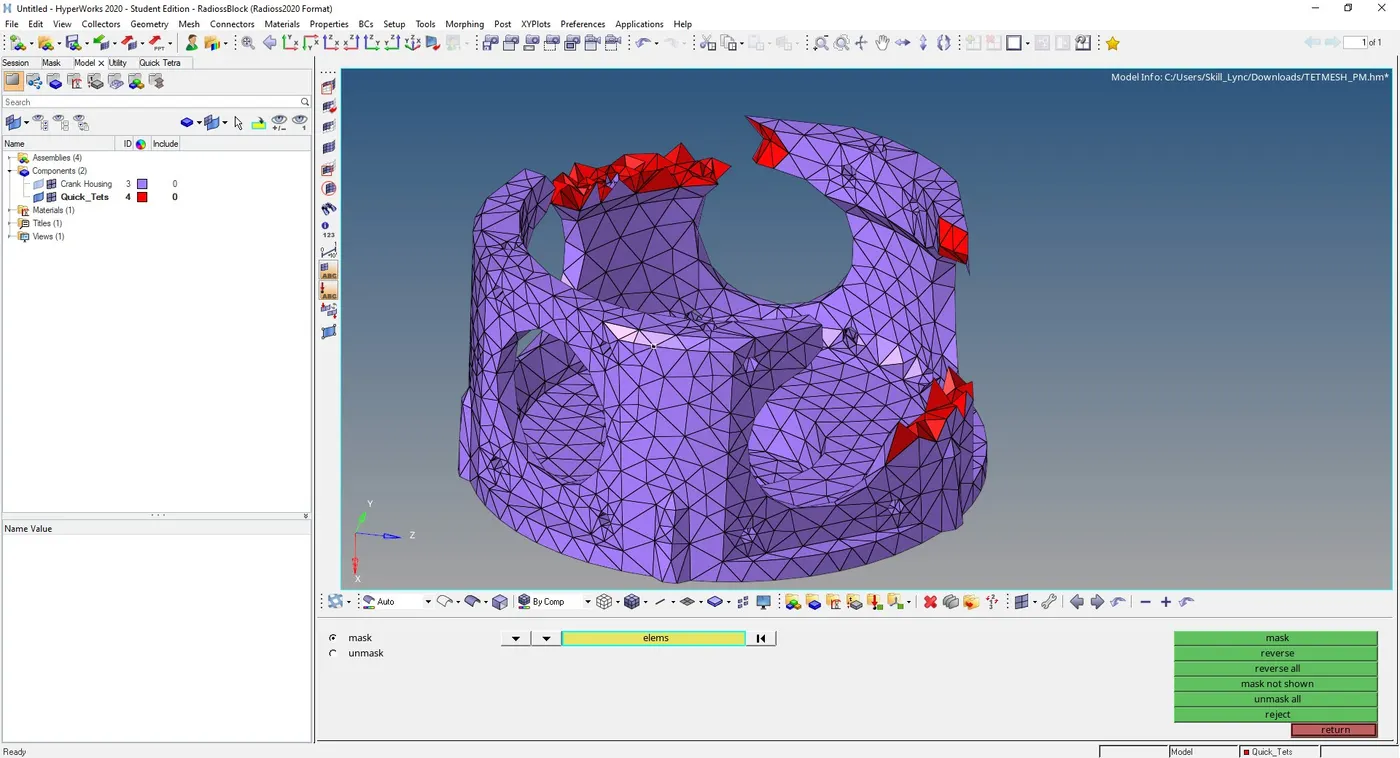
3 ) Generating Tetra Mesh, by using the Volume Tetra Mesh Panel
Steps to be followed to generate Tetra Mesh:
-
Import the Model into HyperMesh and clean the geometry.
-
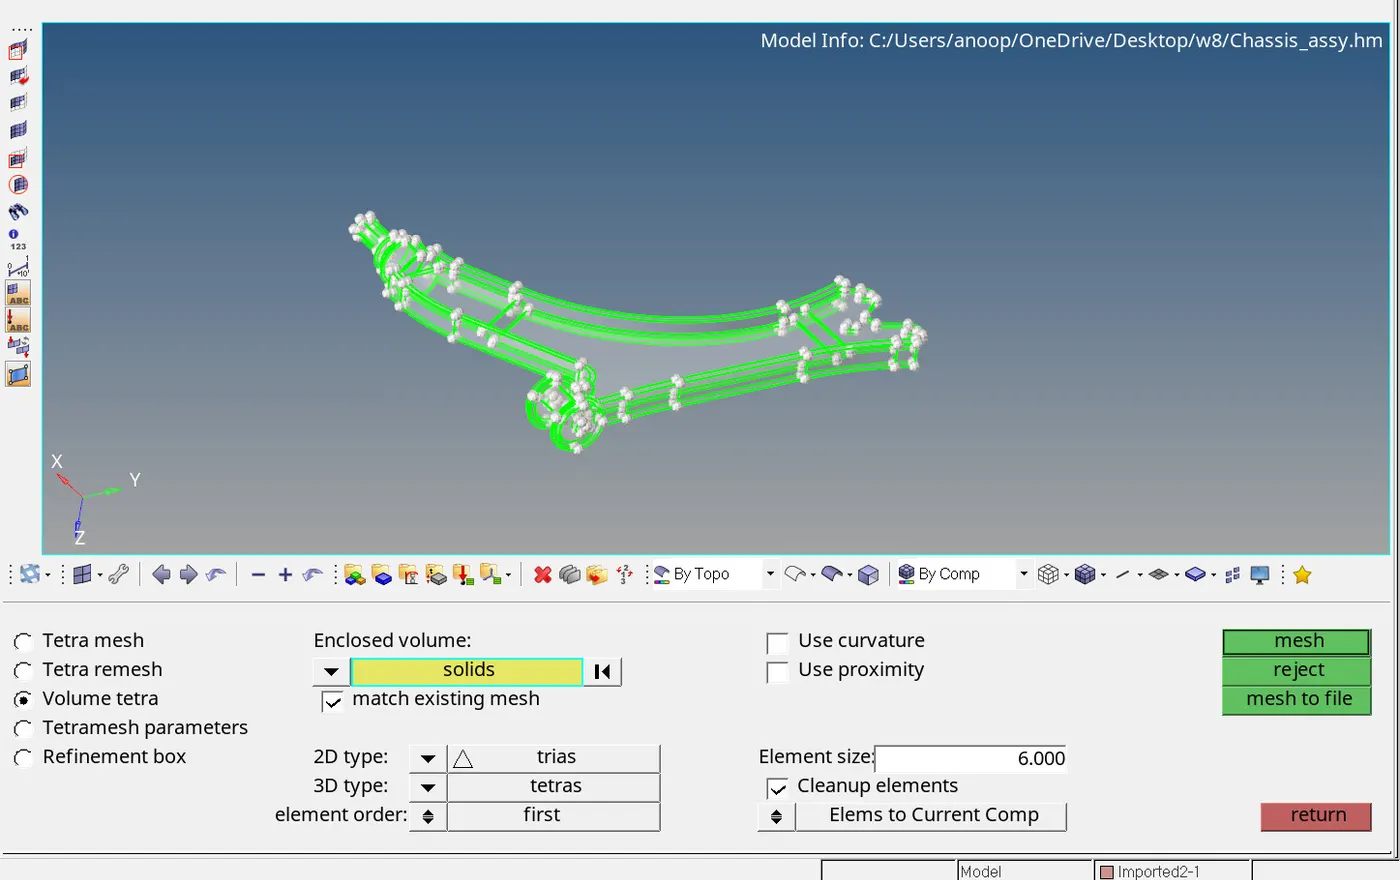
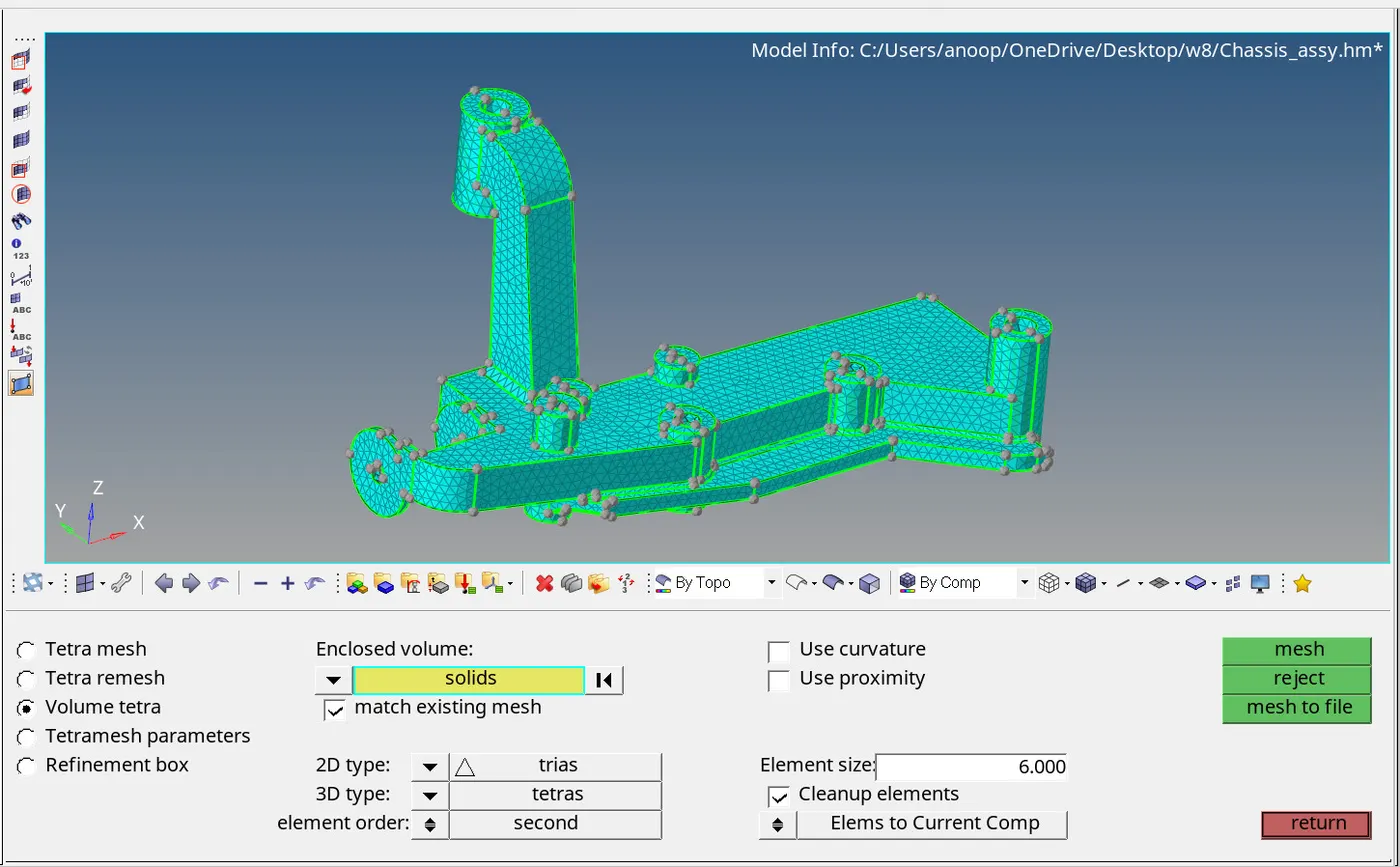
Keep the solid of the model, select 3D→ tetramesh.
-
Click on the Volume tetra option, select the solid of the model.
-
Tick the checkboxes of “Use curvature” and “Use proximity”
-
Specify the Minimum element size (as per the quality criteria).
-
Then tick the checkbox of “Cleanup elements”.
-
Click on the “Mesh” button to generate the Volume Tetra Mesh.
Tetra Mesh using Volume tetra panel
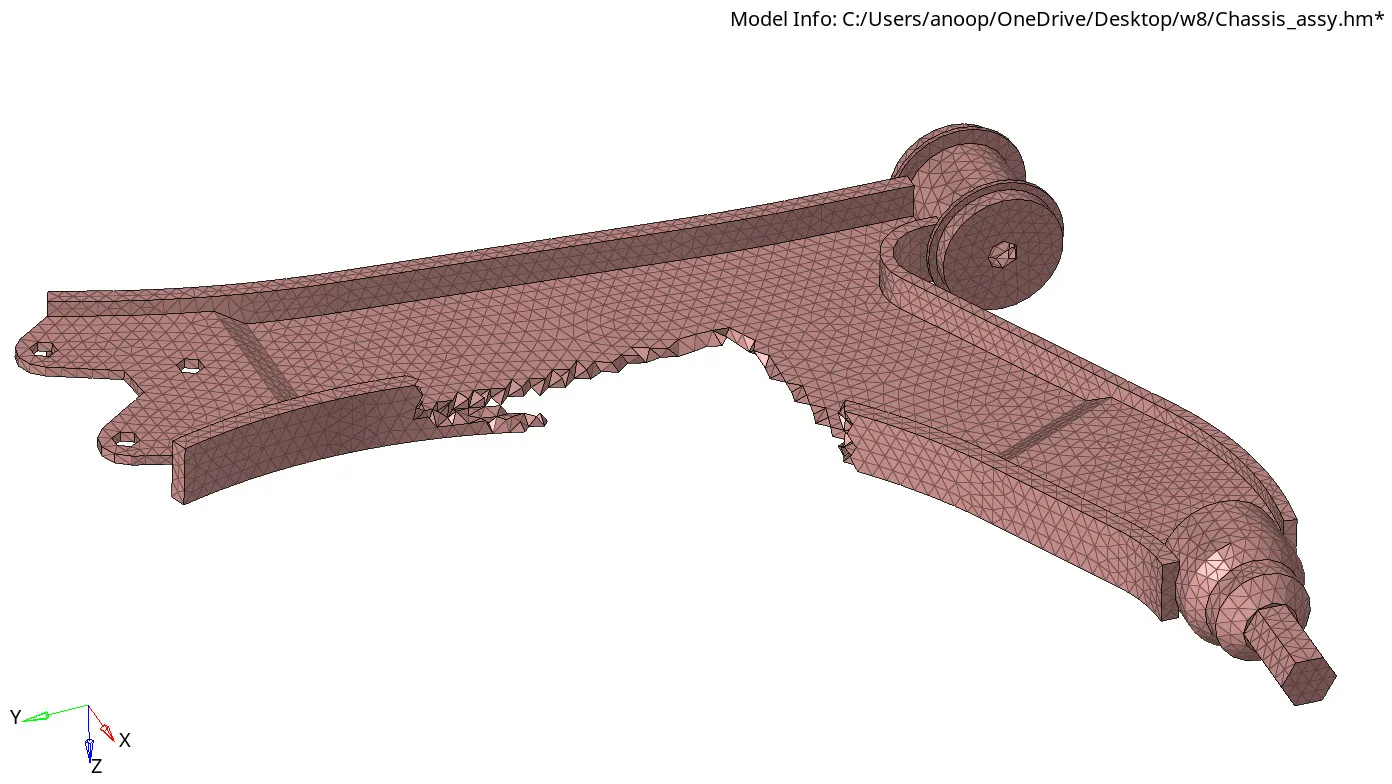
Tet Collapse
Tet collapse is one of the quality parameters, which will be checked while generating Tetrahedral elements. It can be calculated by measuring the distance of a node from the opposite face, then each of the four values will be divided by the Square root of the opposite face’s area. The minimum of four resulting values is then normalized by dividing it by 1.24.
Generally tet collapse can be calculated by the formula = Min of (h/√A) ÷ 1.24
In that formula, “h” represents the Height, between the Node (N1) and the opposite face of the Triangle.
“A” represents the Area of Opposite Face (area of the Triangle).
Opposite Face of Node N1
Methods to clear Tet collapse:
There are two methods to clear the Tet collapse as stated below:
-
Using the “translate” command, to increase the height.
-
Using the “Tetra remesh” panel, to remesh failed elements.
1 ) Using the “translate” command, to increase the height.
-
After completing the Tetra Mesh, check for the failed element.
-
Select Tools→ check elems→ 3D→ tet collapse.
-
In the status bar, it will show how many failed elements are present in the model
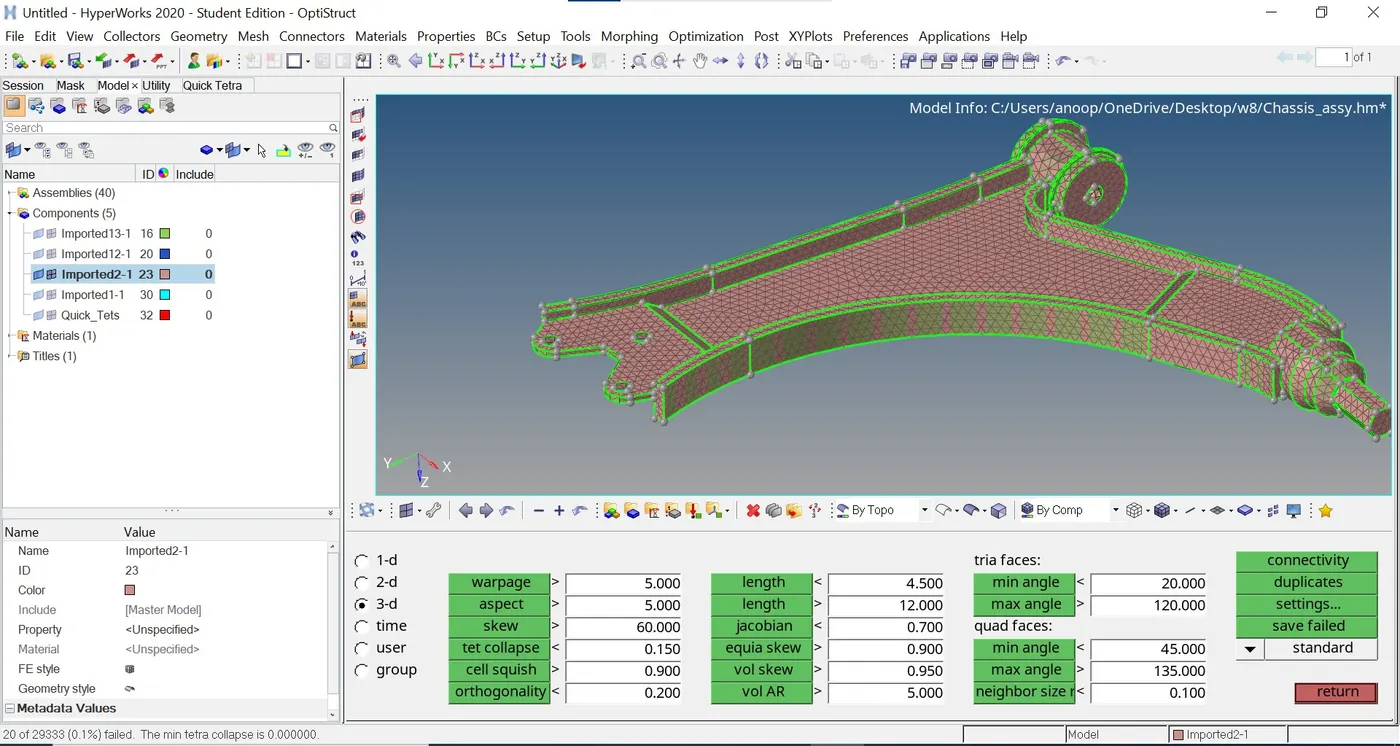
4. Click on the “save failed” option to save the tet collapse failed elements
-
Isolate the failed elements, by clicking on “Mask” option
-
Then right click on “elements”, to select the “retrieve” option.
-
This will automatically select the failed elements as your masking entities.
-
Click on the “mask” to hide the failed elements, then select the “reverse” option to show only the failed elements in the HyperMesh GUI
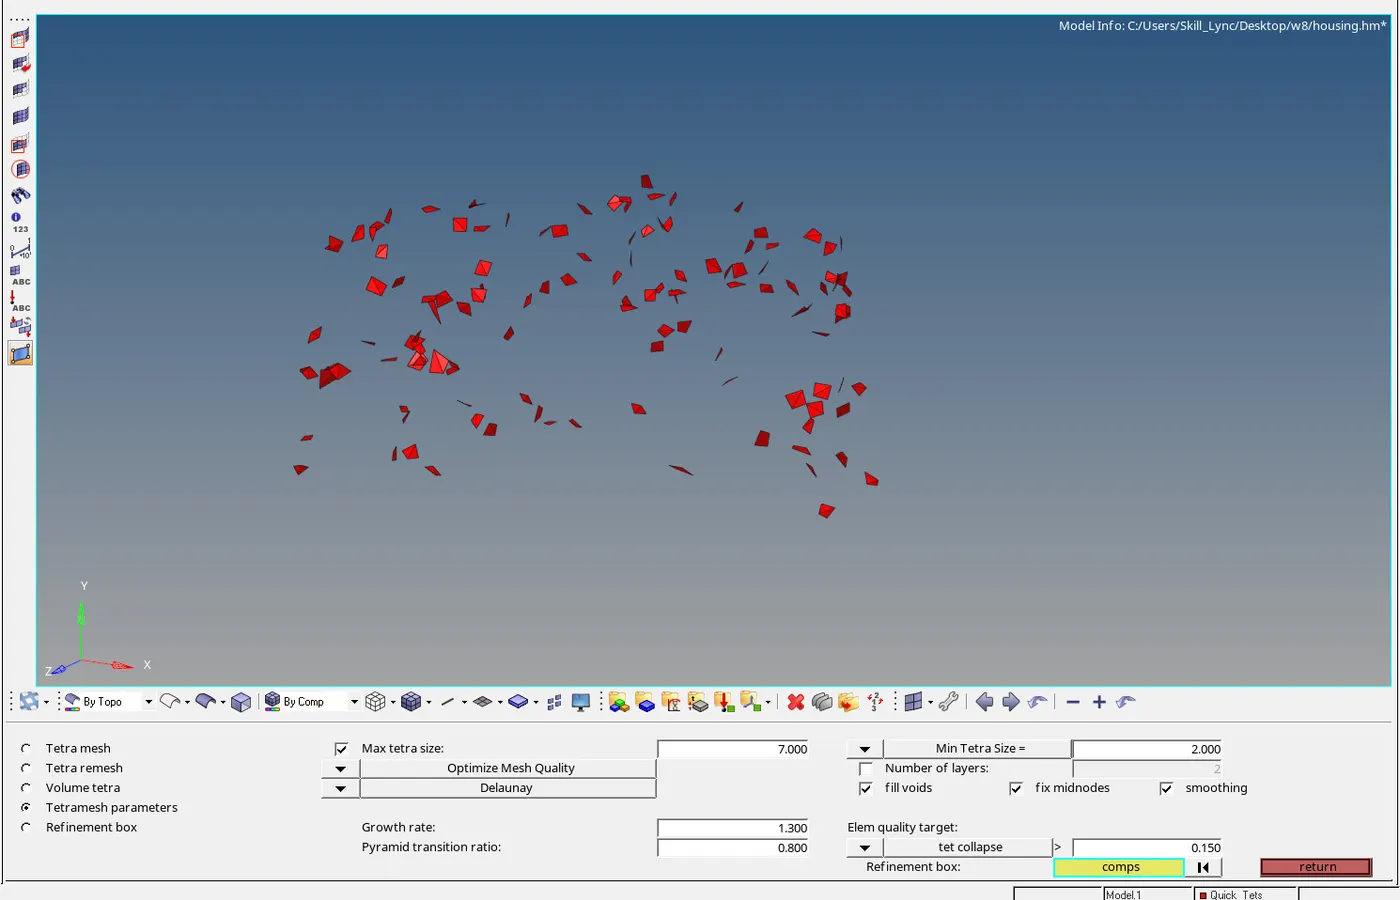
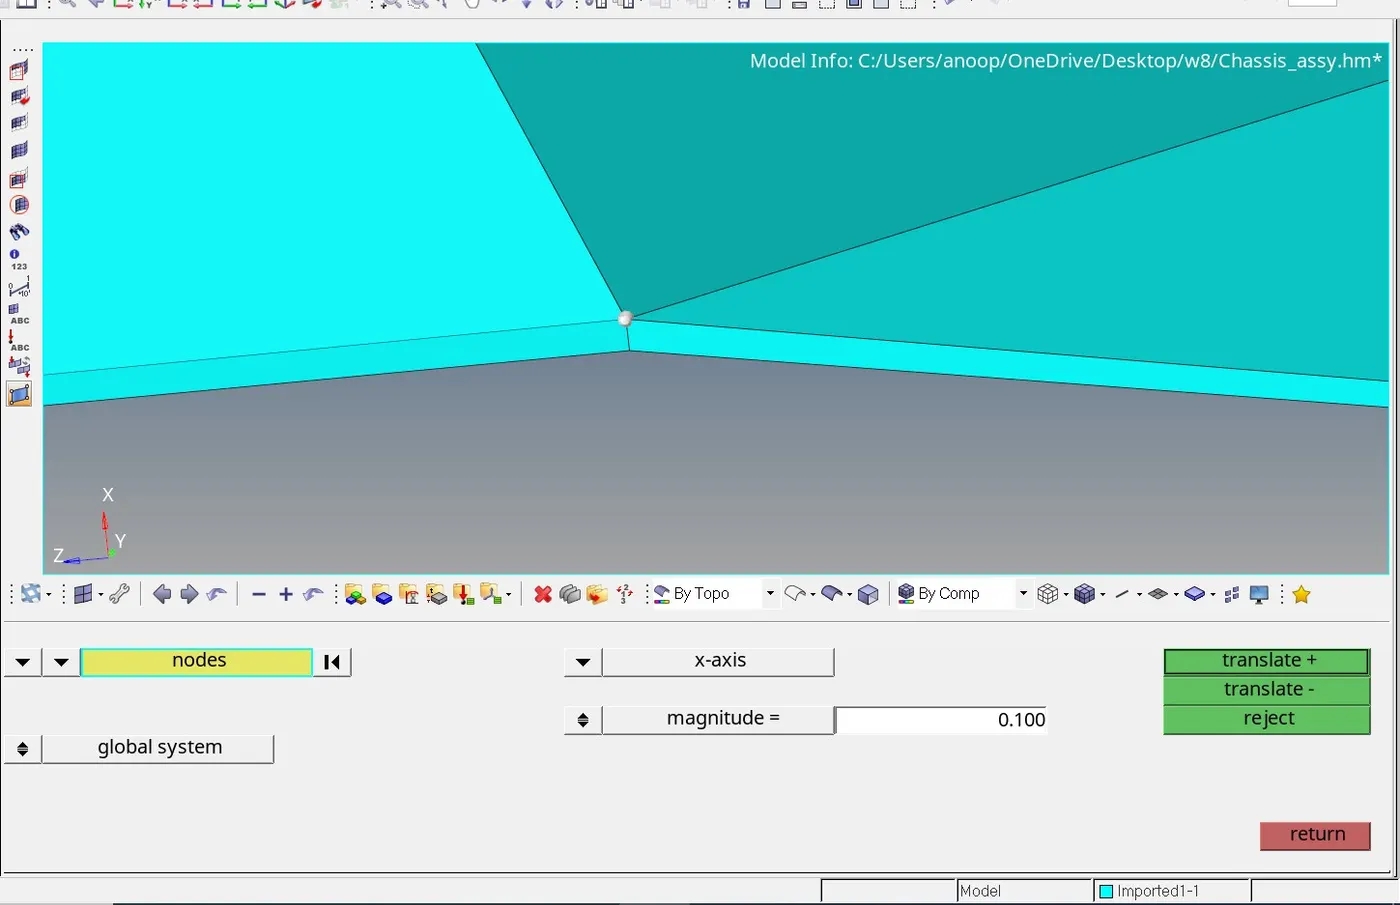
9. Now to clear the Tet collapse, select the Tools→ translate command.
10. Manually inspect the failed element , select the node and increase the height of the node.
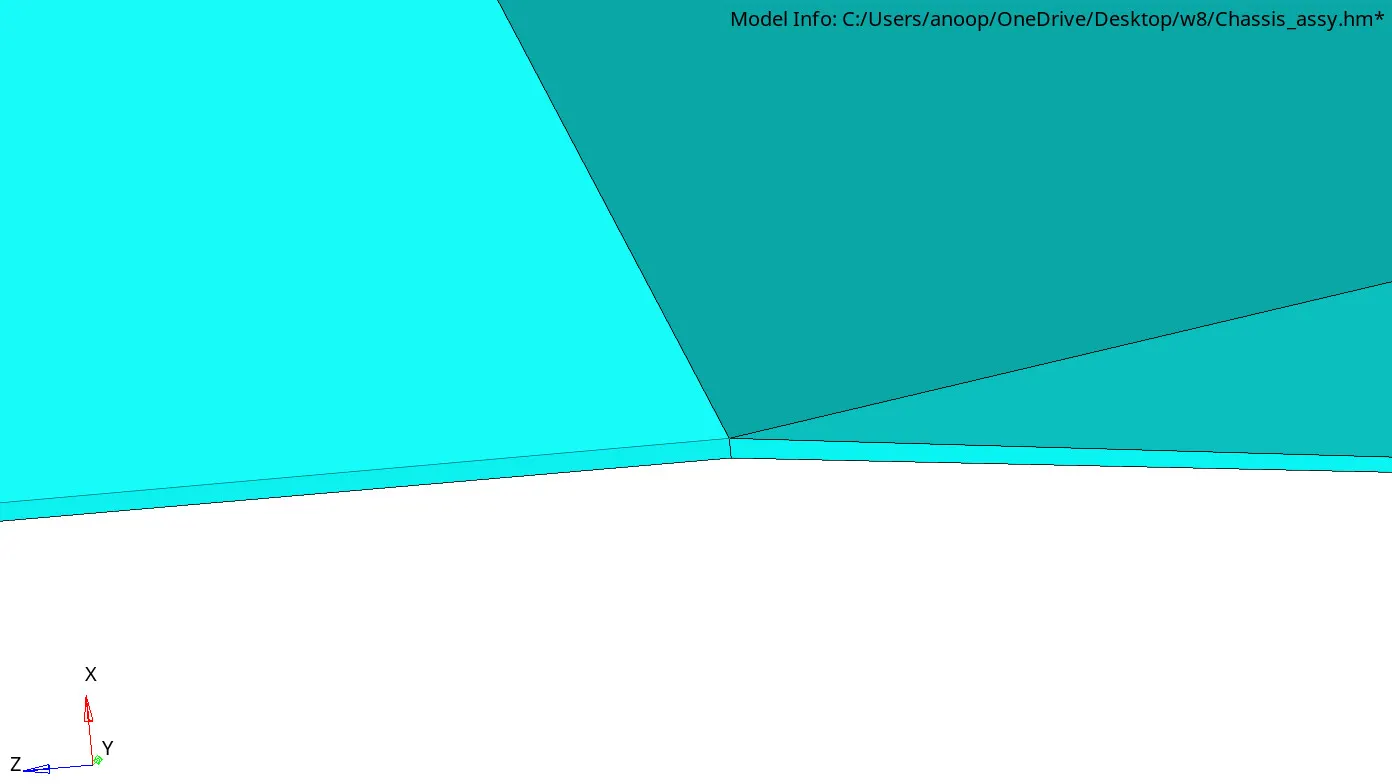
After Clearing Tet collapse
2 ) Using the “Tetra remesh” panel, to remesh failed elements.
- go to the Tools→ tetramesh→ Tetramesh parameters, to specify the tet collapse value.
-
Tick the checkbox of “Max tetra size” and “Min tetra size”, to specify the limit of tetra mesh size.
-
Under “Elem quality target”, enter the target tet collapse value and tick the checkbox of fill voids, fix midnodes, smoothing
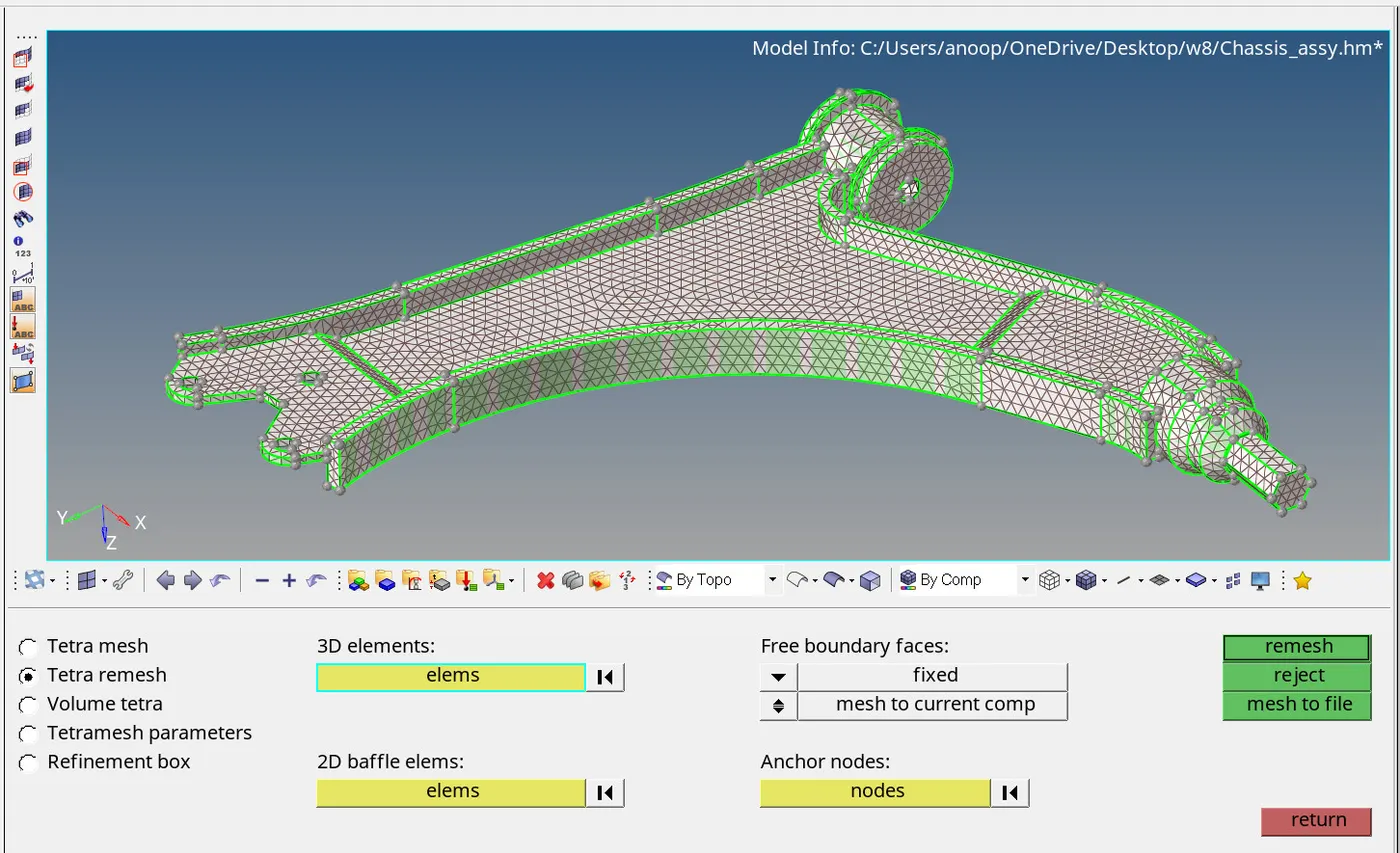
- Once, after setting the “Tetramesh parameters”, select the “Tetra remesh” option.
- Select the “3D elements” and “2D baffle elems” for remeshing the model.
- Click on the “remesh” button, to clear the failed elements

Results
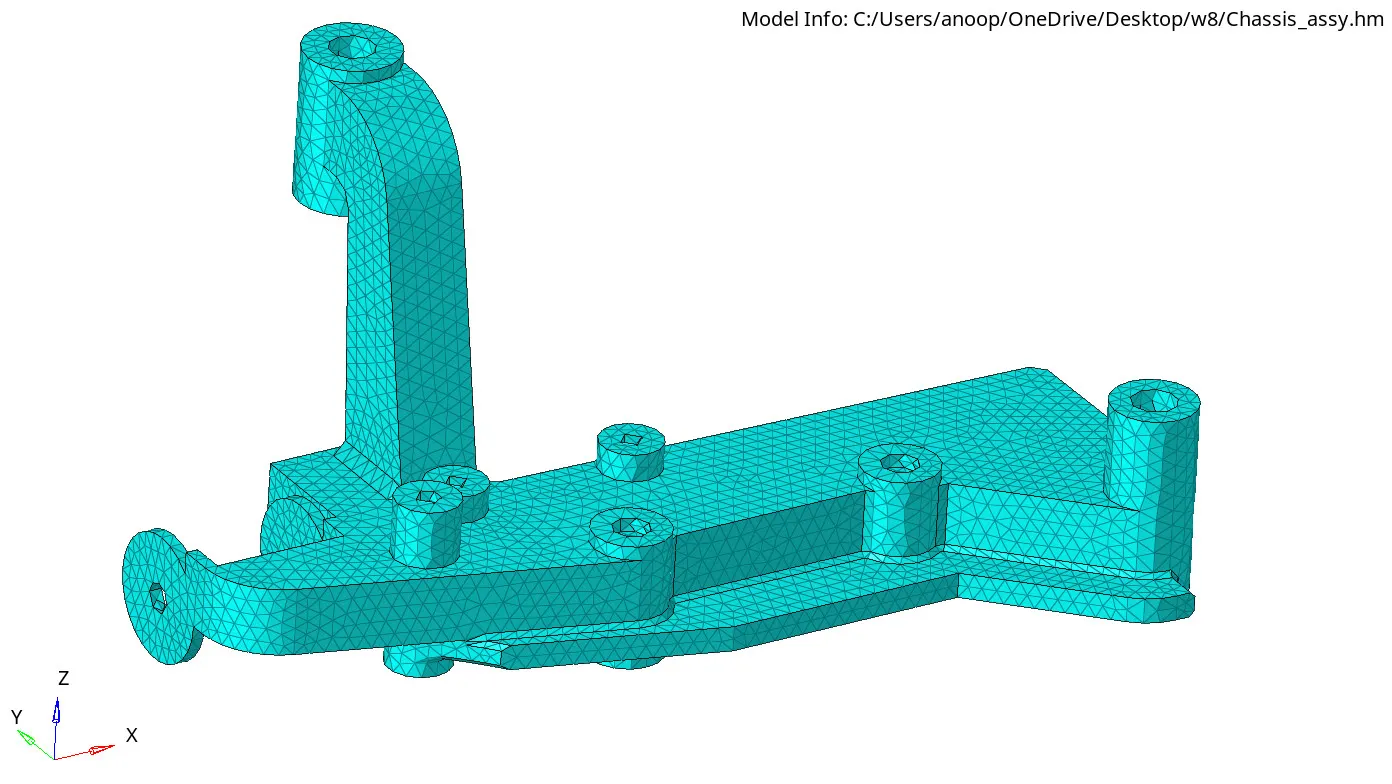
Created volume mesh ( Tetra Mesh ) on the given models and cleared Tet Collapse failure for tera elements.
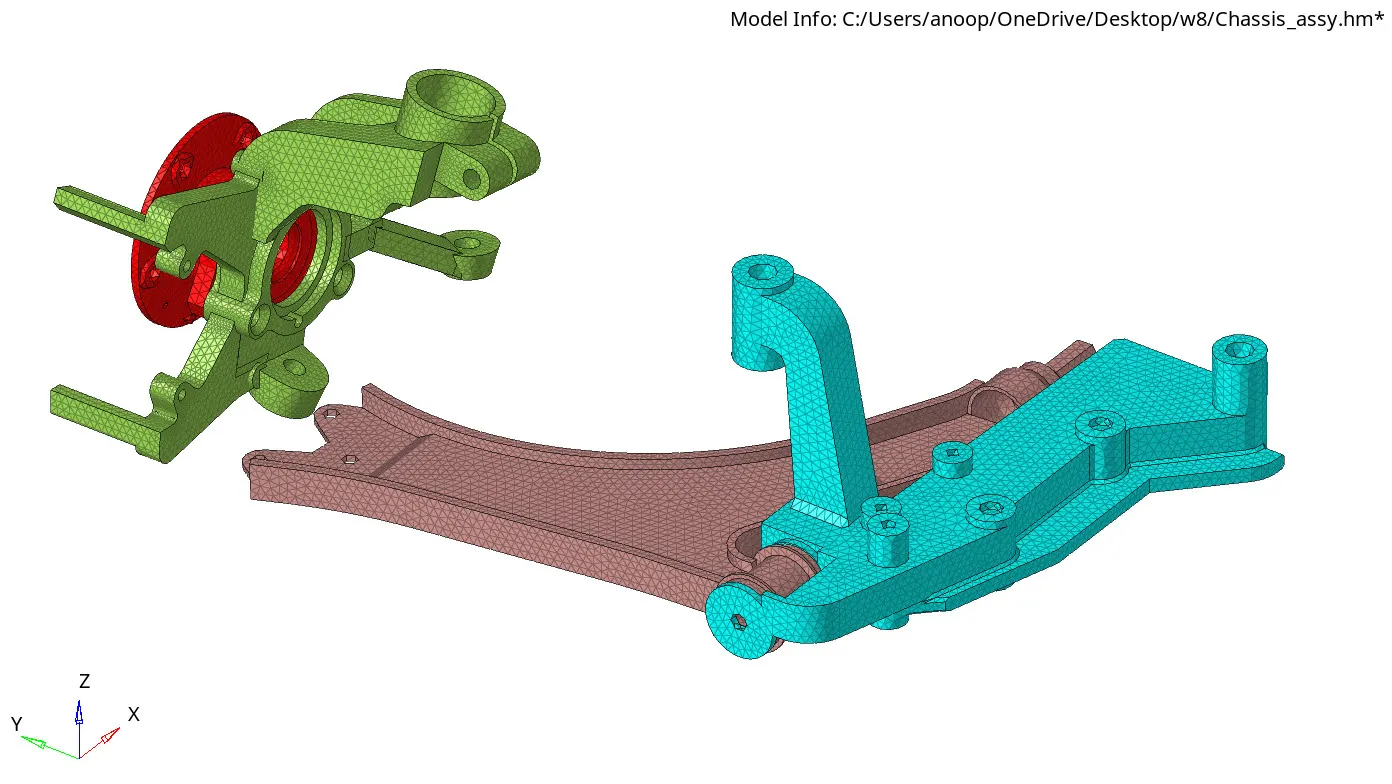
Final Tetra Meshed chassis assembly