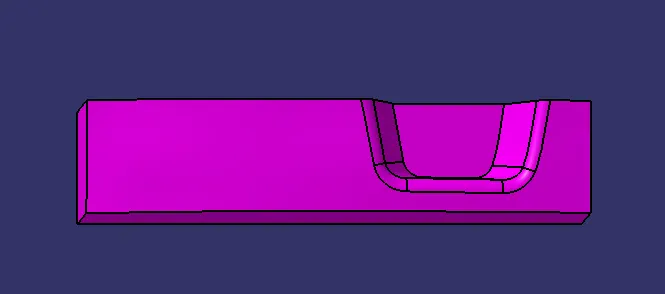
Week 8 - Challenge 6 - Core & Cavity Design
OBJECTIVE : To Create the Core and cavity blocks for the switch bezel designed in the earlier challenge.
Report :-
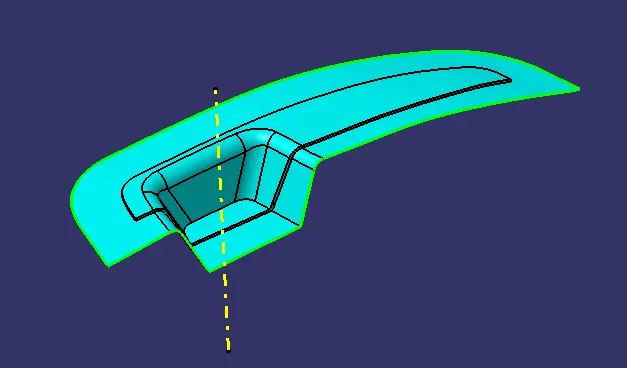
Tooling axis for Switch Bezel Component is as follows :-
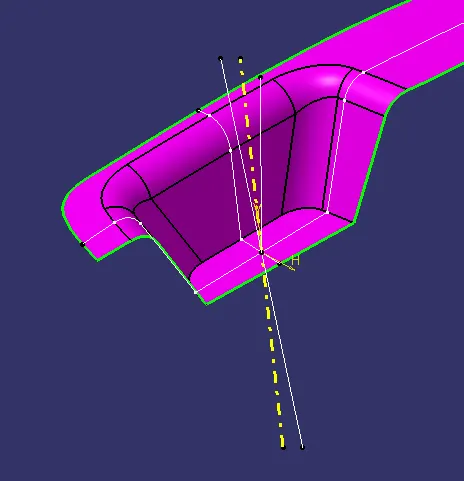
Now with the Tooling Direction let us run Draft analysis as follows:-
DRAFT ANGLE
When developing parts for plastic injection molding, applying a draft (or a taper) to the faces of the part is critical to improving the moldability of your part. Without it, parts run the risk of poor cosmetic finishes and may bend, break, or warp due to molding stresses caused by plastic cooling. Equally important, an absence of draft may prevent parts from ejecting from the mold, damaging not only the parts but possibly the mold itself—a costly and time-consuming detour.
DRAFT ANALYSIS OF CLASS A SURFACE
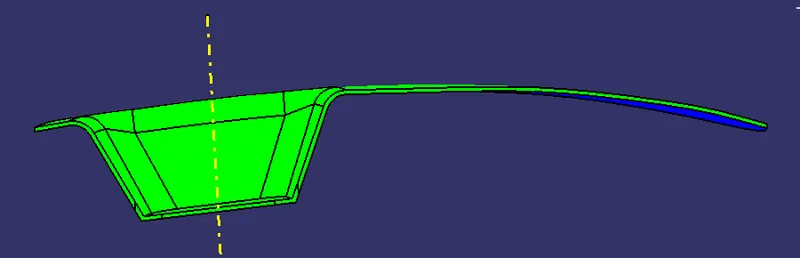
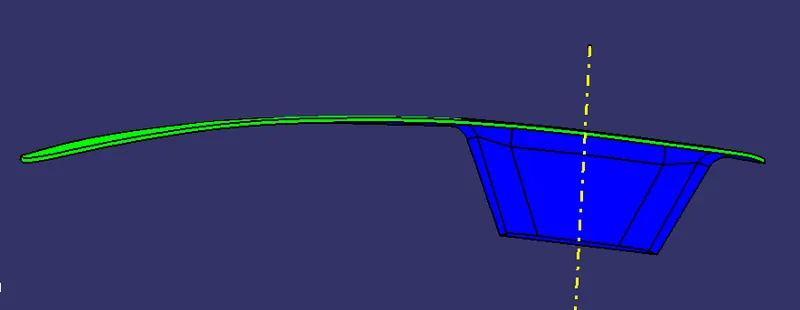
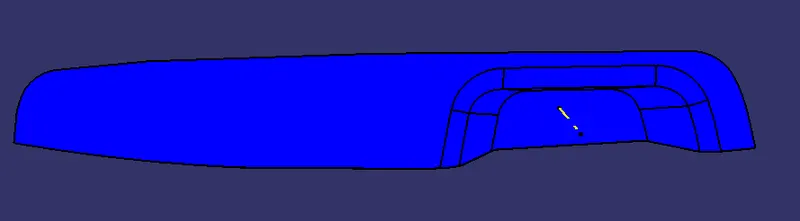
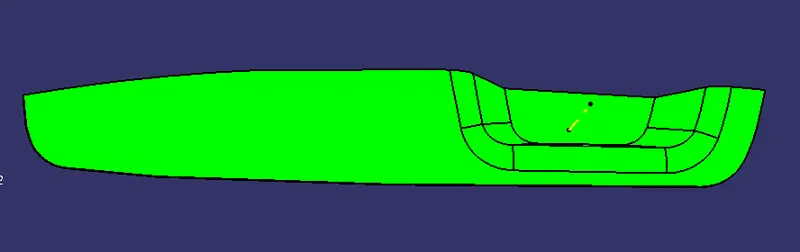
Use the compass fucnction to aling the compass to the tooling direction and lock the direction using lock function in the draft analysis tool bar. The surface is showing green colour so that the surface clears the minimum draft angle of 3 degree.
By using the analysis under the running point we can check draft angle on the individual faces. It shows how much draft on specific points when we move the cursor point
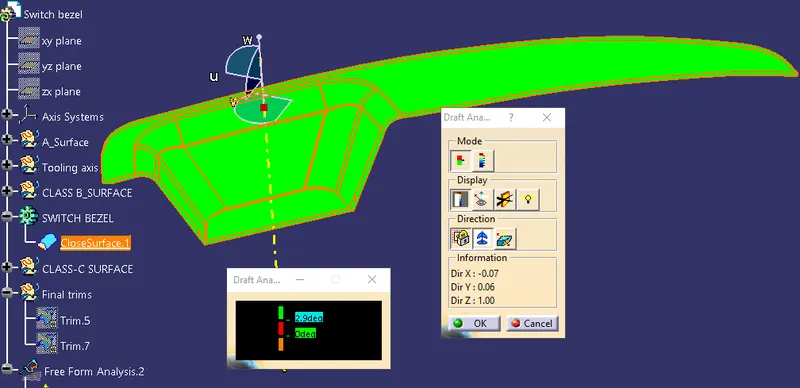
Different VIEWS after DRAFT analysis are as follows :-
ISO view :-
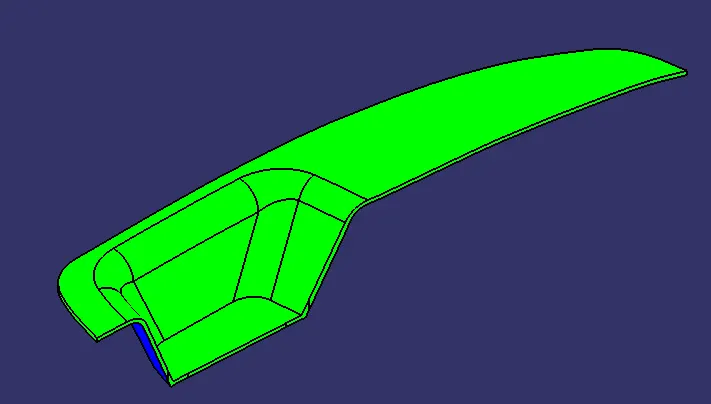
FRONT view :-
BACK view :-
BOTTOM view :-
TOP view :-
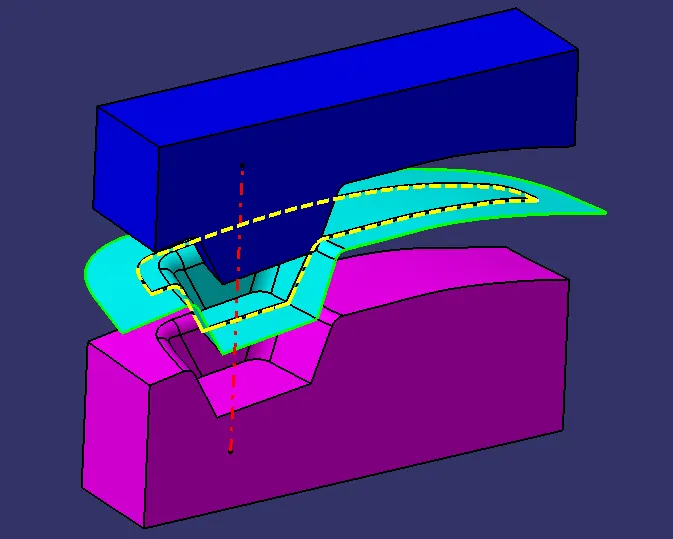
CORE & CAVITY DESIGN :
The Mould Core & Cavity are the shaped sections in either half of the mould tool which give the plastic product its final shape.
The hot molten material is injected into the core & cavity and then sets hard into shape. The design of the core & cavity is essential in the correct formation of the product. The sequence of events during the injection mould of a plastic part is called the injection molding cycle.
The cycle begins when the mould closes, followed by the injection of the polymer into the mould cavity.
A core is usually made of the best quality sand and is placed into the desired position in the mould cavity. Core prints are added to both sides of the pattern to create impressions that allow the core to be supported and held at both ends.
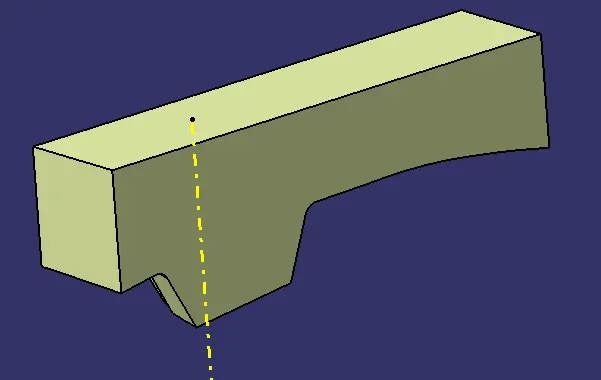
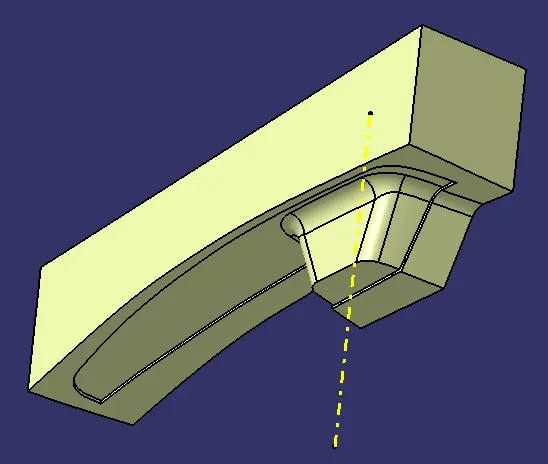
Core :
- The core design is started with extracting the parting surface that becomes the datum for the core and cavity. The parting surface in most of the cases is kept at the B class surface to avoid close and tight contact between the core and cavity.
- At first, the A-class surface is extrapolated with some length and later it is trimmed with a C surface
Cavity :
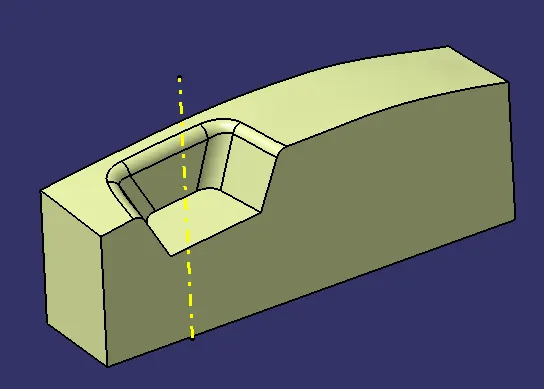
- The cavity is the part where the injector and filling of the molten plastic happens. The cavity block is prepared by first extruding the outer boundary along the tooling direction.
Parting line :
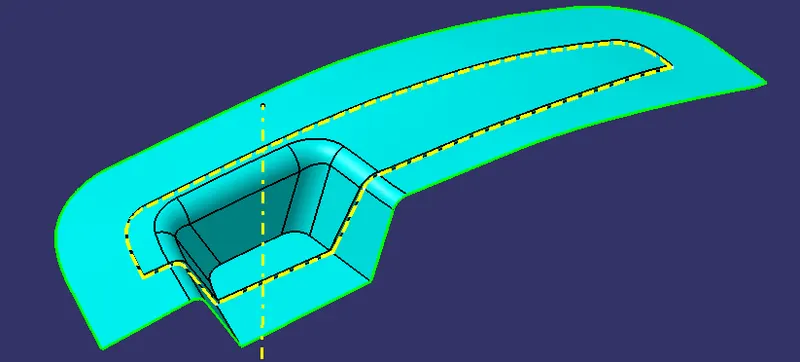
A parting line, in the industrial casting of molds, is the borderline in which draft angles change direction. That is, it is the dividing line that splits the core and cavity halves of a molded part. It is sometimes a starting point for the mold parting surface.
Here intersecting the parting surface, core, and cavity across the ZX plane gives the intersecting line that tells the parting line.
Parting surface:
The parting surface of a mould are those surfaces of both mould plates adjacent to the impressions which butt together to form a seal and prevent the loss of plastic material from the impression. The parting surfaces of a mould are those portion of both
mould plates, adjacent to the impressions, which butt together to form a seal and prevent the loss of plastic material from the impression.
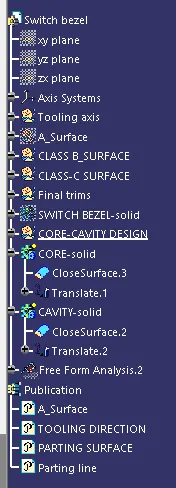
TREE structure as follows :-
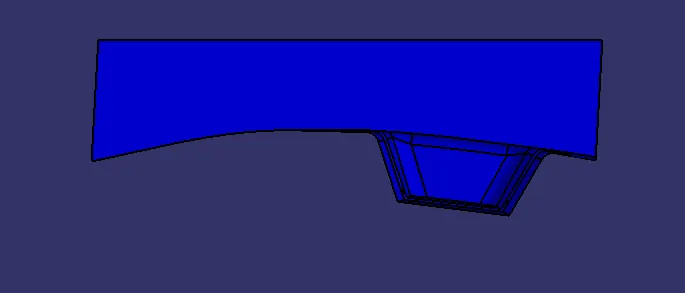
Different views of CORE :-
FRONT VIEW:-
BOTTOM VIEW:-
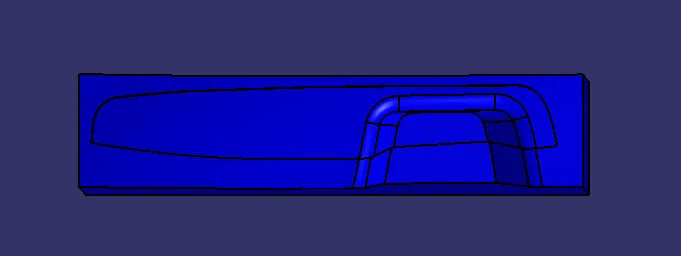
SIDE VIEW:-
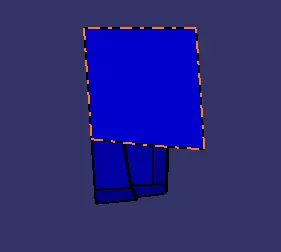
TOP VIEW:-

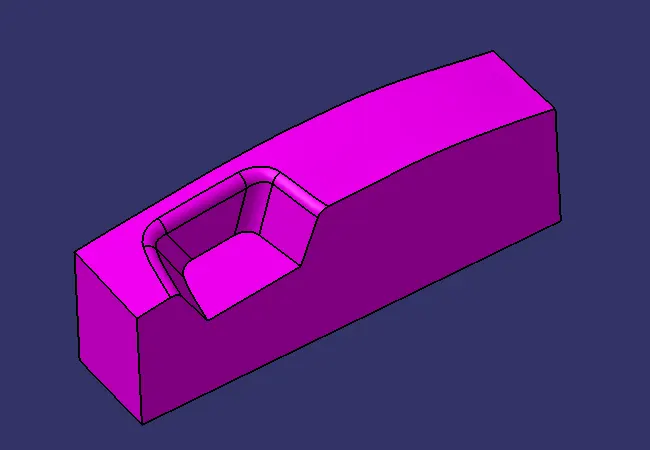
Different views of CAVITY :-
ISO VIEW:-
SIDE VIEW:-

FRONT VIEW:-
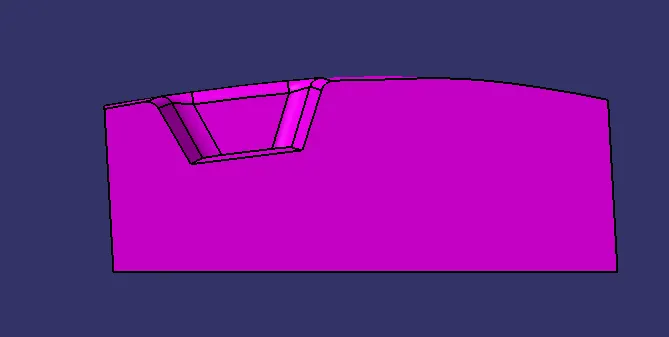
TOP VIEW:-