Week 8 - Challenge 6 - Core & Cavity Design
Core & Cavity Design - switch bezel
To Create the Switch Bezel Plastic component through the given Class-A surface by creating tooling direction, the tooling axis for the given Class-A Surface should meet the requirements of the draft angle i.e. minimum 3°and at the end to perform the Draft analysis on the model.
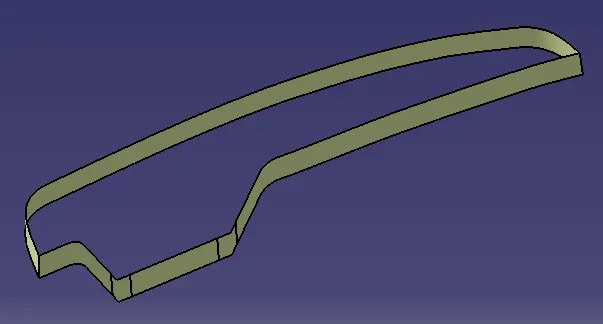
Given A-Class Surface of a switch bezel rest
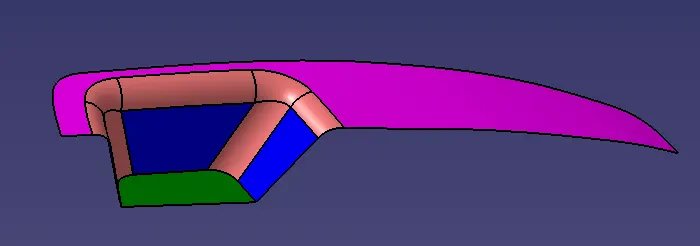
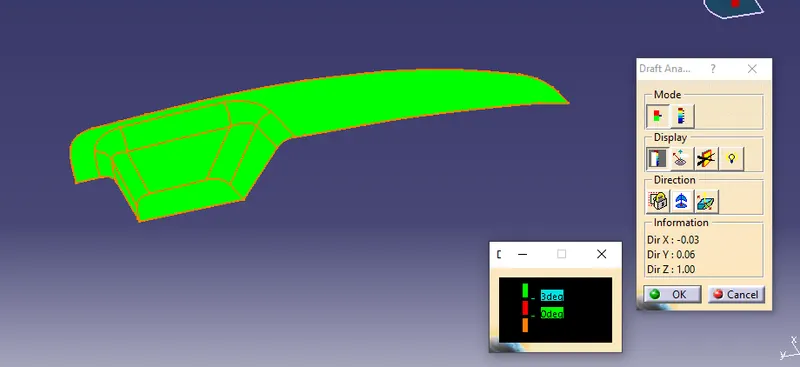
Draft Analysis-
Designers of plastic parts and mould tooling manufacturers can use the Draft Analysis tool to check the correct application of draft to the faces of their part. With draft analysis, you can verify draft angles, examine angle changes within a face, as well as locate parting lines, injection, and ejection surfaces in parts.
The Draft Analysis command enables you to detect if the part you drafted will be easily removed.
This type of analysis is performed based on colour ranges identifying zones on the analysed element where the deviation from the draft direction at any point, corresponds to specified values.
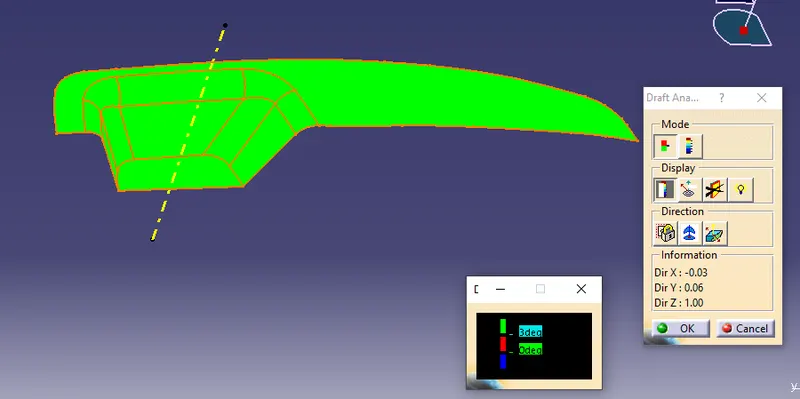
Creation of the Tooling Axis- Bisecting Method
The Desired tooling Axis is created by the analysis of the direction of the tool in with the part production will be maximized and the cost should be minimum and the least amount of cores and side cores should be used to manufacture the designed part. Here the part which are manufacturing will be created with the help of injection moulding so all the parameters are applied to designed the part.
As Analysed the best tooling direction will be near the Z axis so a section intersection is created with the desired plane to obtain the part profile in 2d figure.
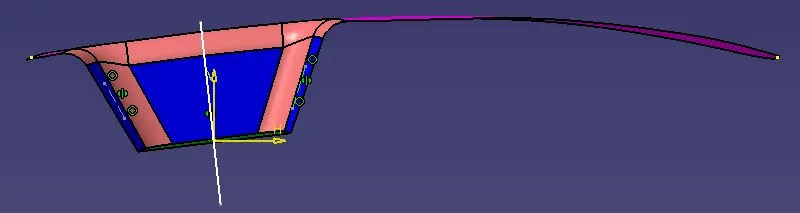
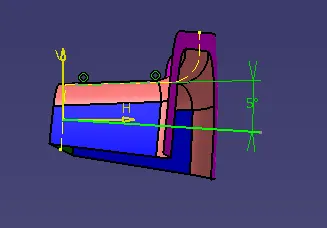
Then with the help of the below shown inclined lines two lines are created and then main line which is the bisecting line of the two lines is created as shown so.
Bisecting Section1 along Y direction
Bisecting Section2 along X direction
Bisecting Section3 along the two created bisecting line in x and y direction
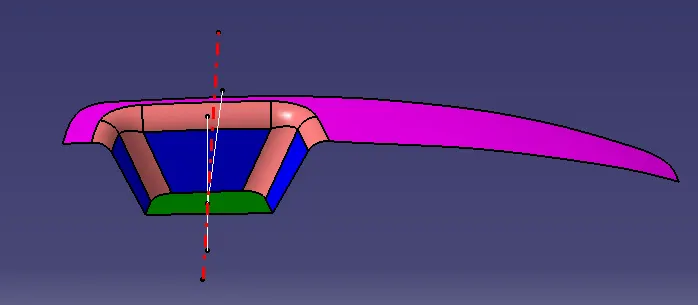
With the help of that line the draft analysis is then done on the provided A-class surface to check the outcome.
Creation of Class B, C surface-
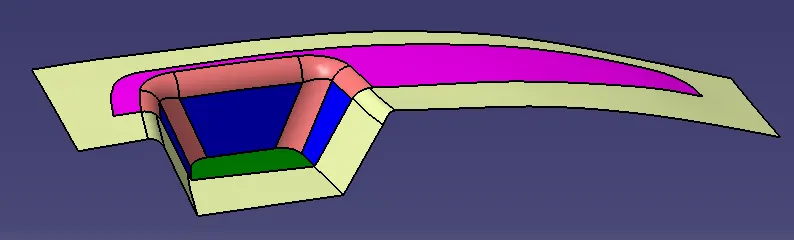
After the analysis is done then the provided surface faces are extracted and then they are offsetted to the thickness value which is 2.5mm below the A-class surface after that the extracted surfaces are untrimmed and extended with the help of untrim and extrapolated command in Catia v5 and are trimmed with the other extracted surfaces. Below are the images of the extracted surface.
Class B Surface
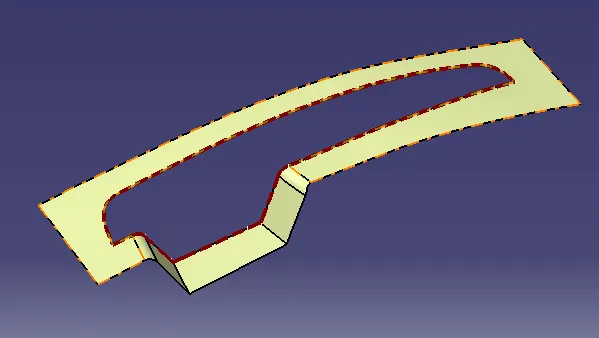
For creating the C- class surface once the B-class surface is created then form the A – Class surface the with the help of sweep command and with the tooling direction another surface is created intersecting the B Class surface created and then the surfaces are trimmed to get a single desired surface.
Class C Surface
Draft Analysis Reports:-
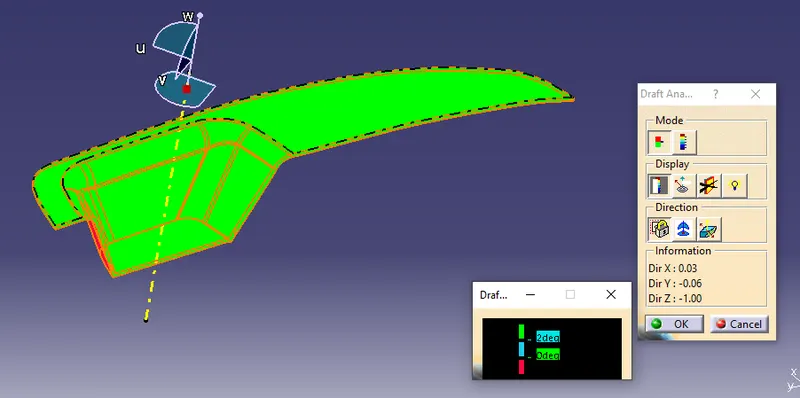
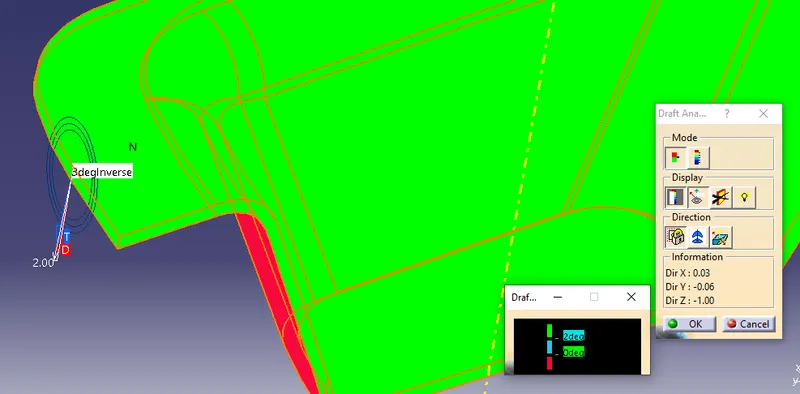
CORE AND CAVITY design for switch bezel:
first of all you have full knowedge about waht is , cavity, parting surface, parting line etc.
core and cavity:
a core is the one part of the mould.and it is respponsible for half of the molded part. actually core is the projection of the bodyand cavity is the depression of the body. these core and cavity combines to form a mould. then the plastic material injected into these mould to get a plastic part.
parting surface:
injection mold has two major components one is core and another is cavity .during the injecction molding process, these two halves are pressed tightly from a sealed hollow to avoid the melt flow leakage and maintain certain holding pressure, the pressed surface are called parting surface , usually parting surface are the biggest projection outline of the part.
parting line:
it is the area in which parting surface and component meets Or it is a junction between core and cavity
and the parting surface has some set of rules because the product quality mostly depends on the parting surface.
DESIGN PARTING SURFACE SHOULD FOLLOW THE FOLLOWING PRINCIPLES :
- Design the injection mold simple as possible .Avoid or reduce side parting as much as possible to reduce complexity of the mold making.
- Ease of de-molding as far as possible, for instance the plastic parts should stay in fixed halve of injection mold and should ejected by ejection system avoid , side de-molding action,
- Ensure the dimension accuracy of the molded parts ,Try to make the parts similar dimension accuarcy reqirements in same mold to reduce manufacturing and assembly errors .
- Ensure apperance reqirement of molded parts,finish or mismatch usually occurs on parting surface , so the parting surface should not be designed on high quality requiremnent surfaces.
- Ensure adequate venting.If possible parting surface should be place at the end of the mold flow.This is going to be advantage of fillng and venting.
core design:
To etrapolate class A surface
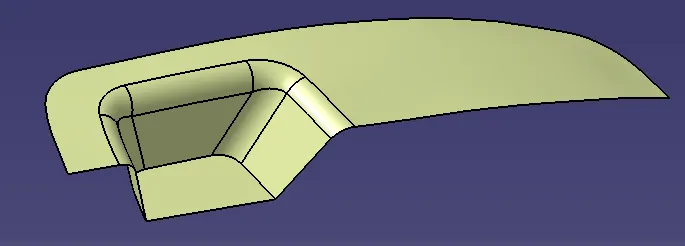
trim class A with class c to get inside portion
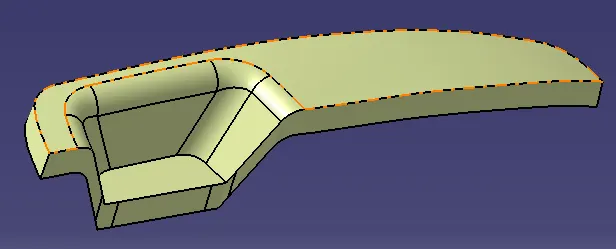
Now, trim the B surface with with output of Class A & C that will be parting surface with resprect to area.Extrude the skectch overall throgh the tooling direction are trim it with parting surface.
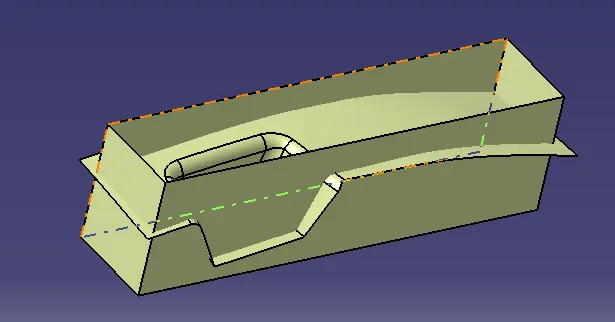
Final output of core design
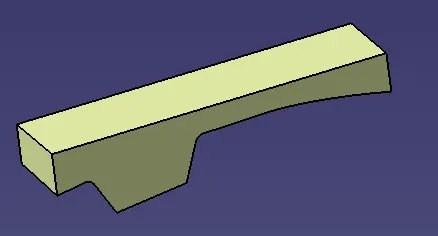
part body of core
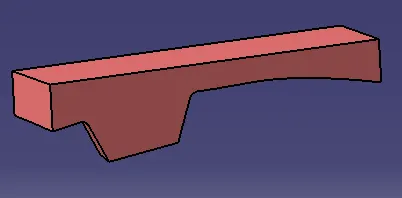
Similarlly,Repeating the same as done for the cavity part and trim it on other side surface
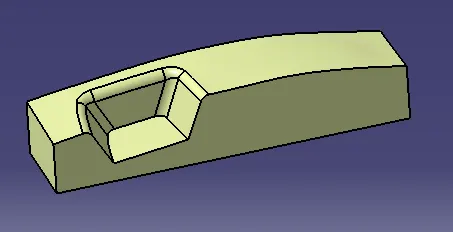
part body of cavity
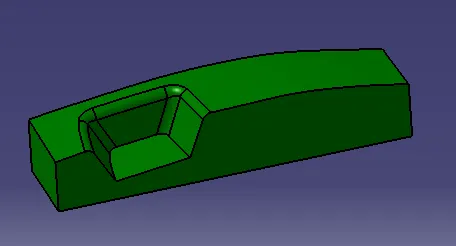
FINAL Close body surfaces of Core & cavity are,
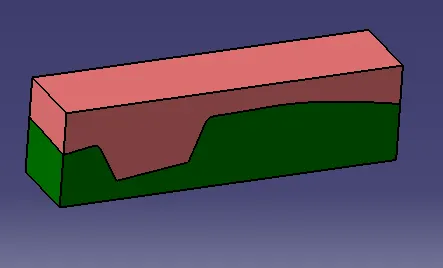
parting surface and parting line
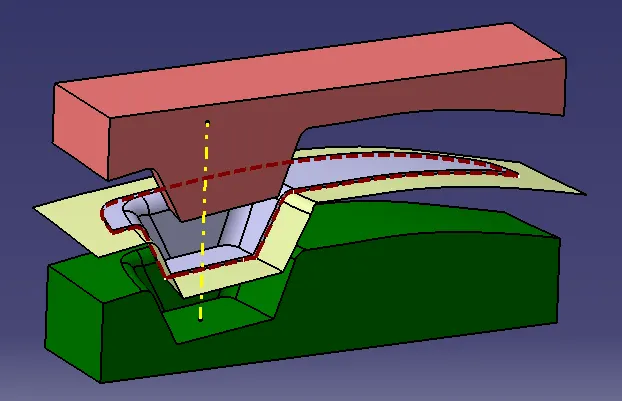
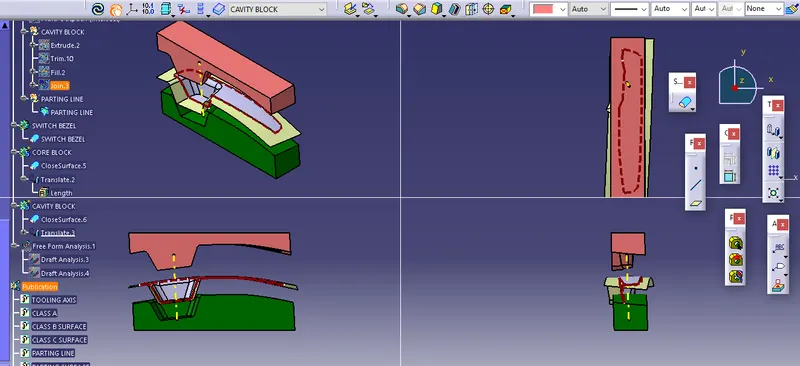
the core nd cavity are translated to the certain value for understanding