Week 8 - Challenge 5 - Core & Cavity Design
CORE AND CAVITY DESIGN OF SWITCH BEZEL
AIM –
The main aim of this challenge is to create the core and cavity by using Switch bezel class –A Surface.
To begin with the tooling axis for the given class –A surface and to be create B-Surface, C-Surface and to create B-surface, C-Surface from class –A surface and perform draft Analysis for both Class-A Surface and the Plastic Component created.
Tooling Axis-
The Direction in which the mold or core and Cavity opens is the tooling Axis.
Checking the Connectivity of the surface, this can be done by creating boundaries or by simply using the join that any opening can be easily visualized.
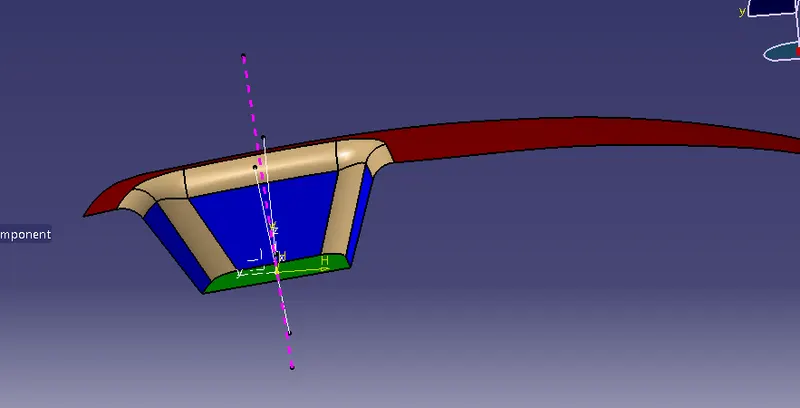
Checking the possibility in all direction of axis and find what are the problem creation parts of the component or model. the clearance checking along all the axis direction will be done by creating an intersection along an axis on a plane with the walls, the line bisecting the two line and passing through the point will be tooling axis.
Tooling Axis Creation –
Using the tooling axis Creation along x and Y-axis. These tooling Axes are used for creation of tooling axis by bisecting method where the two lines and point will be selected as inputs.
Draft Analysis -
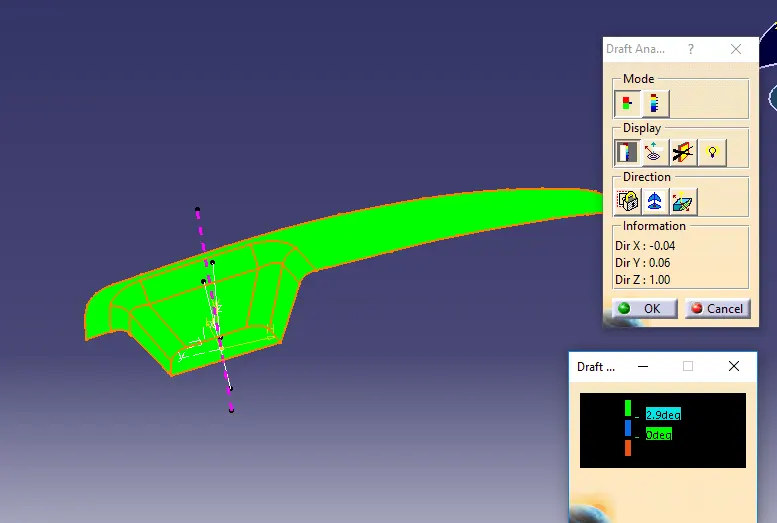
Draft Analysis is done after determining the tooling Axis, draft analysis is used to check whether the minimum draft 3 degree is maintained or not.
Compass is used to define the draft direction.
Class –B Surface –
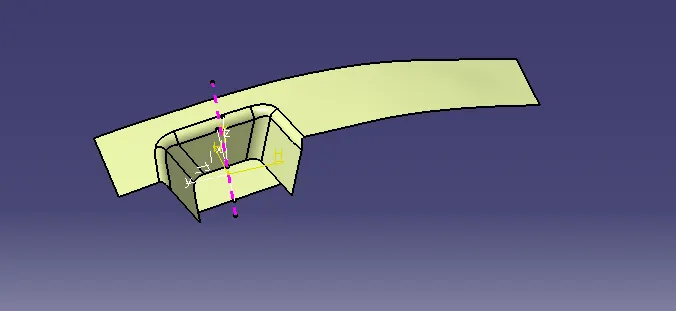
It is created by extracting each walls and un-trimming and extrapolating the walls to obtained the shape by trimming the excess surface and offering it to certain distance based on the thickness of the model the offset Surface will be the B-Surface.
Class _C- Surface –
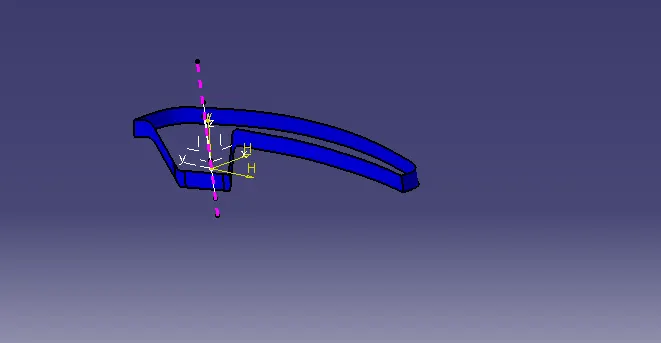
The surface created using the sweep option by sweeping the boundaries of A-Surface along the tooling axis to connect from A to B-surface is called c-Surface.
Using B and C surface a closed surface will be formed by trimming the excess surfaces.
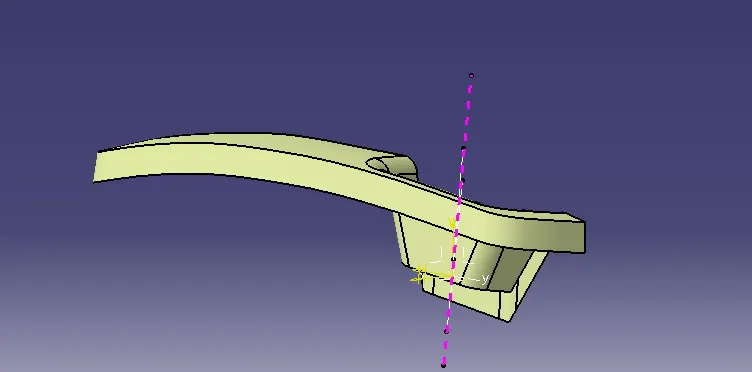
Using A,B and C surface a closed surface will be formed by trimming the excess surfaces.
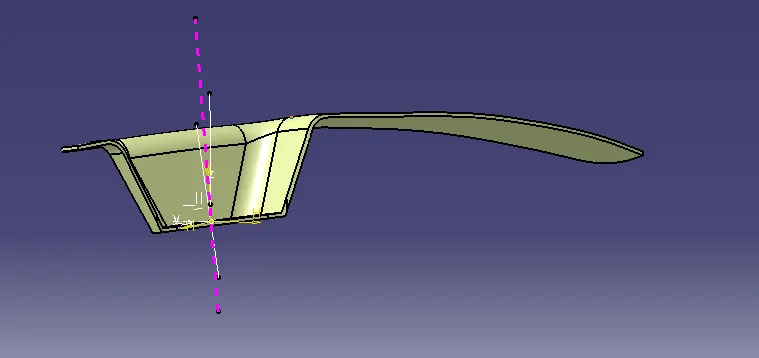
Finally convert the Surfce to Solid Component.
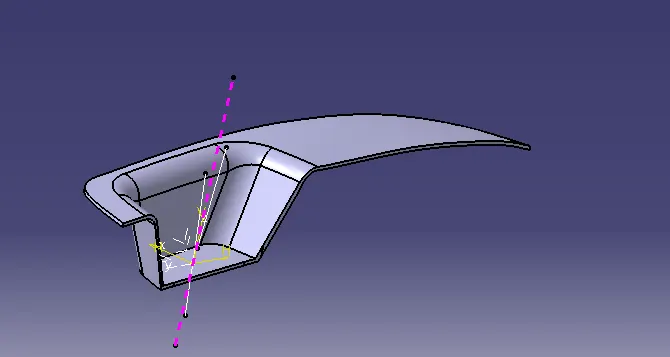
CORE AND CAVITY
The core and cavity blocks will be created using the plastic component created from the Class –A surface of switch bezel .Steps included in creation of core and cavity blocks are
Core Block
Cavity Block
Parting Surface
Parting line
Parting Line –
The line along the core and cavity block meets is called parting line.
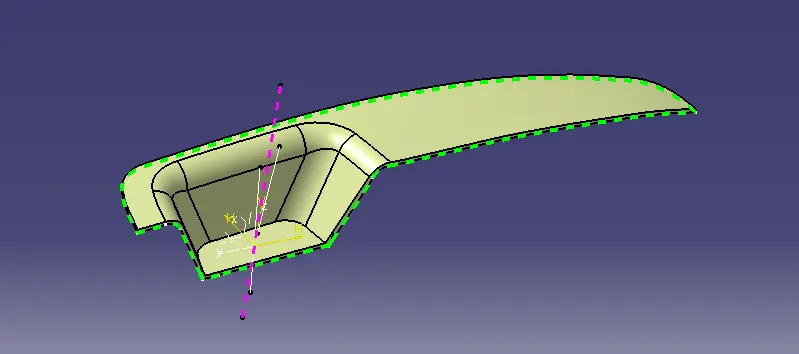
Parting Surface –
This surface will be separate core and cavity block along the parting line called parting surface.
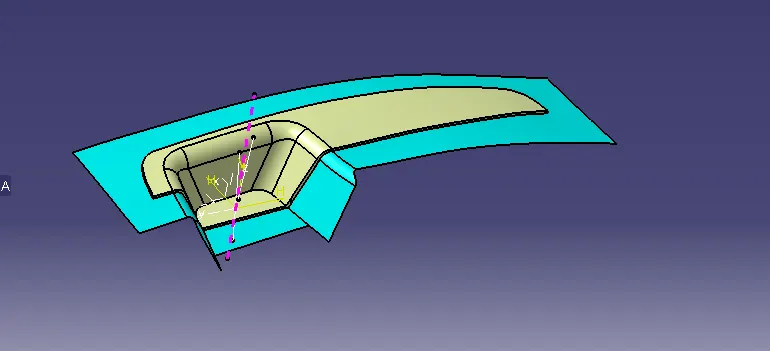
Core Block-
The core design is started with Extract the parting surface that become the datum for the core and cavity. The parting surface in most of the cases is kept at the B class surface to avoid close and tight contact between the core and cavity
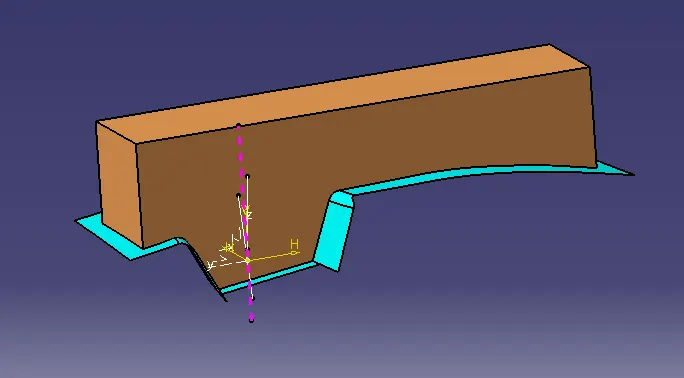
Cavity Block -
The cavity is the part where the injector and filling of the molten plastic happens. The cavity block is prepared by first extruding the outer boundary along the tooling direction.
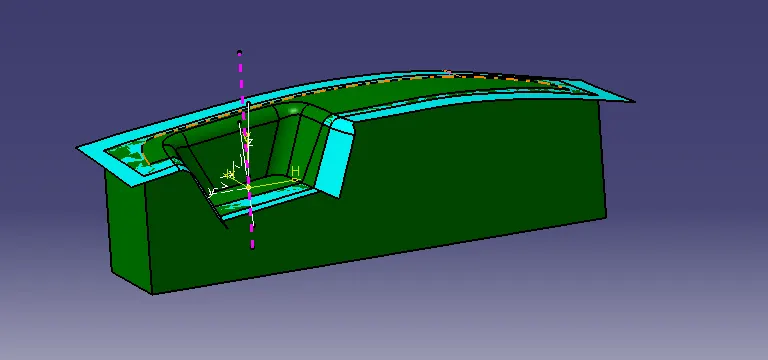
Core And Cavity Model -
Front View -
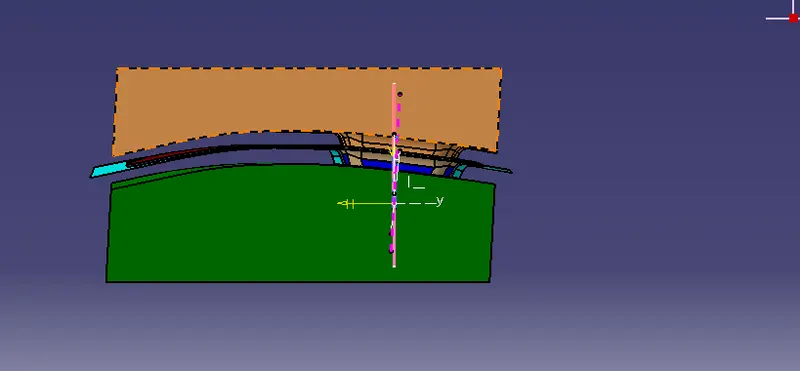
Side view -
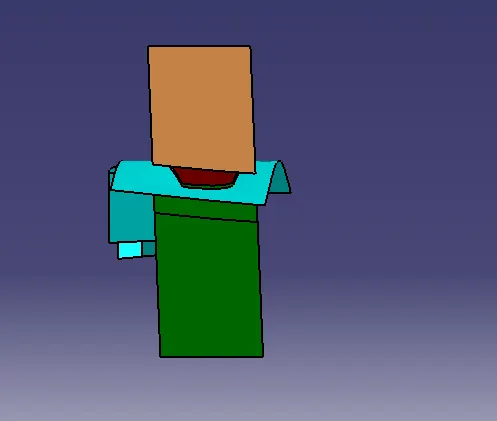
Isometric view -
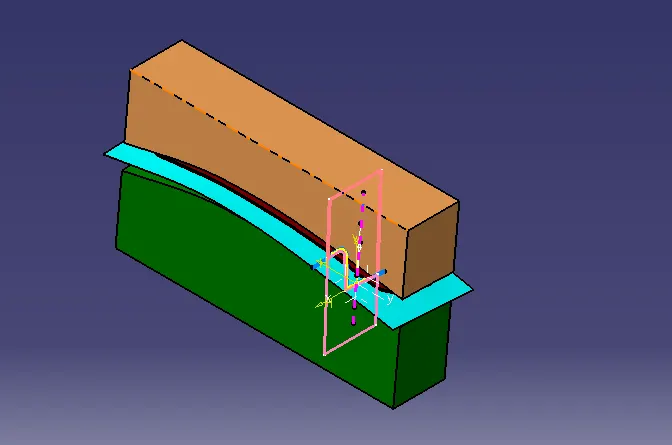
CONCLUSION –
Switch Bezel plastic component using Class A surface have been successfully created and draft analysis have also been performed for the same Core and Cavity design for switch Bezel plastic component using Class –A surface have been successfully created.