3D Tetra meshing
OBJECTIVE:
- To create 3D meshing (Tetra meshing) on the housing component. Minimum element size should be 2mm. Maximum element size should be 7mm and tet collapse should be 0.15.
- To create 3D meshing (Tetra meshing) on the crank case and chassis assembly. Element size should be 6mm and tet collapse should be 0.15.
PROCEDURE: There are three methods to generate 3D meshing which is stated below:
- Conversion of 2D tria to tetrahedral element using Tetra mesh panel.
- Using the quick tetra mesh from utility panel.
- Using volume tetra mesh panel.
Now for the housing component since element size has to be maintained (Min size = 2mm, Max size = 7mm) therefore I’ve used 1st method that means conversion of 2D tria elements to tetrahedral elements and for the crank case and chassis assembly 3rd method (Volume tetra meshing) is used.
PART-1 : Housing component.
STEP 1: Import the model into the hypermesh and clean the geometry.
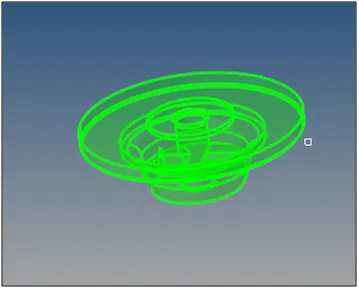
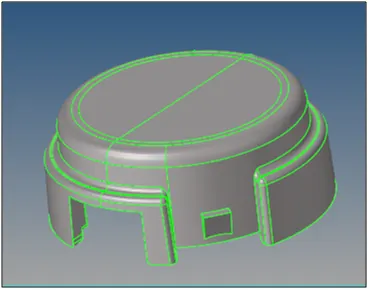
STEP 2: Delete the solids from the model by selecting delete > solids > delete entity.
STEP 3: Now perform 2d meshing on the model, by selecting mesh type as ‘Trias’.
STEP 4: After completing 2D meshing, model should be cleared with the minimum and maximum element error.
STEP 5: Now the model is ready to perform tetra meshing. Select the 3D > Tetra mesh option.
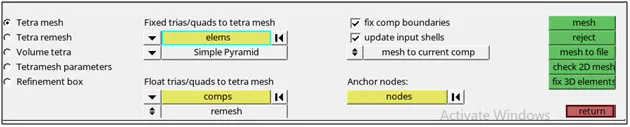
STEP 6: In tetra mesh panel, select element under the “Fixed trias/quads to tetra mesh option”. After that, click on mesh button.
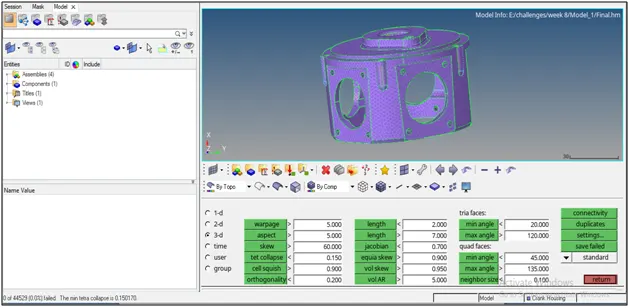
STEP 7: After completing 3D meshing, model is checked for tet collapse. As you can see in below figure that 83 element are failing for tetra collapse.
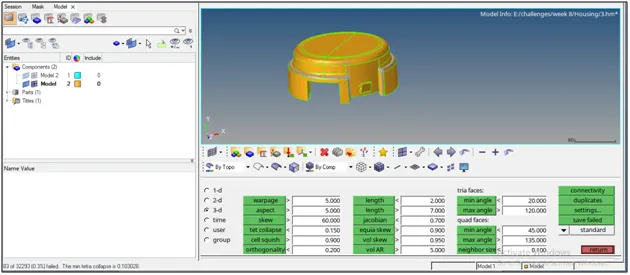
Save the failing elements and then go to Mask > element > retrieve. Then click on mask and after that click on reverse all. Then the hypermesh will hide all the elements except the failing elements.
To resolve tet collapse we have two methods:
- Unmask the adjacent elements and remesh them by going to 3d > tetra mesh. Now before remeshing those elements set the quality parameters by going to Tetra mesh parameters .

-
After setting the required parameters, remesh the failing element along with the adjacent elements. Keep repeating the same step till the failing elements are significantly reduced.
- In this method we have to manually work on the failing elements. For this press ‘Shift +f4’ in your keyboard. From here you can increase the shortest distance between the two nodes by using translate command. For that pick a node in any failed element having minimum height and select N1, N2, N3 which represent the opposite plane of prior selected node. Then choose the magnitude value approximately by trial and error method and click on translate button.
By following the above steps we can resolve the tet collapse in 3D tetra meshing.
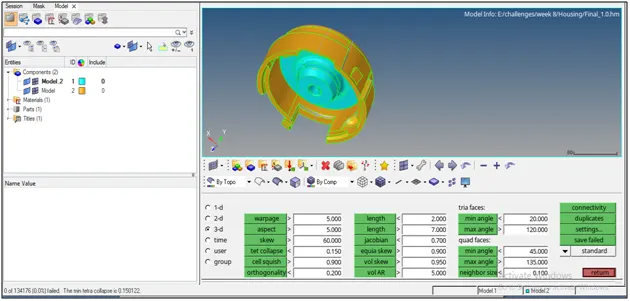
PART 2: Crank case and chassis assembly
Crank case:
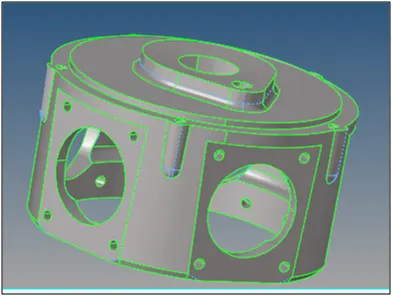
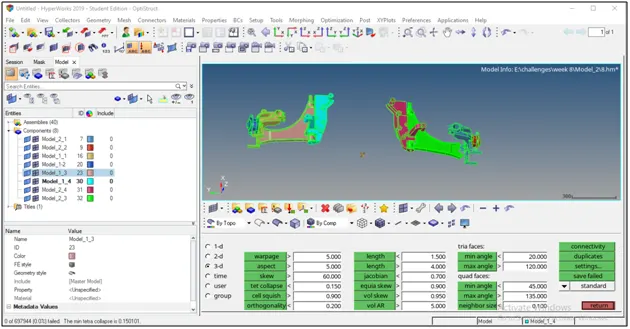
Chassis assembly: We have to work on two pats having four components each.
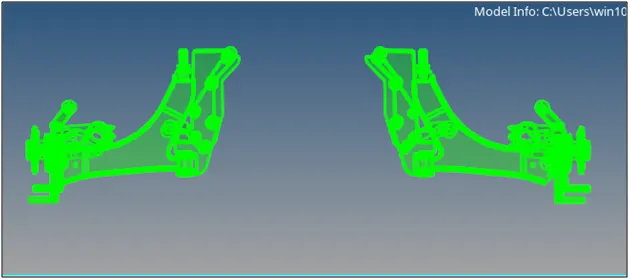
For crank case and chassis assembly, tetra mesh is generated by using volume tetra mesh panel. The steps followed are described below:
STEP 1: Import the model in hypermesh and clean up the geometry.
STEP 2: Delete the solid (Though you can also perform volume tetra meshing on solid part) and select 3D > tetra mesh.
STEP 3: Click on volume tetra option and select the surface of the model and tick all the checkbox (Use curvature, Use proximity, cleanup elements). Finally click on mesh.
STEP 4: After that check for the elements failing for tet collapse.
STEP 5: Resolve the failing elements by following the similar steps described for housing component.
Because of the limitation of student edition, I’m not able to save the chassis assembly model.
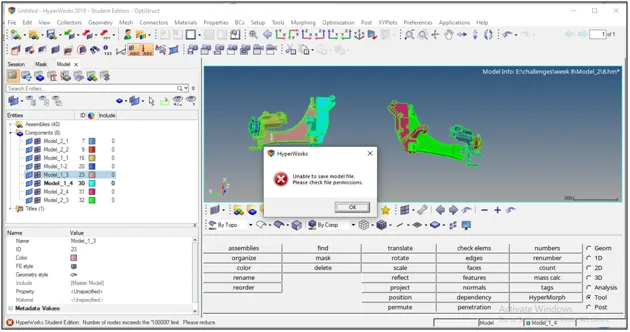
Though the tet collapse is fixed in both, chassis assembly and crank case model.
RESULT: Link of the three components is attached below:
Housing component: https://drive.google.com/file/d/1r7sg8Csun1-B5GxiHC6l3yT7wxcEwVJS/view?usp=sharing
Crank case: https://drive.google.com/file/d/1c5wSvTnGTKJxpbi9D0WlcBUKa_EUSX17/view?usp=sharing
Chassis Assembly: https://drive.google.com/file/d/1km8MKgEg6jCQfvkyFHRinFTEeufdECZ2/view?usp=sharing