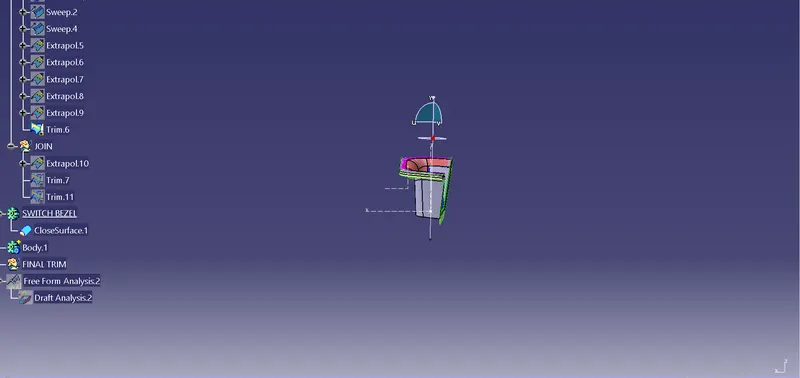
Week 8 - Challenge 3 - Switch Bezel Design
CLASS A SURFACE:
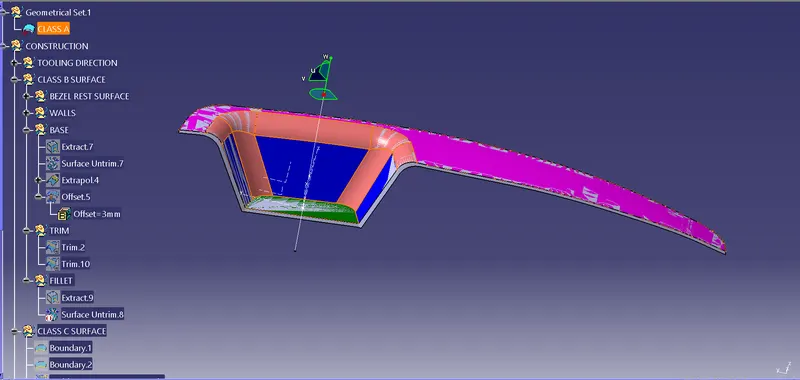
- In this design CLASS A surface is given, where we have to complete the draft analysis of SWITCH BEZEL.
Steps to be followed:
- Intially create a point in SWITCH BEZEL in class A surface i.e., position sketch.
- The next step is to Insert Axis system to create a Tooling Axis inside the Geometrical Set.
TOOLING AXIS
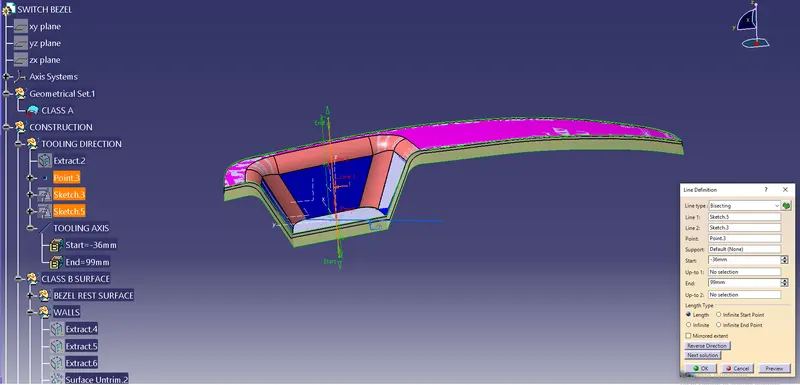
CLASS B SURFACE:
- Let us start the design by inserting a geometrical set and name it as SWITCH BEZEL.
- Select the Base Bracket as work object and insert another geometical name it as Class B surface.
- class B surface is divided into 3 parts as follows-:
- Bezel Rest surface
- Walls
- Base
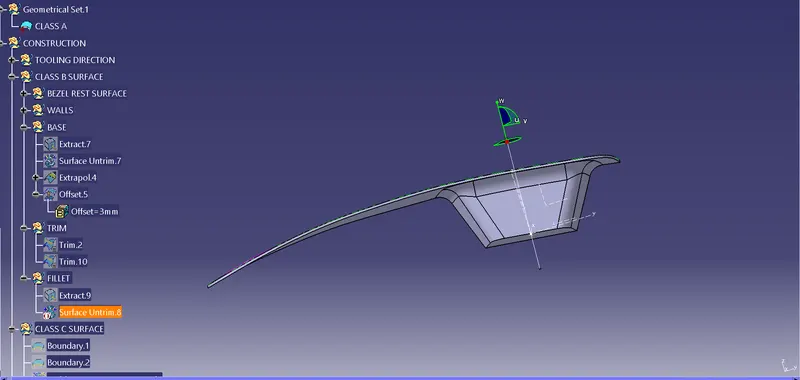
CLASS C SURFACE:
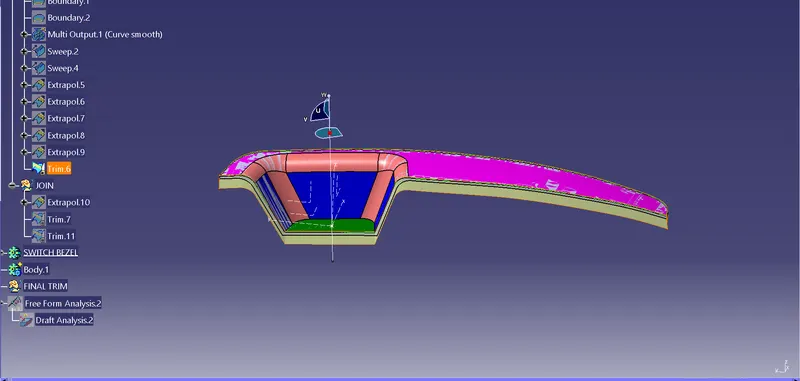
- Select 2 boundries for the outer surface.
- Curve smooth both the boundries.
- Then sweep the boundries.
- Extrapolate the both sides of switch bezel.
- Trim the extrapolated surface to get the Class C surface.
FINAL PART:
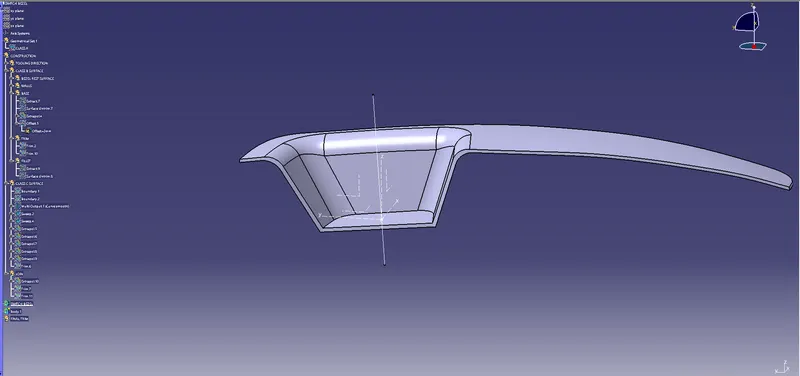
- The final part is created by Extrapolate.
- Trim the Class A & Class C surface.
- Trim the Class B surface from Class A & Class C surface.
- Finally convert the surface model into solid model.
DRAFT ANALYSIS:
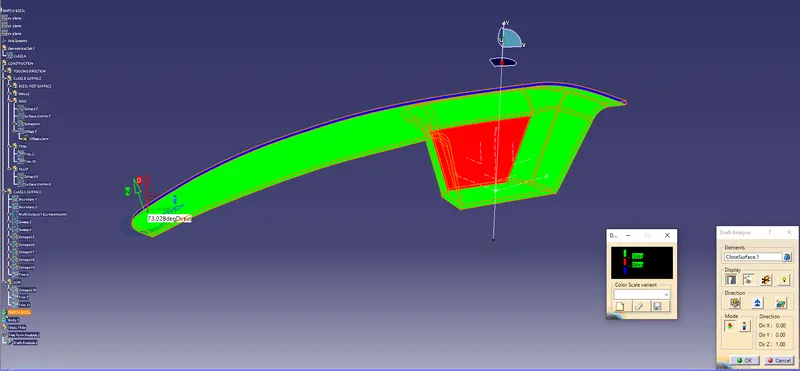
- Choose the customize toolbar and select materials in that toolbar.
- Insert Analysis, feature draft anlysis.
- Select compass in draft analysis and place it on the Tooling axis to coincide.
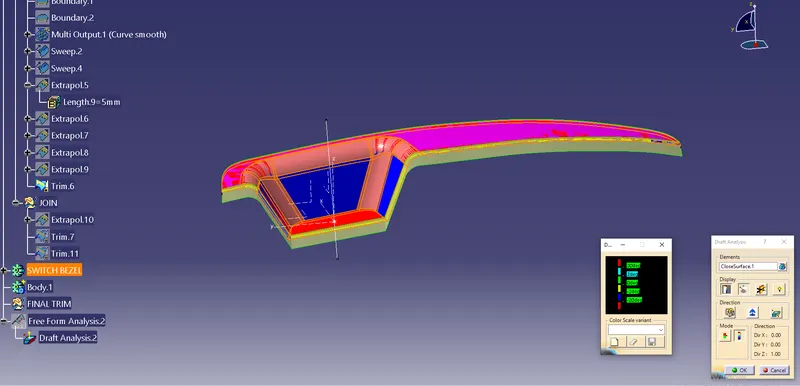
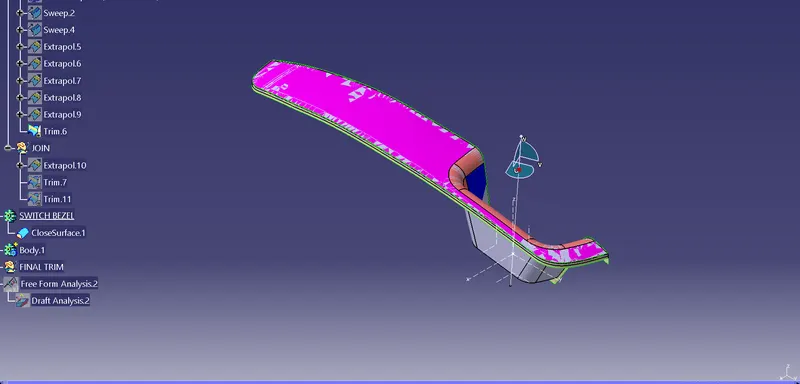
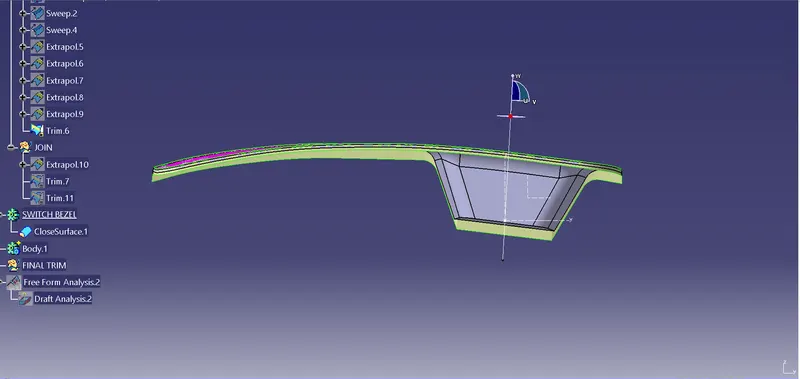
- In display Toolbar in draft analysis shoes the degree green as 3 , red as zero & blue is negative.
- In full analysis mode gives us every angle which is displayed below.
Types of Views:
Isometric view:
Front view:
Top view:
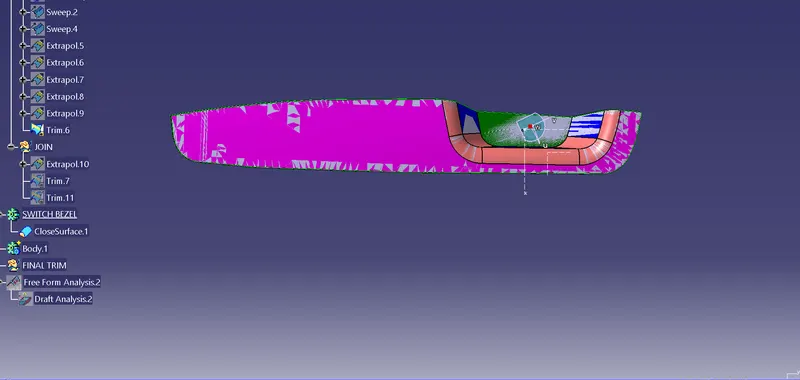
Side view: