Week 8 - Challenge 3 - Switch Bezel Design
Aim
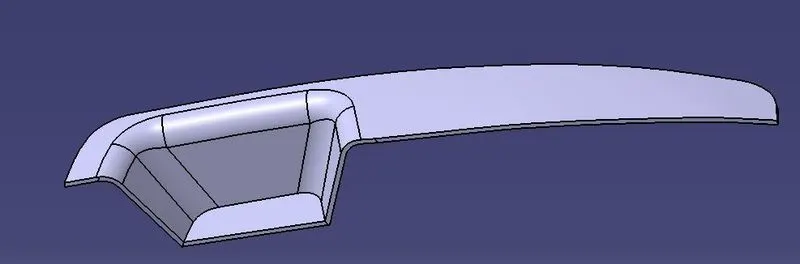
The aim of this project is to develop the product design of the switch bezel with the help of the class A surface following the OEM standards.
Introduction
Class A
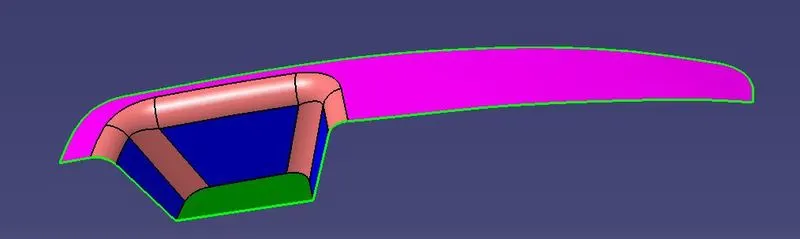
Class A surface is the term mainly used in automotive design industry. It describes the final production surface data for the aesthetic parts of the car.
Class B
Class B surface is the secondary surfaces which is not visible normally. These must be smooth and "error-free" as well, but are not held to the standards that class A surfaces are.
Class C
Class C surfaces are the backside surfaces that can have tool marks, flash and other imperfections without hurting appearance, function, etc..
The steps involved in creation of this project are:
1. Bringing the class A surface of the switch bezel in Catia v5 software
2. Determining the tooling axis for the switch bezel
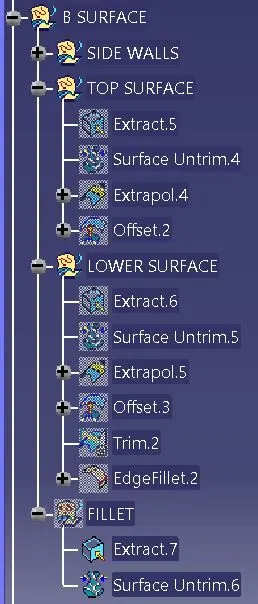
3. Creation of class B surface
4. Creation of class C surface
5. Joining all the class A, class B and class C surfaces of the switch bezel
6. Building closed surface after joining all the surfaces
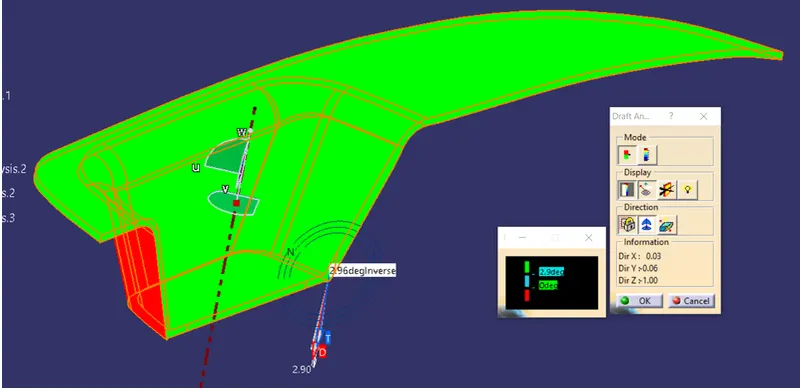
7. Draft analysis on the switch bezel
FOR TOOLING AXIS:
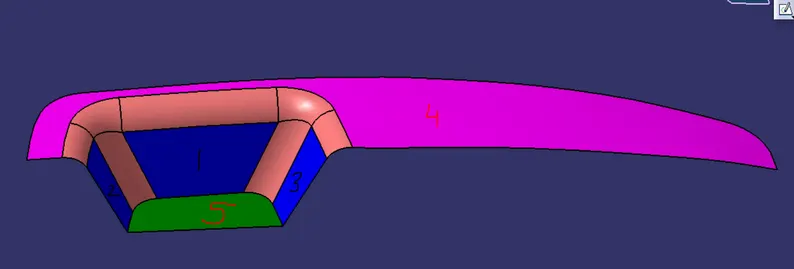
1. Analyze the model and focus on the surfaces which will create problems. Like in the image below, surfaces marked with black pen might create problem while tooling so we will focus on them and make axis in their respective direction.
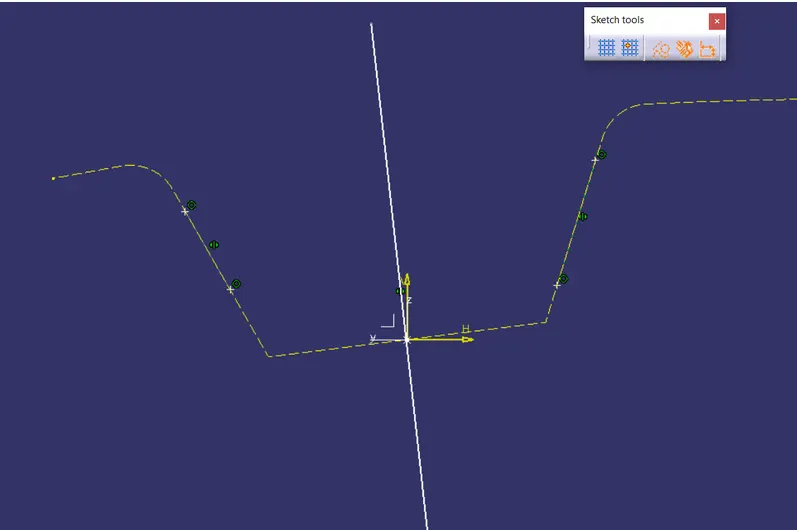
2. Then we make the tooling axis in those directions of the surface which we thought might create problems. Here, in y direction, we created this tooling axis with respect to the two surfaces. Note that we are using positioned sketched method to make this axis because we do not have 4 surfaces to follow intersect method.
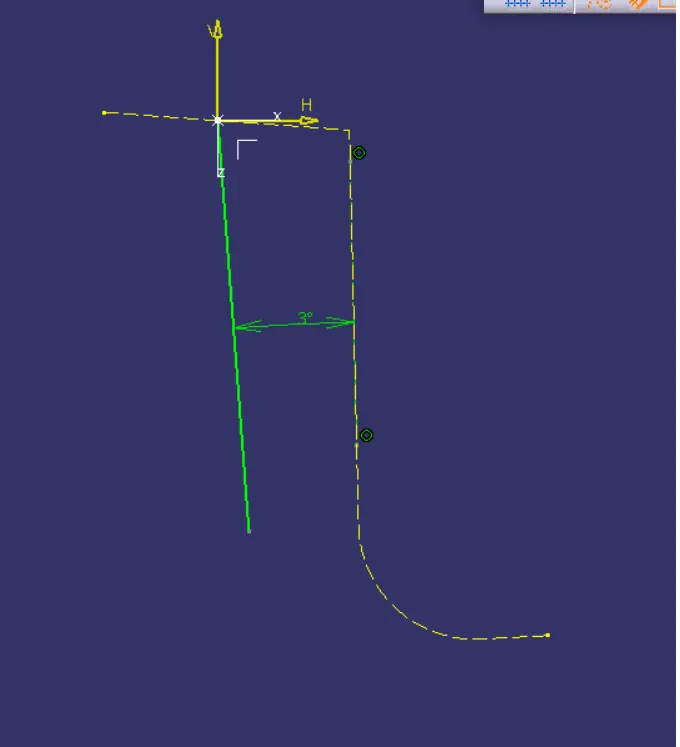
3. Similarly, in x direction we will make the lines on surface. But here we have only one surface so we will make line by ourselves at minimum 3deg from the surface line. We can edit this dimension if we feel the need to.
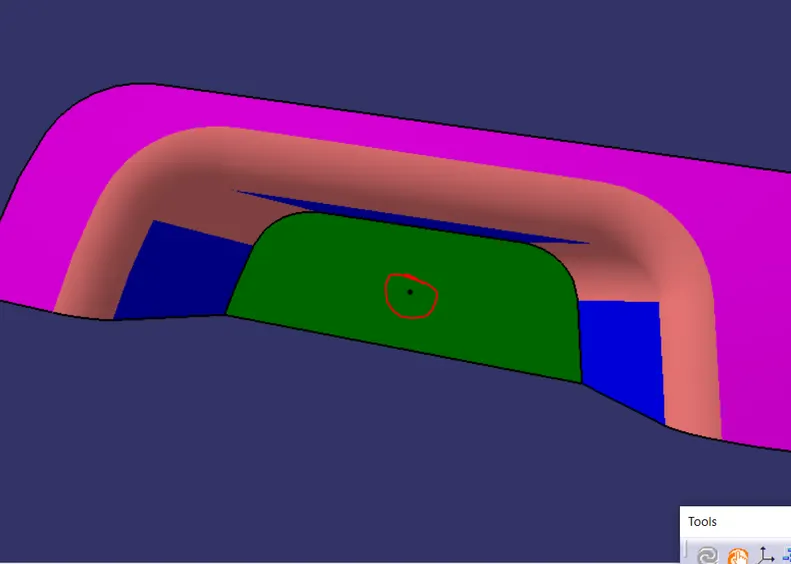
4. Now we have two lines. We will get our tooling axis by bisecting them. Note here that, the tooling axis when viewed from the direction, we should see the surfaces which we thought might create problems, like shown in the image below
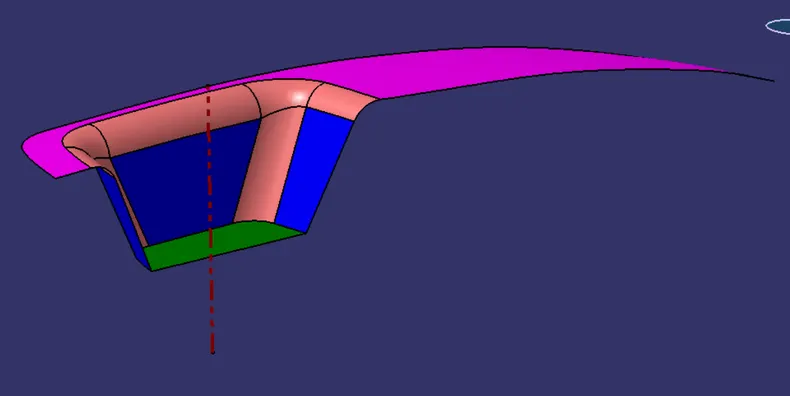
Closed surface