Switch Bezel Design
AIM: to make a model from the provided class-A surface.
INTRODUCTION:
CLASS-A SURFACE: a surface made by the designer which is given as an input to the plastic modeler to work on. It is aesthetic surface and the outer most surface.
CLASS-B SURFACE: a surface below a certain thickness from the class-A surface is class-B surface. This is the surface that contains engineering aspects of a model.
CLASS-C SURFACE: a surface that joins class-A and class-B surfaces is class-C surface.
METHODOLOGY:
In this model we have focused on the following things:
- Tooling axis
- Draft analysis
- Class-B surface
- Class-C surface
- Making a solid model from surface.
Following tools were used to reach the final step:
- Extract
- Un-trim
- Trim
- Extrapolate
- Offset
- Edge fillet
- Boundary
- Sweep
- Join
- Close (part design)
FOR TOOLING AXIS:
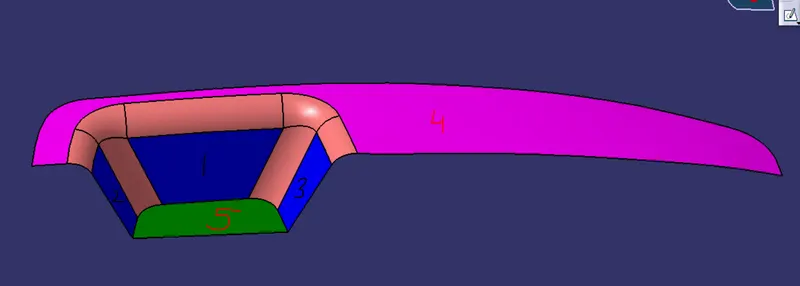
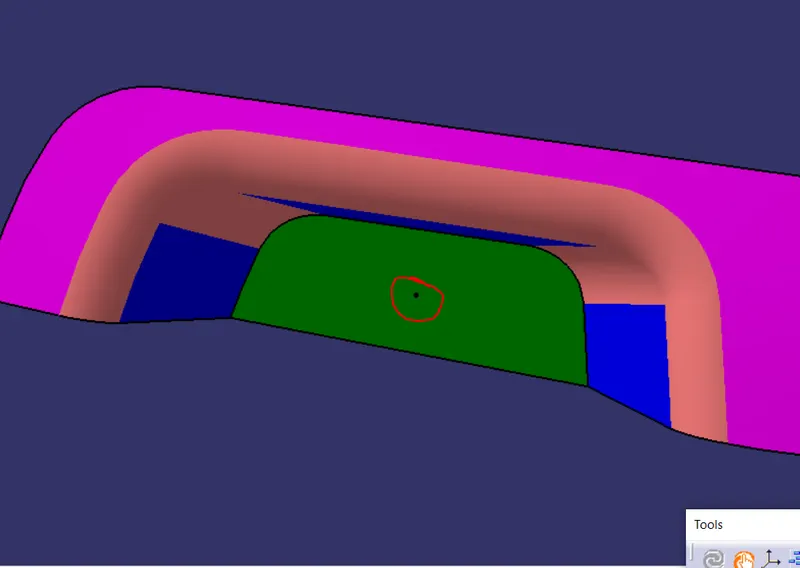
- Analyze the model and focus on the surfaces which will create problems. Like in the image below, surfaces marked with black pen might create problem while tooling so we will focus on them and make axis in their respective direction.
- Then we make the tooling axis in those directions of the surface which we thought might create problems. Here, in y direction, we created this tooling axis with respect to the two surfaces. Note that we are using positioned sketched method to make this axis because we do not have 4 surfaces to follow intersect method.
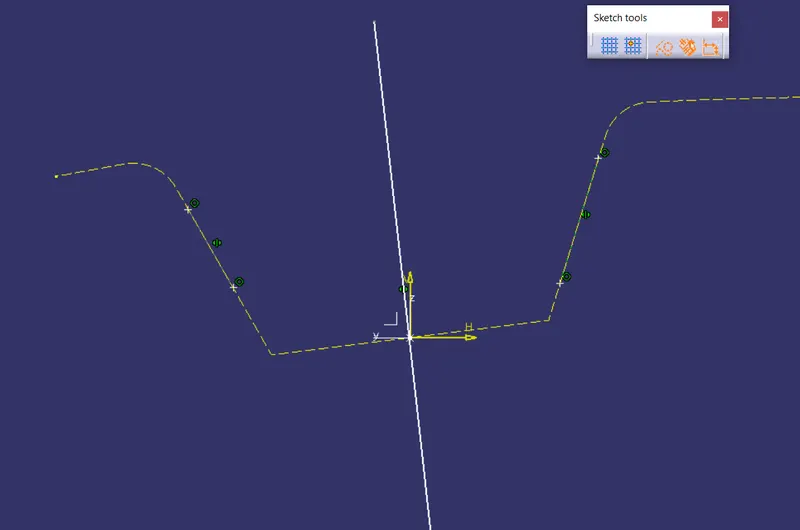
- Similarly, in x direction we will make the lines on surface. But here we have only one surface so we will make line by ourselves at minimum 3deg from the surface line. We can edit this dimension if we feel the need to.
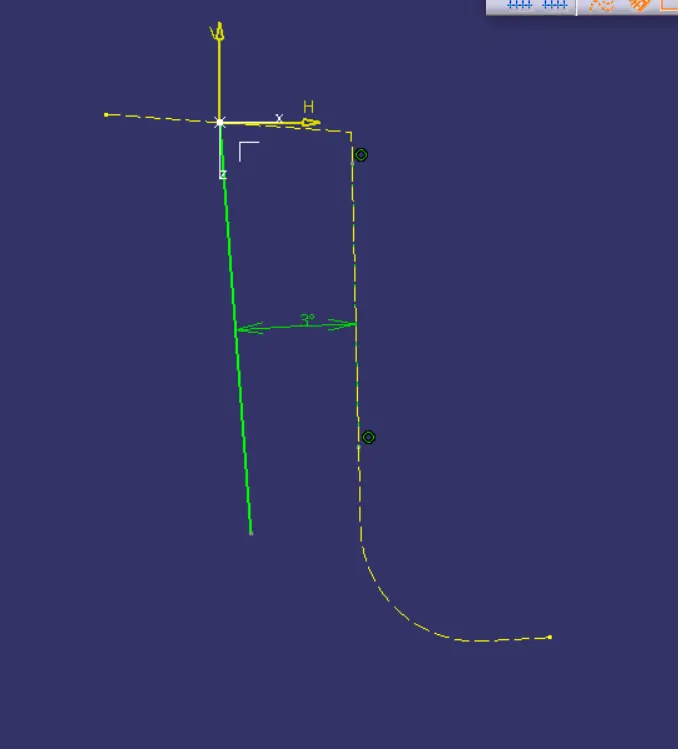
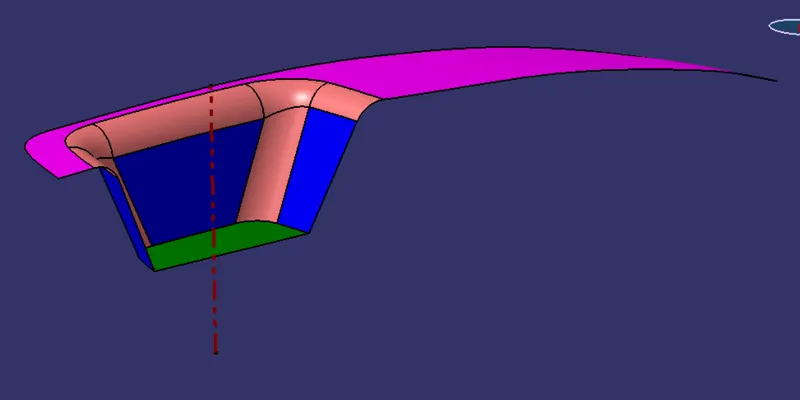
- Now we have two lines. We will get our tooling axis by bisecting them. Note here that, the tooling axis when viewed from the direction, we should see the surfaces which we thought might create problems, like shown in the image below.
DRAFT ANALYSIS ON CLASS-A SURFACE:
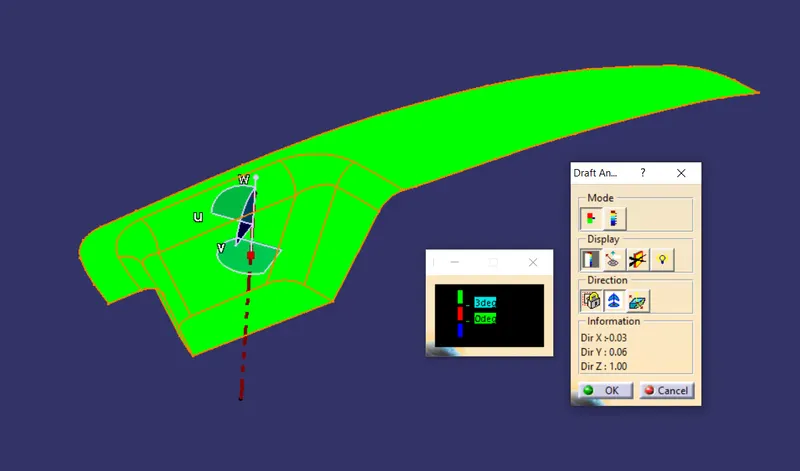
- Go to insert< analysis< feature draft analysis.
- Align the tooling axis with the compass.
- Click on the surface and see that the surface is within the permissible limit of the draft values.
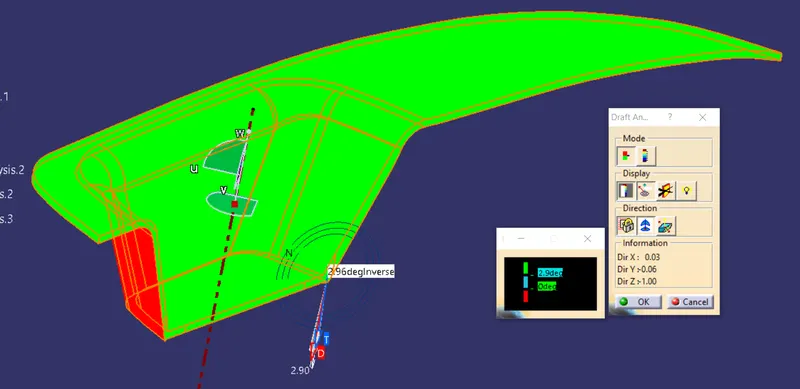
- The surface should be green and in the column proper value (3deg) should be inserted.
- If any surface is not green then we have to edit our tooling axis. We just have to edit the above dimension which we mentioned till we get all the surfaces in green.
CLASS-B SURFACES:
- Divide the class-A surface into 3 different surfaces like shown below.
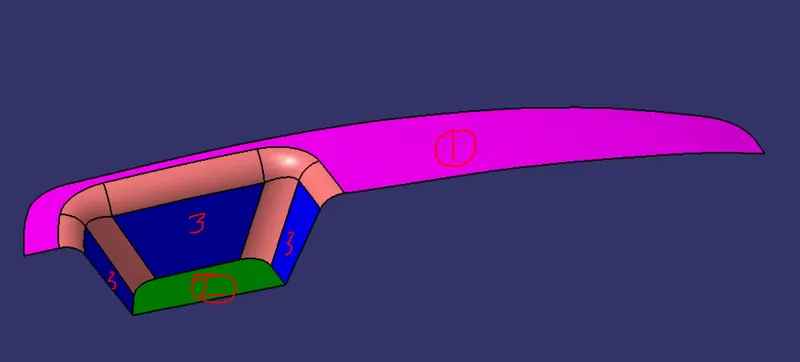
- Work on those surfaces one by one.
- We have to follow the same given procedure for all of them:
- Extract
- Un-trim
- Extrapolate
- Offset (by measuring the thickness).
- Trim among themselves to get a surface like class-A below a certain distance.
- Then fillet the model so that it has even thickness all over.
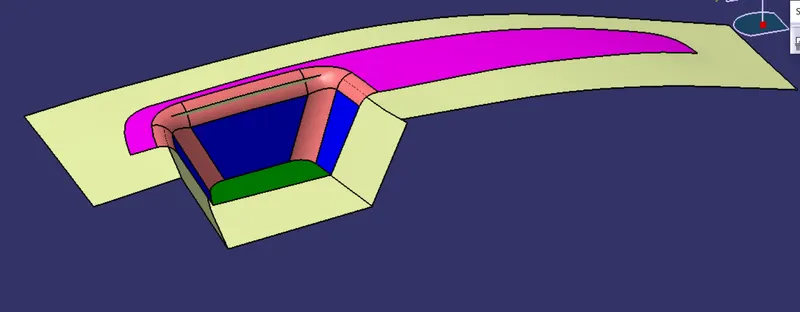
CLASS-C SURFACE:
- Using multiple extract, get the boundary of the class-A surface.
- Smoothen these curves because it will create a lot of patches.
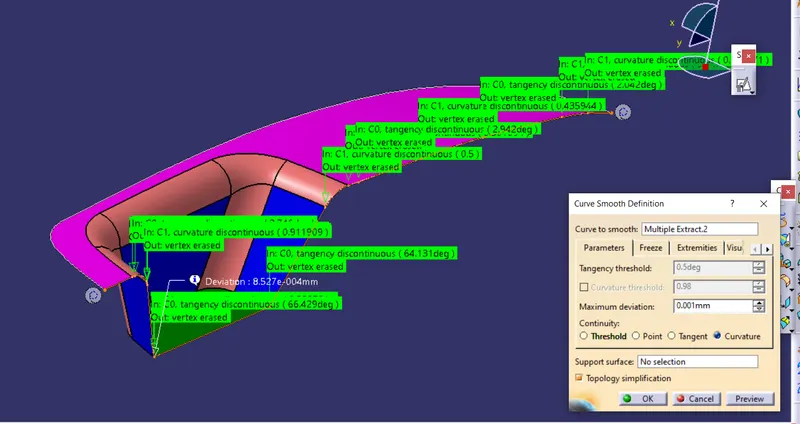
- Use sweep command to create the surface.
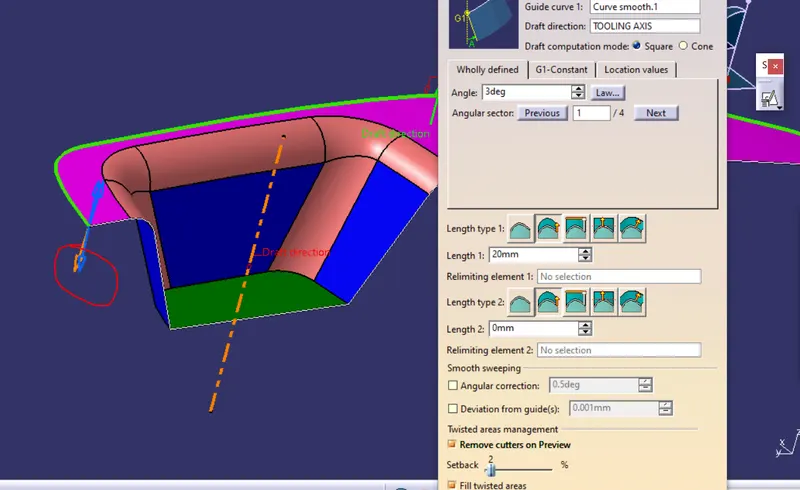
- The two swept surfaces will not be connected so extrapolate them and trim them.
FOR FINAL BEZEL SWTICH MODEL:
- Join class-A and class-C surfaces. Make sure that there is no unnecessary boundary present, if there is then increase merging distance to not more than 0.003mm. And even after that there is some unwanted boundary, extrapolate class-A by small distance and trim it with class-C instead of joining them.
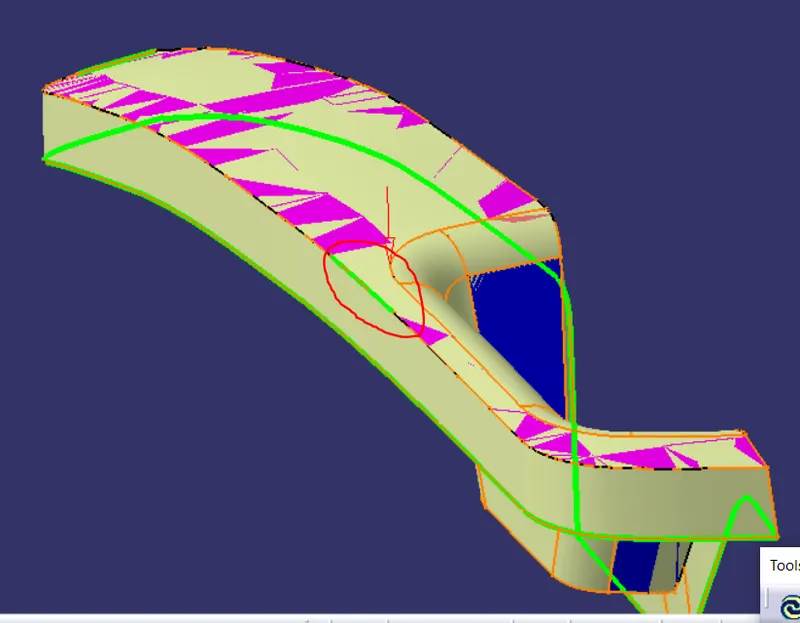
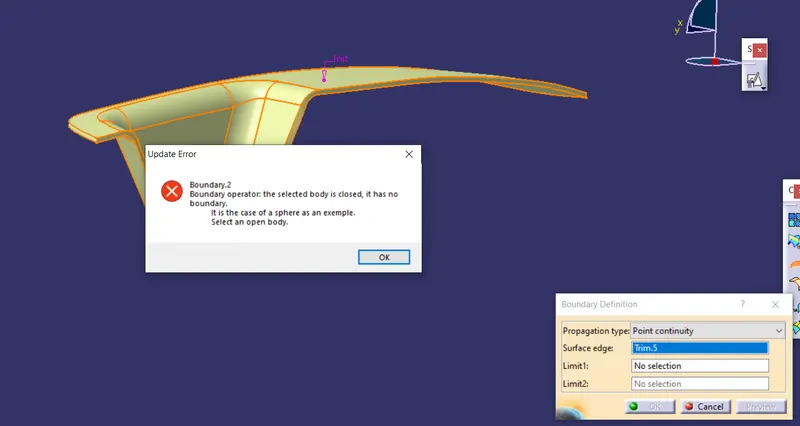
- Trim the result with class-B and we get the bezel switch surface.
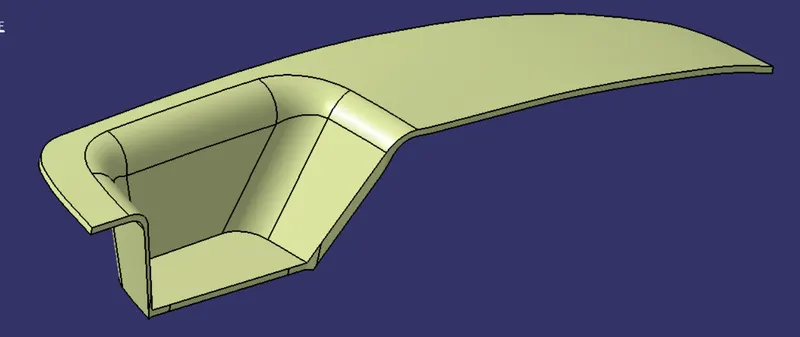
- Go to part design and close it.
- Run the draft analysis again with the same procedure as mentioned above.
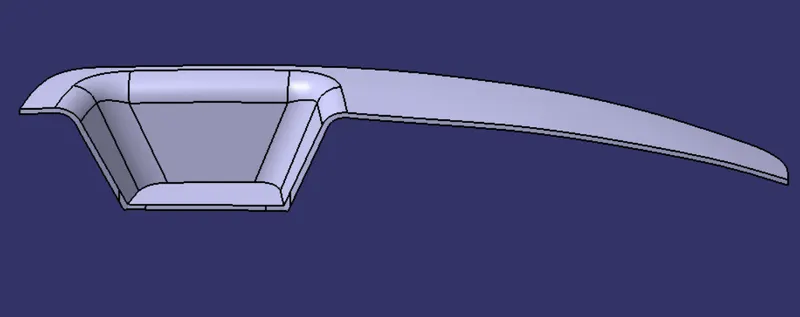
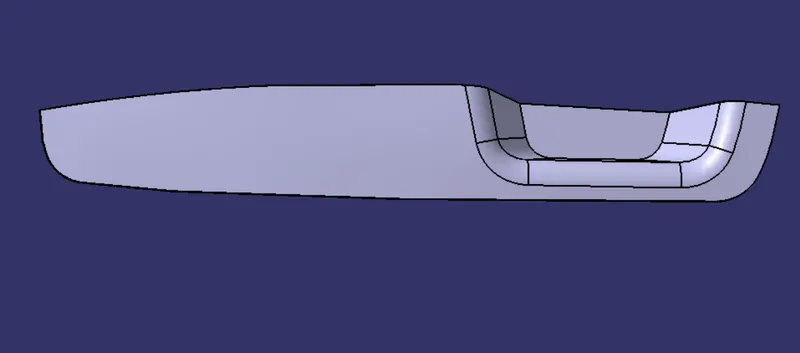
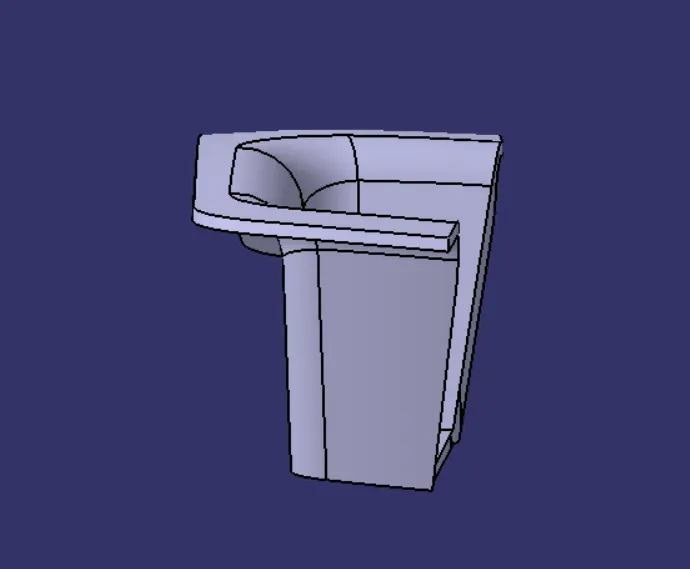
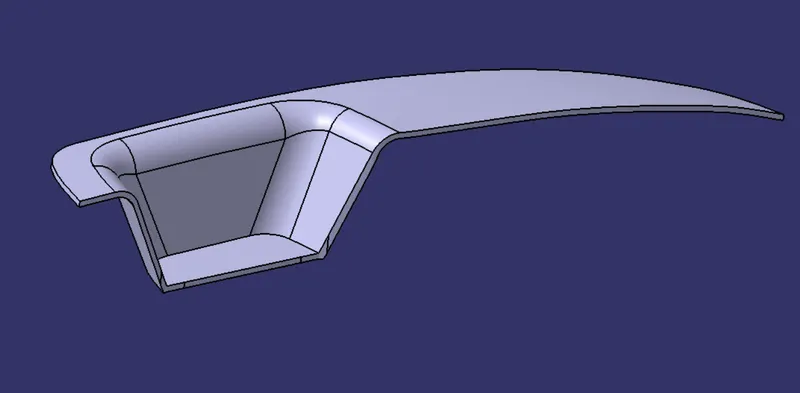
IMAGES OF THE MODEL:
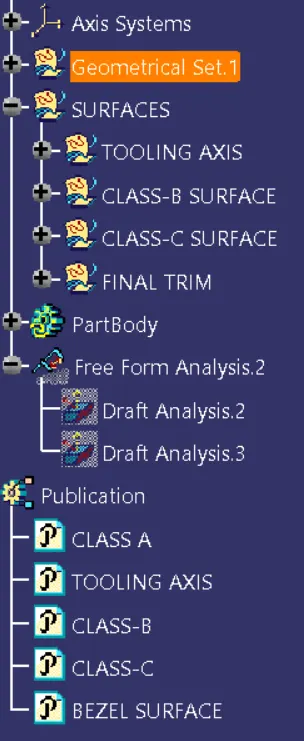
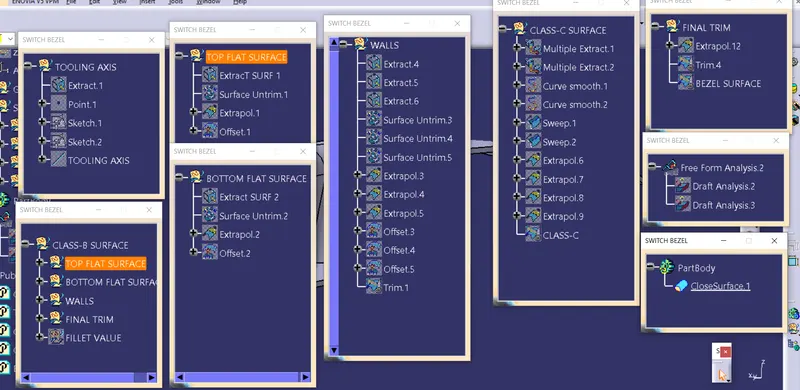
TREE STRUCTURE: