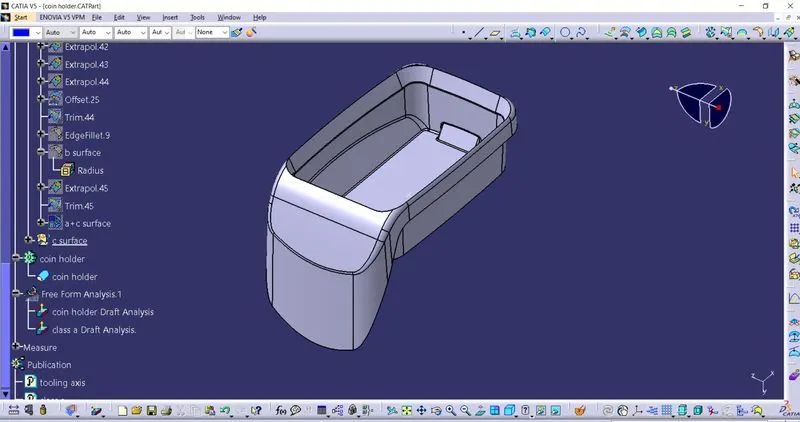
Week 8 - Challenge 3 - Coin Holder Design
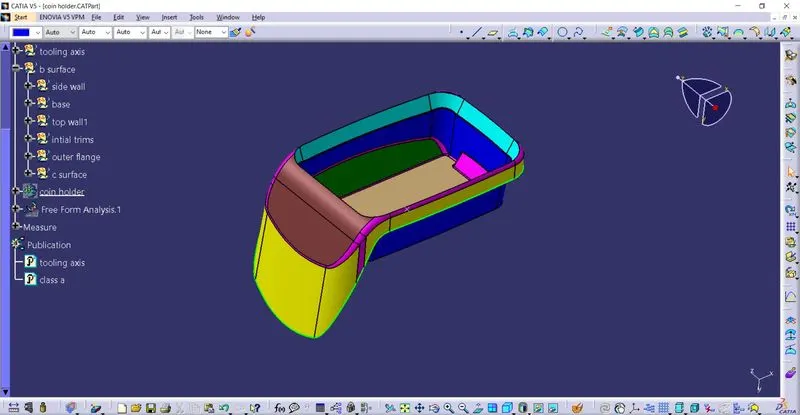
first we need create the tooling axis where the molten plastic will pour in the same axis
for creating the tooling axis we need to find the correct place to fix the tooling axis after the we need to cross check with the tooling axis with the drafting opton
creating the tooling axis
we need to take the intersectin line were we want to create tooling axis
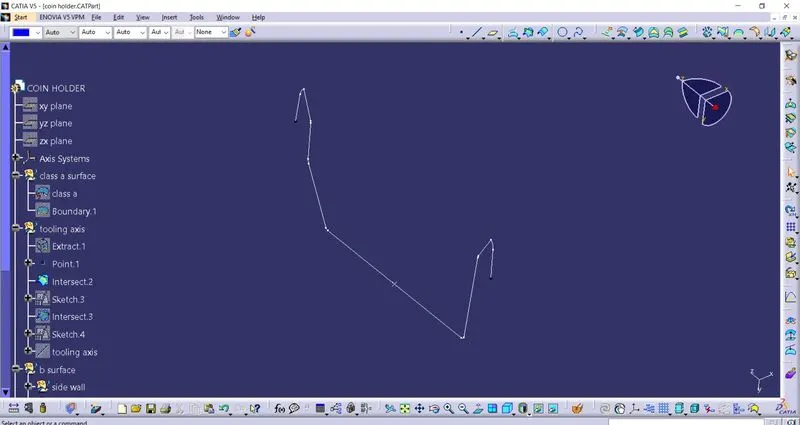
take thw two parllel lines and ctrating line inbetween those two lines and forming a line
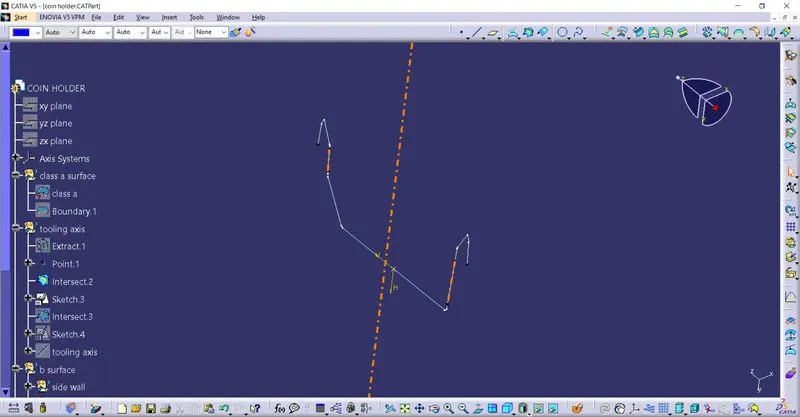
the formed line is called the tooling axis it will be appread as shown below
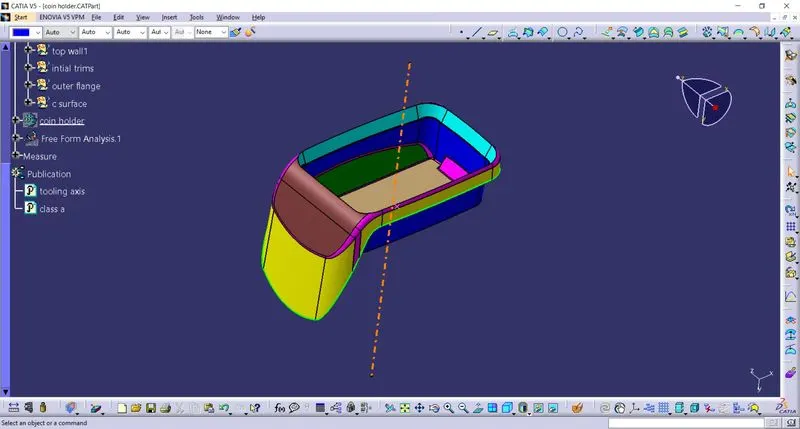
now we have to perform thr angular draft analaysis for the class-a with the tooling axis weather class-a will clear the draft angle or not
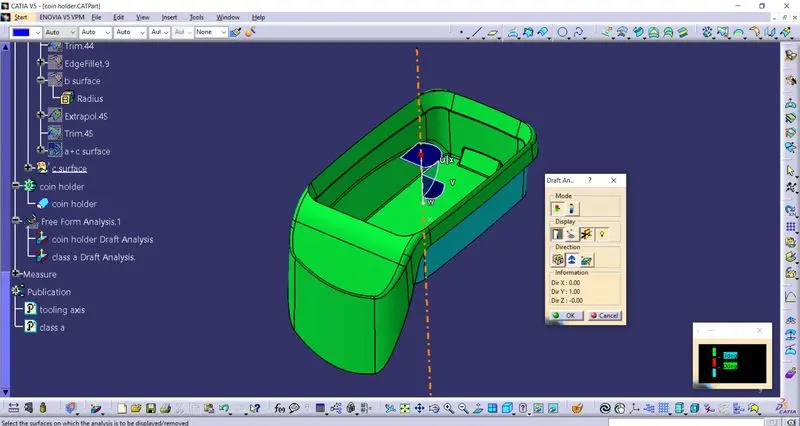
for the draft analysis we will take draft analysis option from the insert tool bar and insert the geomentry on the tooling axis as shown below
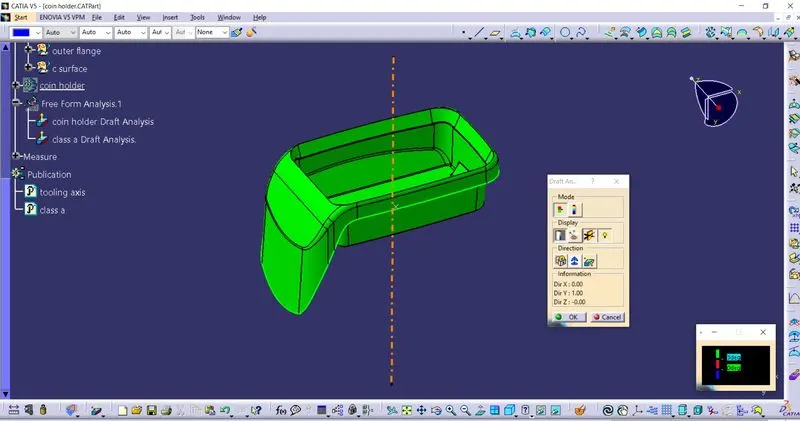
from the above image we can see that the draft angle is clearing in all faces at 3 deg this states that there is not problem with the molten plastic flow or forming the plastic part
next we can go for the next operations
Creating the class-b surface
for creating the class b surface, we start from the side wall of the coin holder and extract the side wall faces and untrim those faces and extrapolite faces and trim the extra faces. then offset the all wall with 2.5mm as per given in question and calculate the fillet radius and apply the radius to the each corners
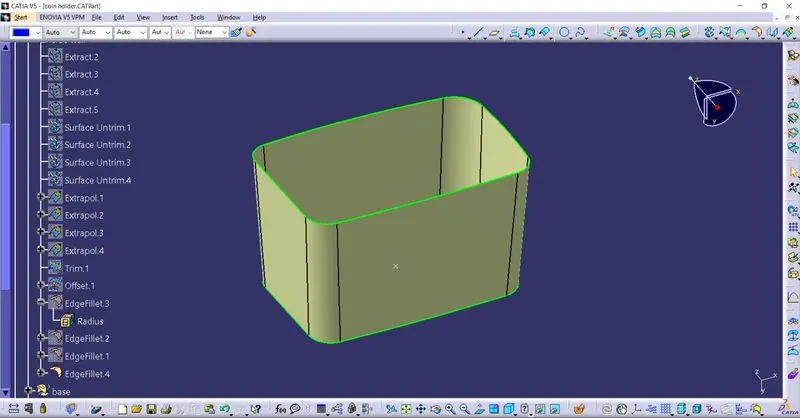
after the side wall, now we have to create the base and the top areas for that same as like the side wall we have to extract the base face and top faces from the class-a and untrim them and extrapolite all of them and offset them with2.5mm and add the radius to them.
creating the outer flange and b surface
after the base and top faces, now we have to create the outer flange areas for that same as like the above operations we have to extract the outer faces from the class-a and untrim them and extrapolite all of them and offset them with2.5mm and add the radius to them to create the outer fange
and join them all and apply reuired radius and the b surface will be created, shown below
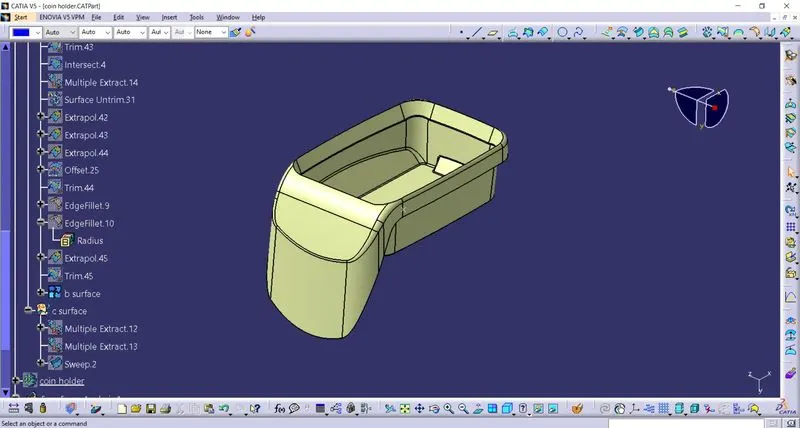
creating the c surface
taking multiple extract from the class-a surface and using the sweep command creating the surface pependicular to the class-a surface as shown below
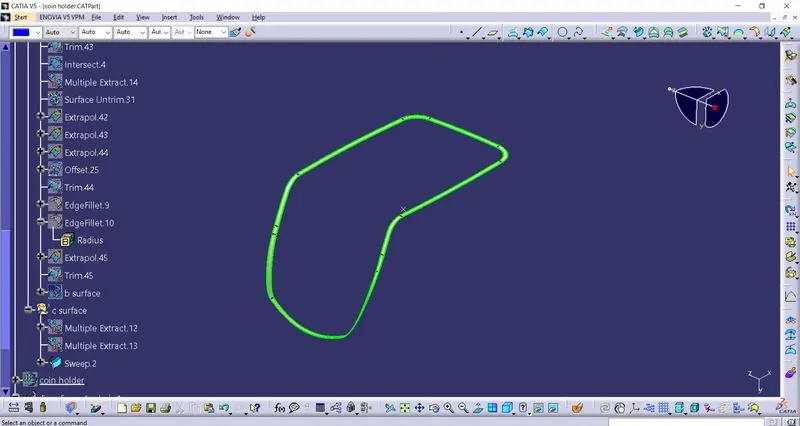
c+a surface
joining both c suface and a surface using the join command as shown below and trim the remaning extra surface
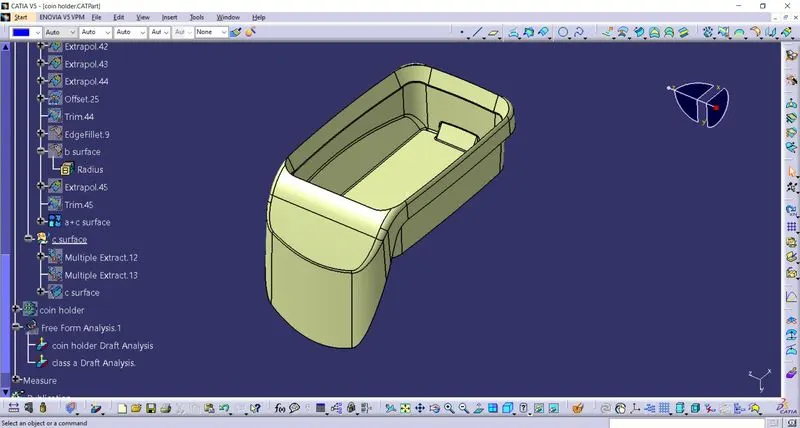
next,we have close surface body and we have to create the solid body using the surface for we are using close surface command
and applying the draft analysis to the solid part also