Week 8 - Challenge 2 - Switch Bezel Design
MAIN OBJECTIVE :
Create the Switch Bezel Plastic component through the given Class-A surface. To begin with, the tooling axis for the given Class-A Surface should be created meeting the requirements of the draft angle and at the end perform the Draft analysis on the model.
SWITCH BEZEL :
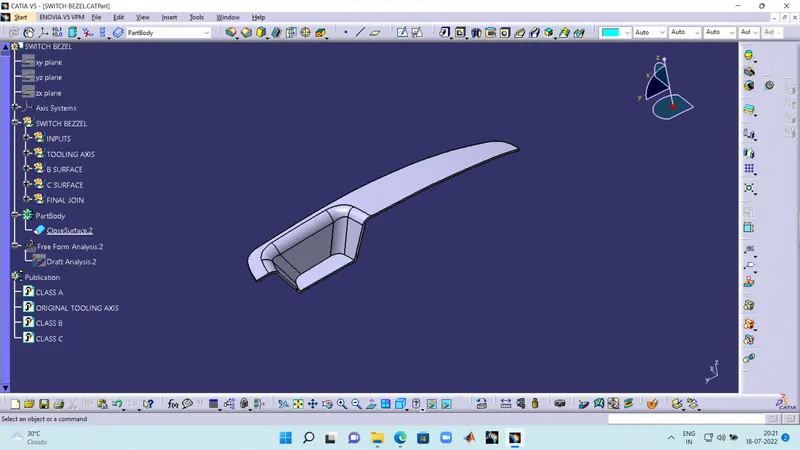
- The final component is given in the above picture.
- The tree structure was also given in the above picture.
THE DRAFT ANALYSIS OF THE SWITCH BEZEL :
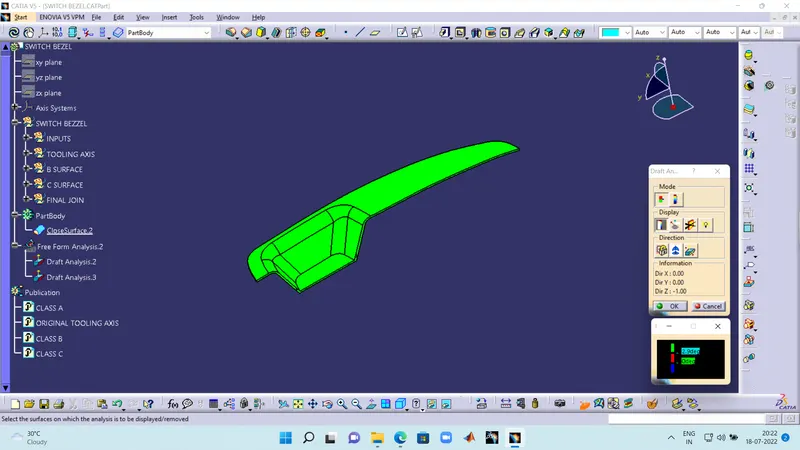
EXPLANATION :
The class A of a cat part was given as the input. The following steps i have followed to find the tooling axis.
- I have extraxted the base from the bezel and created a point using surface to point command.
- I have created a positioned sketch using the switch bezzel extract to 3d as referance and created 2 lines on the referance points and besected them to form a center line
- And i have created an other sketch using cut section view and took the sketch referance draw two lines one is on referance and the other is making angle of 6 degrees.
- After that i created a bisecting line using those 2 lines to get the original tooling axis.
CREATING CLASS B AND CLASS C :
After creating the tooling axis.
- In surface work bench selecting the faces of the bezzel rest,wall and base and perform the (EXTRACT,UN-TRIM,EXTRAPOLATE) operations on the faces and acquire the outputs and offset them to 2.5.
- Afer that final part i used 15 mm edge fillet to the walls and 11.5 mm thickness to the bezel rest walls to get class B.
- Introduce a new geometrical set named CLASS C and select a boundry of CLASS A using multiple extract as i have divided it both boundaries and made the curve smooth and used sweep to extrude the surface into class B
- As it remianded un-attached as the smooth curve is involved i took th value of merging distance to 0.003 as we cannot go beyond that limit.
- I have used join command to join both class A and class C.
- Use final trim to chop off the extruded part of sweep with class B face to get the final CLASS C surface (COMBINING OF CLASS A AND CLASS B).
FINAL CAT PART :
Jump into the part workbench and define in partbody and select closed surface of the class C and make it a complete solid to complete the task.
NOTE : The following catpart was given below.