Week 8-Challenge
Challenge- 8
Objective: Following the mentioned quality criteria and creating a 3D tetra meshing for the given three components.
CAD Model:
Procedure:
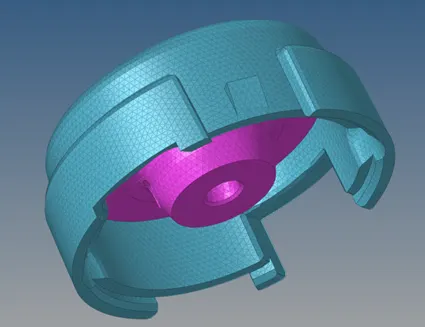
Model-1:
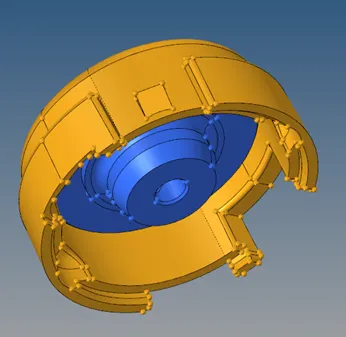
- After importing the geometry into hypermesh, there are two components in the model and one component is solid body and other one comprises of Surfaces.
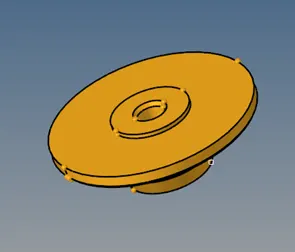
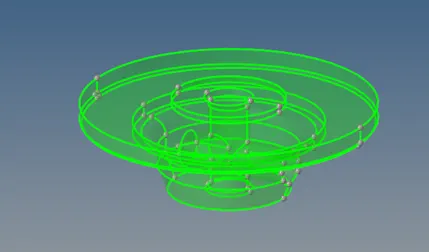
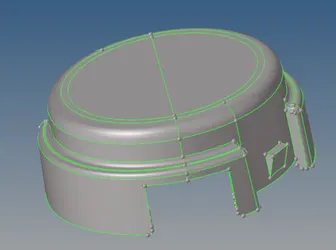
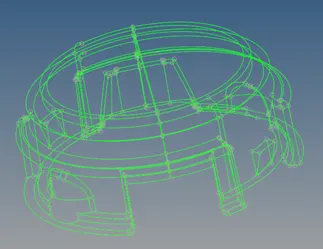
- And then in by viewing in topo mode we check if there are any surface irregularites present in the component. If there are any we rectify them using quick edit in geom menu. And finally we need to have green lines between surfaces and red lines at the outer edges. As there are no red or yellow lines we can proceed for meshing.
- After checking the geometry for the surface component we hide the solid component and then we mesh the component with Auto mesh option in 2d menu. By considering the element sie as 5mm and element type as tria element by selecting all surfaces.
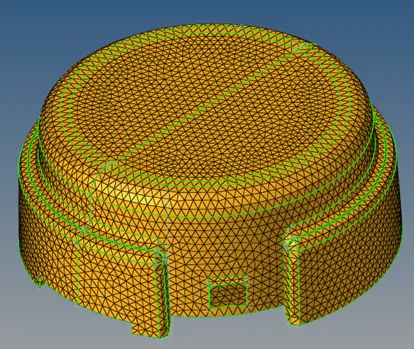
- Now we check for the elements quality for min length 2mm and max length of 7mm. we can check the elements in Check elems from Tool menu. We can set the quality parameters and check the number of elements failing for the both parameters and the we can try to remesh those failed elements or we have to rectlify the falied elements using Quality index in 2d menu. Here we can check the failed elements and can smooth the mesh and remove failed mesh elements.
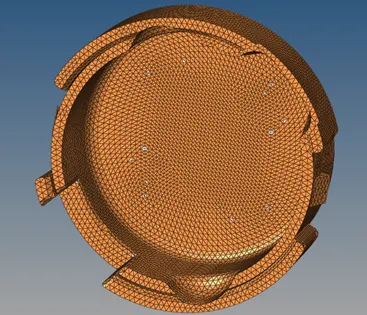
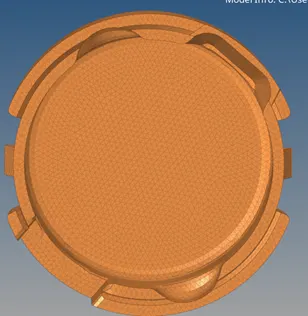
- After we check for quality of 2d tria elements. Now we have to create 3d tetra elements, so we go to Tetra mesh option in 3d menu and Change components to elements inside tetra mesh option. Now we select all 2d tria elements and click mesh. Now we have converted 2d mesh into 3d tetra element mesh. We can check for the 3d elements by using mask and hiding some elements.
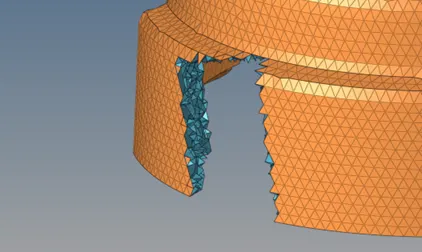
- Now as meshing for solid component we mask the surface component and elements and take only solid component.
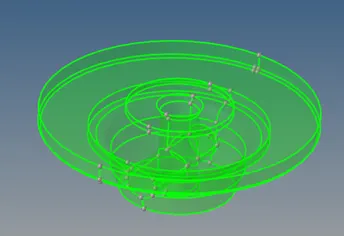
- We can perform 3d mesh by directly selecting volume tetra option from Tetra Mesh tab from 3d mesh menu. Here we have to select the solid component and select 2d type element tria and 3d type element as tetras and click on use proximity and curvature and set element size as 5mm and click on mesh. Now 3d tetra mesh has been created and we can check by clicking on mask of few elements.
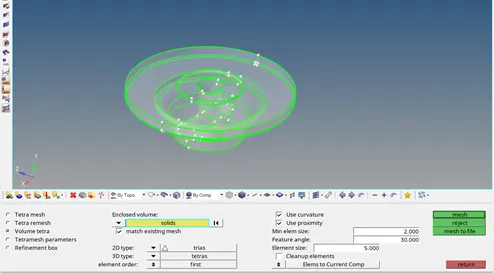
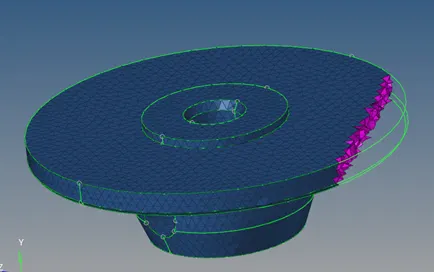
- After creating mesh we need to check for Tet collapse a 3d mesh quality parameter for both components. Tet collapse should be more than 0.15. we can check in check elements option in Tools menu. If there are any failed elements we have to remove them. We can manually remove the elements one by one but it is gonna be a time taking process so we can remove them all at once just by remeshing by setting the tet collapse value. In 3d men tetra mesh tab we have to set Tetra mesh parameters by tet collapse value of 0.15 and using tetra remesh option we select all the 3d elements of both components and click mesh. Now we have to go and check if any failed elements. And we can see zero elements failed.
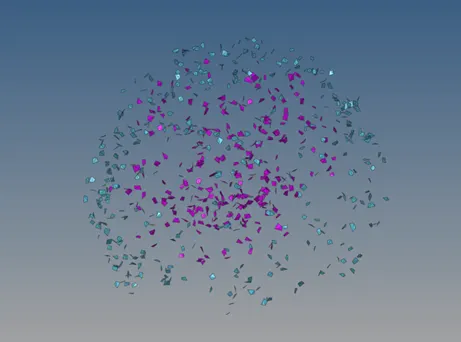
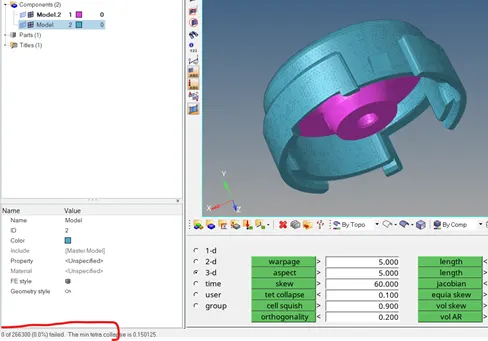
- Hence 3d tetra meshing is done for both components.
Model-2:
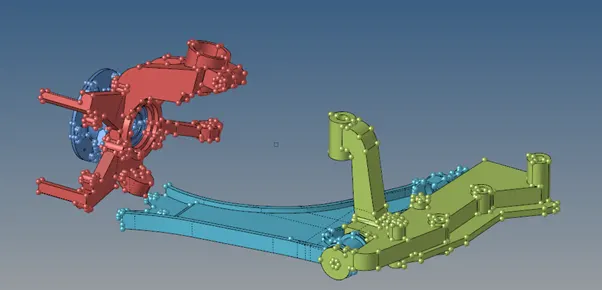
- Import the geometry to the Hyper mesh.
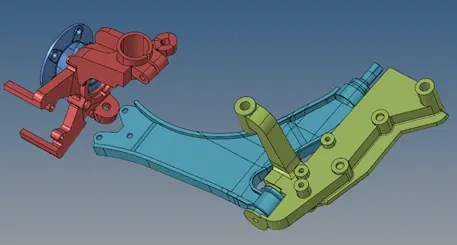
- And then by viewing in topo mode, we will check for the surface irregularites present. We rectify them using quick edit in geom menu. As we maintain to have green lines between surfaces and red lines at the outer edges. Now we defeature the surface fillets and other unnecesaary lines and remove the features where we think mesh element is gonna fail for criteria.
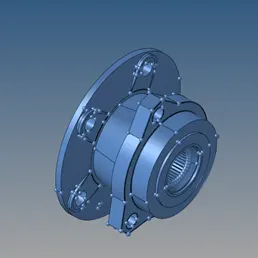
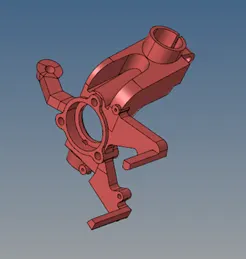
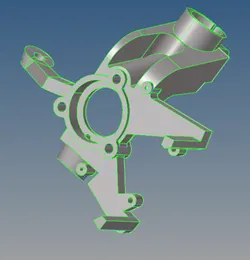
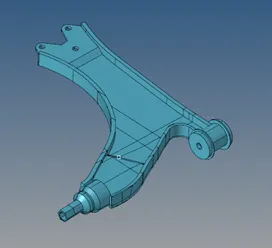
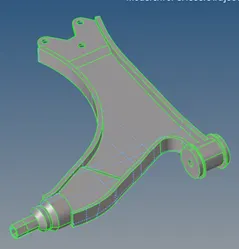
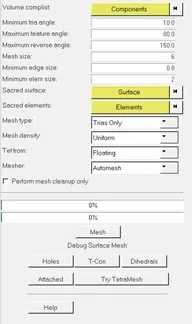
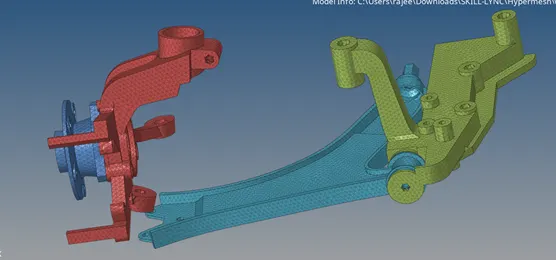
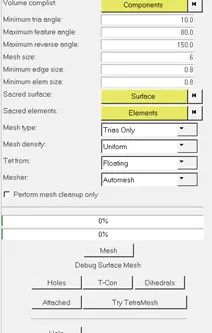
- Now after cleaning the geometry as the components look too complex to do the surface meshing and then convert to 3d tetra mesh. Here sometimes we may get an error that component is not enclosed to achieve tetra mesh. So, we perform Quick tetra mesh from the utility menu and select the components and set element size to 6mm and Min element size to 2mm and then change mesh type to trias only and mesh the component. We acquire the tetra mesh as quick tets in the model components.
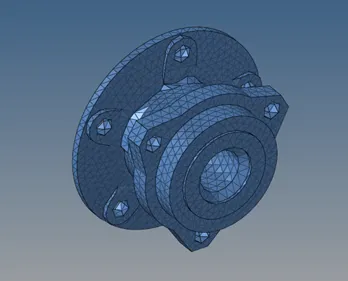
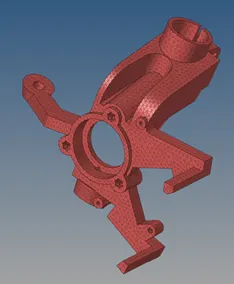
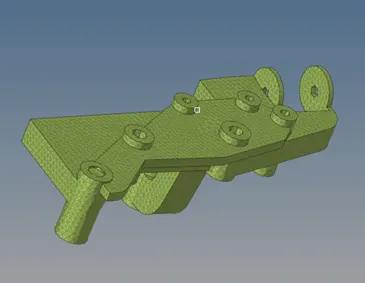
- After creating mesh we need to check for Tet collapse a 3d mesh quality parameter for both components. Tet collapse should be more than 0.15. we can check in check elements option in Tools menu. If there are any failed elements we have to remove them. We can manually remove the elements one by one but it is gonna be a time taking process so we can remove them all at once just by remeshing by setting the tet collapse value. In 3d men tetra mesh tab we have to set Tetra mesh parameters by tet collapse value of 0.15 and using tetra remesh option we select all the 3d elements of both components and click mesh. Now we have to go and check if any failed elements. And we can see zero elements failed.
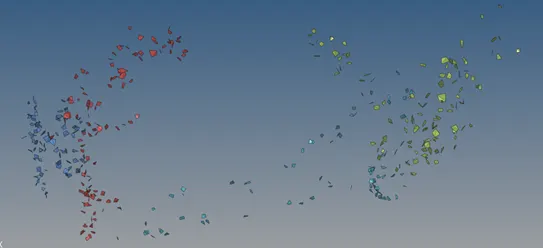
- Hence 3d tetra meshing for this component is done by using quick tetra option.
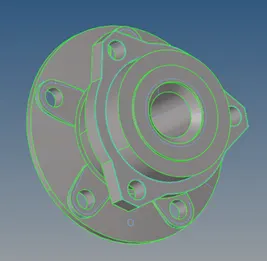
Model-3:
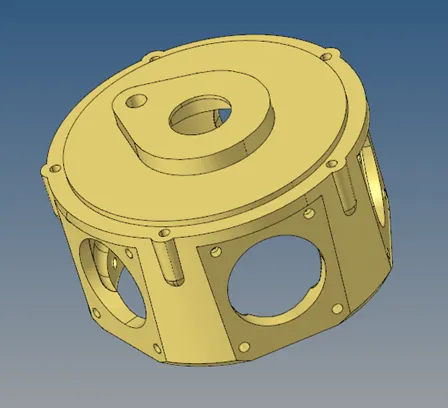
- Import the given hypermesh model using import model option.
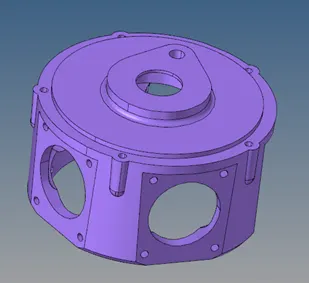
- Check for Geometry irregularities if any and rectify them using edit geom options and remove if any red or yellow lines available in the surface component which are not outer edges.
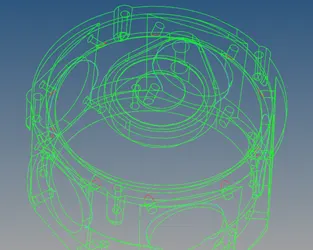
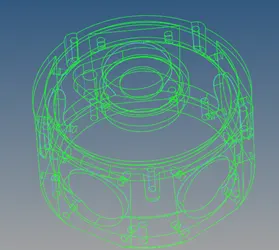
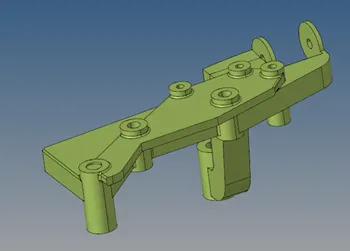
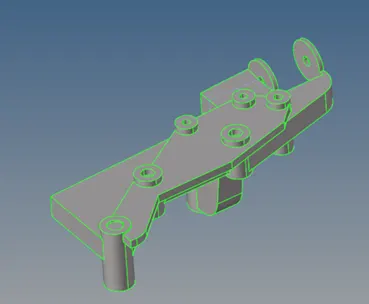
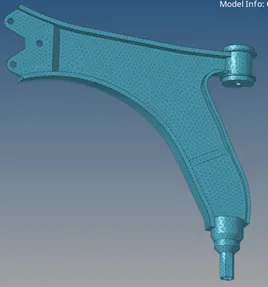
- As this is not a solid component we can not perform tetra meshing directly either we have to perform 2d mesh first or have to quick tetra mesh as before. As we observe the Surface we can see that there are so many lines and features that may fail for quality if we mesh using 2d mesh, so here we choose quick tetra mesh for this component and Perform Meshing.
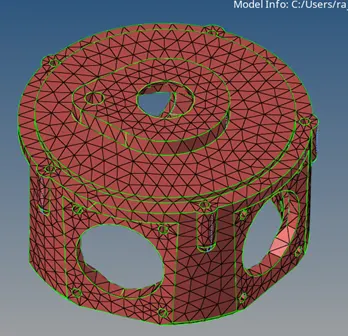
- Now we check for tet collapse to 0.15 as 3d quality parameter and if there are any failed element, we change the tetra mesh parameters and perform tetra remeshing. So we get 0 elements with failed tet collapse. Hence Tetra mesh is performed for given component.
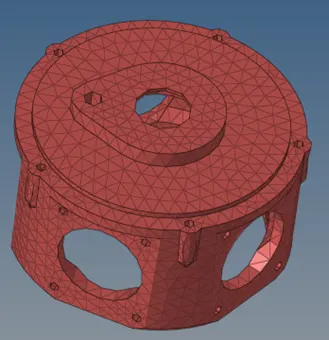
Results:
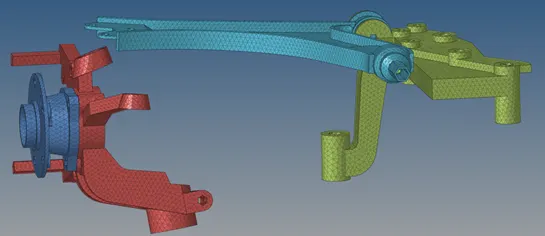
Hence 3d tetra meshing is performed for different models in three different ways. If quality of mesh is of less priority the we can go for Quick tetra option. If best quality if required we can go for 2d meshing and maintain the quality required and then convert to 3d tetra mesh. If partial quality is enough and given a solid model we can go for volume tetra option.
Final CAD model: