Week 8-3D Tetra Meshing in Hypermesh
Objective 1: Create a Teramesh for Housing component with the following quality criteria.
TetraMesh Generation Method: 2D to 3D Conversion
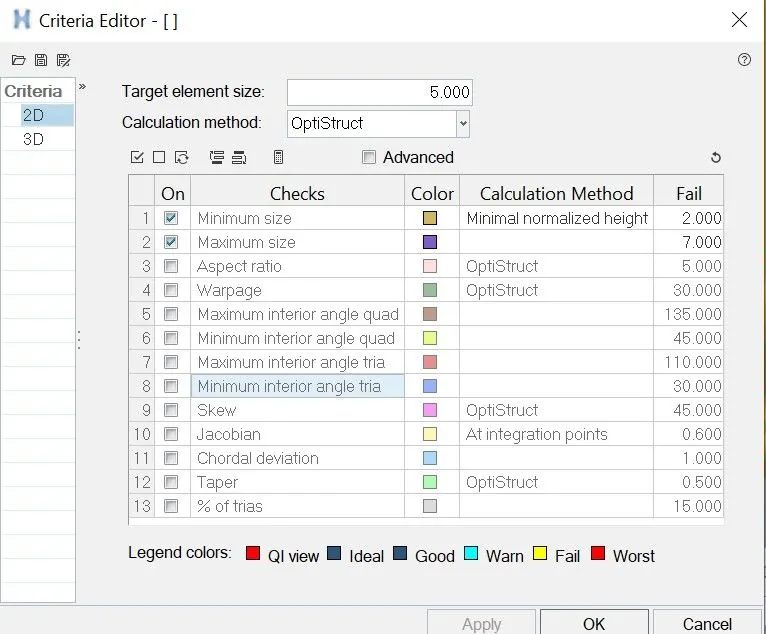
Quality Criteria: Min Lenght - 2 Units, Target Lenght - 5 Units, Max Lenght - 7 Units. Tet collapse: 0.15
Procedure:
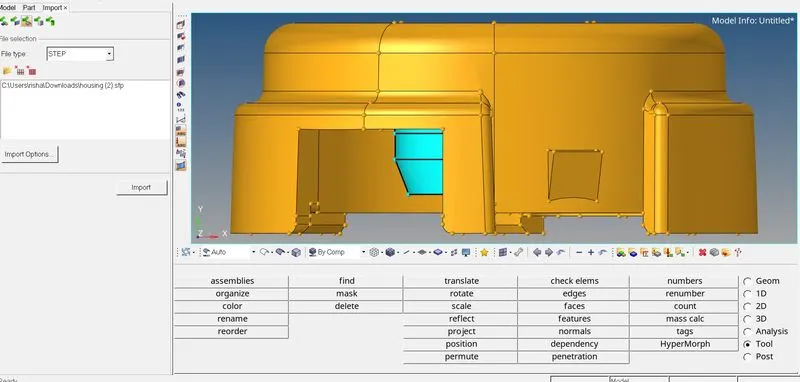
- Import: The given model is in .STP format hence we need to import using Import>Geometery>.STP>Import. The below image shows the procedure.
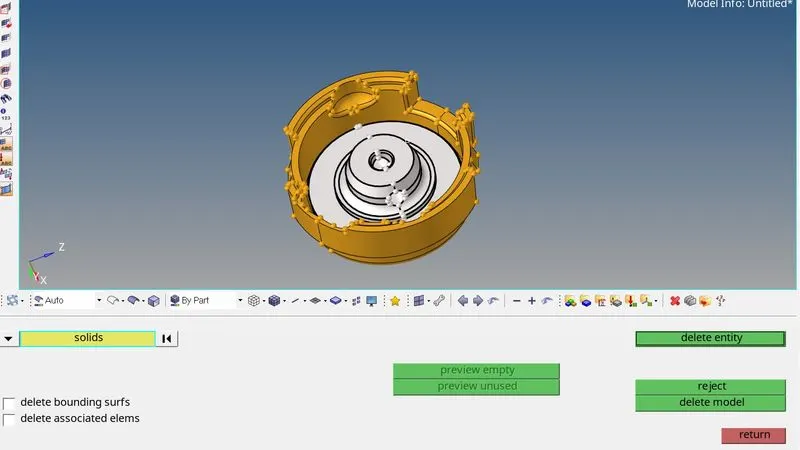
- Deleting Solids: Once the model is imported we will delete the solids in the model, the below image shows the same.
- Geometery Ckeanup and Defeaturing: We will check model for any free surface by viewing the model in wireframe mode.
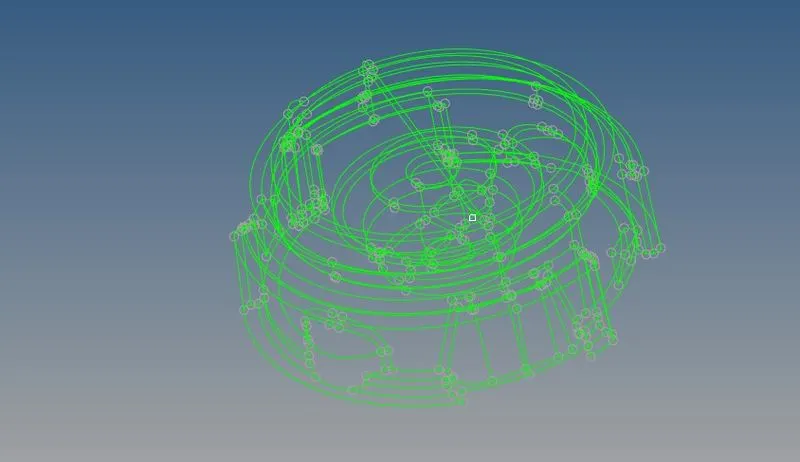
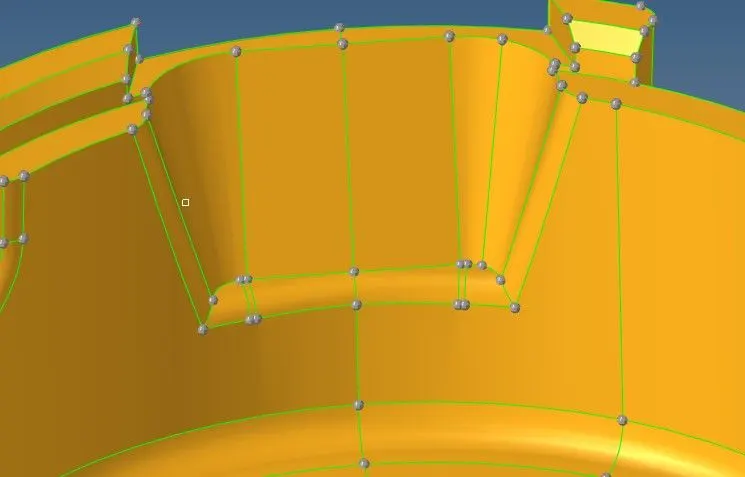
The given model had no free surface, hence we can proceed with defeaturing, here we will remove the lines where minimum thickness error may occur. However, few area could not be defeatured as featur capturing was bgetting affected. Below are few examples of defeaturing.
Before After
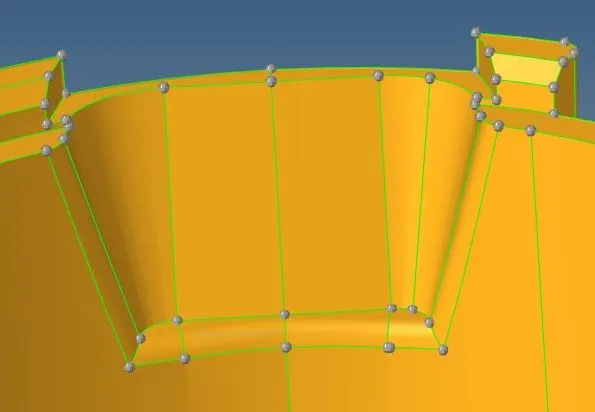
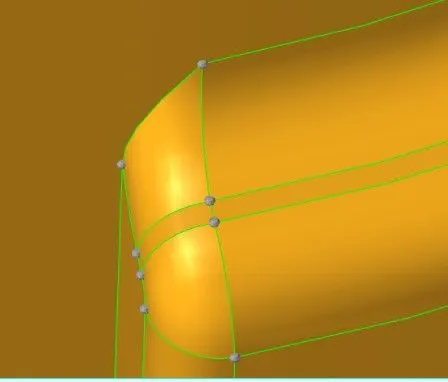
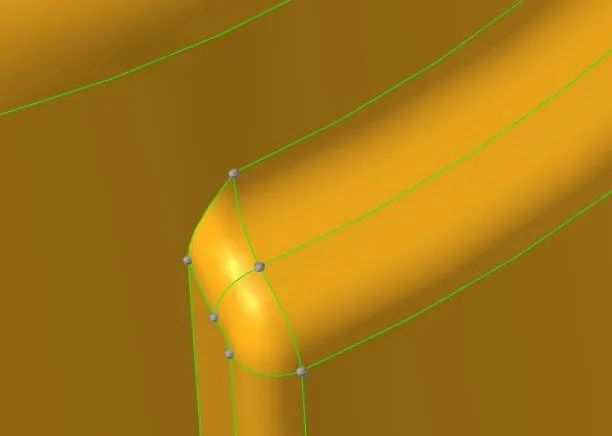
- 2-d Meshing: As per the requirements we have to convert 2d mesh to 3d. We need to first set the uality criteria. Below image shows the same.
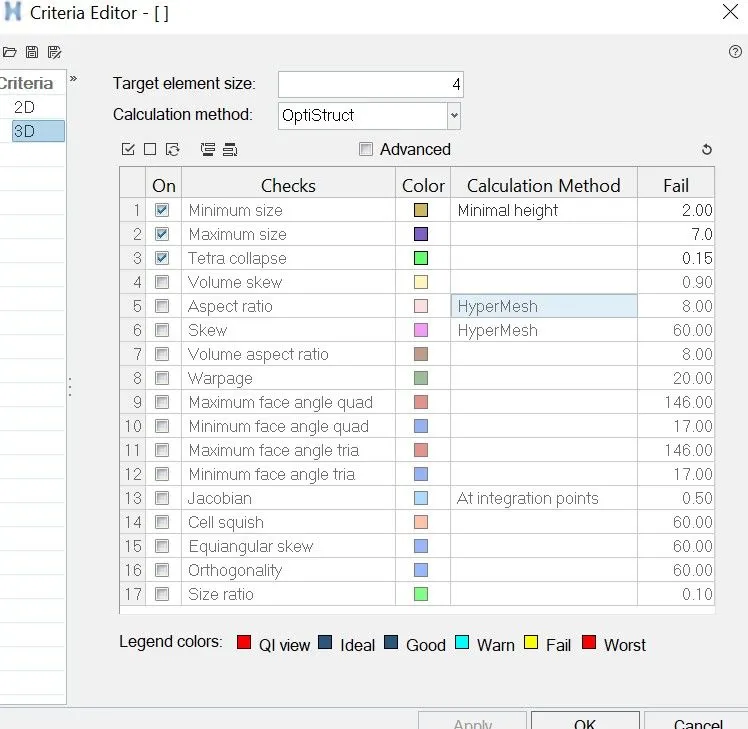
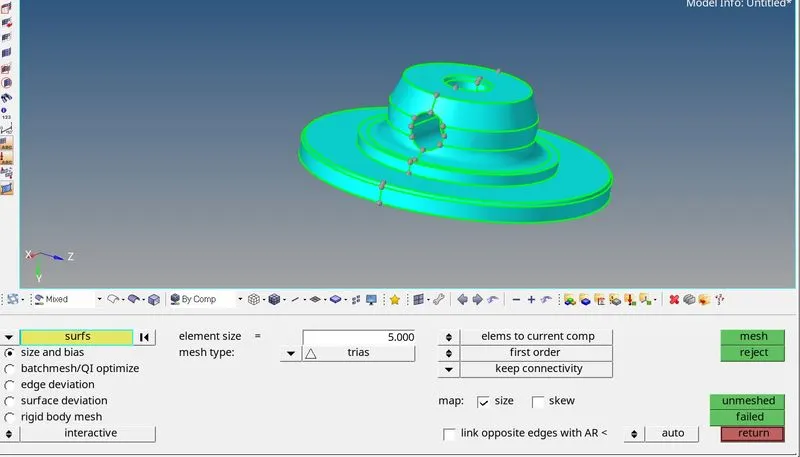
Once the quality criteria is set we can proceed with meshing. To do we will go to 2-d>Automesh>Surf. The below image shows the setup for meshing the model with 2d elements.
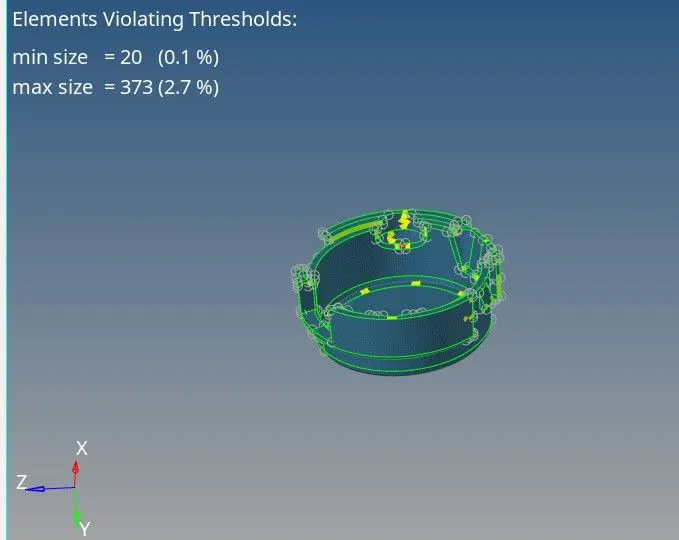
Once the mesh is created it is important to clear all off elements from the mesh, as it may cause Tet Collapse in the final mesh.
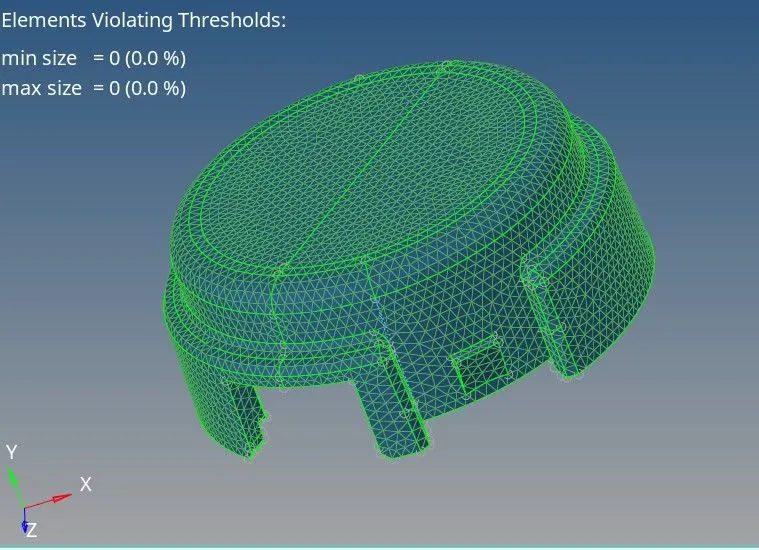
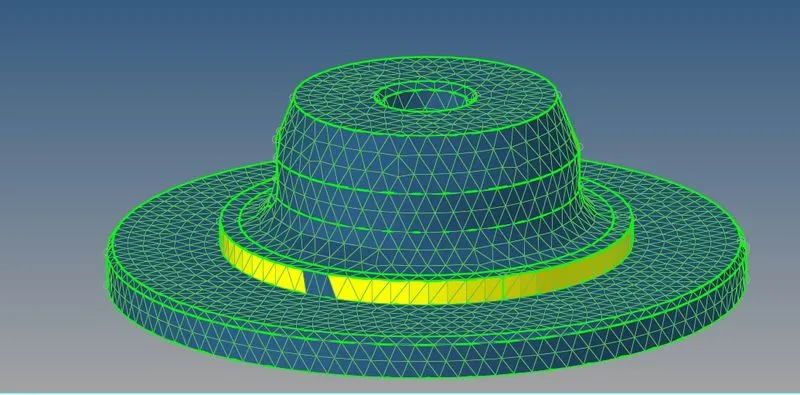
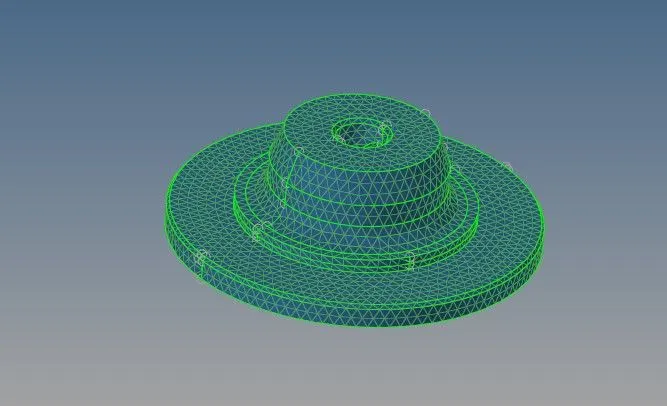
The mesh initally gave many off elements, most of which can be removed by smoothing the mesh however, at few areas maximum lenght can be resolved by inducing two row of elements. This also helps is caputing the feature. minimum lenght errors on few regions could be fixed by moving the node.
The below image shows before and after resolving the off elements.
| Before | After |
 |
 |
 |
 |
Once the off elements are cleared, we check for errors like connectivity issue, duplicates and equivalance errors. If found we will fix them.
- Converting 2d to 3d Mesh. As per requirement we will convert the generated 2d mesh into 3d mesh. In order to do so we will go to 3d>TetraMesh>Tetra Mesh>Elements. The below image shows the procedure.
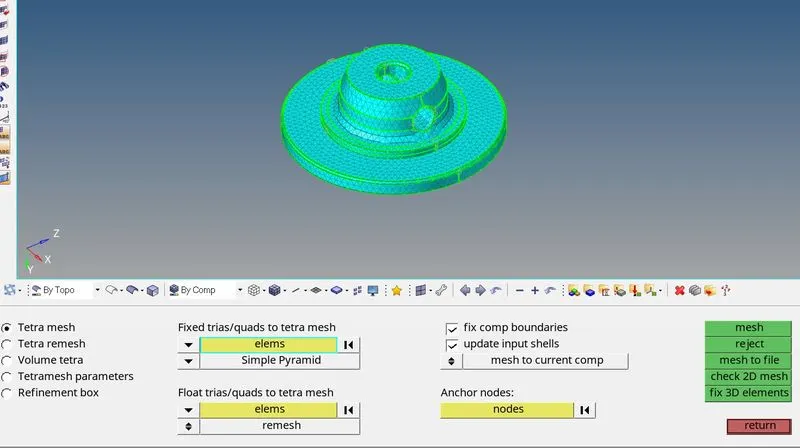
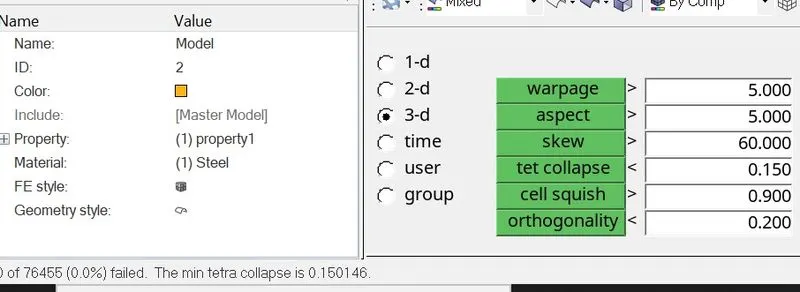
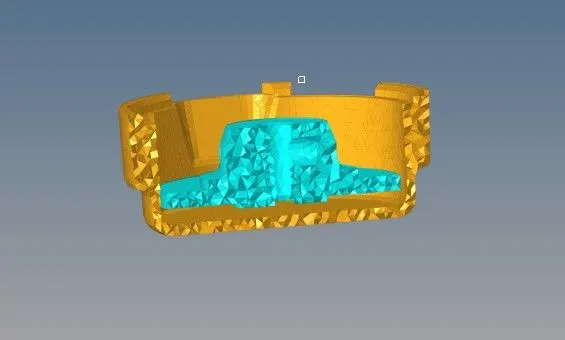
Once Tetra Mesh is created we will check for quality issues. In the the given model Tet Collapse is of most importance, hence we will check it by going to Tools> Check Elements> 3d> Tet Collapse. As we had resolve all the off elements in 2d mesh there was no Tet collapse issue in the 3d mesh.
Below image shows Tetra Elements created on the model.
Objective 2: For the given model, Create a 3D Tetramesh with the following quality criteria.
Quality Criteria: Target Element size: 3 Units. Tet Collapse: 0.15
TetraMesh Generation Method: Quick Tetra Mesh/ Volume Tetra Mesh
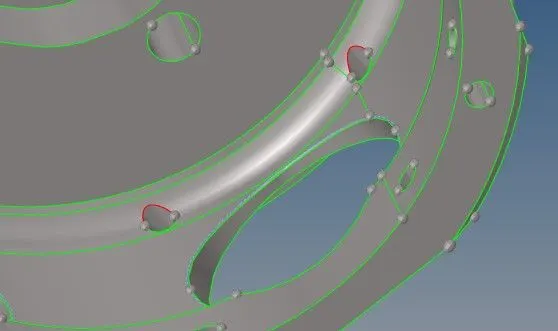
Procedure: For doing Quick Tetra it is important to make sure that the model is c losed completely. Hence we look for any free edges in the model. The below image shows the free edge which was resolved by pasting the lines together.
- Meshing: In order to mesh the given model in with tetra elements we will use you use Quick Tetra meshing, this method is comparitively very less time consuming. In order to mesh we will go to View>Browsers>Geom/Mesh>quick Tetra Mesh. Below image shows the setup of the same.
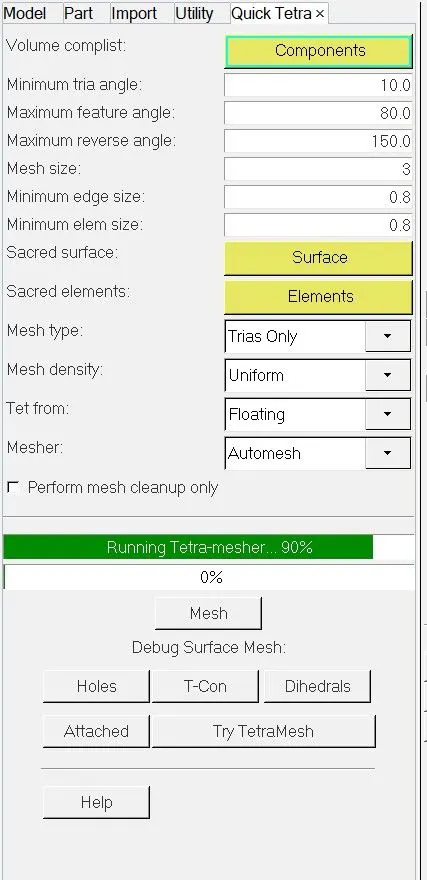
Once we have reached the above page, we can select the component and surface. We can enter mesh size which is our Target element lenght and proceed. This method first creates 2d mesh and using it Tetra mesh is created. The 2d mesh can be deleted after Tetra mesh is created.
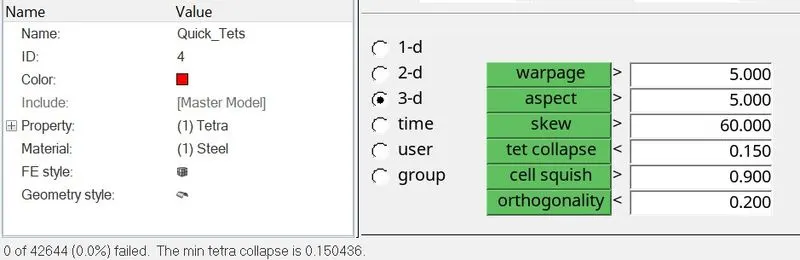
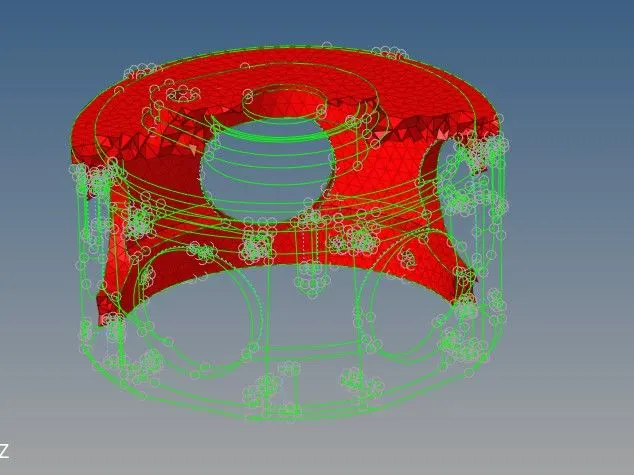
- Element Cleanup: Once elements are we will check for Tet Collapse, to check we will go to Tool>Element Check>3d>Element Check>Tet collapse. Initially the mesh had 147 elements with Tet Collapse. In order to resolve the we will go to Tetra Mesh tool> Mesh Parameters> Enter elem. quality target> Tet Collapse(0.15). Now go to Tetra remesh>Elements> Displayed> confirm. After this we will again check for Tet Collapse, this method resolved all tet collapse. Below image shows the procedure and result.


Below image shows results after resolving the Tet Collapse.
Objective 3: For the given assembly model, Create a 3D Tetramesh with the following quality criteria.
Quality Criteria: Target Element size: 4 Units.Tet Collapse: 0.15
TetraMesh Generation Method: Quick Tetra Mesh/ Volume Tetra Mesh
Procedure:
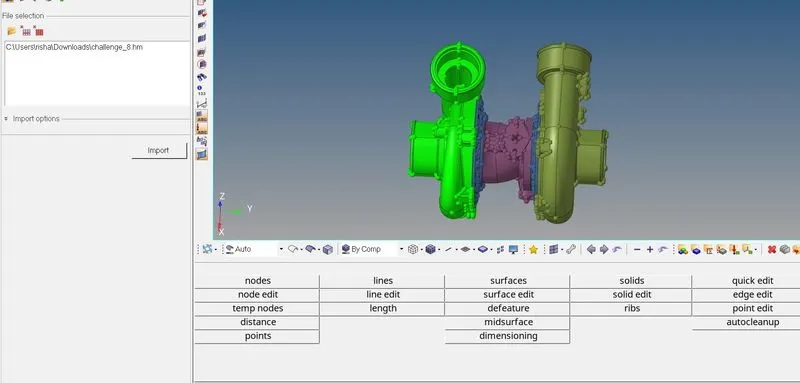
- Import: The given model is in. HM format, we imported the model using Import tool> Model. Below image shows the method.
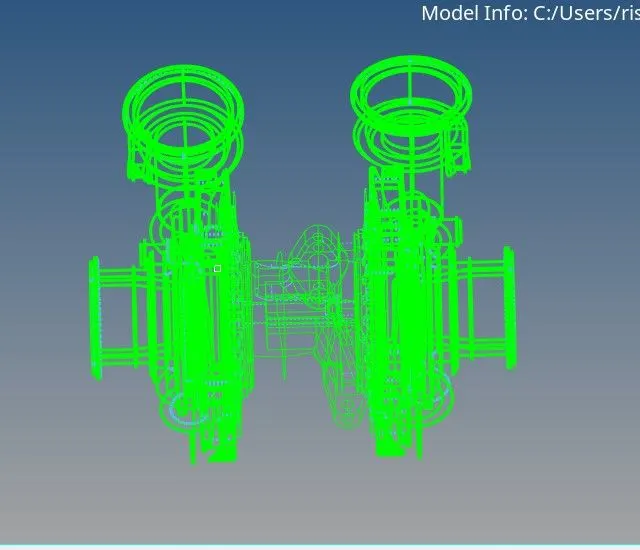
- Geometery Check and Defeaturing: Once the model is imported we will view the model in wireframe view to check any issue. The model did not had geometerical issue. The below image shows the same.
Once done we can isolate the componenets one by one to check and defeature wherever required. In the given we defeatured the surface where lenght issue could occur. Below images shows the same.
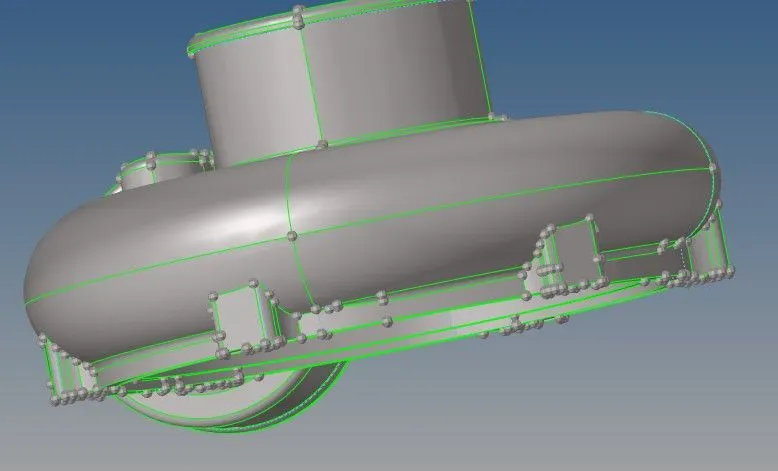
In the below image we have defeatured the surface fillets using Defeature> Surface Fillets. Same method was used in both the Casings.
| Before | After |
 |
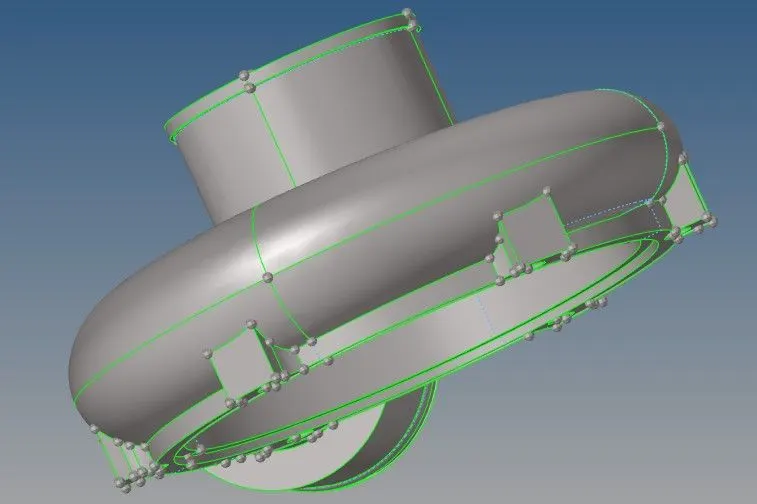 |
In centeral hub and hub we had to defeature some surface, however, not all fillets could be defeatured as it was affecting the feature capturing.
- Meshing: In the given we have used Volume mesh method, in order to use this we have to make the geometery is closed. We will go to 3d>Tetra Mesh>Volume Mesh. We isolated each component and mesh one by one. The below image shows the method.

Once meshing is done we will check for Tet collapse in the meshing, the below image shows the off elements in the casing component.
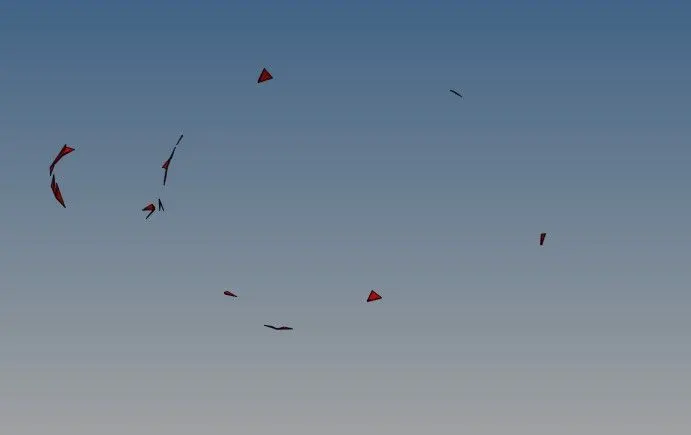
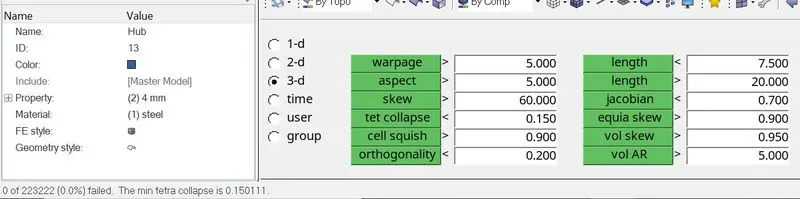
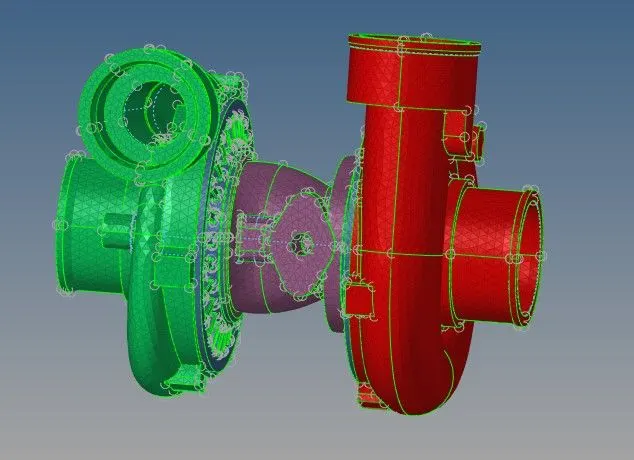
The off elements were removed using similar method as used in model 2. We set the Tetramesh Parameters and remeshed the elements, which resolved the issues. Below image shows the result after resolving all the off elements.
Final Results:
Model 1:
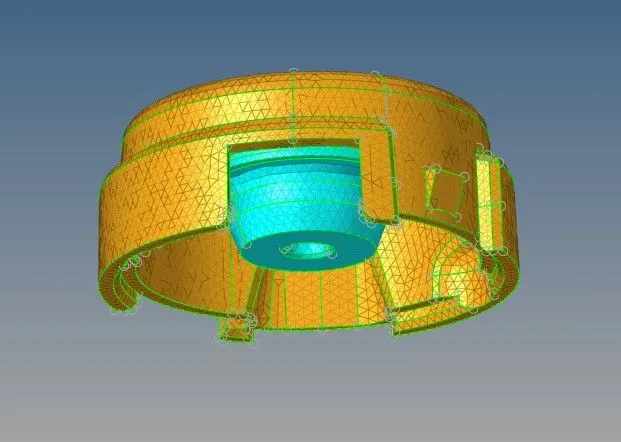
Model 2:
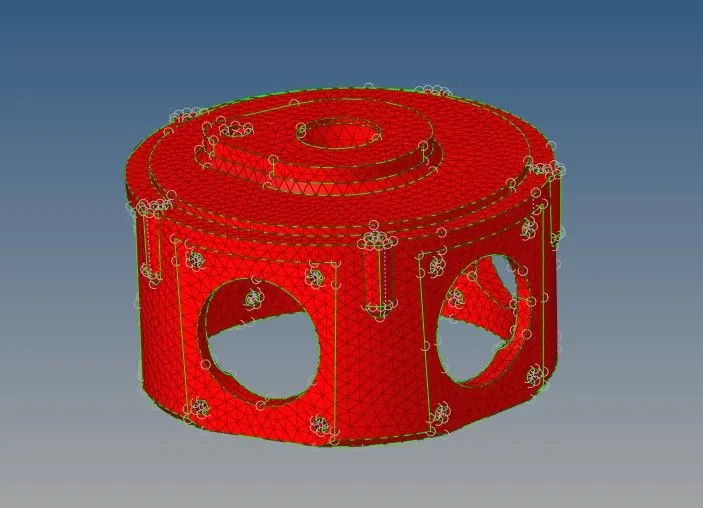
Model 3:
Conclusion: Hereby, we have meshed all the models with 3-d Tetra Mesh using different method with given quality criteria. By doing this challange we got to learn about Tetra meshing and different methods through which it can be achieved.