Week 3 - MId-surfacing and Meshing of Car Hood using ANSA
Objective: To create mid-surface of the given model of a car hood, and create a smooth mesh with the given elemental quality criteria:
|
S.No |
Quality Criteria |
Value |
|
1 |
Target/Average length |
5 |
|
2 |
Minimum Length |
2 |
|
3 |
Maximum Length |
7 |
|
4 |
Aspect |
3 |
|
5 |
Warpage |
15 |
|
6 |
Skewness |
45 |
|
7 |
Jacobian |
0.7 |
|
8 |
Minimum Quad Angle |
45 |
|
9 |
Maximum Quad Angle |
135 |
|
10 |
Minimum Tria Angle |
30 |
|
11 |
Maximum Tria Angle |
120 |
|
12 |
Tria Percentage |
15 |
Meshing Process:
Importing the model: Firstly, we imported the model from the storage in .STEP format to ANSA software.
Model Setup: We performed ‘TOPO’ for the whole model to connect any unattached surface. The given model has been given with 5 PID for different elements, one each for inner hood, hood cover, 2 hinges and a latch.
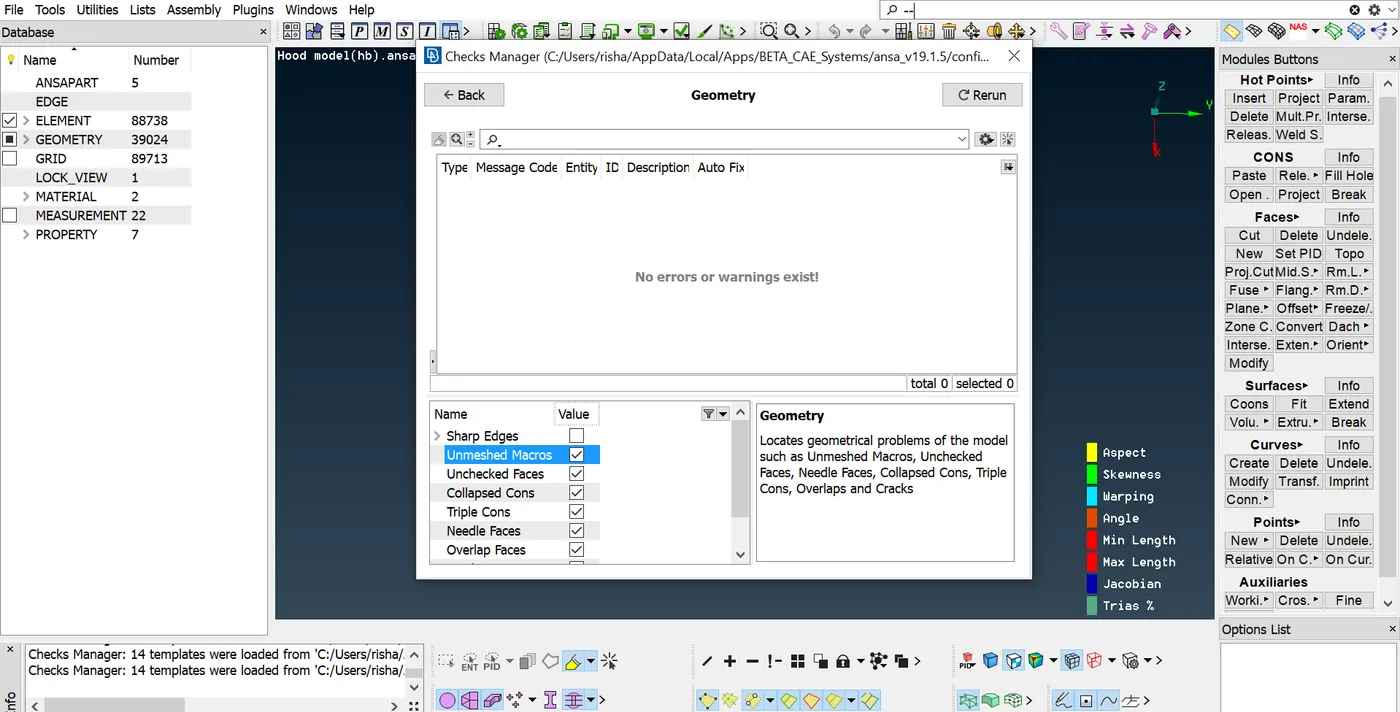
Geometry Check: From ‘Checks Manager’ using ‘Geometry’ we checked for any geometrical errors. And fixed using Auto Fix options, however for some manual fixing was required. For example, for releasing a triple con from a whole and converting it into in Double Con.
Similar processes done for both the inner and outer part of the hood.
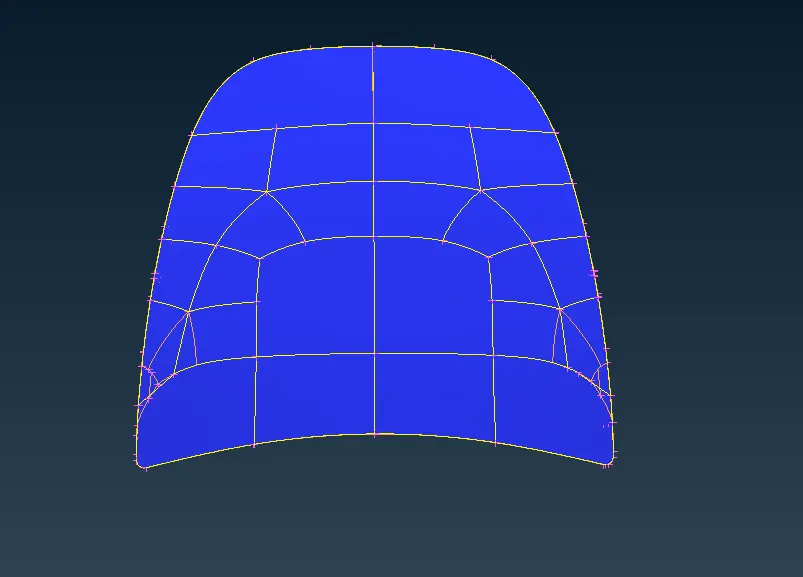
Extracting Mid-surface; Now for getting the mid-surface of the hood cover, we used Faces>Mid-surface>Skin option to extract the mid-surface. And a separate PID had been assigned for the mid-surface if hood cover. As the cover surface was smooth and had no elements on it we used skin option.
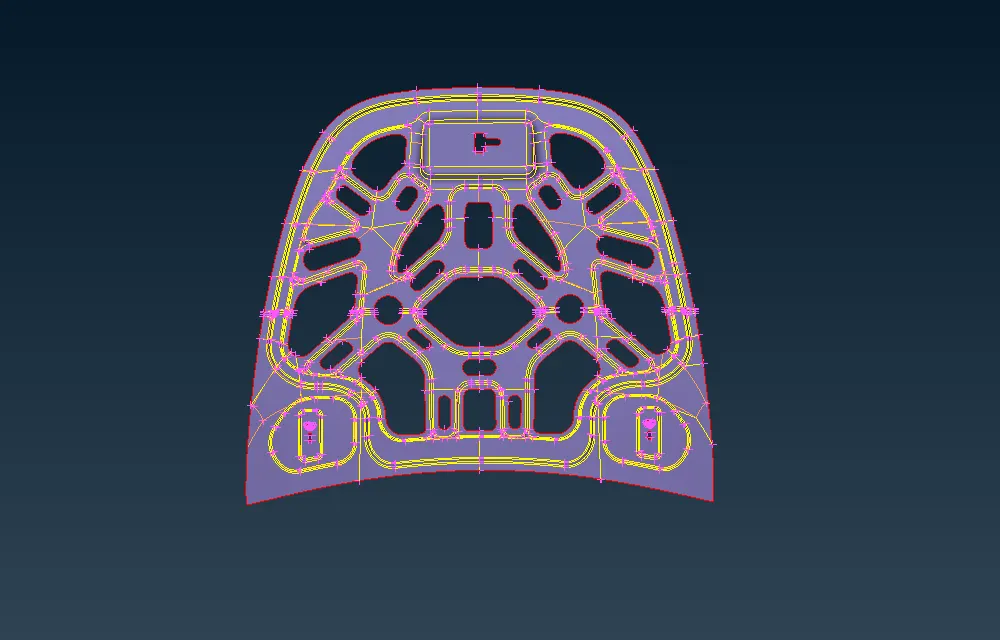
Also, considering complete inner hood as a single element, including latch and hinges a mid-surface was created using Offset>Feature Angle. And we assigned a PID for the inner hood, giving a distinct colour code for the same.
After completing, with extracting mid-surface we assigned the thickness for both the elements, i.e. 0.75 for both inner hood and hood cover.
Inner Hood Mid-Surface:
Hood Cover Mid-Surface:
De-featuring: Now, in order to achieve a proper mesh, and lesser elemental failure, we removed the unnecessary cuts on the model surface and along the edges, we removed the stray Hotpoints. If the distance between two cuts was lesser than the minimum required length, we removed the cut from the surface. Also, for macros we made sure that the it does not cause any failure
Meshing: Once we are done with de-featuring of the model, we started meshing. Firstly, entering the quality parameters for the mesh, and defining minimum and maximum length of the mesh.
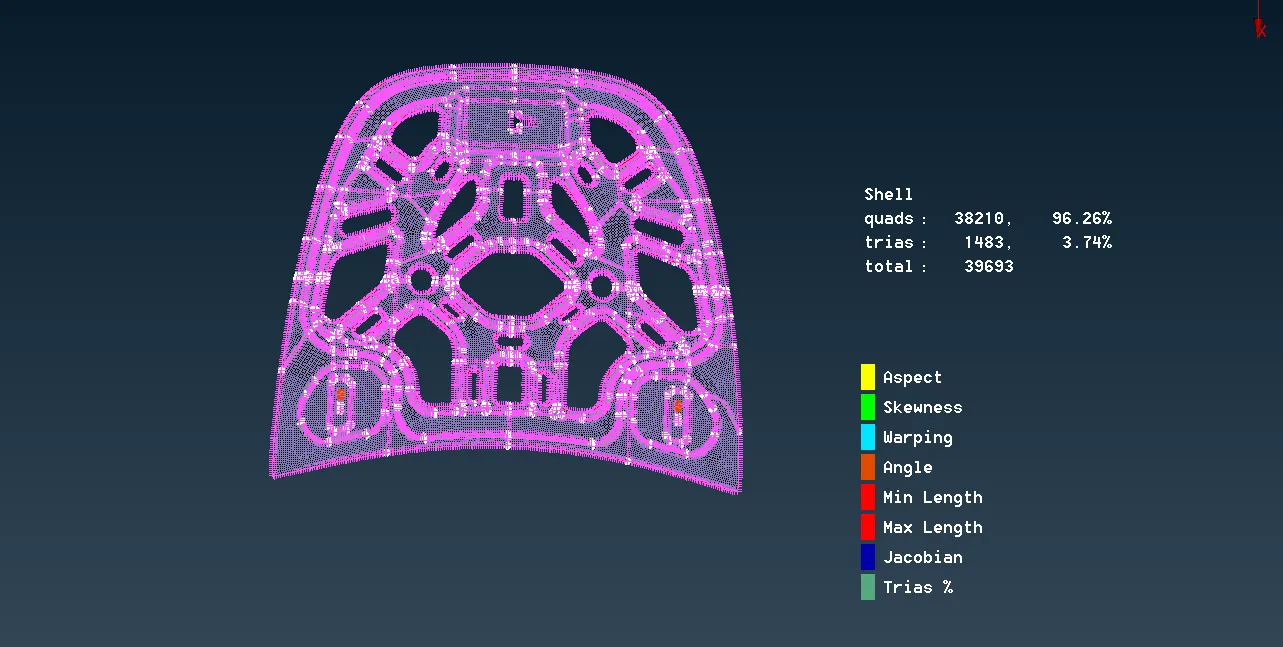
Starting from the centre part of the model. We used Mesh Generating> Best Mesh to generate the mesh. Now, if the initial result had element failure we used Shell Mesh>Reconstruction to acquire a better result, however, if the results were still not satisfactory and the mesh had more number of trias we used, Elements>Spilt and Swap tools for reducing tria percentage. Along the edge and cut lines, we used Num+/- tools to increase or decrease number of hotpoints too reduce trias.
For better mesh result we checked for any opposite tria, trias that are around the edges or macros and changed them.
Meshed Surface of Inner Hood:
Inner Hood Meshed Surface:
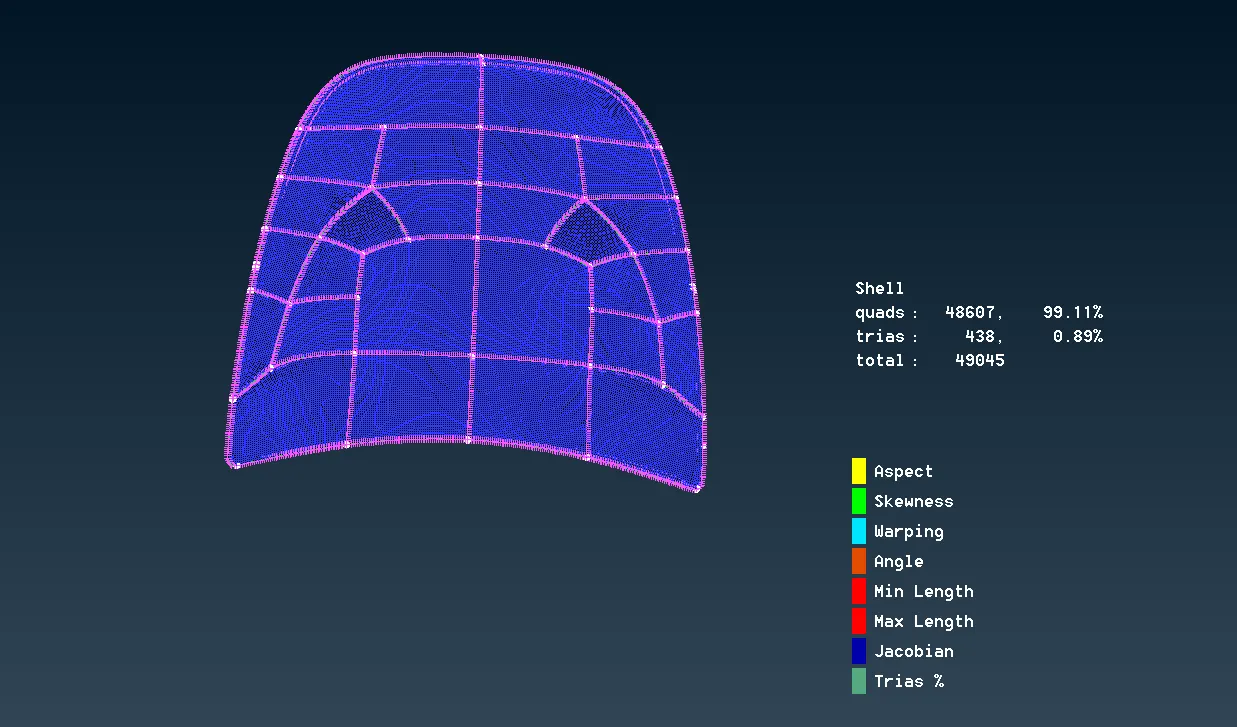
Hood Cover Meshed Surface:
Learning Outcome and Conclusion: By completing this model, we got used with various tools in ANSA software, it helped clearing certain doubts about handling complex models. Also, it helped understanding importance of various steps required to achieve better mesh results.