Week 8-3D Tetra Meshing Challenge
Week 8
Aim- To Perform 3D tetra meshing by using volume mesh and conventional 2D to 3D conversion method.
Question 1.
Google drive Link -https://drive.google.com/file/d/1Giy6QOu0JfaGG5GzwwMBaGMgOSOkAAu1/view?usp=share_link
Step 1- Import the CAD geometry.
Step 2- Checking for the number of components.
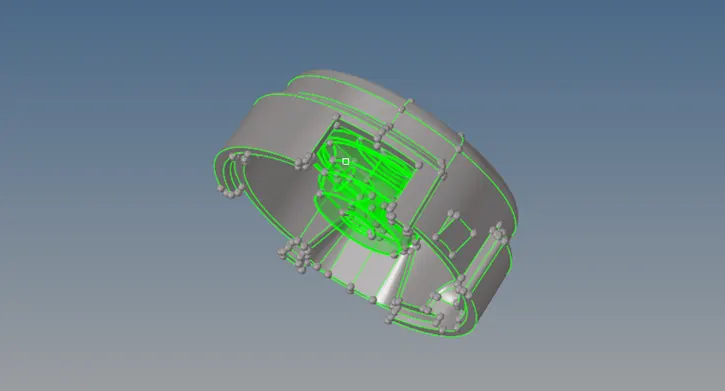
Fig 1 - Imported CAD geometry
Step 3 - Changing the Geometry color mode to TOPO. Deleted the solid Part from delete- solids- selected the Parts- delete.
Step 4 - Performed the geometry clean up from Quick edit Panel.
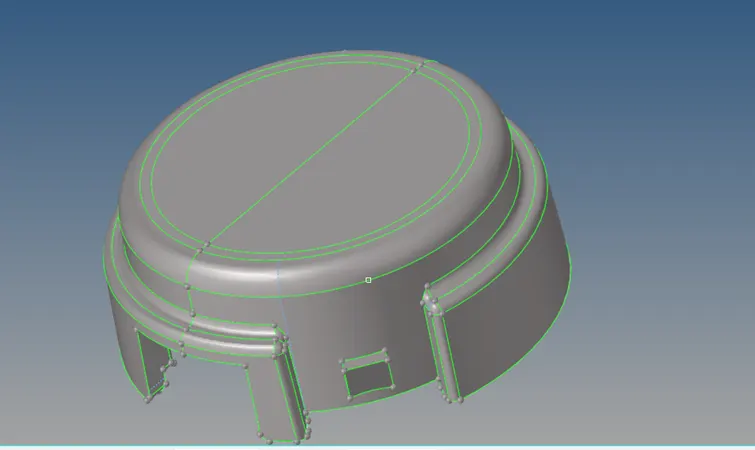
Fig 2 - Model after geometry clean up
Step 5- Added the Quality criteria as per the assignment from 2D - element cleanup
Step 6 - Shell meshing on each component from 2D- auto mesh-mesh type mixed- element size -5
Step 7- Improved the failing 2D elements from 2D - Element cleanup- Clean up tools.
Step 8- Converted the 2D shell elements 3D volume mesh from 3D- tetra mesh - tetra mesh- selected the elements- mesh.
Step 9 - Checking for the 3D tet collapse and solved the Failing elements from tools- elements check.
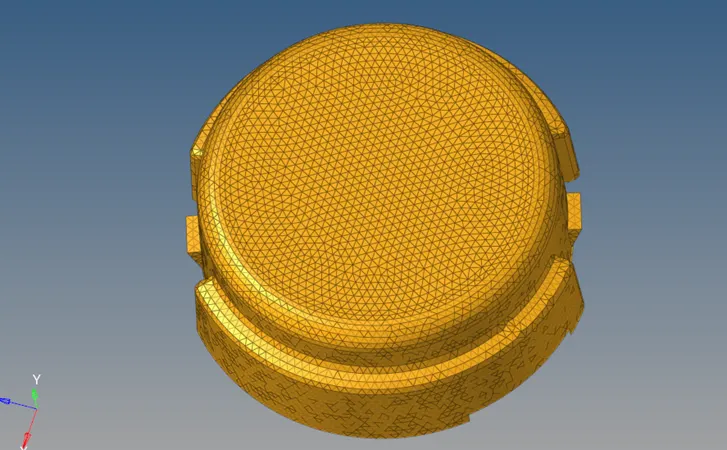
Fig 3 - Tetra mesh of component 1.
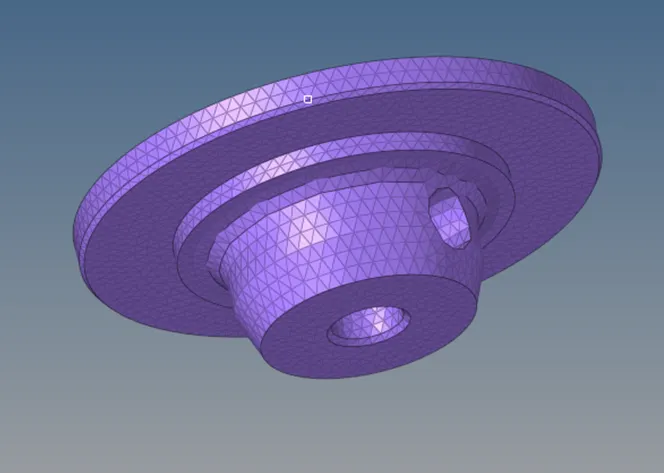
Fig 4- Tet mesh of component 2
Question 2.
Google Drive link - https://drive.google.com/file/d/1Fh9fePcSEiFgLuCW8XL2JaGbw5AO4khP/view?usp=share_link
Step 1- Import the CAD geometry.
Step 2- Checking for the number of components.
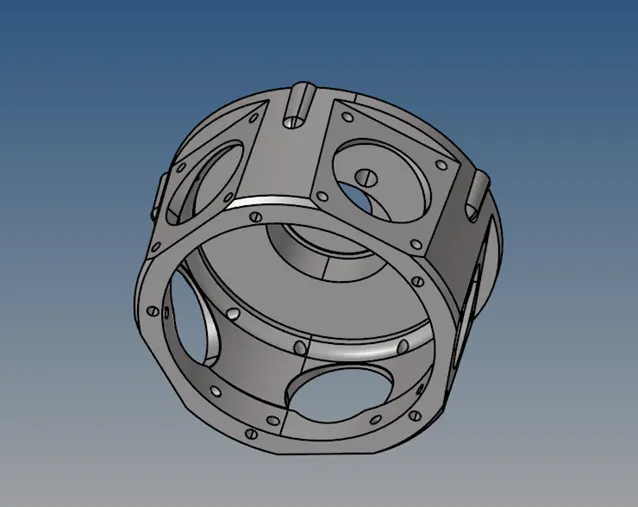
Fig 5 - Imported geometry
Step 3 - Performed the geometry clean up from Quick edit Panel.
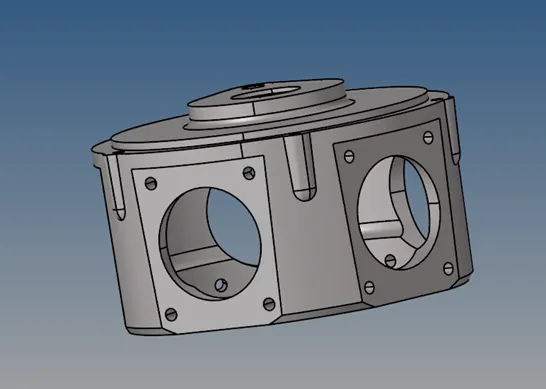
Fig 6 - Model after geometry clean up
Step 4 - Performed the volume mesh from 3D- tetra mesh - Volume tetra -Solids - Element size -3.
Step 5 - Checking for the 3D tet collapse and solved the Failing elements from tools- elements check.
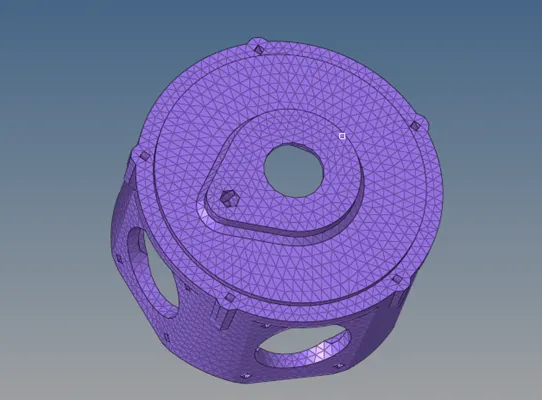
Fig 7 - Volume mesh of component
Question 3.
Google Drive Link - https://drive.google.com/file/d/18LIZafKcExhCqvUAXFTzeGioQtAS1Mzl/view?usp=share_link
Step 1- Import the CAD geometry.
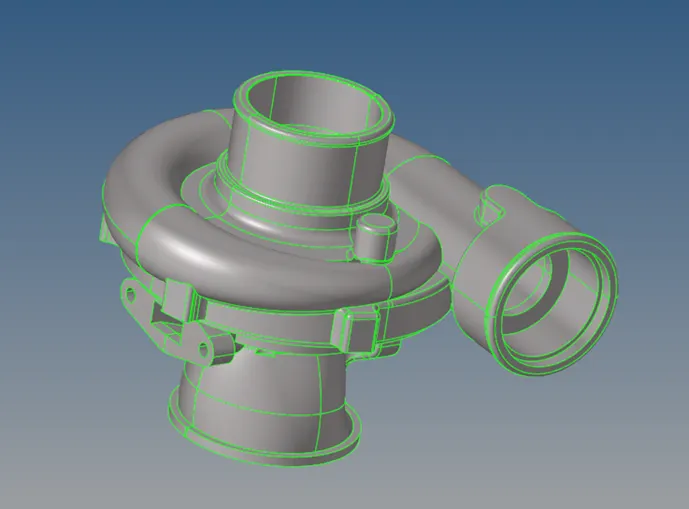
Fig 8 -Imported CAD model
Step 2- Checking for the number of components.
Step 3 - Performed the geometry clean up from Quick edit Panel.
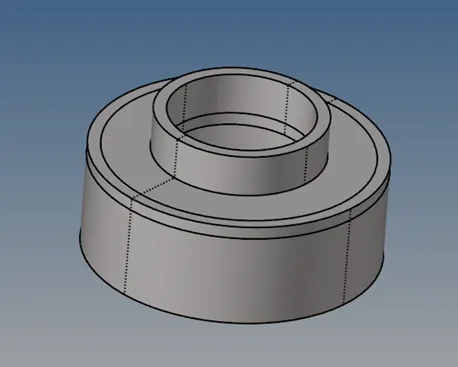
Fig 9- Geometry cleanup of holder housing.
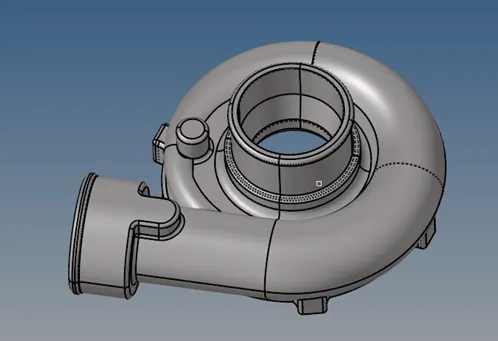
Fig 10 - Geometry cleanup of Casing
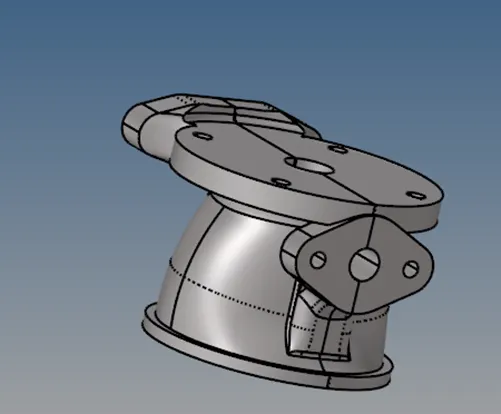
Fig 11 - Geometry cleanup of Hub
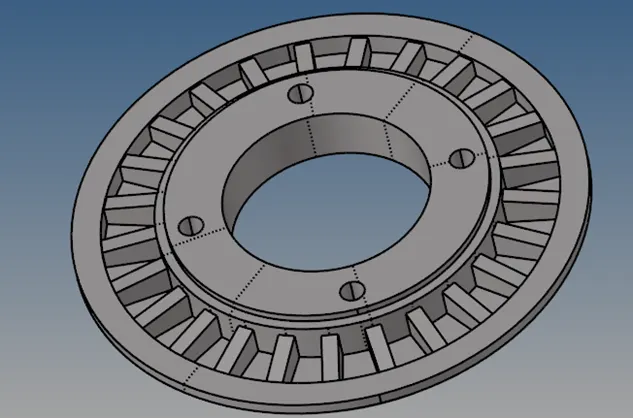
Fig 12 - Geometry cleanup of Supporting Plate
Step 4 - Performed the volume mesh from 3D- tetra mesh - Volume tetra -Solids - Element size -4.
Step 5 - Checking for the 3D tet collapse and solved the Failing elements from tools- elements check.
Note - I was not able to solve 10 failed elements.
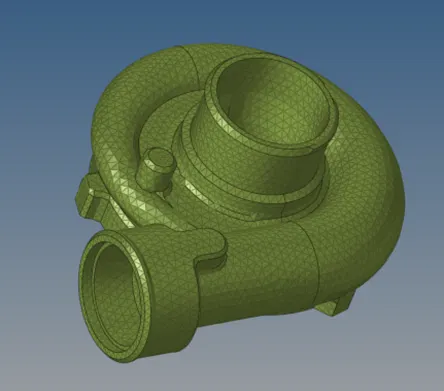
Fig 13 -Tet Meshing of Casing.
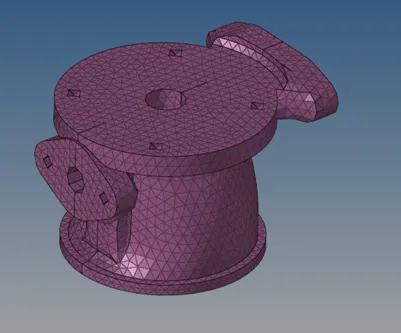
Fig 14 - TET meshing of Hub
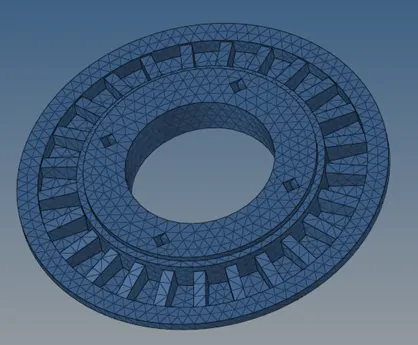
Fig 15 - TET meshing of Supporting Plate
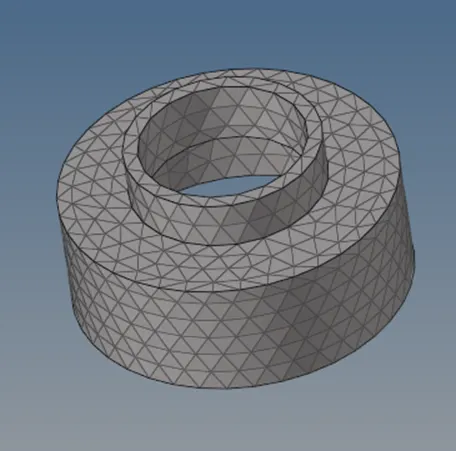
Fig 16 - Tet meshing of Holder Housing.
Conclusion
- We learned about the tetra meshing.
- We learned about the different methods of tet meshing
- We learned about how to solve the failed tetra elements.
- We learned more about the geometry cleanup tools and its importance.