Week 8-3D Tetra Meshing Challenge
AIM: To perform 3D tetra mesh on the given models
PROCEDURE:
Model 1(Housing)
Step 1:-
- Import the given model and check for any geometry error
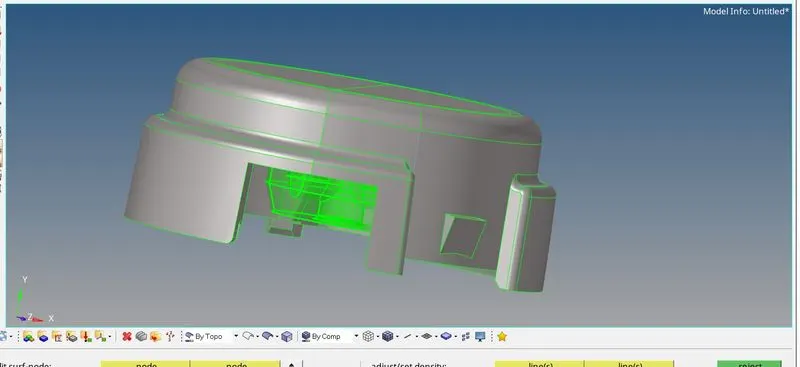
- check all geometry by manual method if any free eges are there than we fixed it by using surface or quickeddite penal
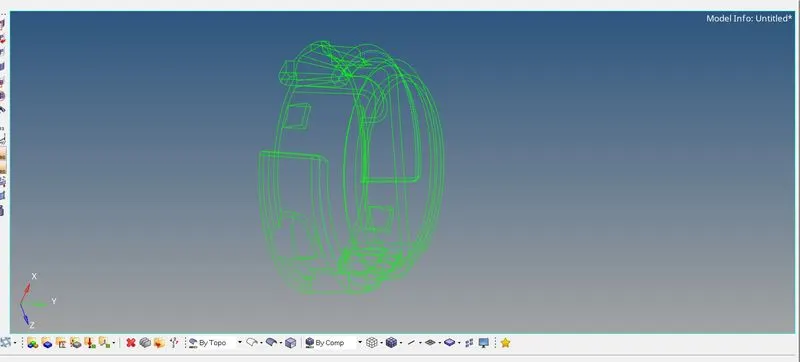
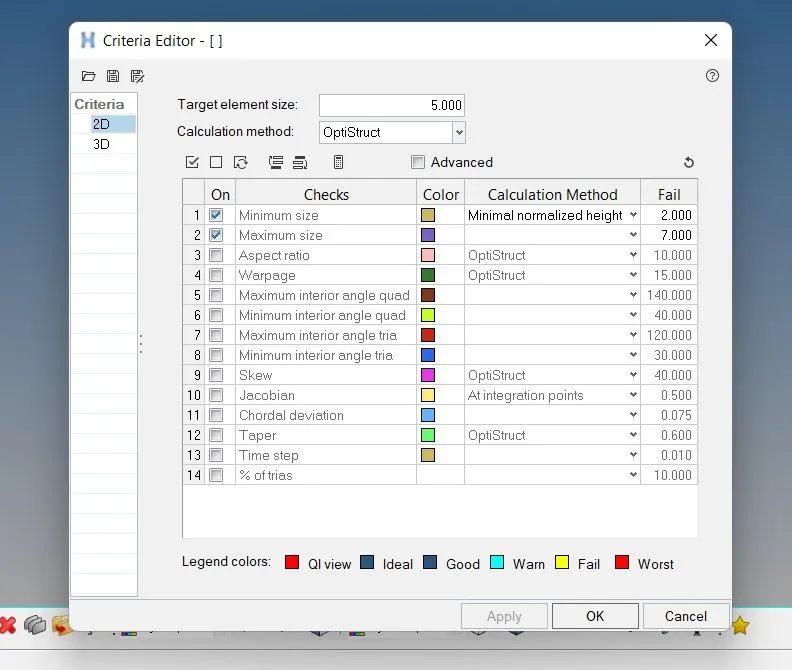
- set the quality criteria for meshing
- Next step is to defeature some edges which might fail for minimum length quality criteria
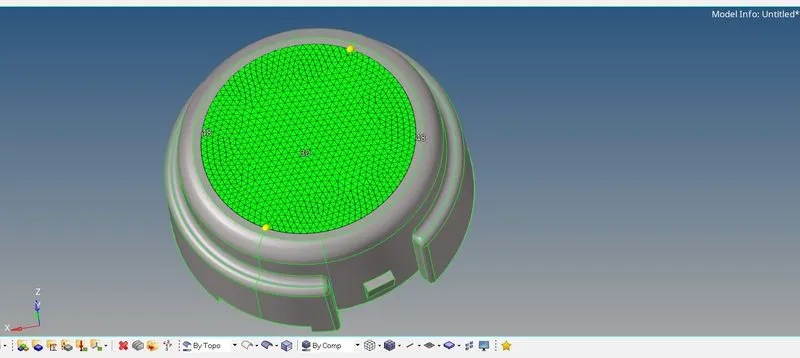
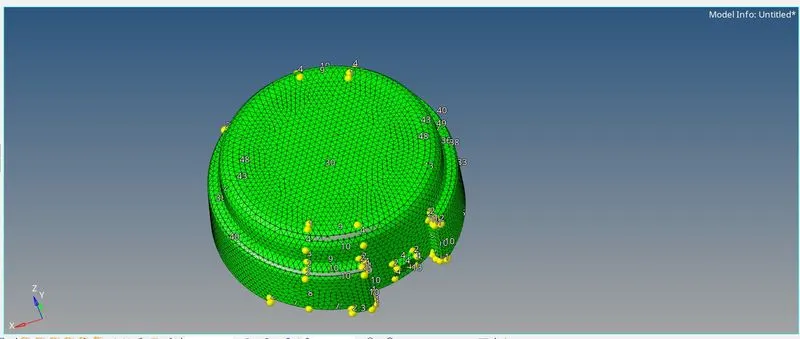
- Initially Mesh the surface using 2D tria elements
- Check for minimum and maximum element size error from and clear the same
- Below the image shows there no min and max element size error
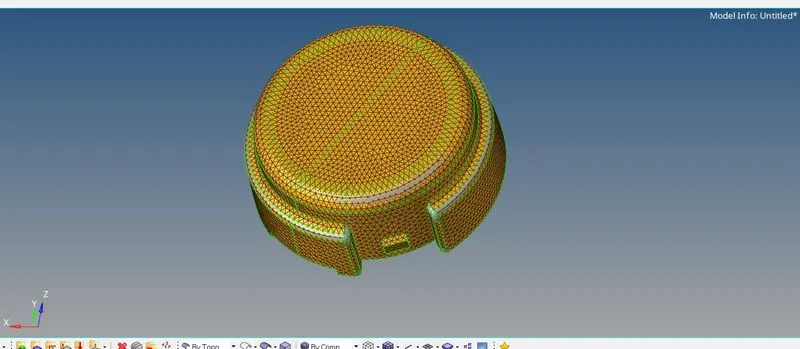
- Perform 3D tetramesh using the 2D tria elements, 3D>Tetramesh>select all the elements
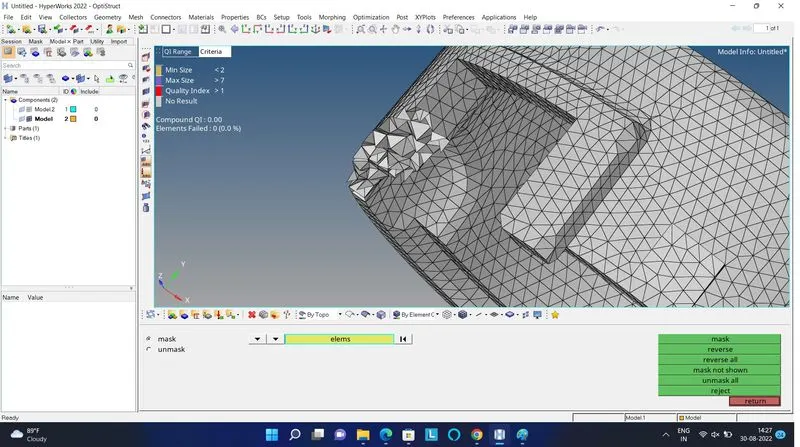
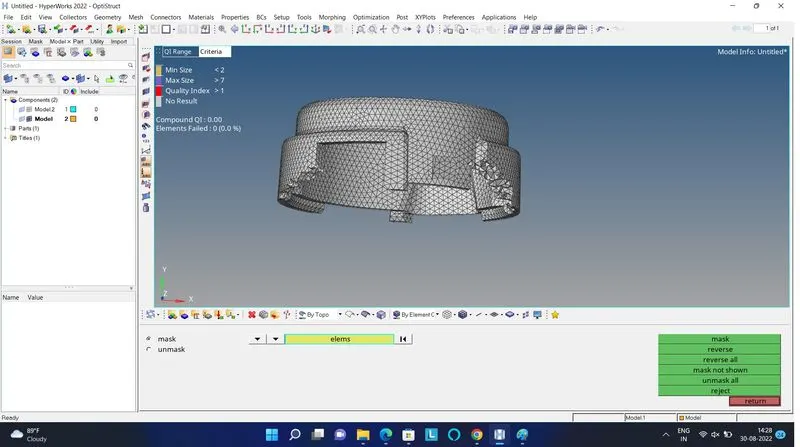
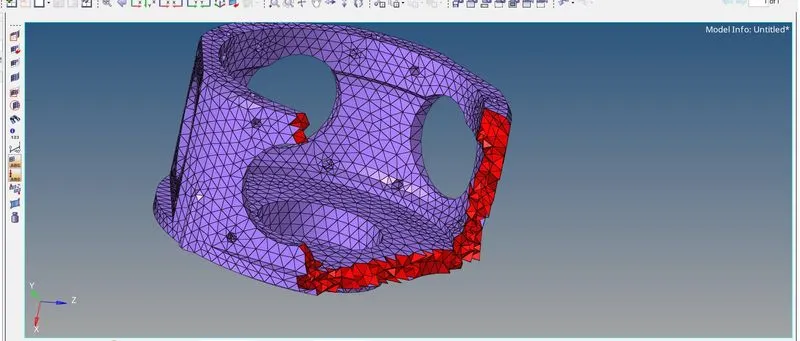
- Check tet collapse for 0.15, in tools>check elements>3d>tet collapse, fix the errors by tetra remesh or manually by moving the nodes
- Below image shows there is no tet collapse error
Model 2:
Step 1:-
- Import the geometry to the software
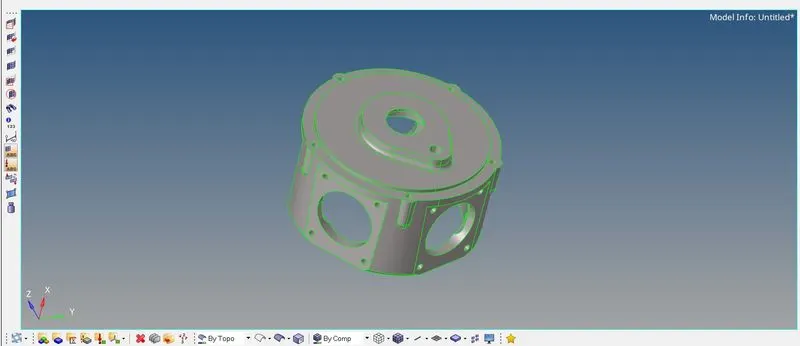
- Look for any geometry error in the cad, this model contains few unstitched edges
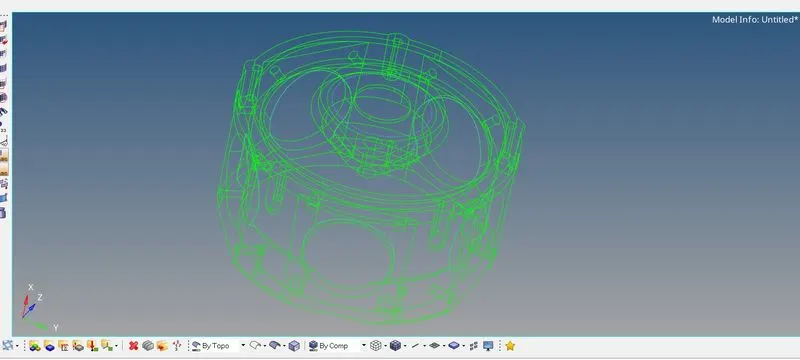
- errors will be fixed by toggle edge option
-
Step 2:-
- In this model there is no minimum and maximum element size criteria
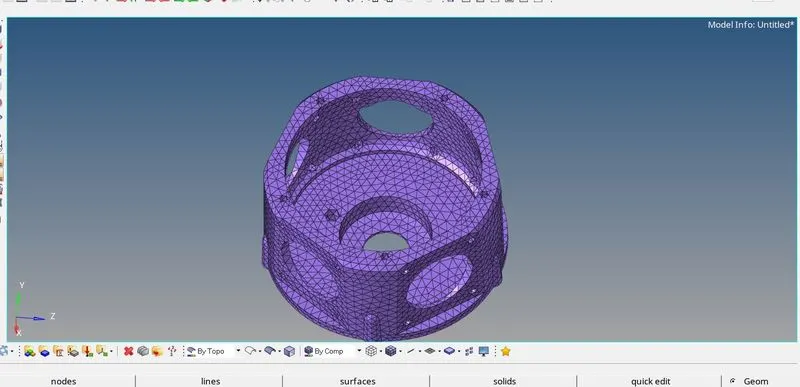
- So used the volume tetramesh method to mesh the model
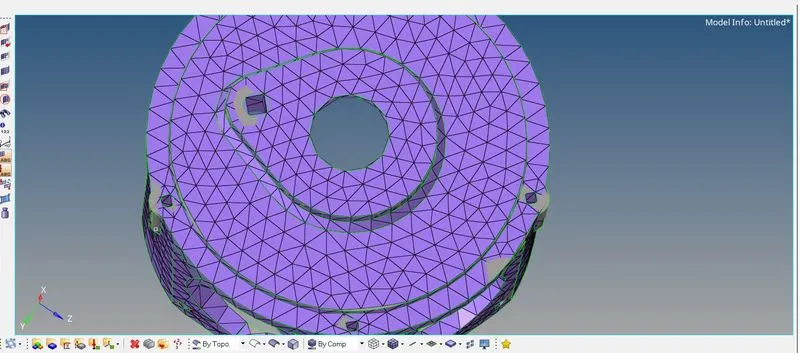
- The given model is surface, so used 3d>tetramesh>volume tetramesh> surface, gave the desired element size and gave tet collapse value in tetramesh parameter
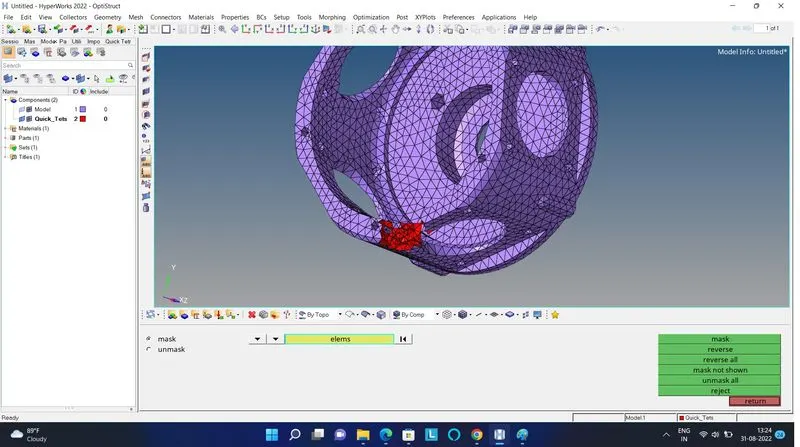
- The given model is meshed and fixed all the tet collapse error
-
Model 3:
Steps carried out :-
-
- Import the model to the software, look for any geometry error
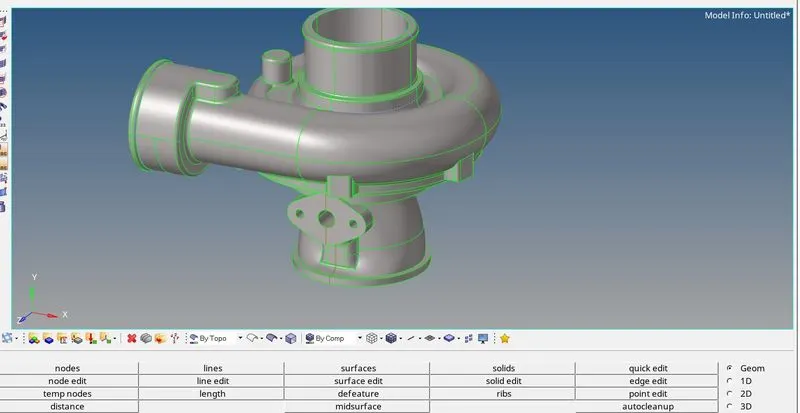
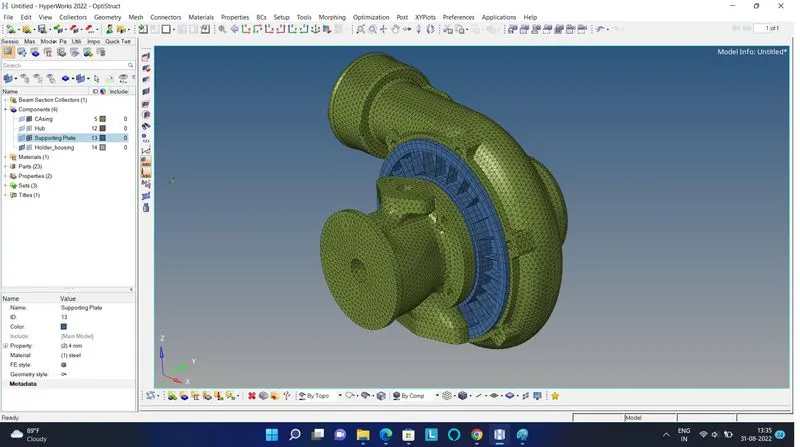
- There are 4 different components in this model, mesh each the component in different methods
- Casing 1 is meshed using volume tetramesh method
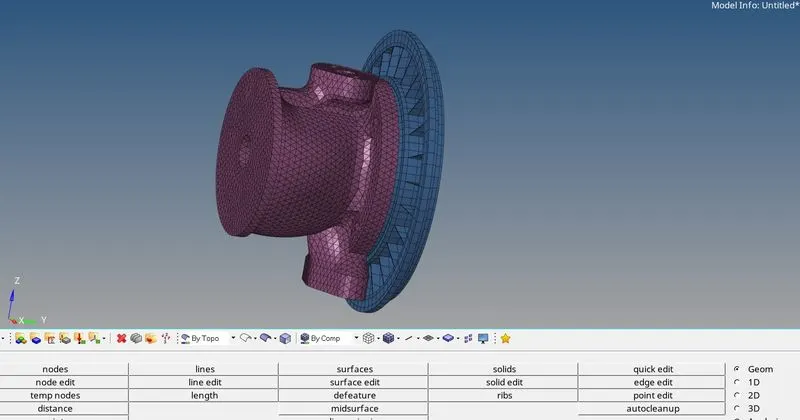
- Casing 2 is meshed using quick tetramesh method
- Central hub is meshed by 2d tria element and convert the same to 3d tetramesh
- Hub will be meshed one side and be reflected to the other side like shown below
CONCLUSION:
- Understood the types of 3d mesh used in different scenario
- The given model is meshed using 3d tetra elements