Week 8-3D Tetra Meshing Challenge
In this week we are doing 3d meshing 3d meshing is meshing the entire component as one a soild as filling the entire component with elements of required sizes rather than just covering the surfaces as done in the shell meshing/2d meshing.
usage 3d meshing depends on the type of the component, if all the 3 dimensions of the components are comparable then 3d mesh is done
MODEL 1
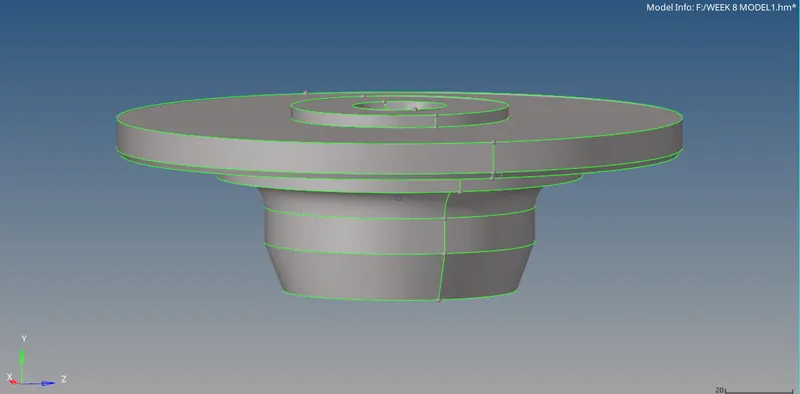
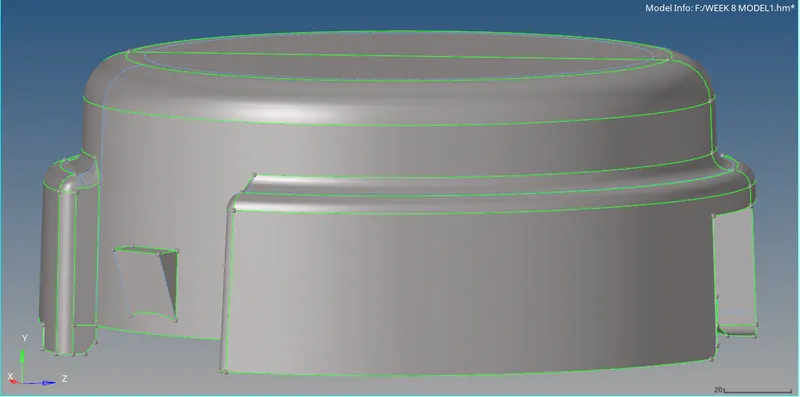
the first model is a housing model.the first step is to do some simple geometry cleanup required to achieve the proper clean surface to achieve a good mesh.toggling of the edges to avoid min length failure are the only geometric cleanup required for this model. the following images shows the cleanups done.
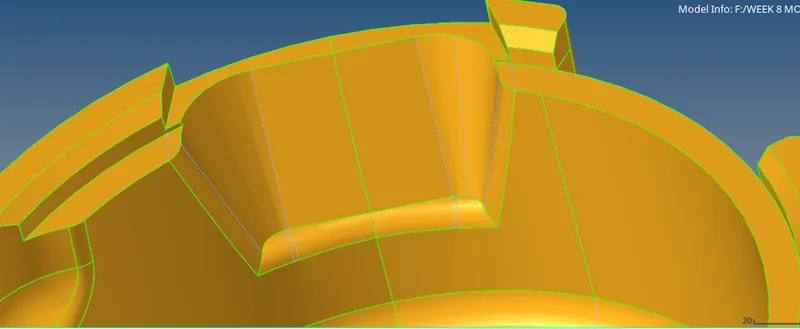
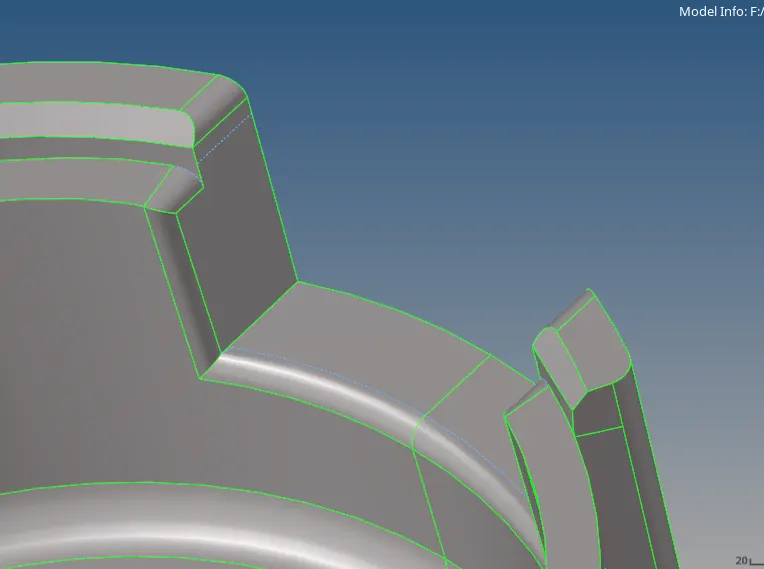
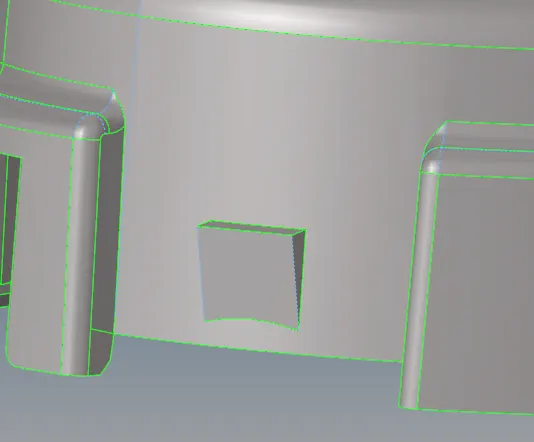
now we will shell mesh the components. the failure occuring will be max length and very few min length. these erros can be easily resolved by using optimizing tool in quality index
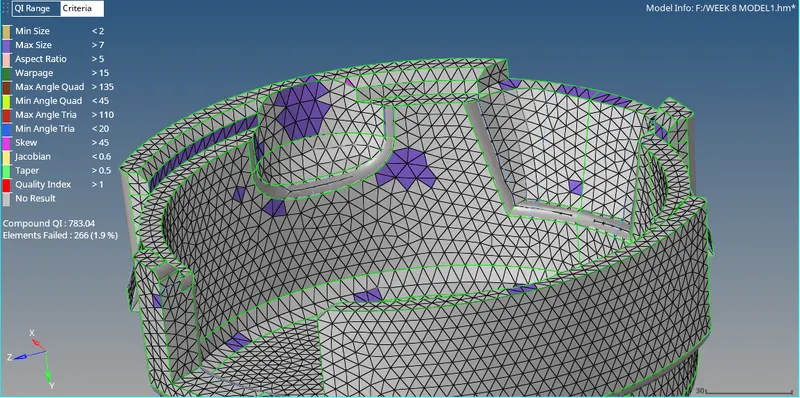
after solving these errors we can proceed to do the 3d mesh.
to perform the 3d mesh we have to go the 3d mesh option in the panel. In the 3d menu we have to select tetramesh option 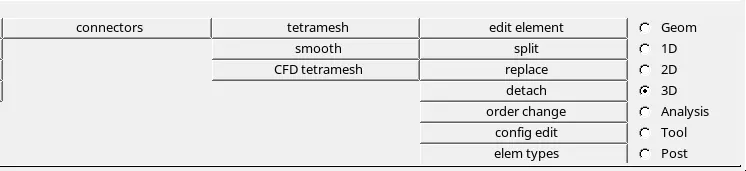
in the tetramesh menu we will have 4 options, we have to select the first option. first we have to change the comps to elements we can be achieved by clicking the inverted triangle and selecting the element from the ensuing dropdown dialog box.
we have have to select the entire elements encompassing the comonents.

now to go the tetramesh parameter option to provide the inputs required to give a better mesh

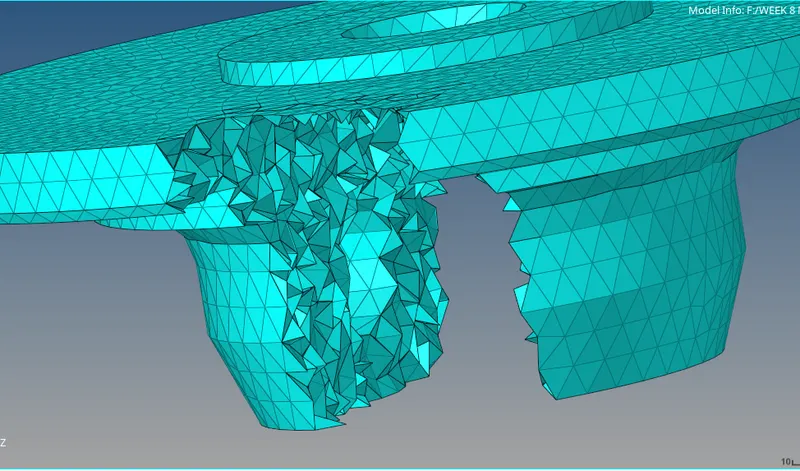
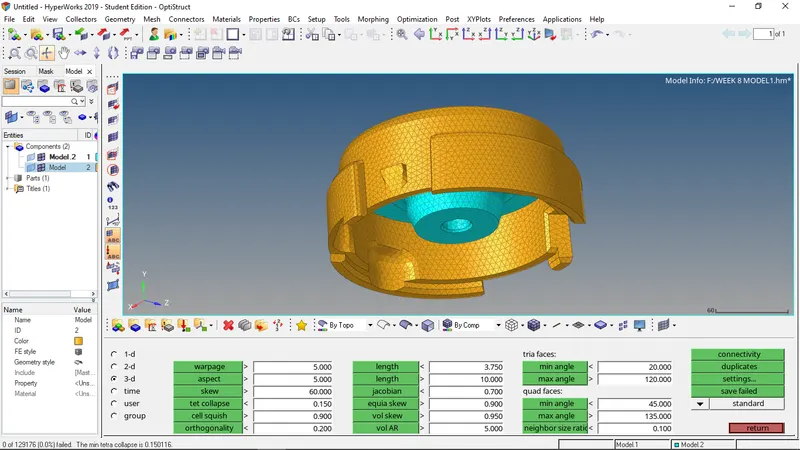
providing the min, max element sizes, and tet collapse. after doing that we will go to the tetramesh and click mesh. hypermesh would create the 3d mesh according to the quality criteria.
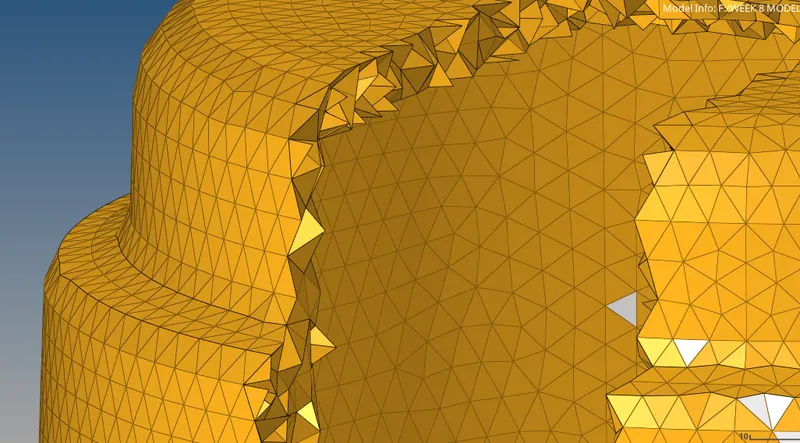
MODEL 2
For model 2 we are going to do volume tetra mesh
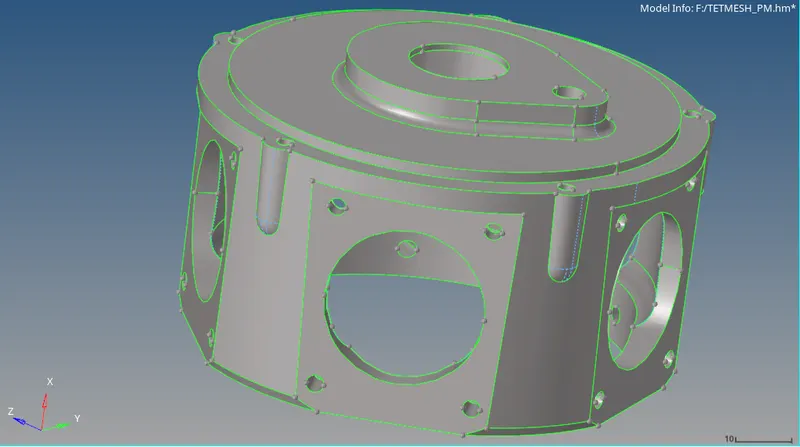
hhere we have to look for irregular edges edges which cause irregular meshflow etc.
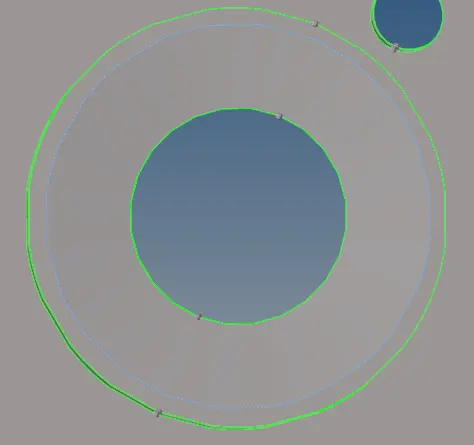
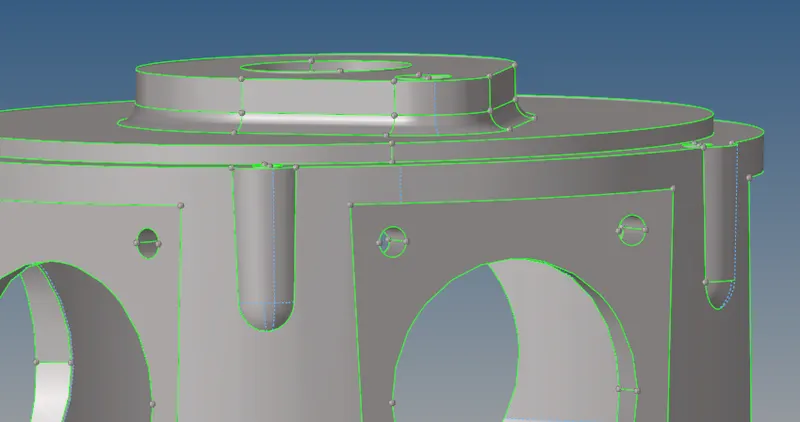
now we will perform volume tetra mesh in the tetra option in 3d menu.
 ]
]

we will give the required inputs so that hypermesh can provide us with intermediate level quality mesh.
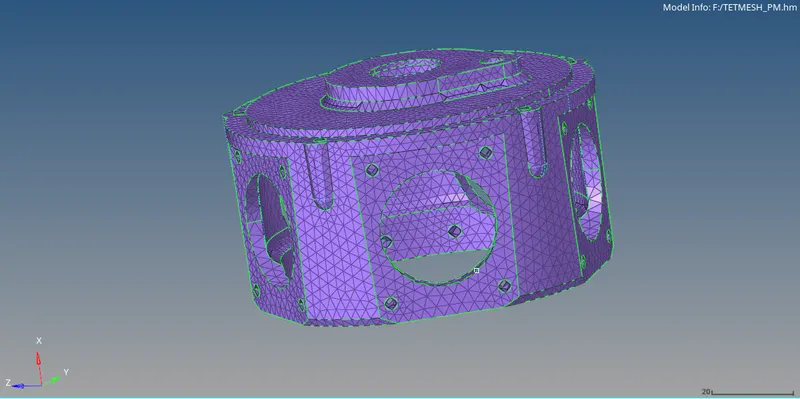
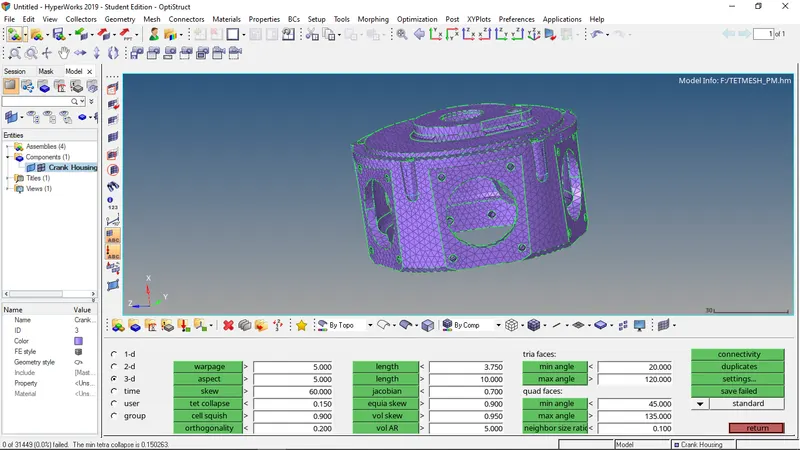
by performing the element check we make sure that the tet collapse is above 0.15 for the all the elements.
MODEL 3:
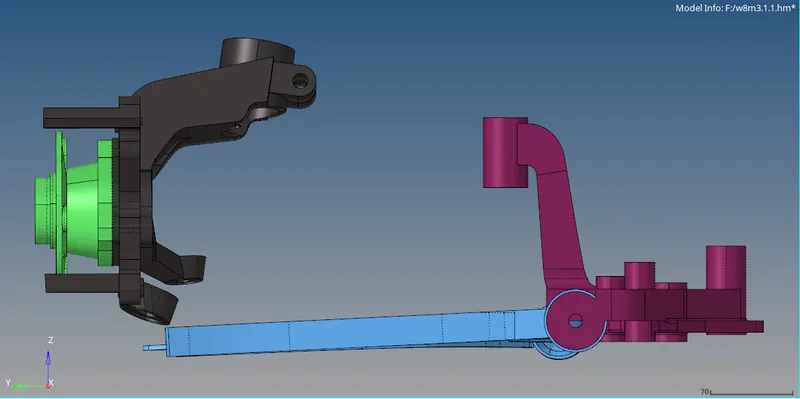
In this model we will first 2d mesh all the components and then convert them to3d mesh.
the first step is to get rid of the surface irregularities and edges which will cause min and/or max length failure and removing the teeths of one the component.
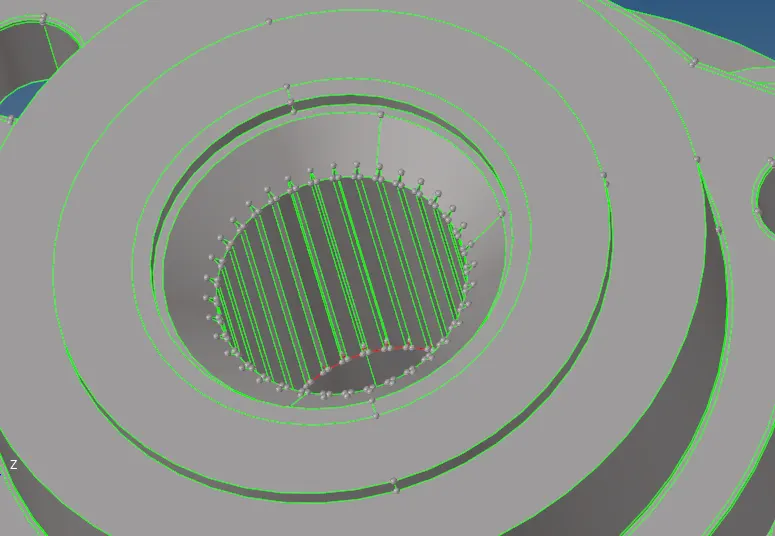
we have to remove these teeths and remove the edges causing min length error.
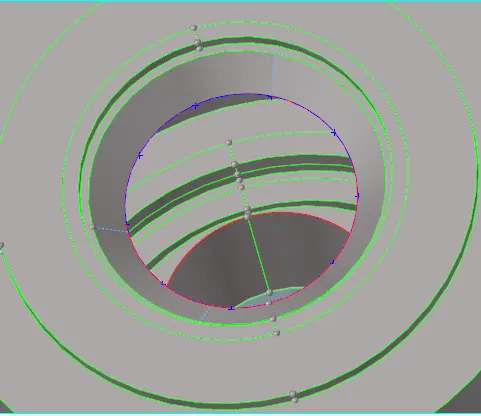
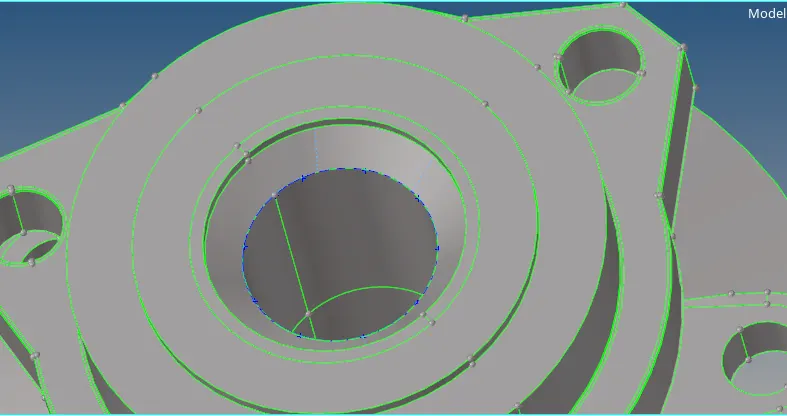
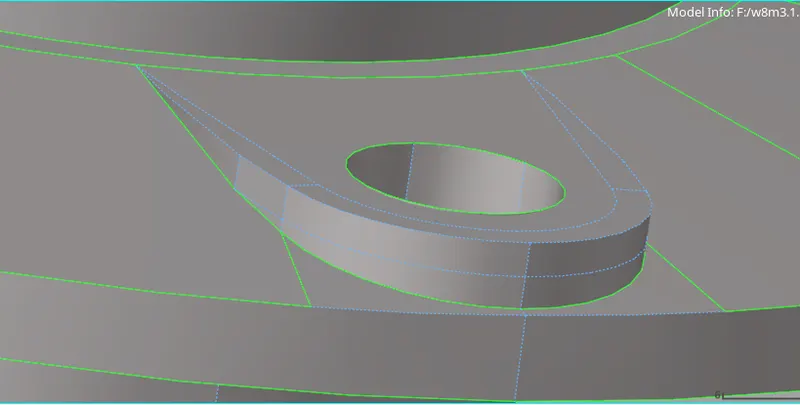
now we will shell mesh it with the min length=2, max length=7, and target length=6.
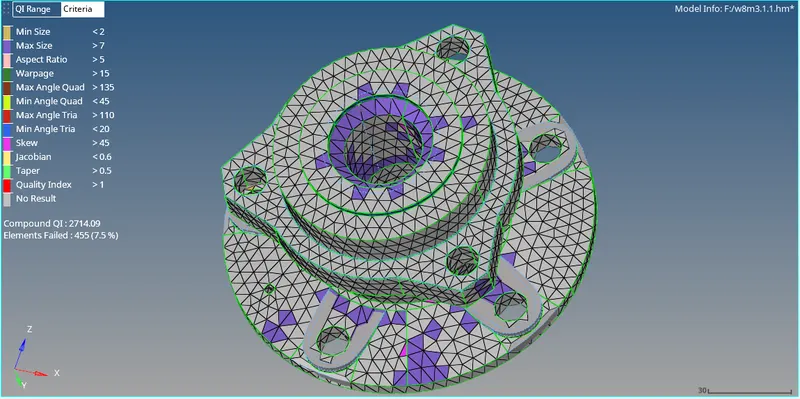
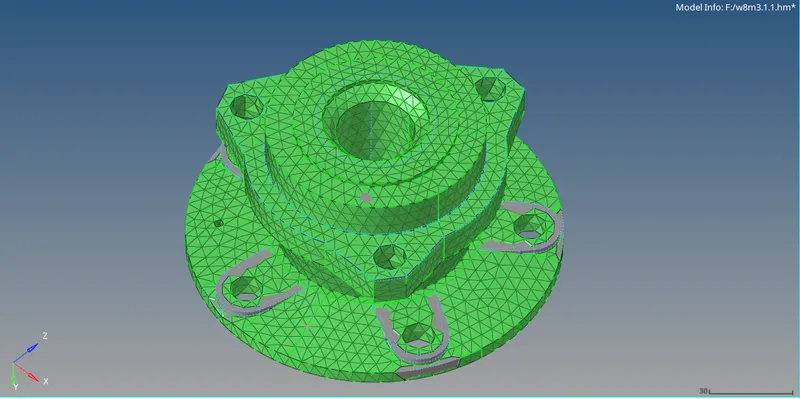
this is the final 2dmesh . the remainng 4 components only requires simple geometric cleanups and once shell meshed they will have the same errors the first component had, which can be easily resolved. now we can perform 3d mesh


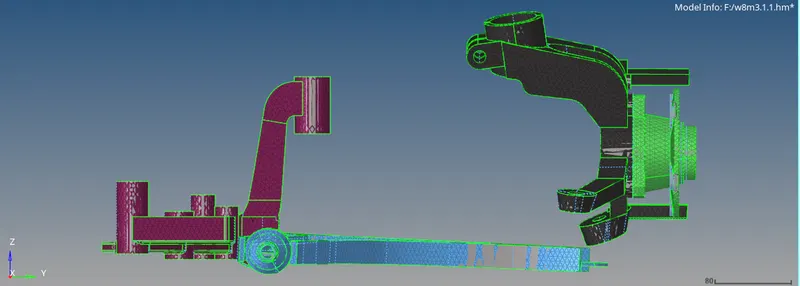
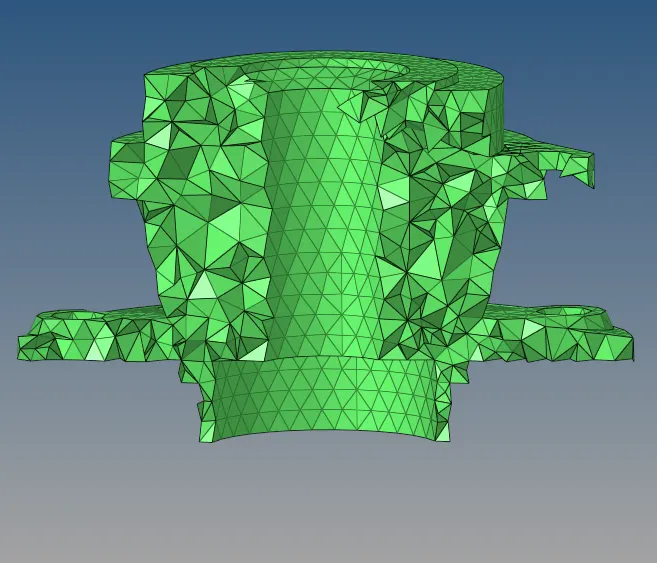
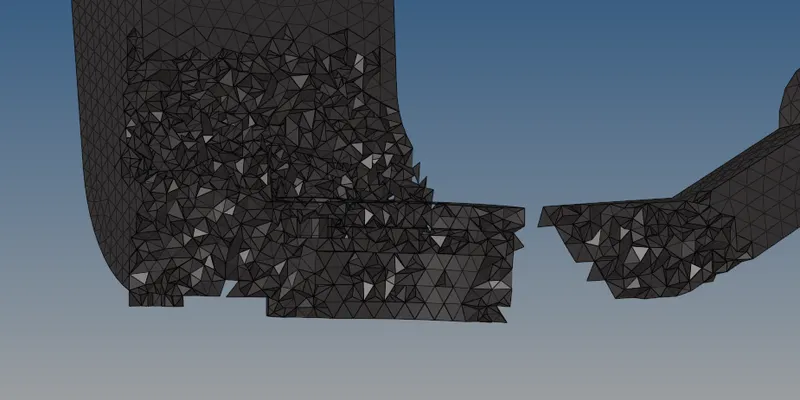
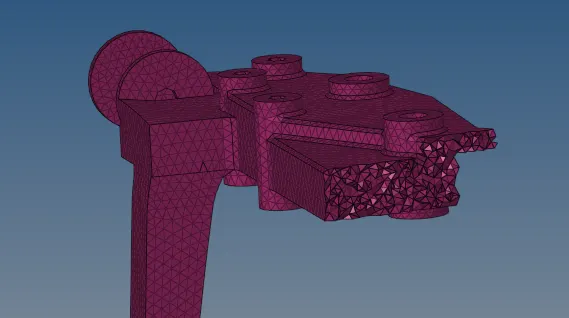
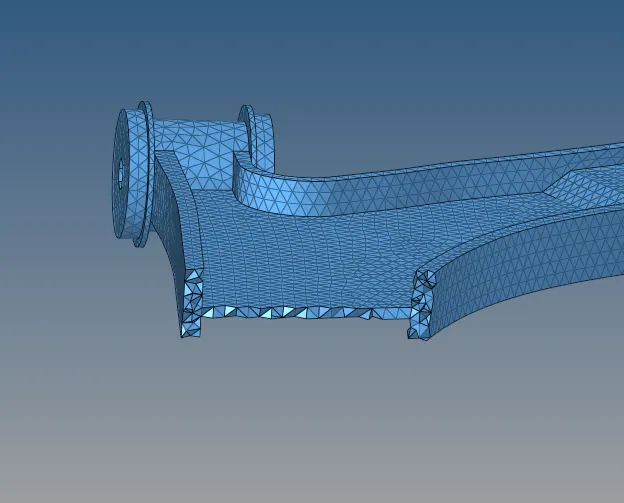
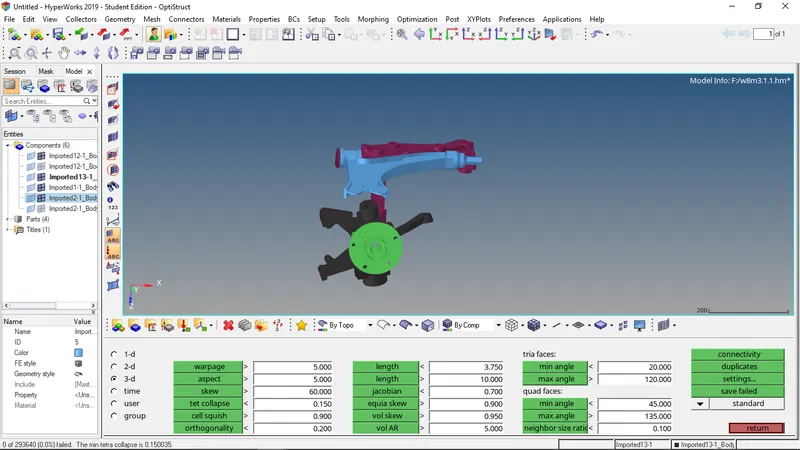
after checking for tet collapse and making sure no elements fails the 3d meshing of the 3 model is complete.