Basic Morphing techniques in ANSA
AIM:
To learn & practise basic morphing techniques.
OBJECTIVE:
The objective of this project is to learn & familiarize with the basic morphing techniques in ANSA.
SOFTWARE USED:
ANSA (Automatic Net generation for Structural Analysis) v19.0.1 64-bit
MORPHING:
Morphing is the process of modifying the design of the model without the involvement of any numerical inputs. If the design change is feasible, the design team can work full-fledged on the model and bring out the changes to the component.
BOX MORPHING:
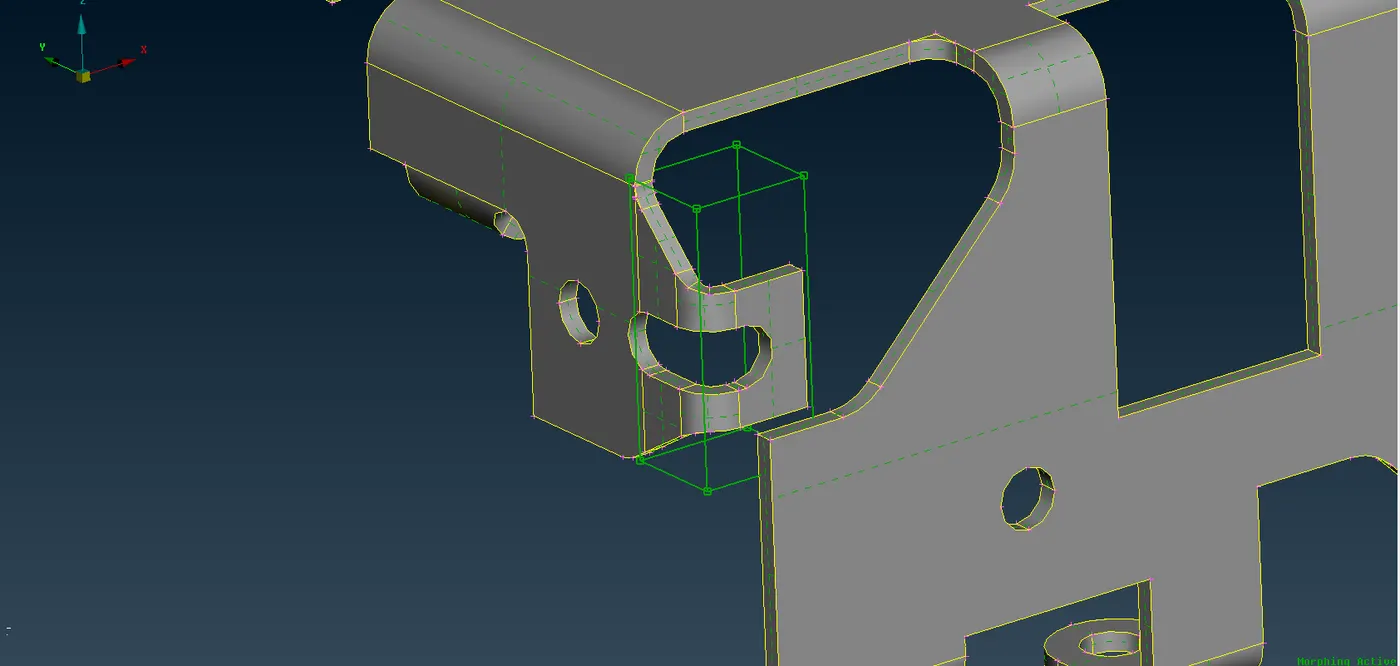
Box morphing is done with the help of boxes with nodes in the corners. These boxes are created around the part or component which needs to be morphed.
By moving the nodes of the box, the morphing is done on the component inside the box. This type of morphing can be done on both CAD & FE models.
DIRECT MORPHING:
This type of morphing is done locally on the part without creating morph boxes. This method is useful for modifying single parts. Direct morphing can be used to move selected features along the contour of a surface, freeze elements during the morphing process, etc.
PERFORMING GEOMETRY CLEANUP:
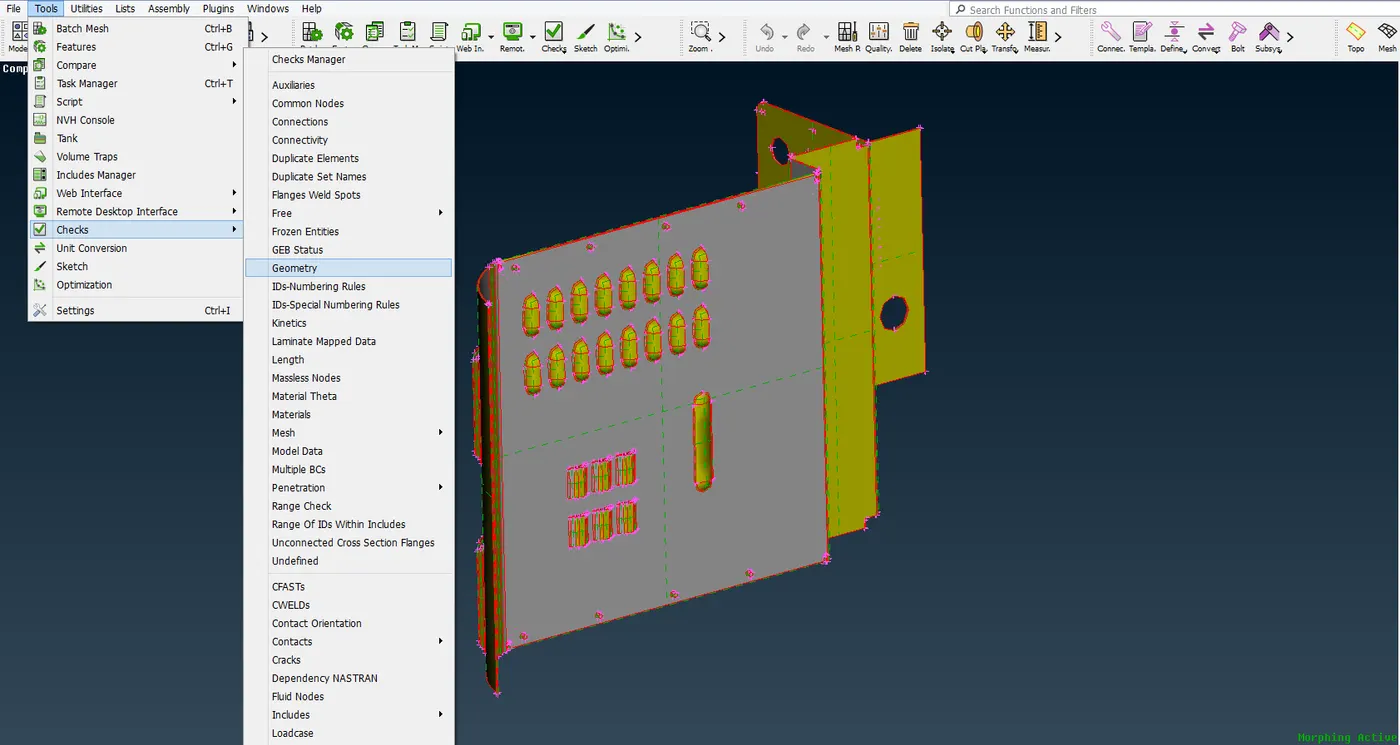
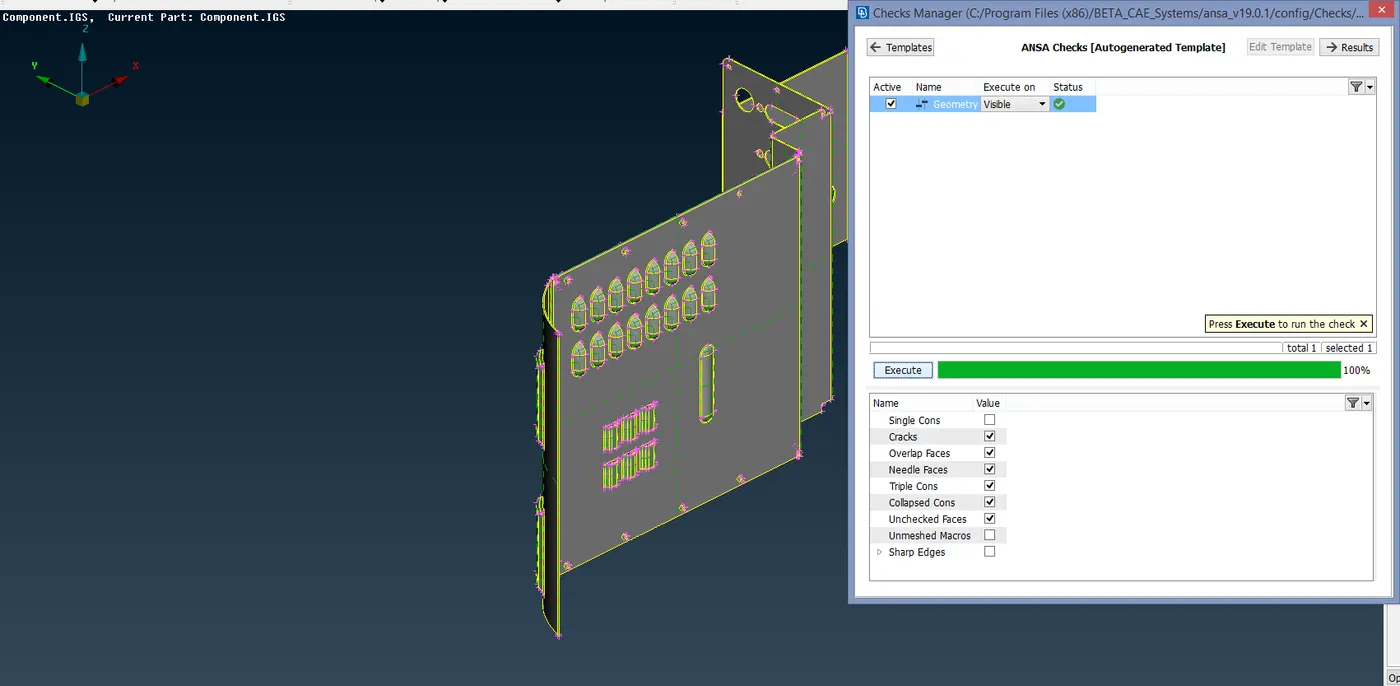
The Geometry check can be seen under the TOOLS tab under CHECKS -> GEOMETRY. The Geometry clean up can also be done through the CHECKS command.
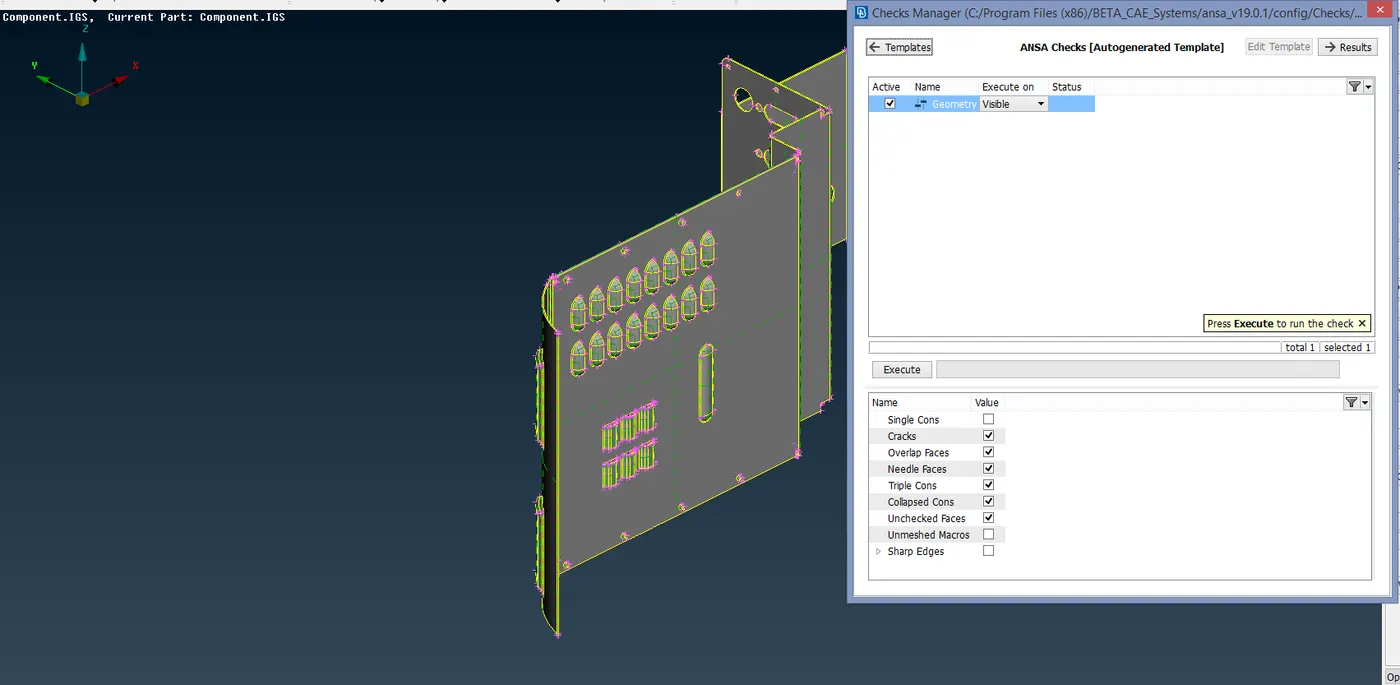
On clicking the EXECUTE button, the errors or geometrical issues in the model will pop up.
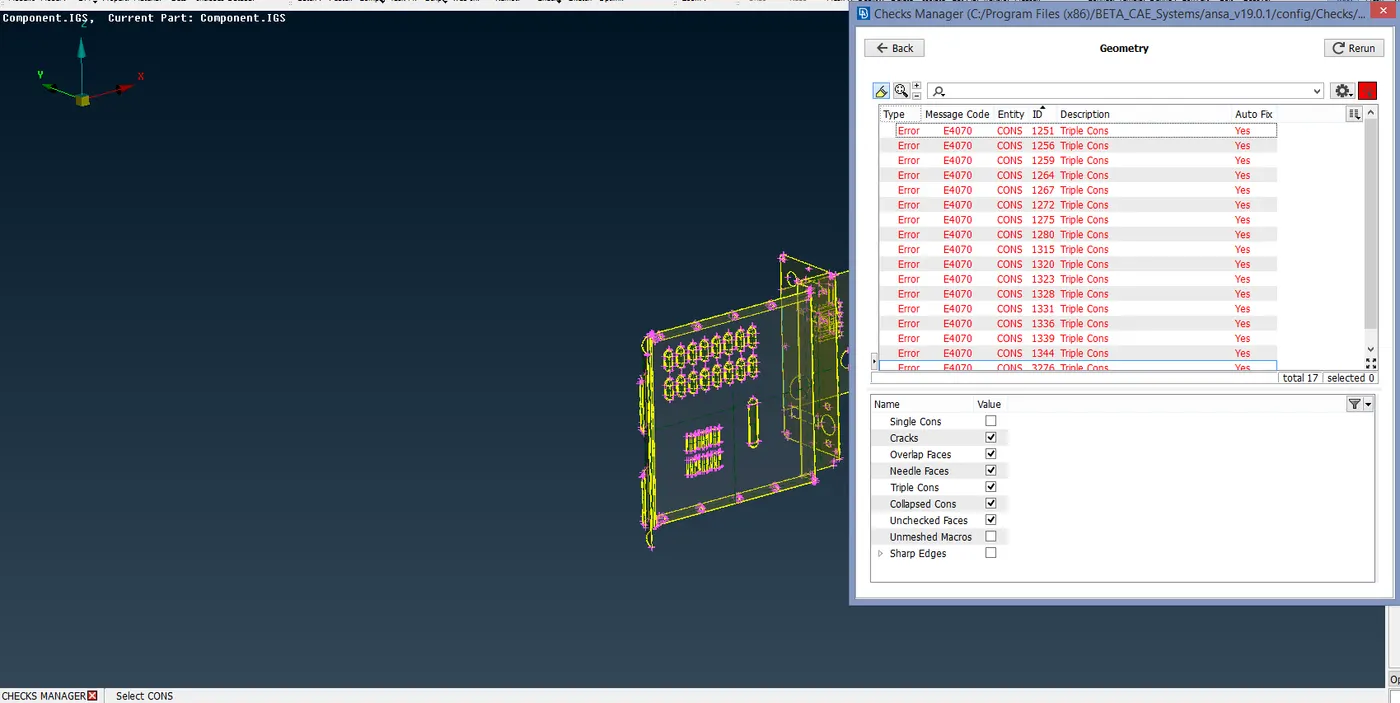
These errors can be fixed manually one by one or can be fixed automatically. When fixing automatically, the errors are fixed by ANSA.
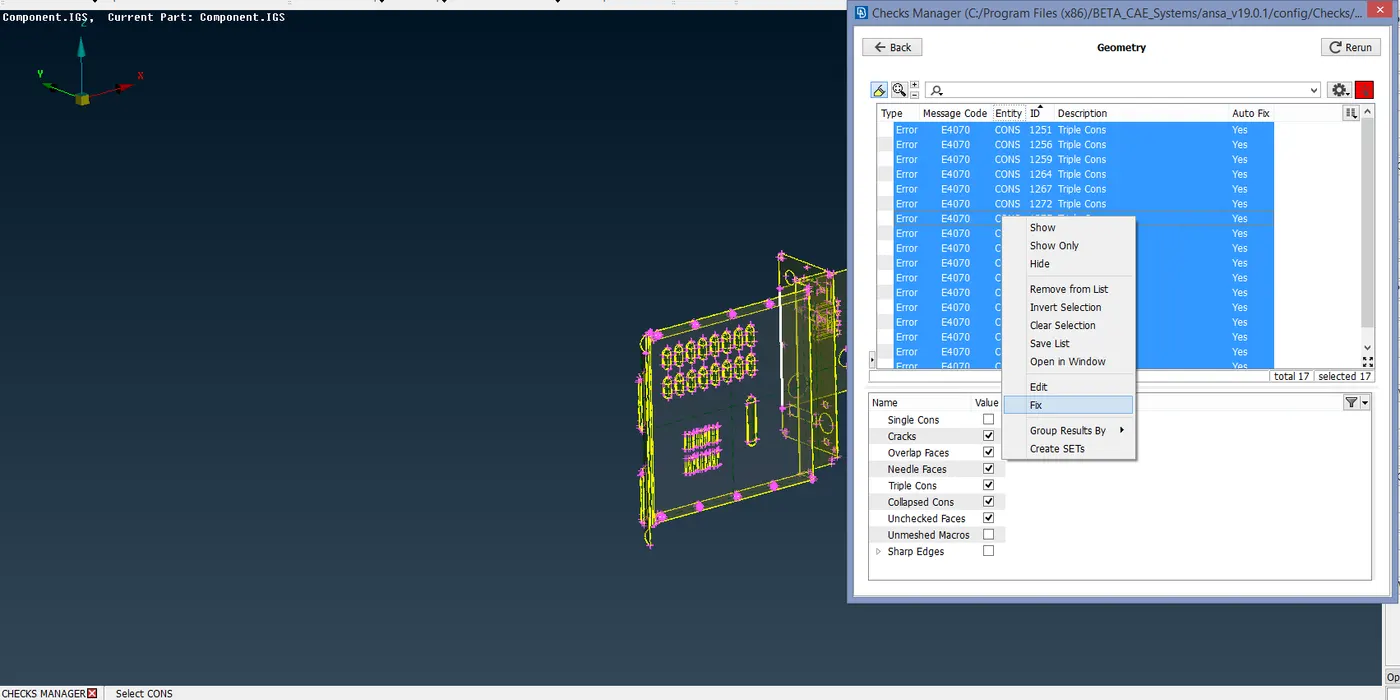
Once the errors are fixed, the geometry checks should be run again. It should be ensured that there are no geometry issues.
CREATING MORPHING BOXES:
All the Morphing related commands are available in the Morphing deck. The Morph box creating command is under the BOXES -> NEW.
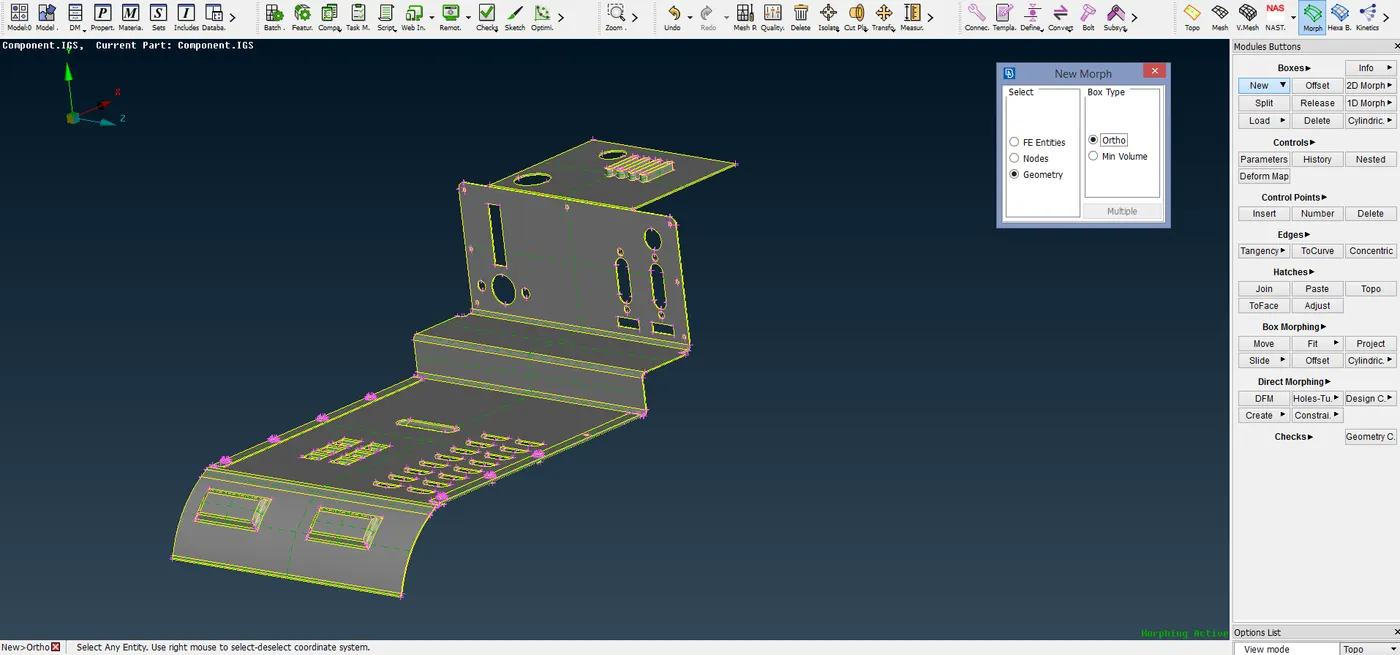
In the New Morph dialog box, Geometry option is selected in case there is CAD geometry. In case of a FE model, the FE entities or Nodes are selected.
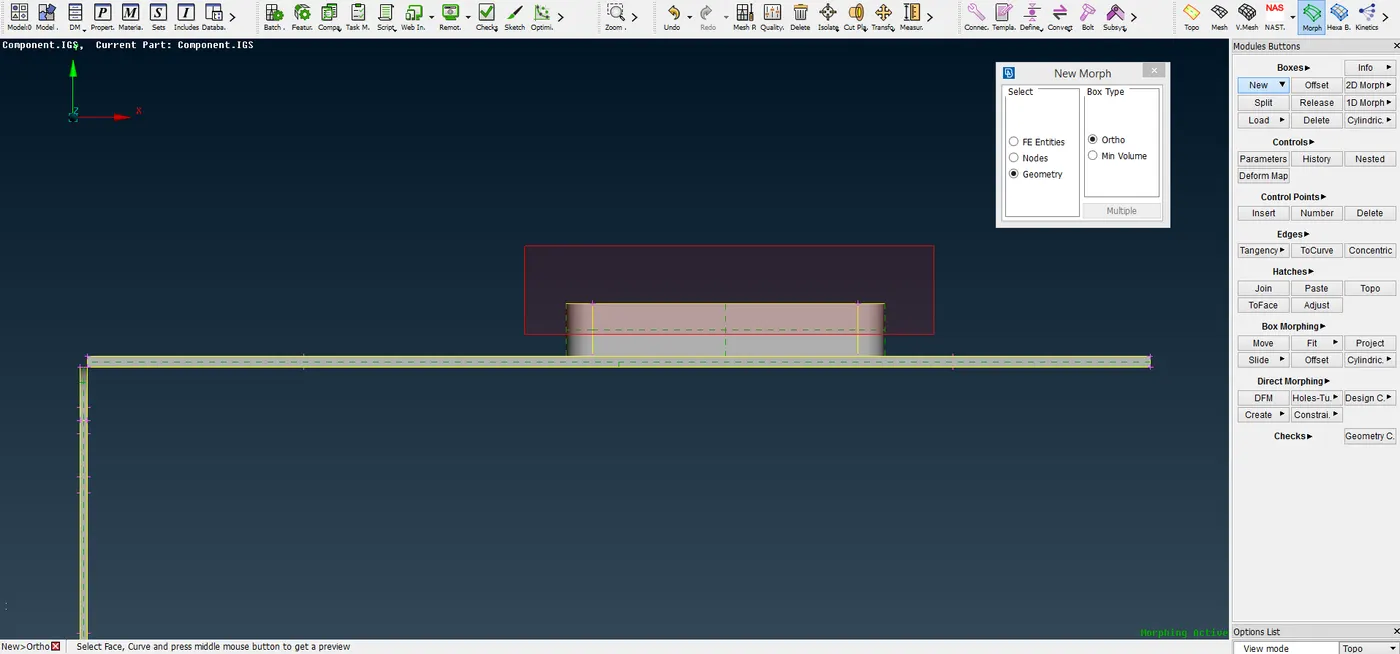
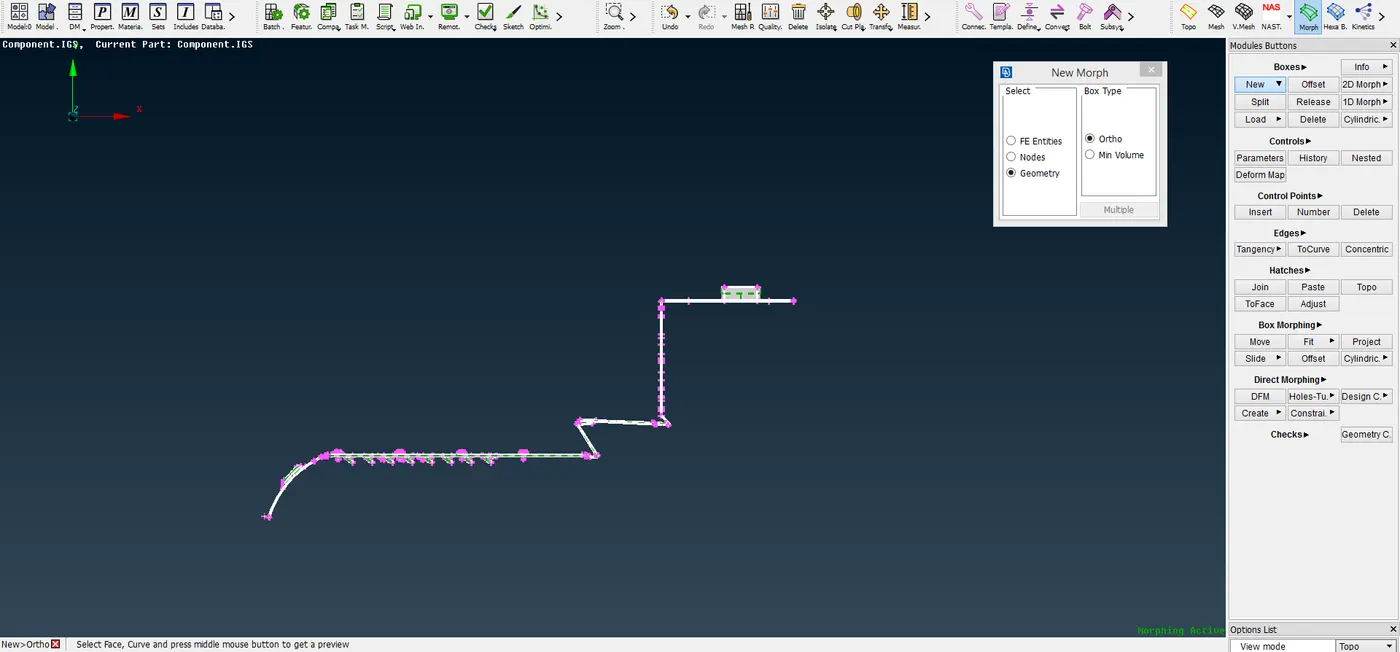
Then the entities in the CAD model are selected.
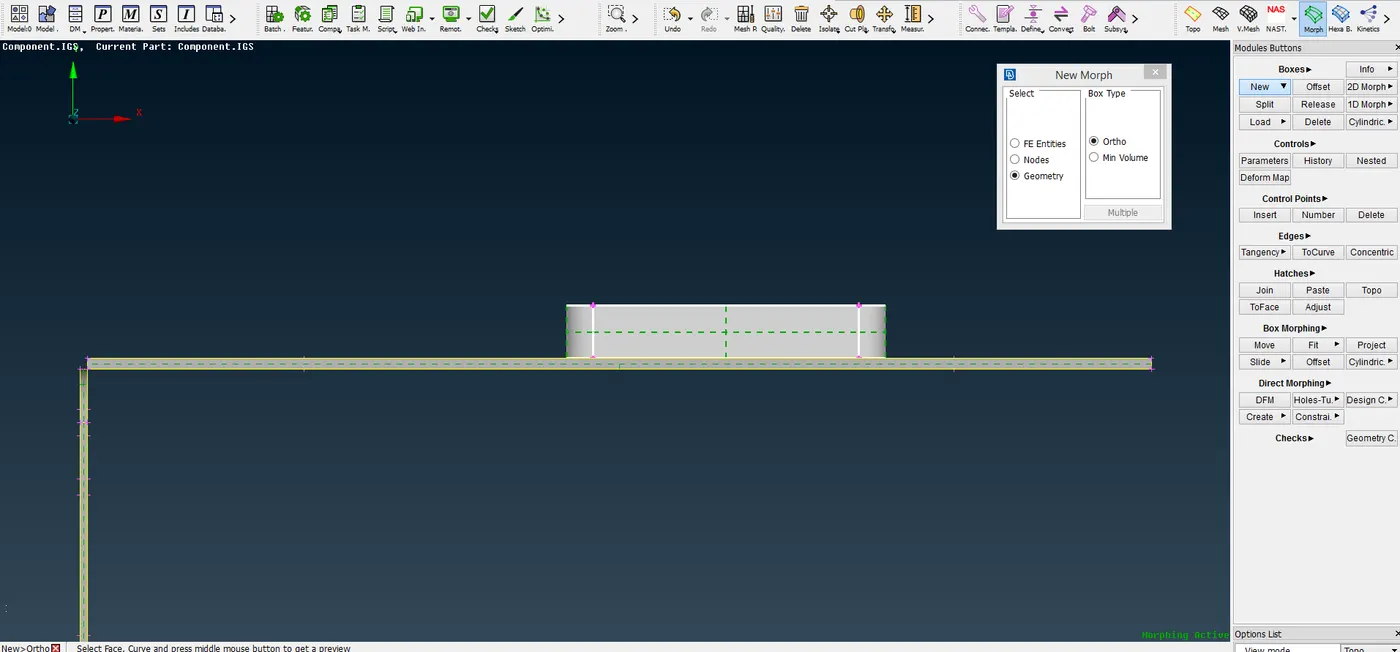
Upon accepting, the morph box is created.
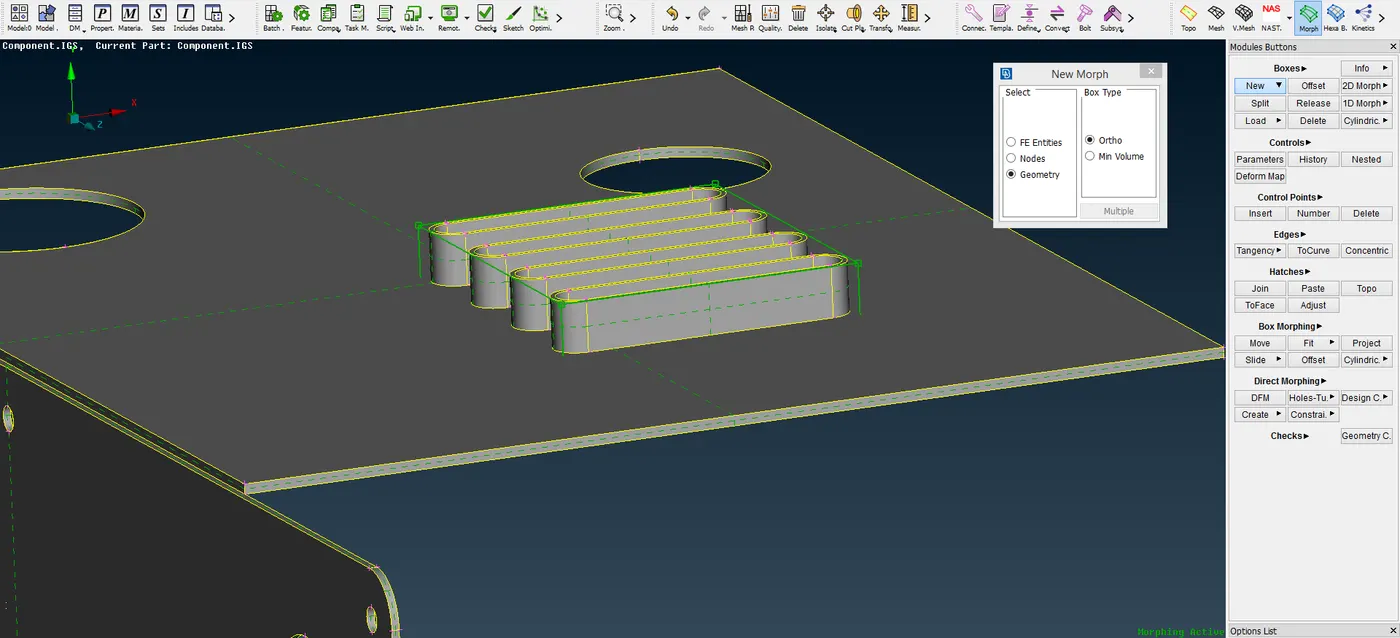
Similarly, another morph box is created in the fillet surface by selecting the surface. The selection is done with box selection.
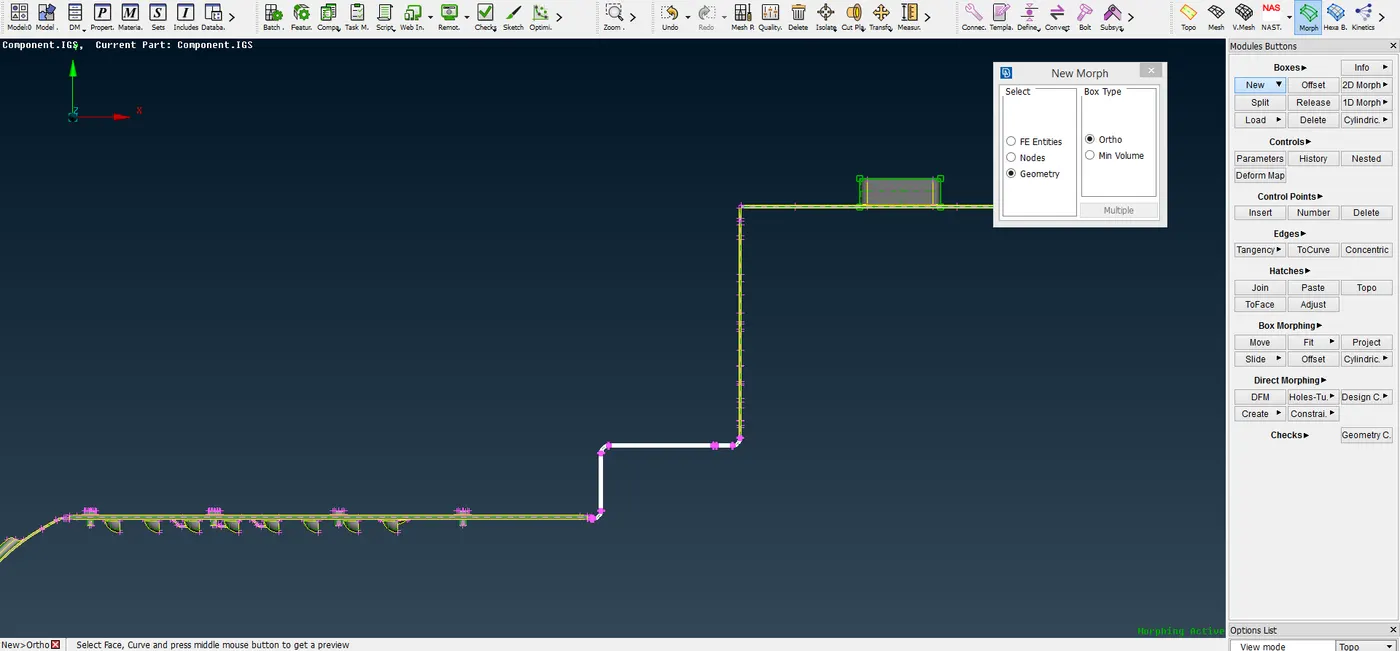
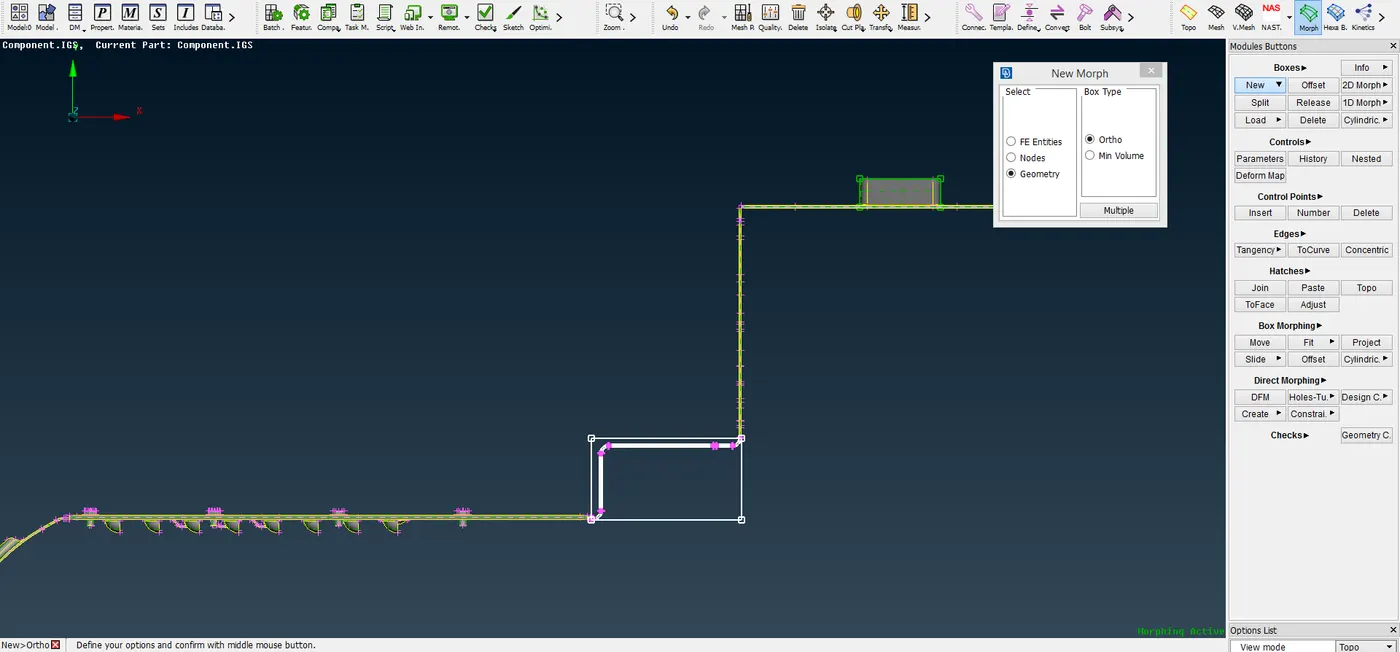
Upon accepting, the morph box is created.
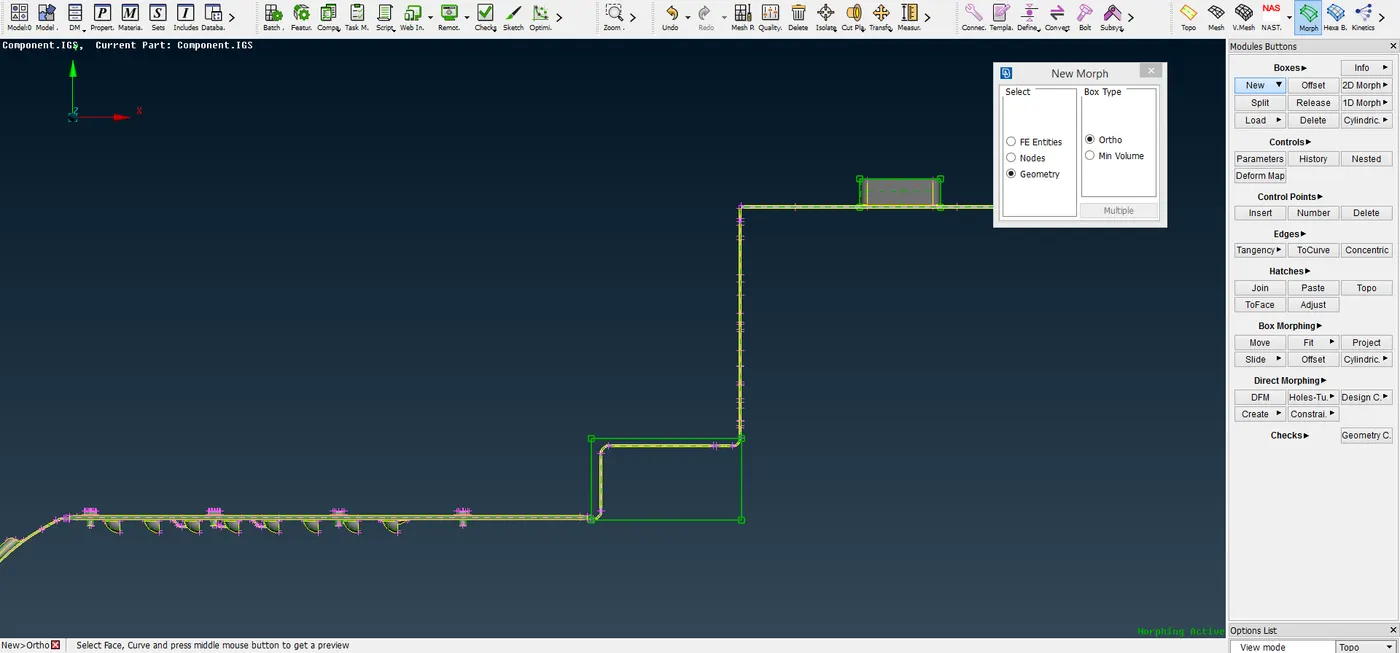
Similarly, another morph box is created in another fillet surface by selecting the surface.
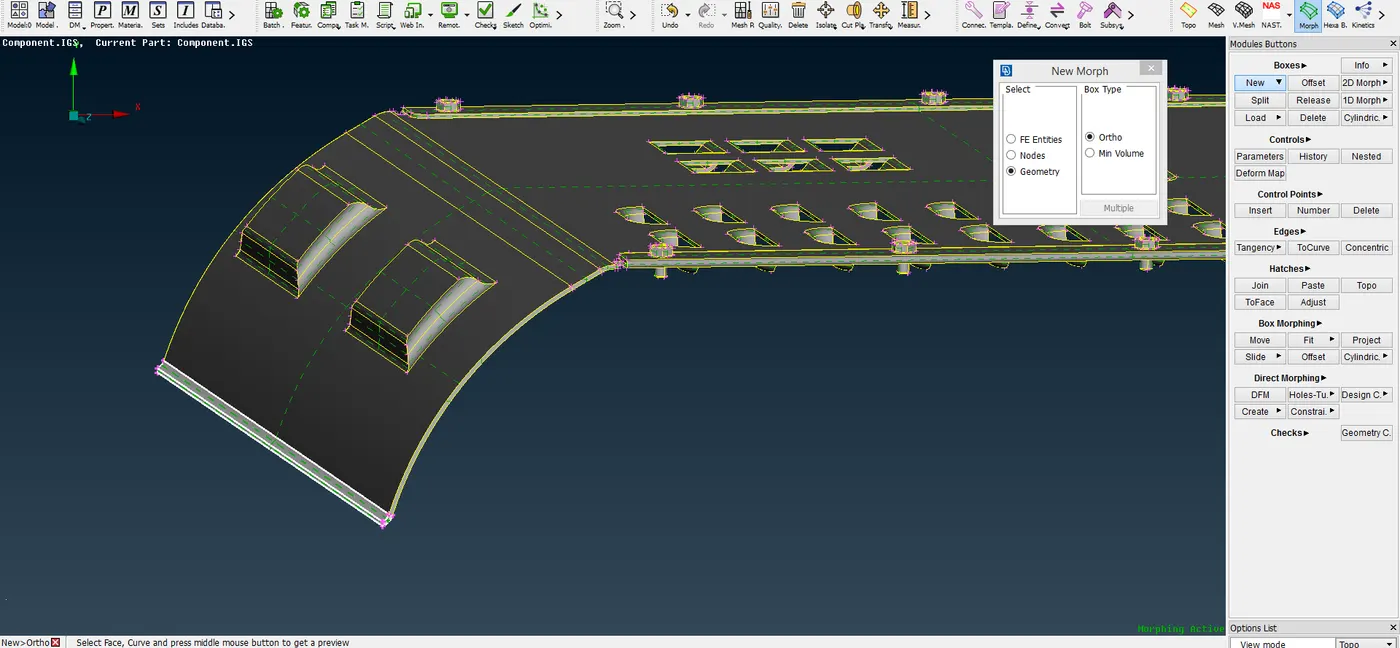
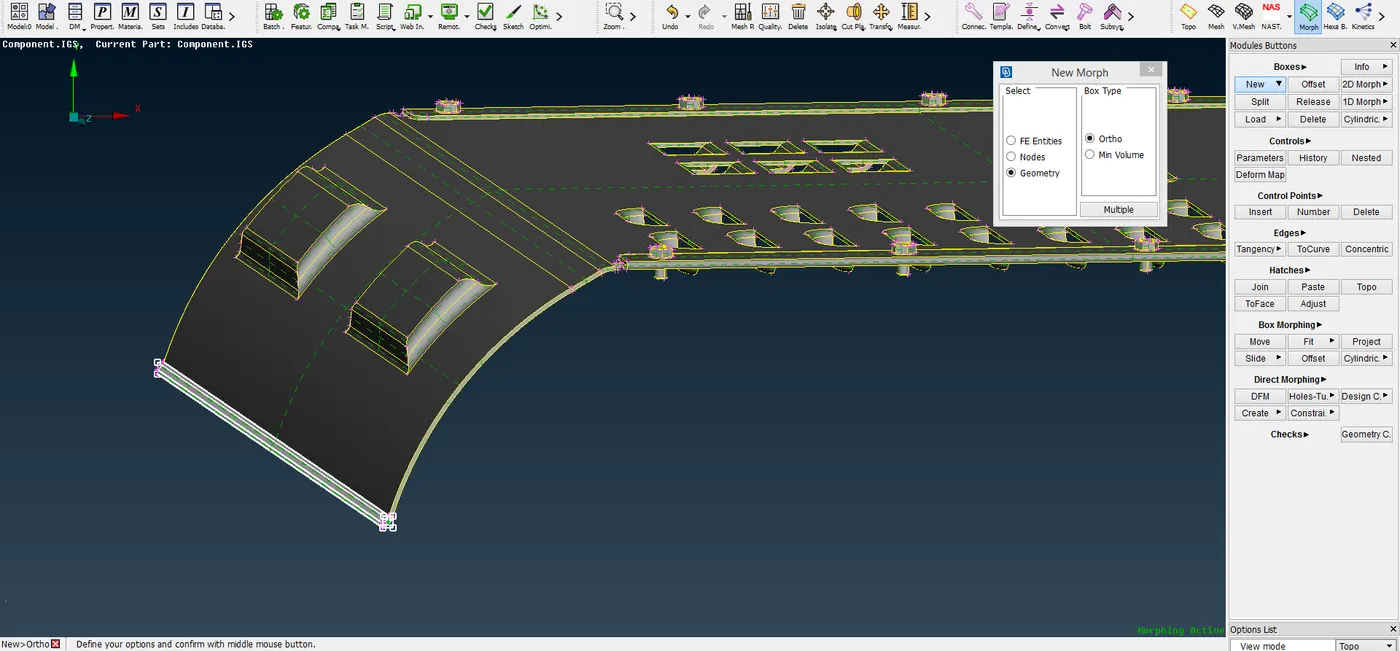
After accepting, the morph box is created.
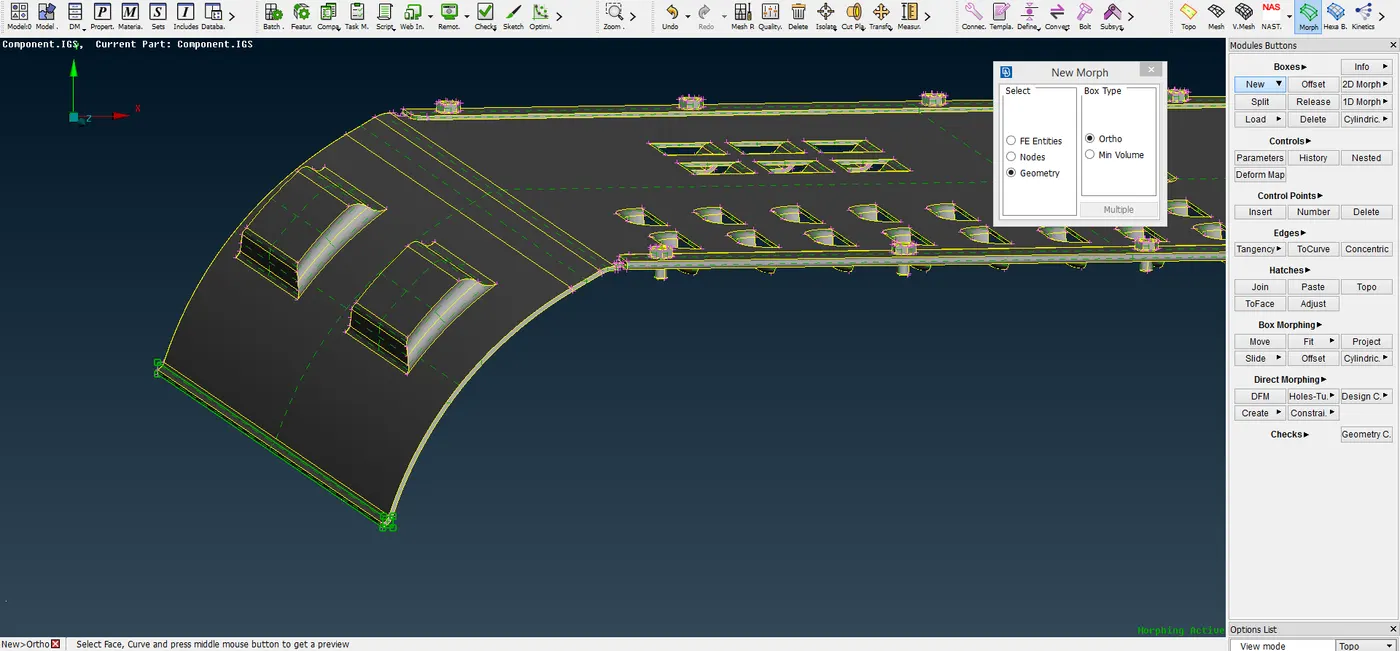
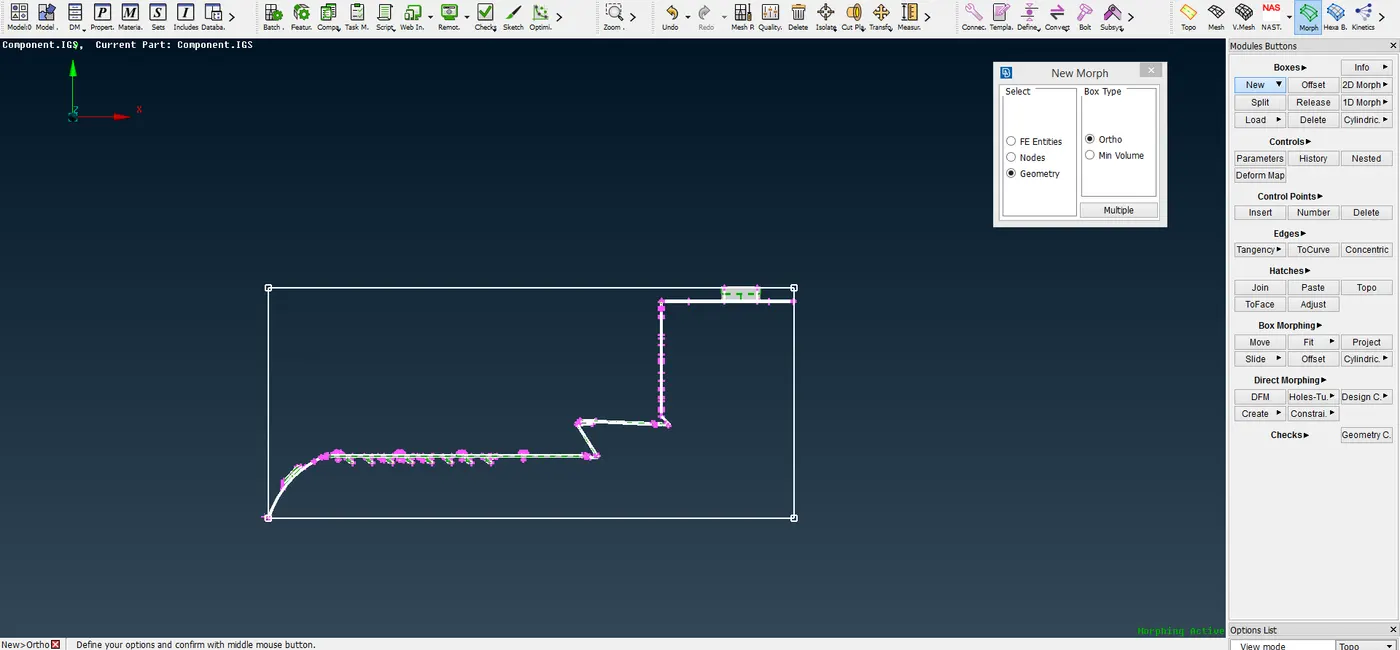
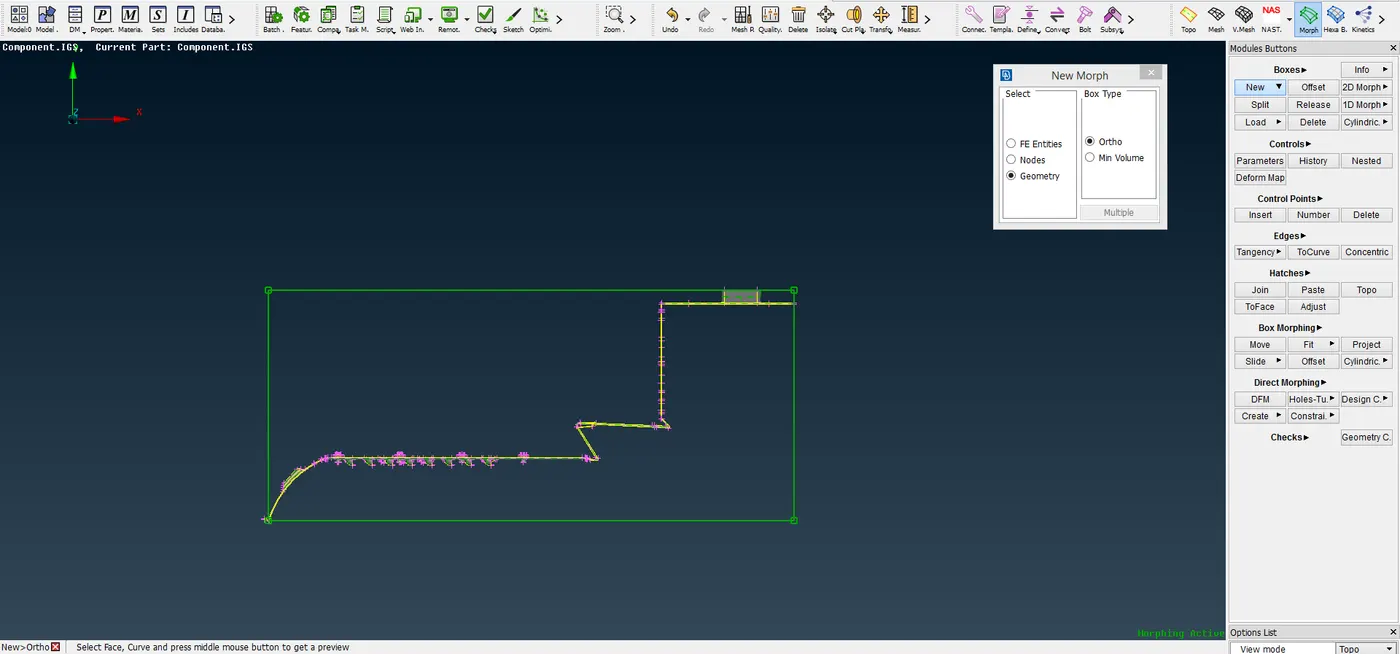
Then finally, the morph box is created for the whole model. This is done by selecting the whole model with a box selection.
PERFORMING MORPHING:
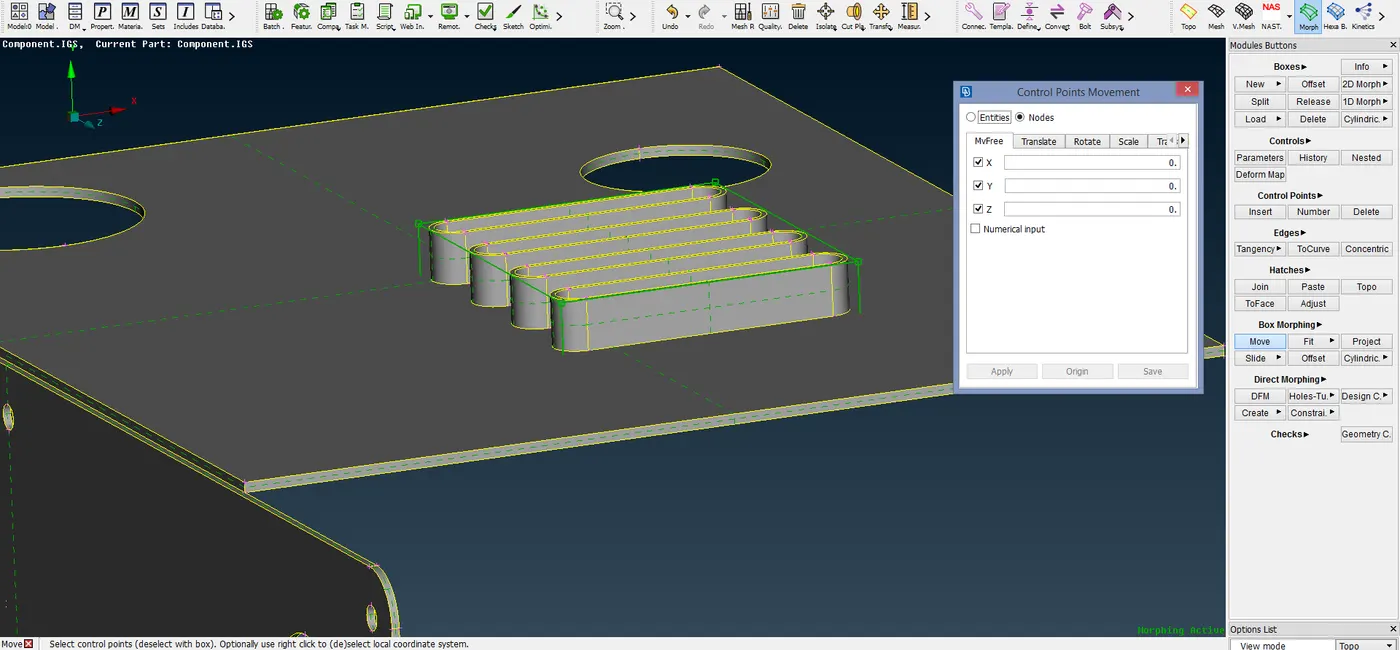
Morphing is done by moving the entities inside the box by selecting the nodes. It is under the BOX MORPHING -> MOVE in the Morph module.
First the nodes of the morph box are selected.
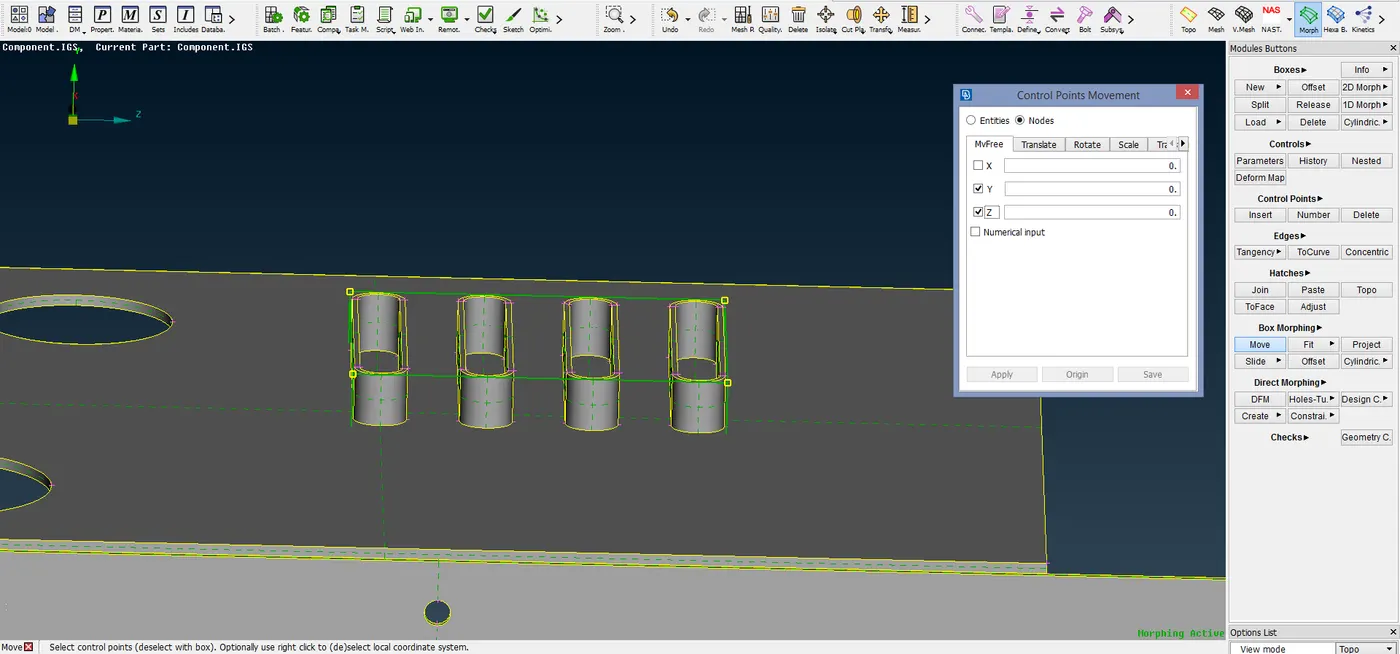
Then with a middle mouse click, the morphing is done by moving the entities in the x, y and z directions as desired.
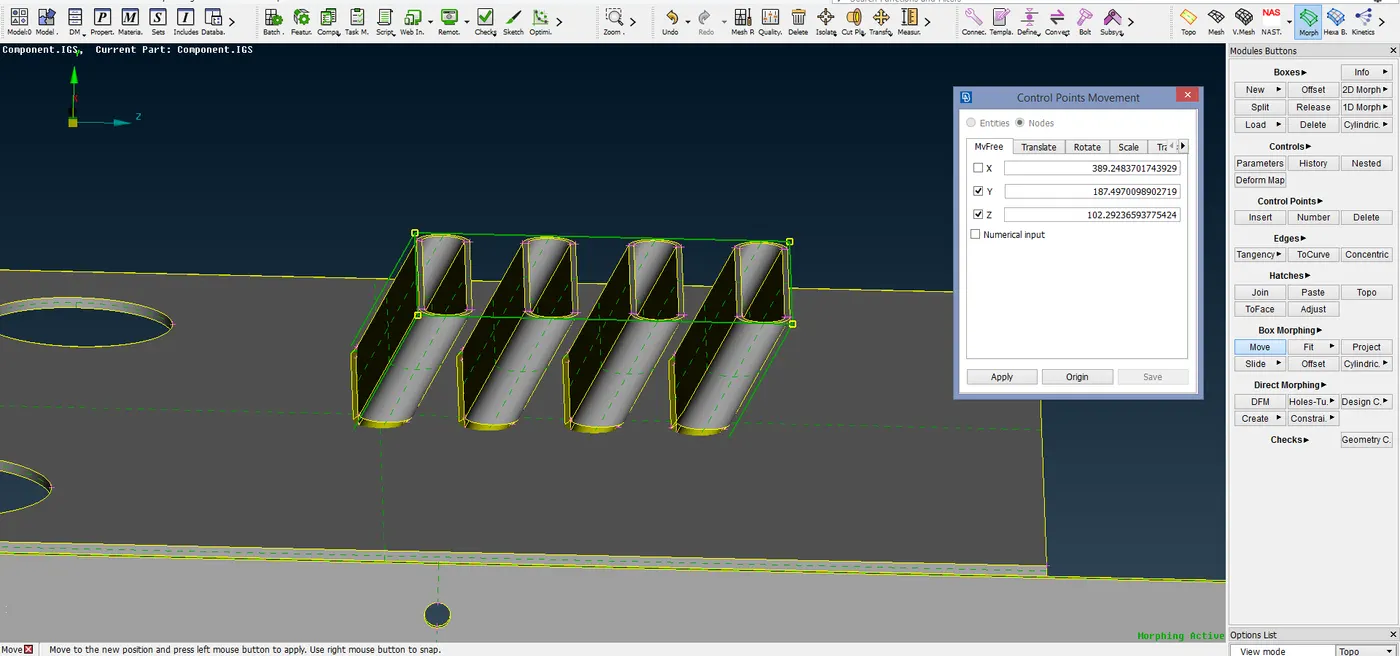
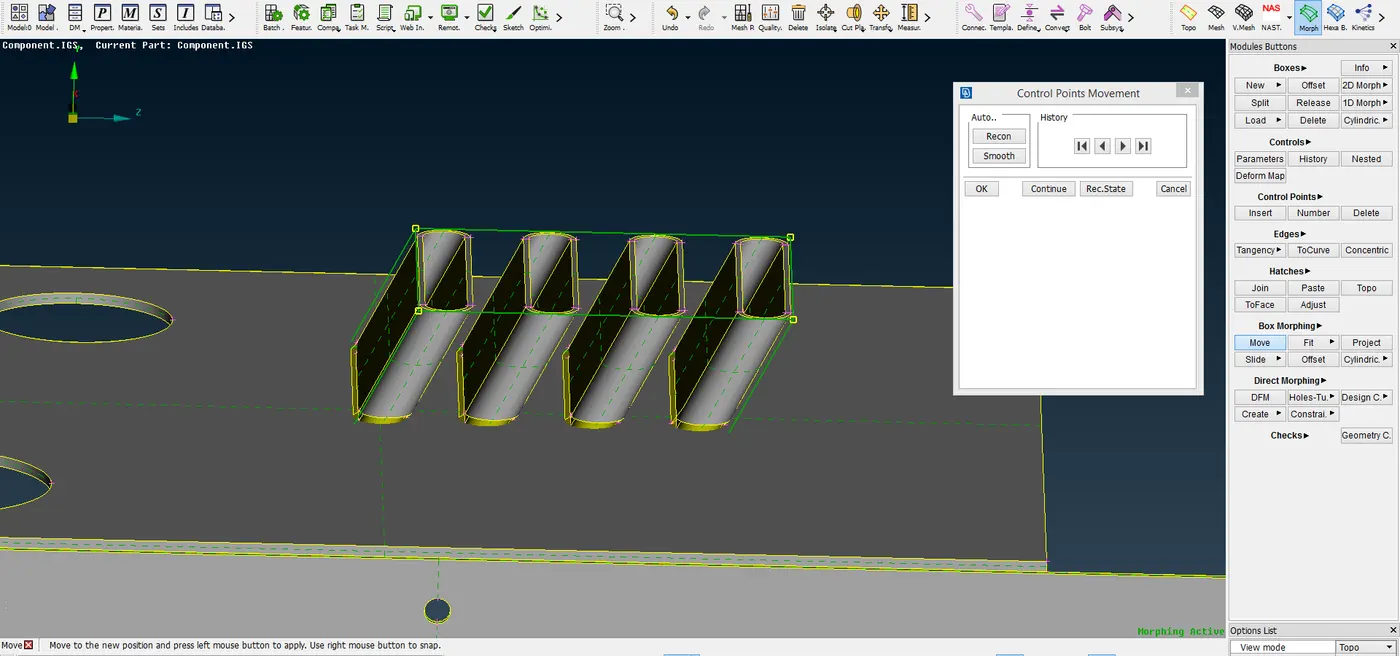
After accepting, the morphing is done on the CAD model.
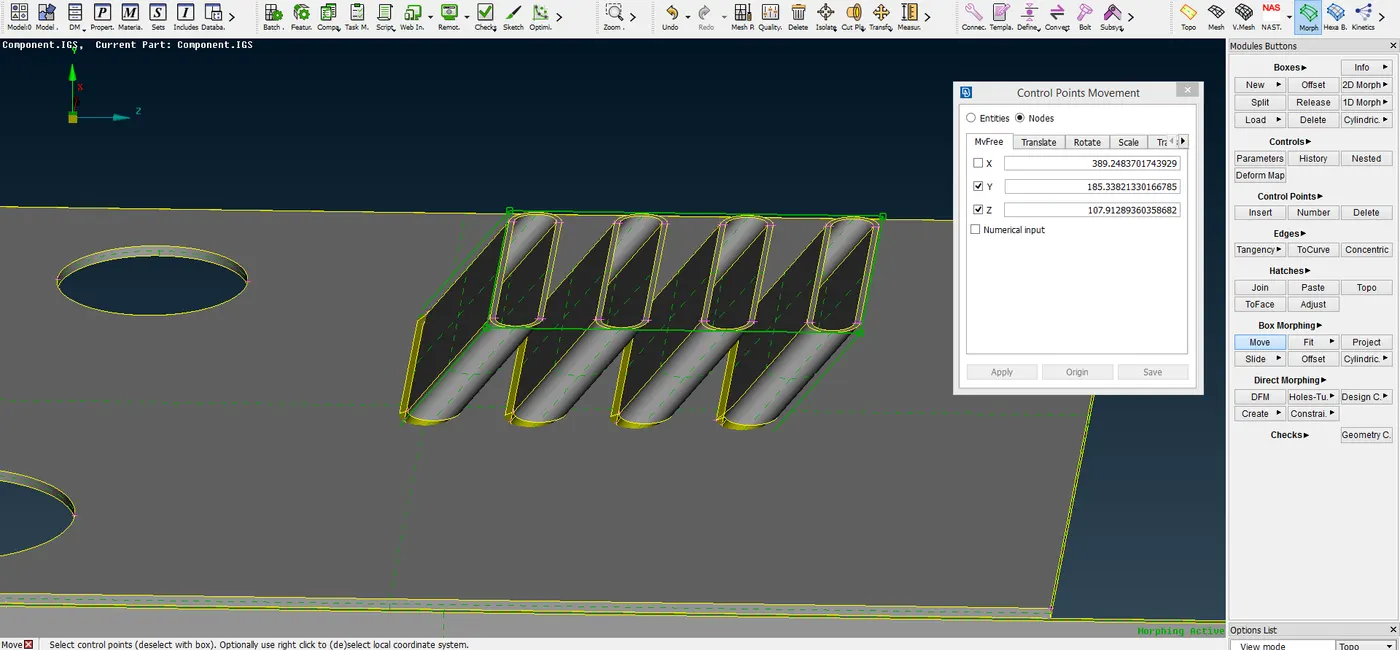
The same way, the nodes of the box are selected, and the morphing is done as desired.
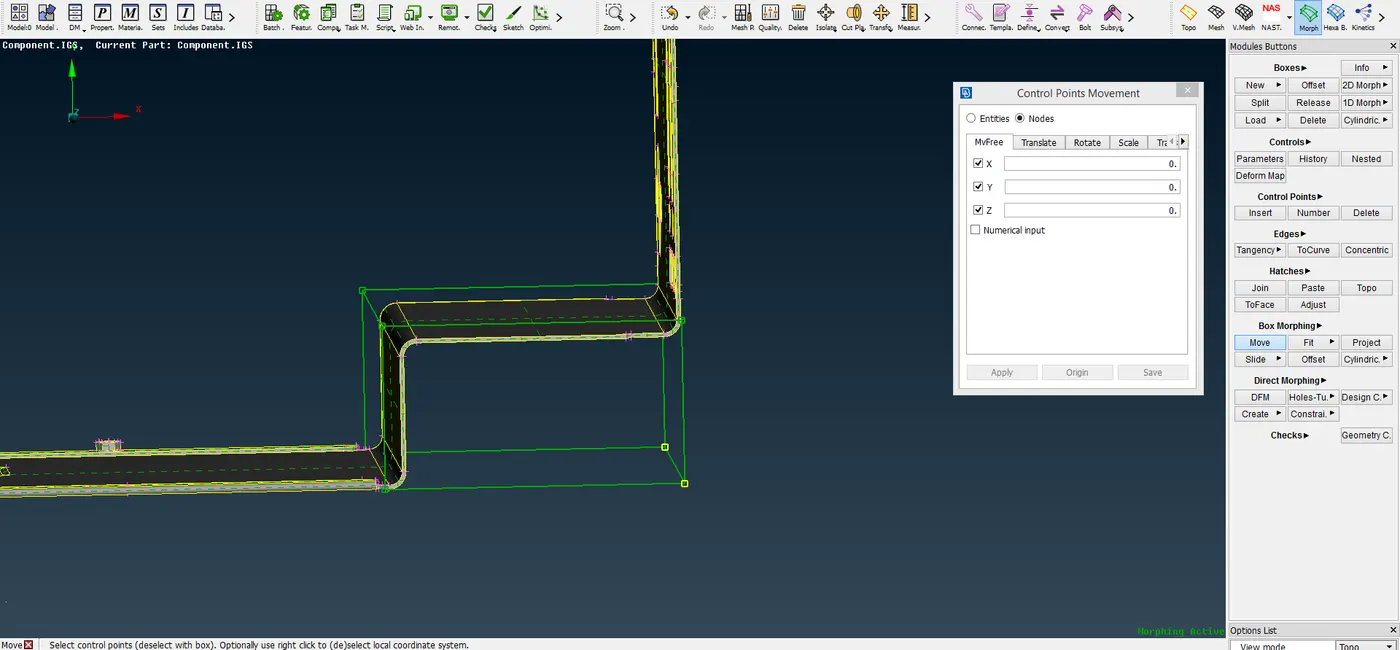
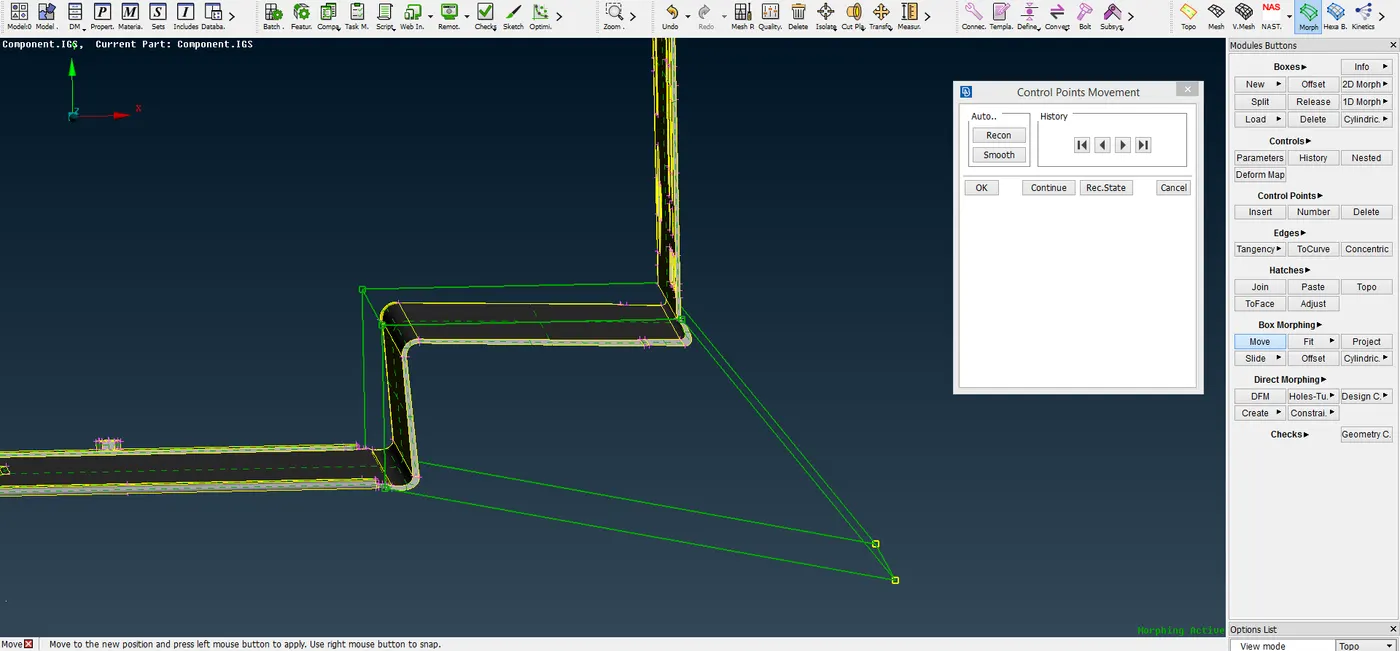
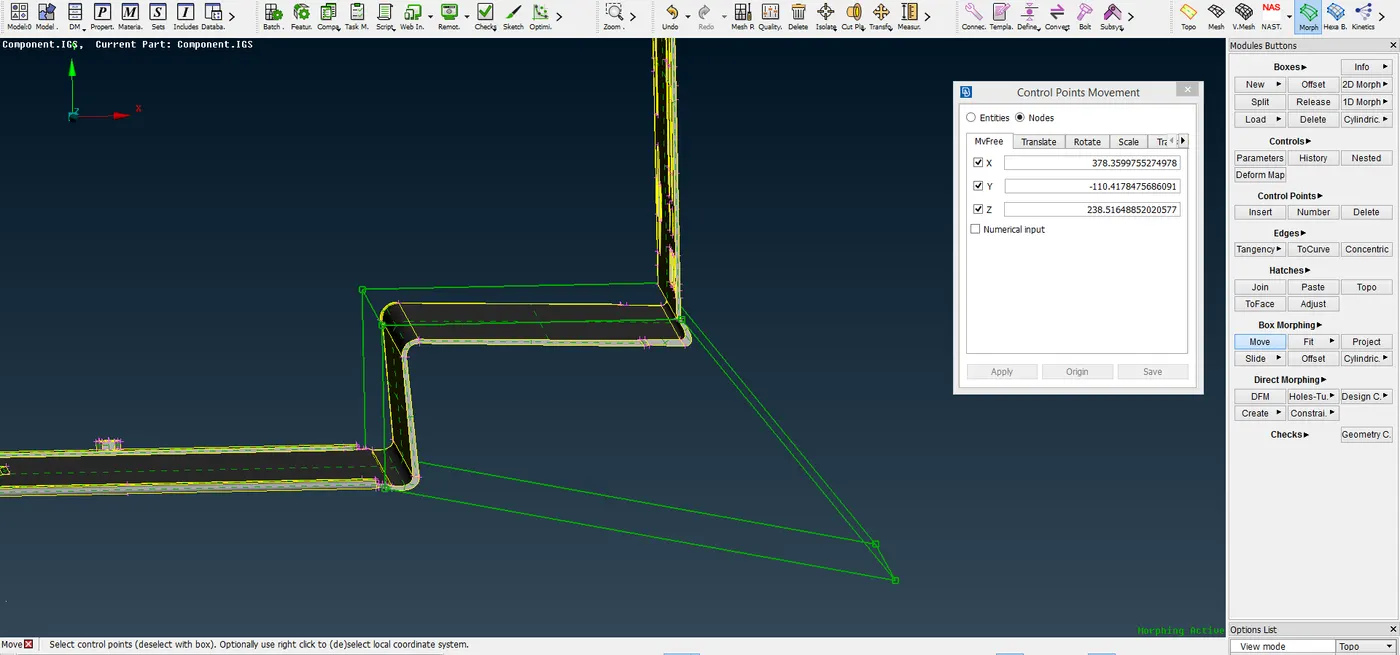
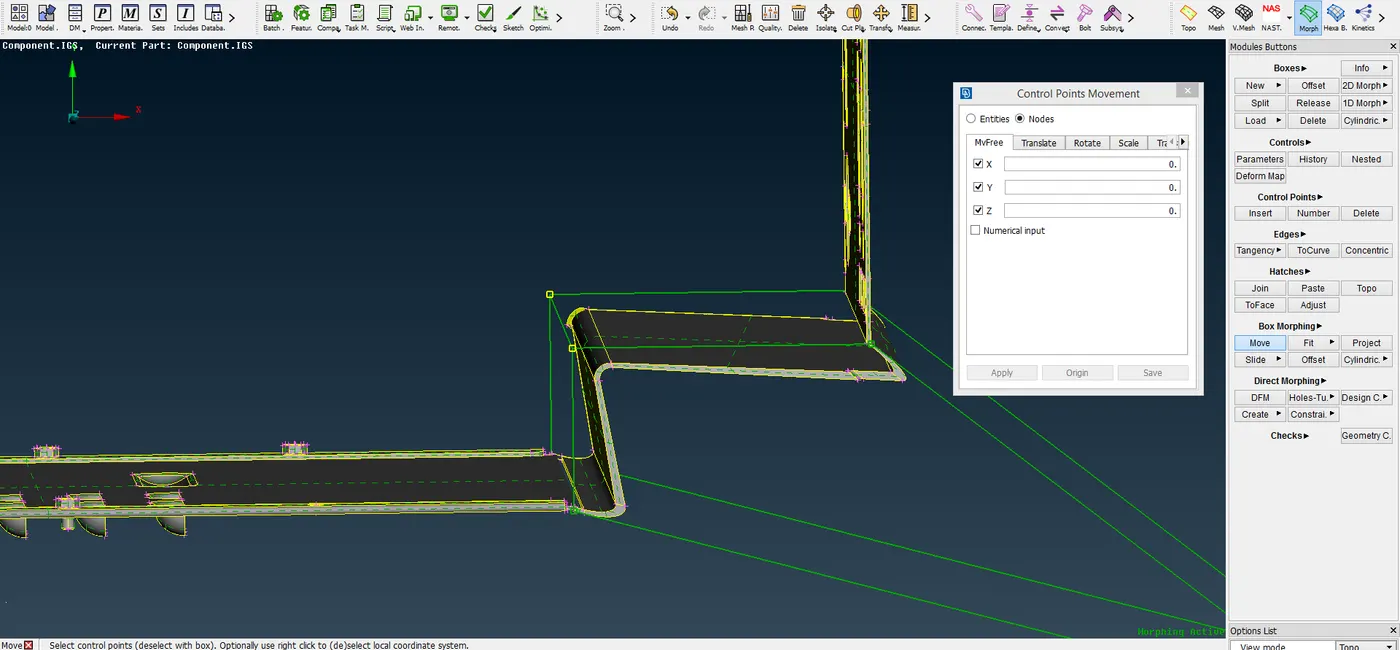
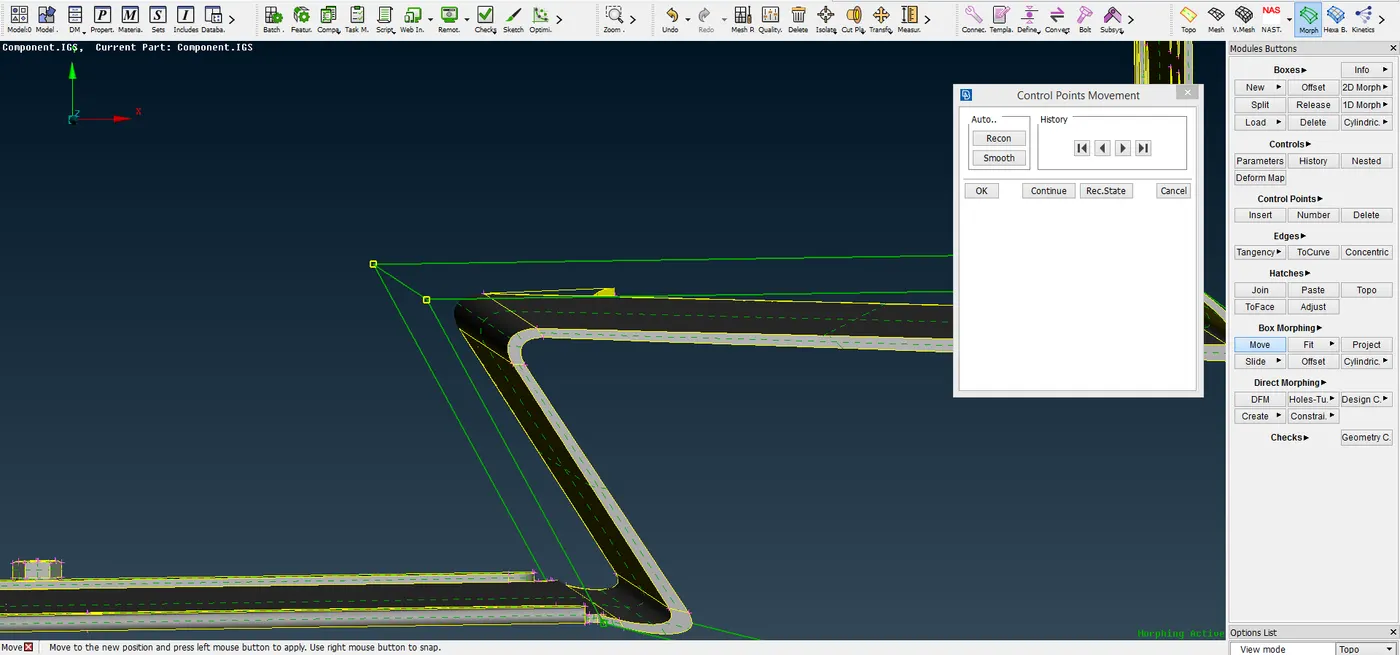
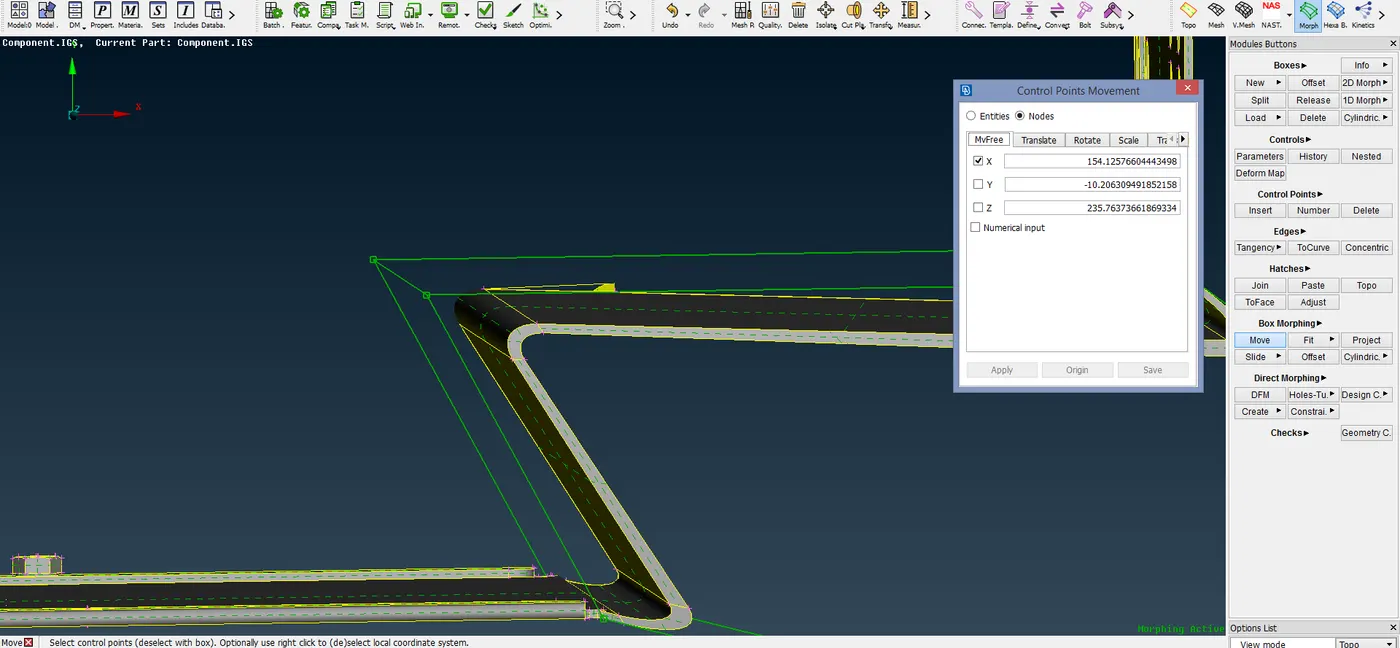
Now, the morphing is done for the other fillet in the bottom end of the model. The nodes of the morph box are selected.
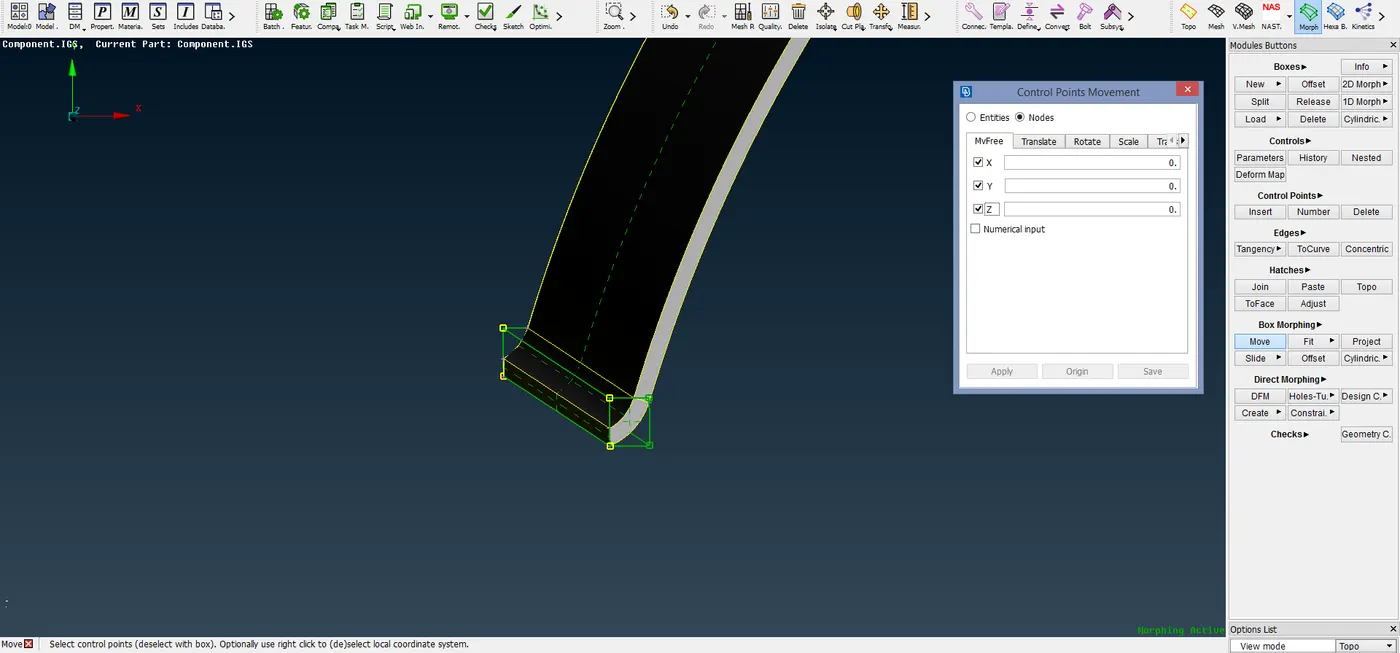
Then the morphing is done by moving the entities inside the box.
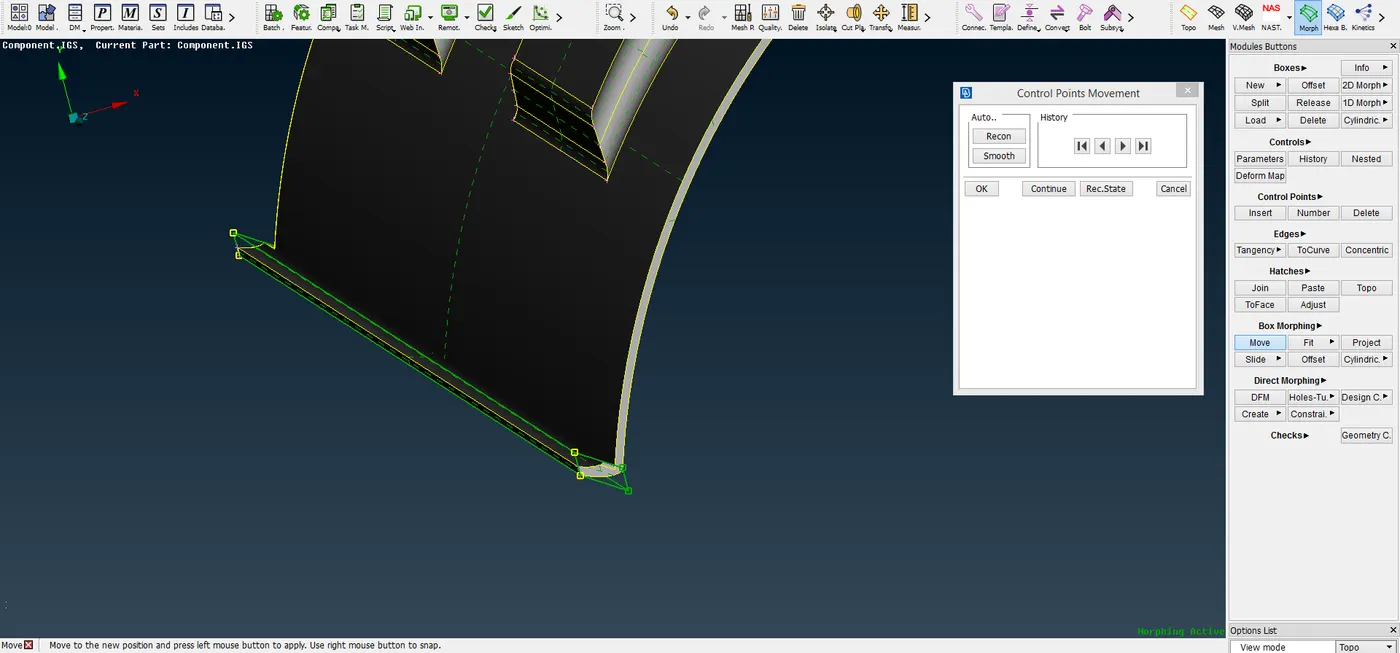
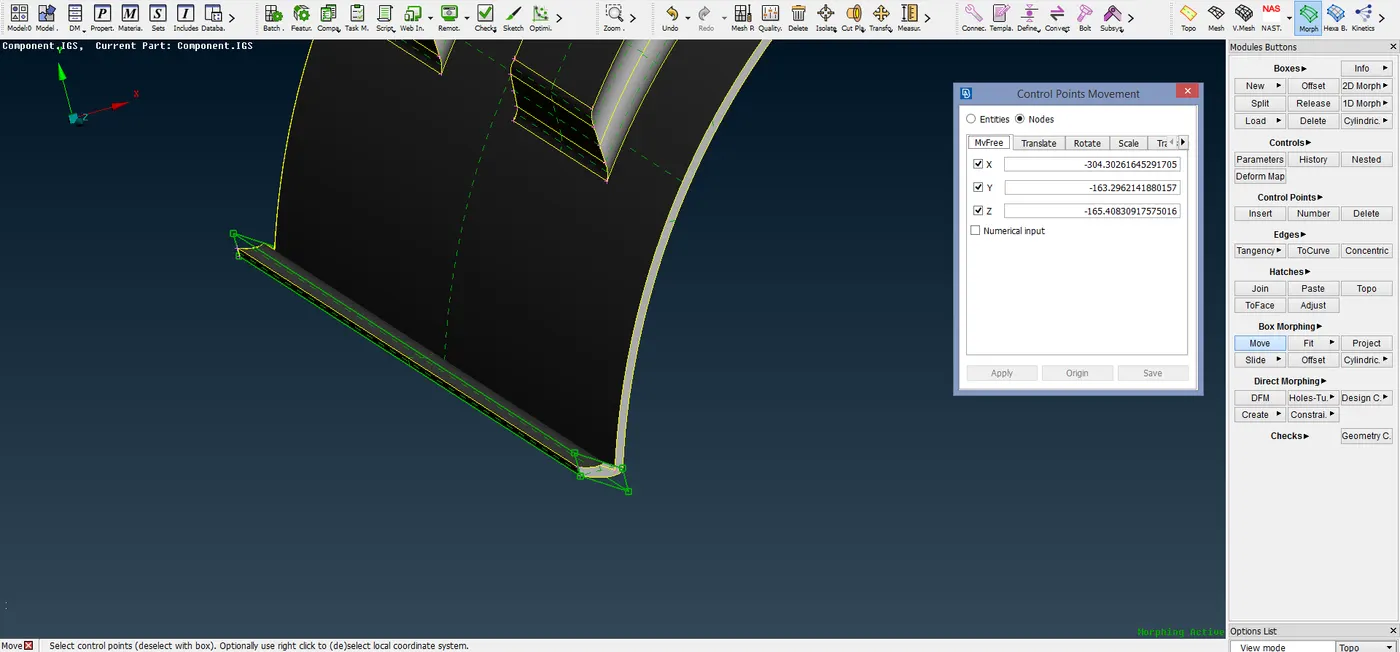
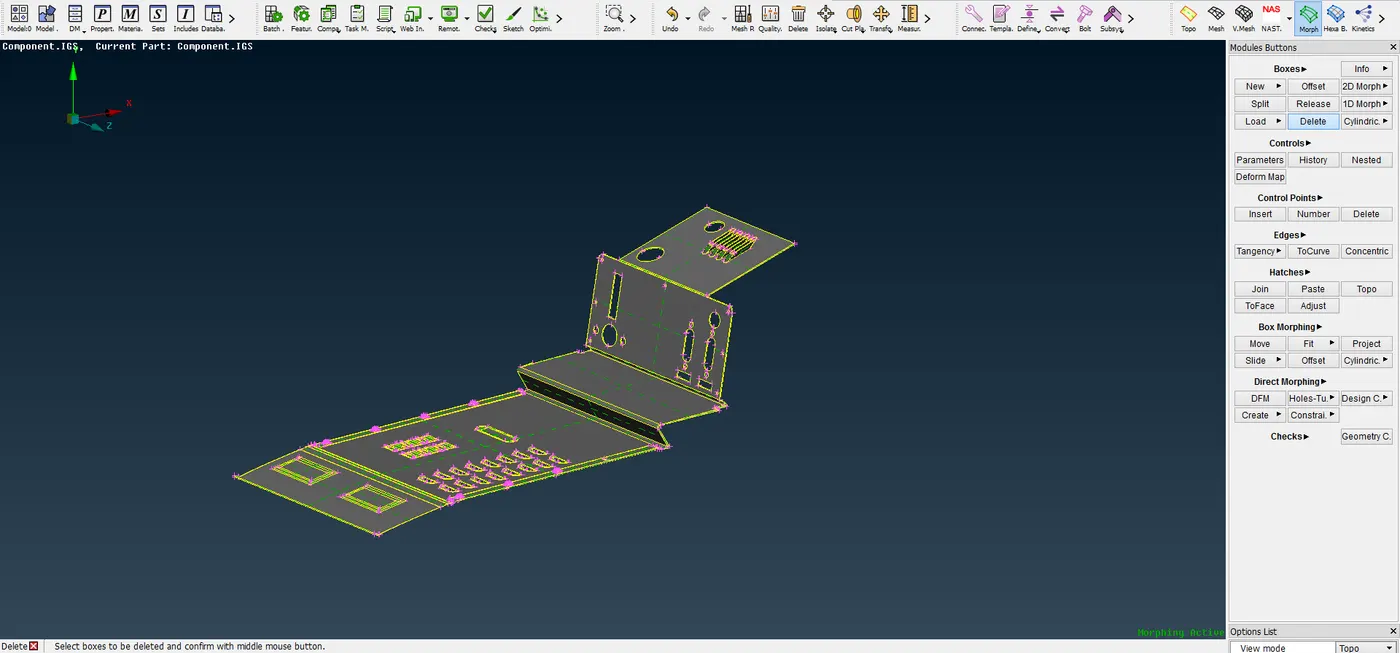
Once the morphing is completed, the morph boxes can be deleted as they are not required anymore.
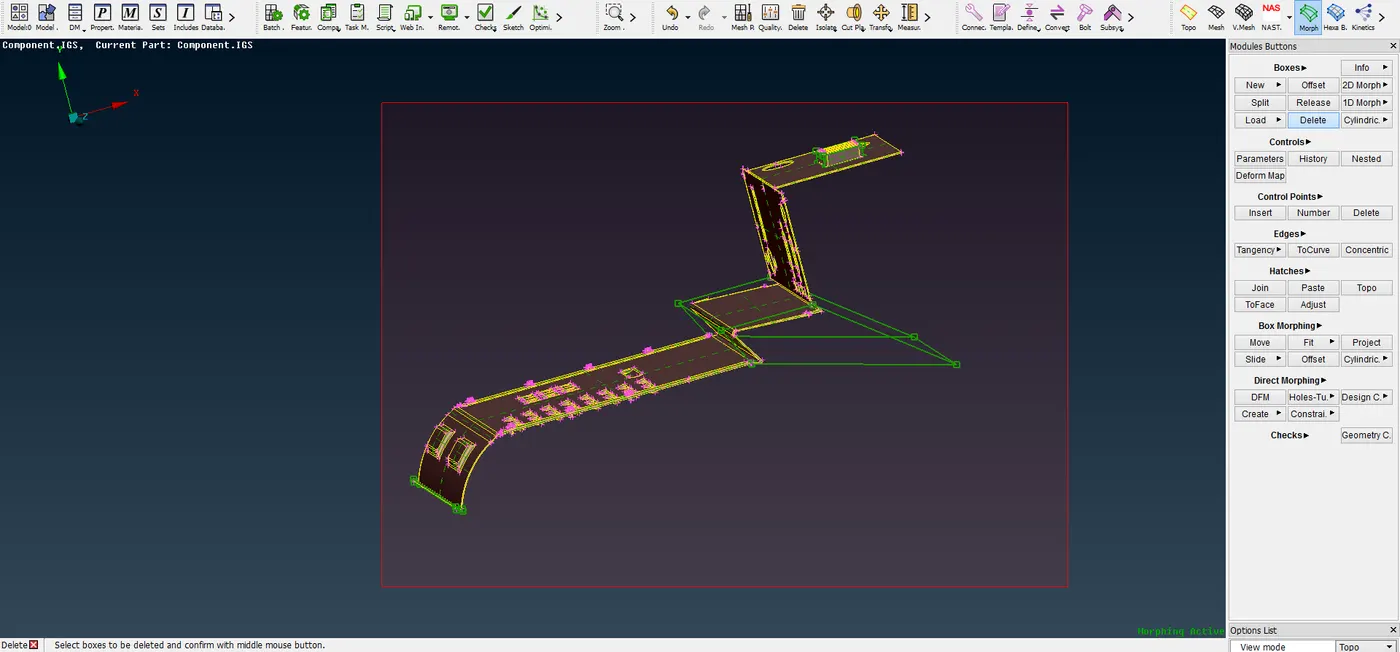
The morph boxes are deleted with the help of BOXES -> DELETE in the Morph module. The morph boxes are selected with box selection.
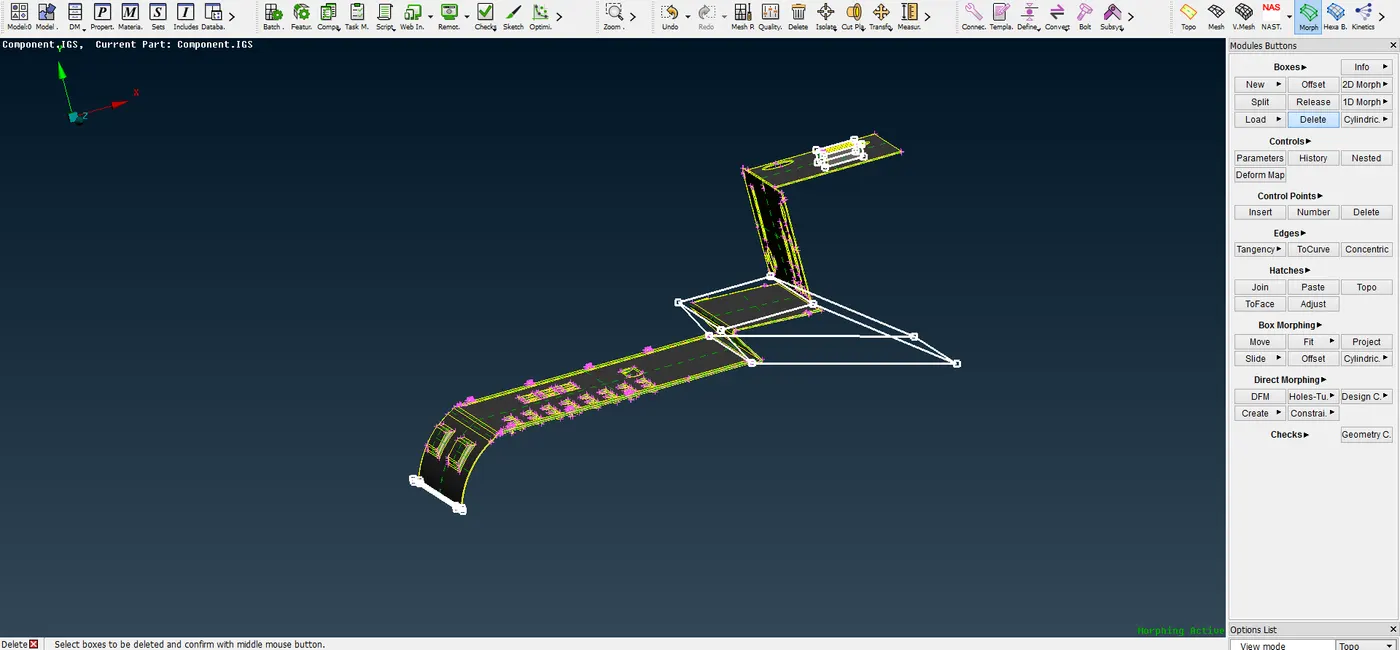
Then, upon accepting the morph boxes are deleted.
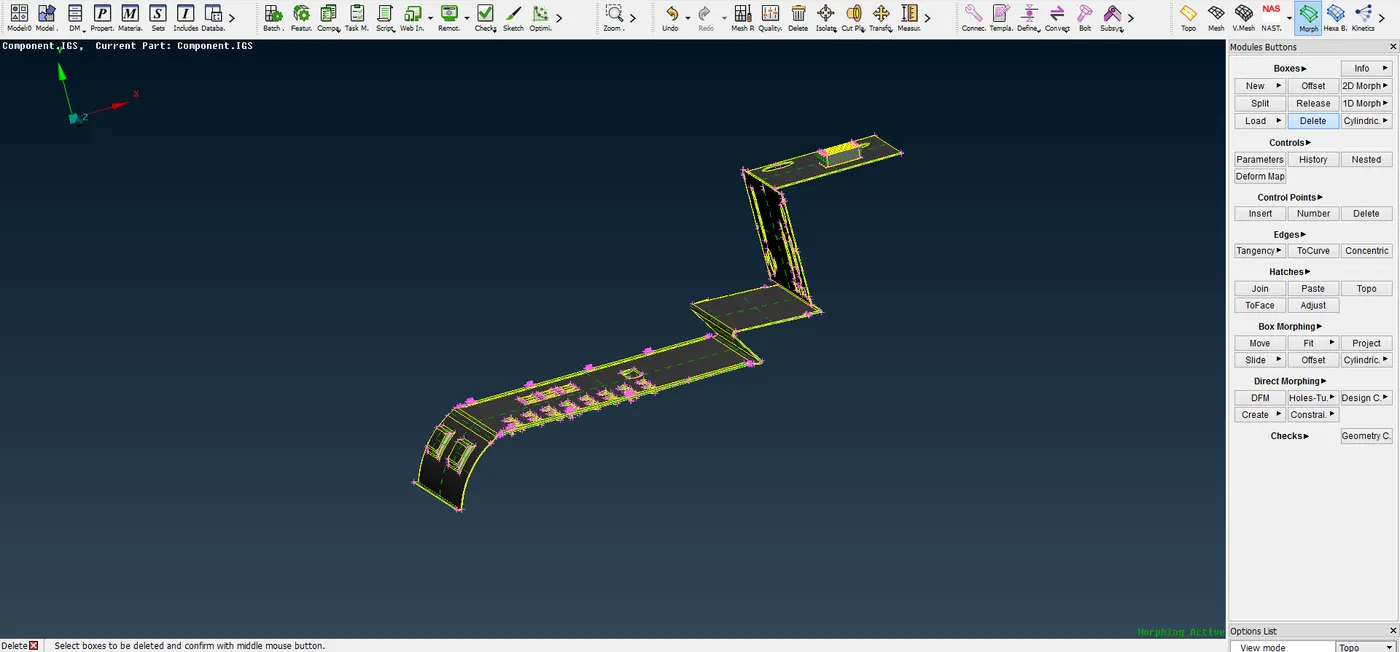
Now, the morphing is done for the whole model. The nodes of the morph box are selected.
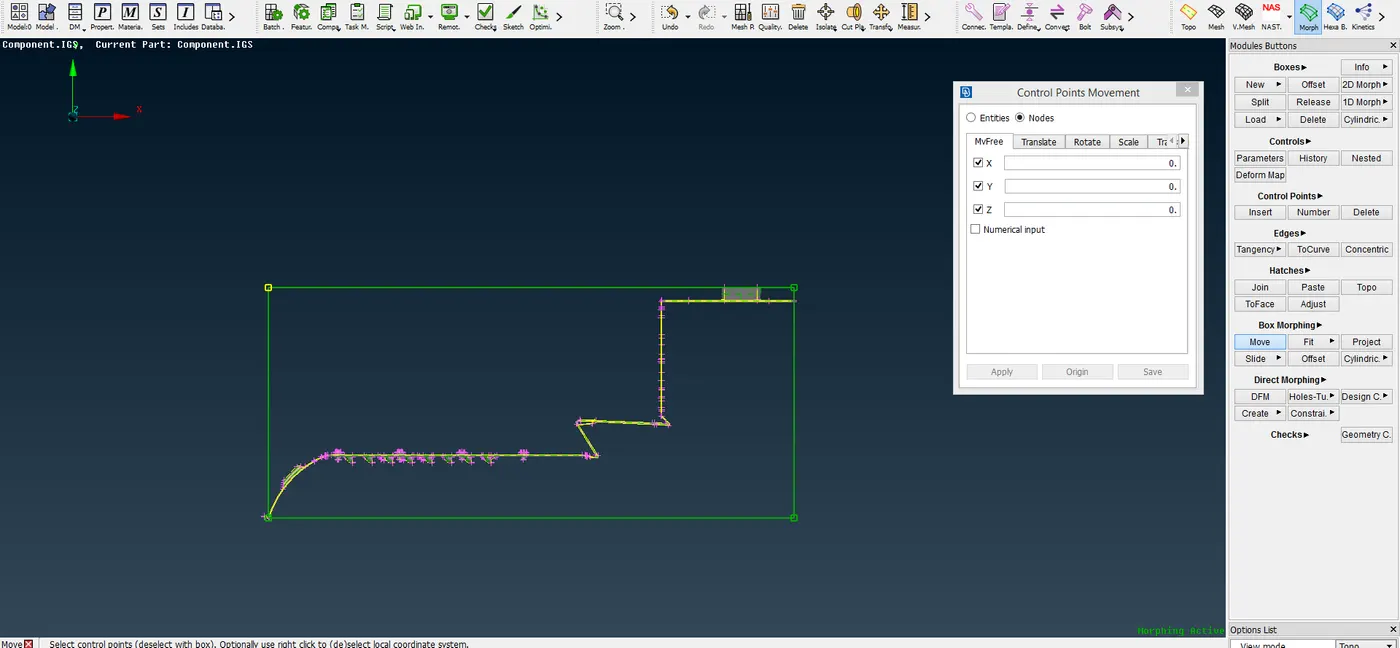
The morphing is done by moving the entities inside the morph box.
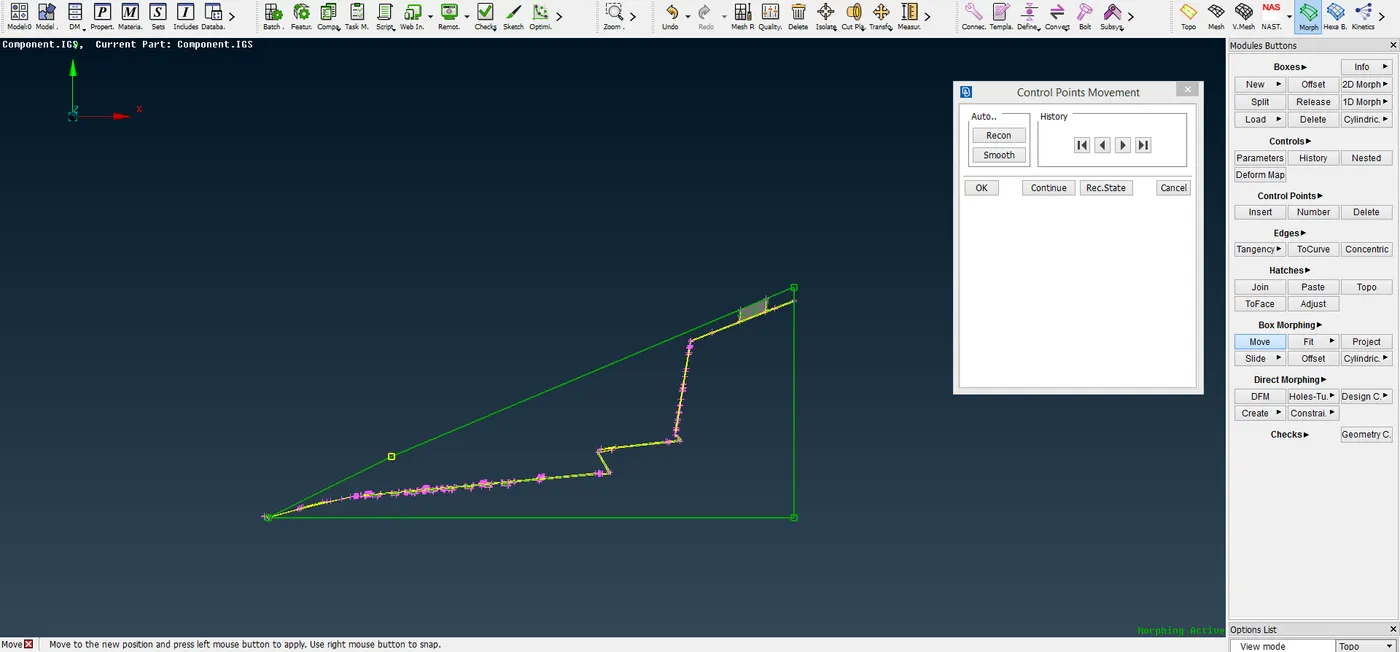
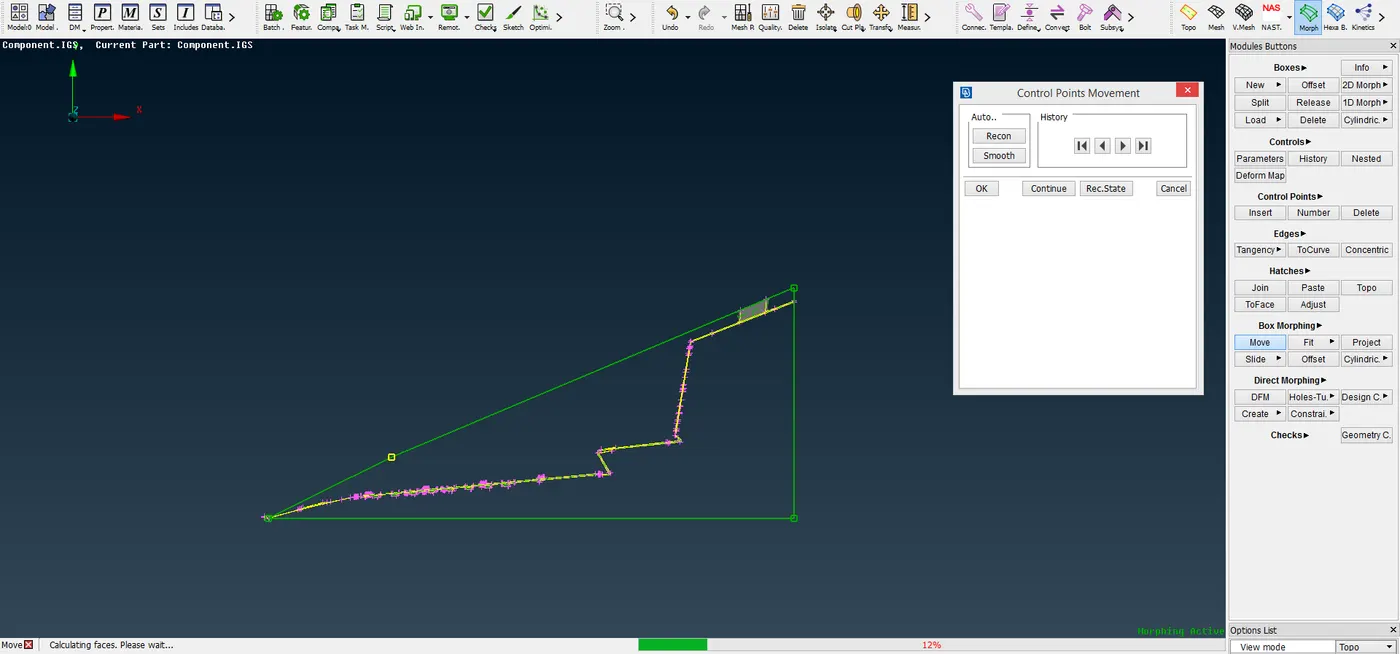
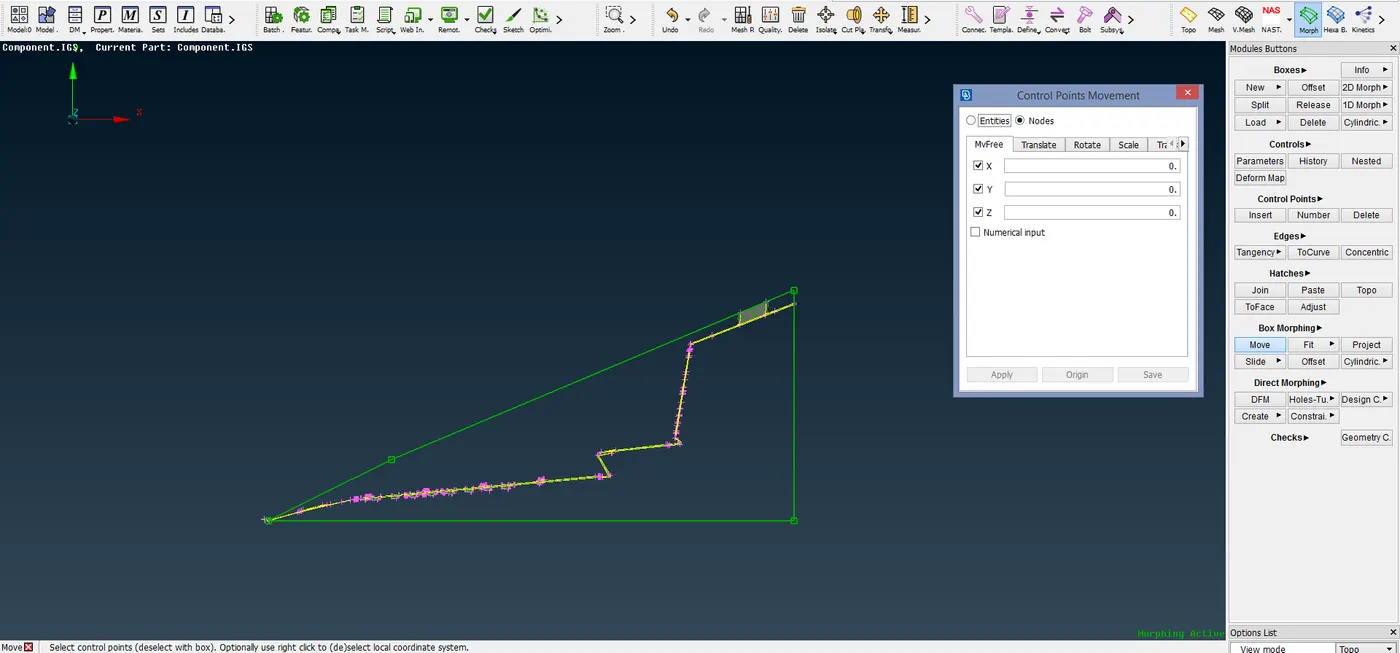
Finally, the morphing is completed.
LEARNING OUTCOMES:
Morphing and its basics are learnt in the above project.
CONCLUSION:
Thus the need of morphing, its basics and the procedure are learnt from the project.