Week 8
AIM:
In order to perform a MORPHING with the given CAD Geometry by using ANSA.
PROCEDURE:
Import the CAD Geometry into ANSA
Do the usual topology, Geometry Checks and start with Morphing.
To do MORPHING. Go to MORPH Modules > Boxes > New > Ortho. Select the TYPE as GEOMETRY. Now, press F1 to get 2D view. Then window select the surface to be morphed. On confirmation Morph Box will be created. Now in MORPH Modules > Box Morphing > Control Points Movement popup appears. Here select Nodes. In MOVE FREE > Select the Directional Axis to move the CAD. Next select the Nodes of the Boxes on which you want to MORPH. On confirmation the selected node is ready to move. Relocate the design according to your requirement. Left click to Freeze the area where you want the changes to be made. Then Middle mouse click to confirm the changes. That’s how we change the Design of the CAD using Morphing. There are lot of options to explore. We can also use SPILT command in Boxes (Morph Modules) inorder to have curved surface changes on the specific area in the design.
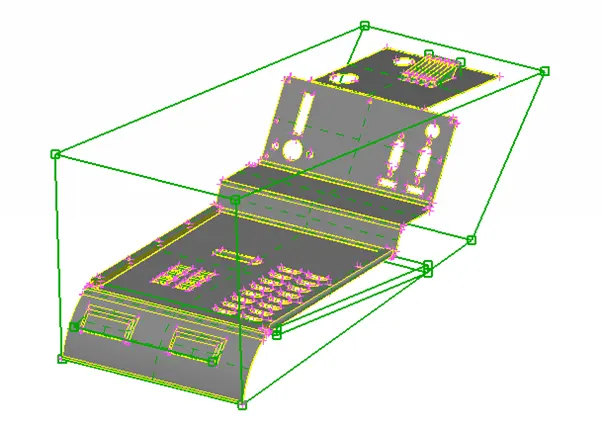
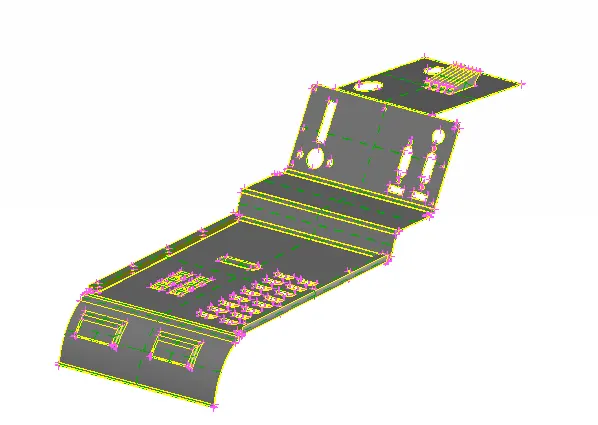
Above Fig. represents the Design changes made using MORPHING method in ANSA.
APPLICATIONS OF MORPHING IN AUTOMOTIVE INDUSTRY:
MORPHING
CAD Morphing is a transformation which allows the users to morph existing CAD data (Body structures, Powertrain and Chassis parts) directly to new shapes instantly. The complete BIW CAD data of an existing production vehicle can be morphed and made to fit a new vehicle’s styling data and/or proportions. Several months of CAD development can be reduced using CAD morphing technology.
Some of the known Automobile Brands used this application in their Design.
HYUNDAI (GRAND i10 - XCENT)

HONDA (BRIO - AMAZE)

VOLKSWAGEN (POLO - VENTO)

MARUTI SUZUKI (SWIFT – SWIFT DESIRE)

CONCLUSION
CAD Morphing is done in the given CAD Component. Morphing is a time saver in Automotive Design Development.