Week 7 Challenge - Assembly Workbench
ASSEMBLY WORKBENCH
AIM:
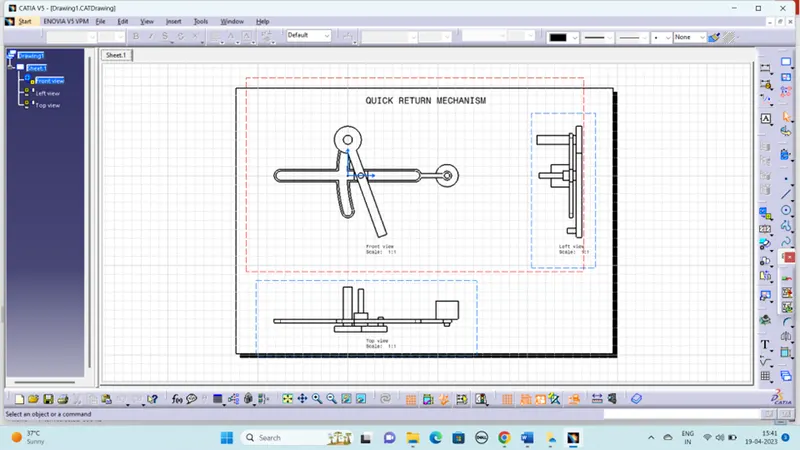
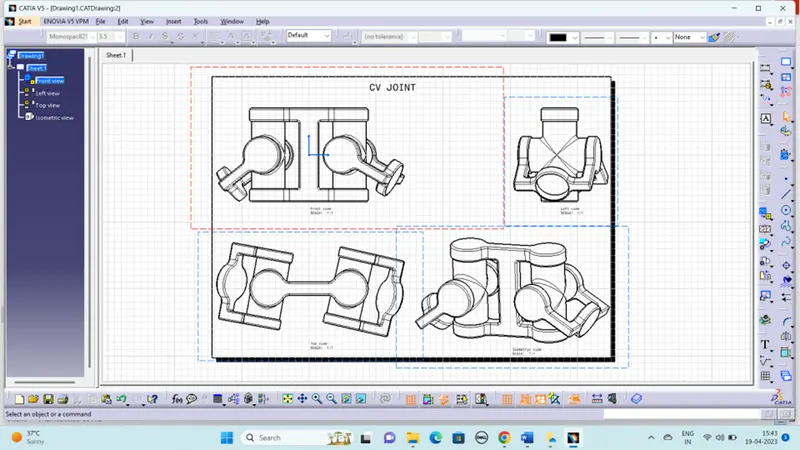
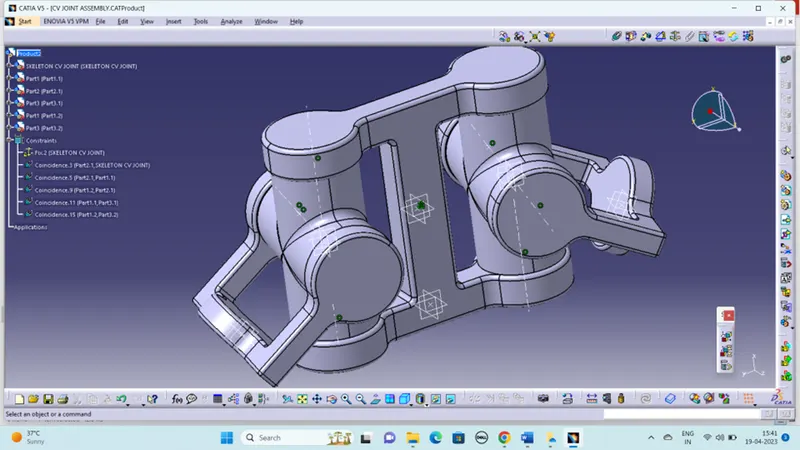
To create the individual part files and then create a complete assembly of those part files in the assembly workbench. After creating the assembly make use of the drafting tools to create a 2D drawing.
STEPS FOLLOWED:
- Create the parts from the given 2D drawings by using surface and part commands.
- Sketch
- Extrude
- Trim
- Pad
- Closed surface
- Add
- Remove
- Union trim
- After creating the all the individual parts, then to open the product file to start the assembly features.
- Fix
- Coincidence
- Surface contact
- Offset
These are the most common commands used in the assembly work bench.
- Then using the drafting features (Drawing) to create the 2d view of the assembled product.
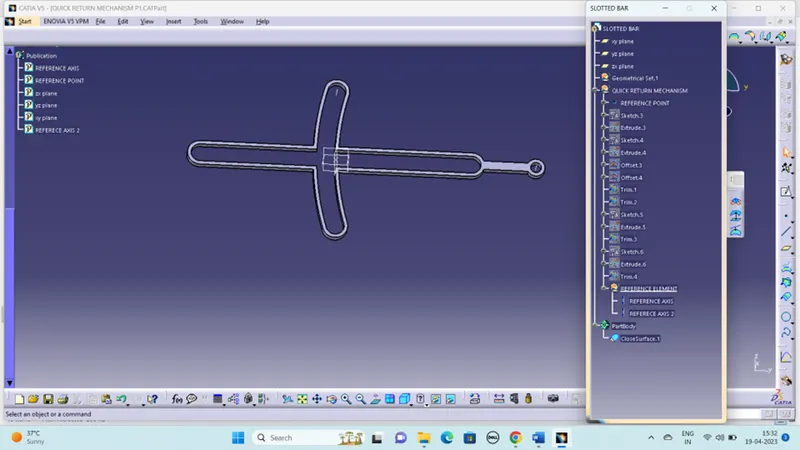
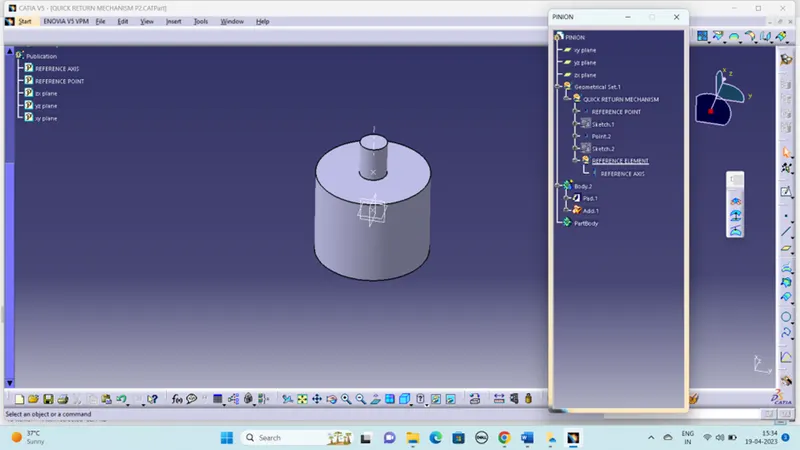
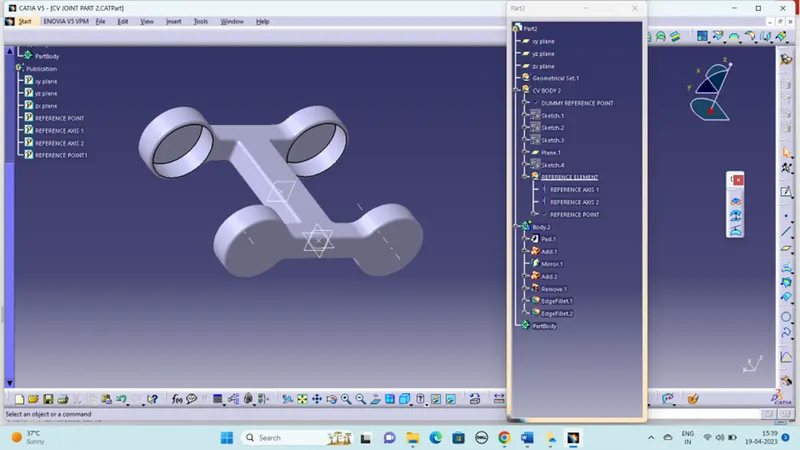
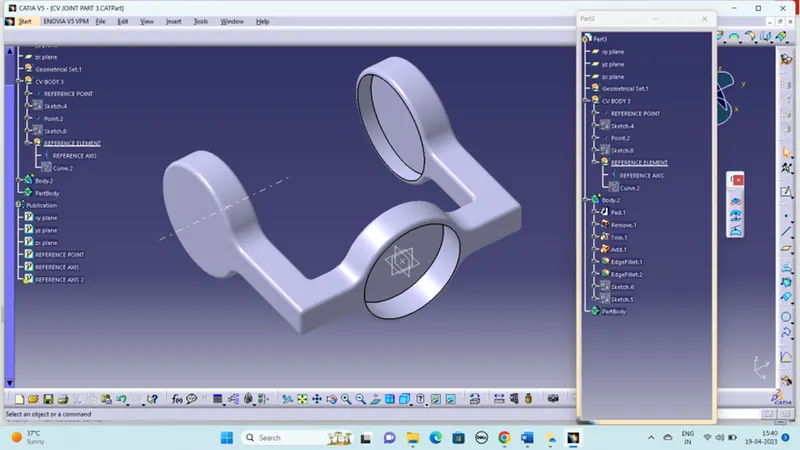
TREE STRUCTURE AND PART VIEWS:
QUICK RETURN MECHANISM:
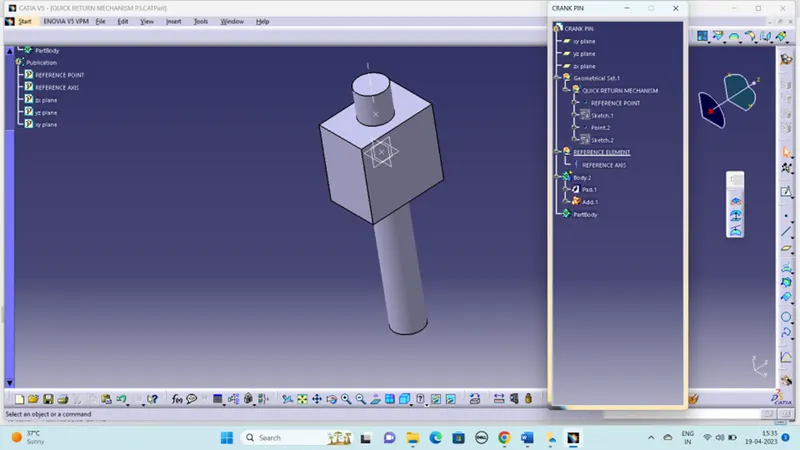
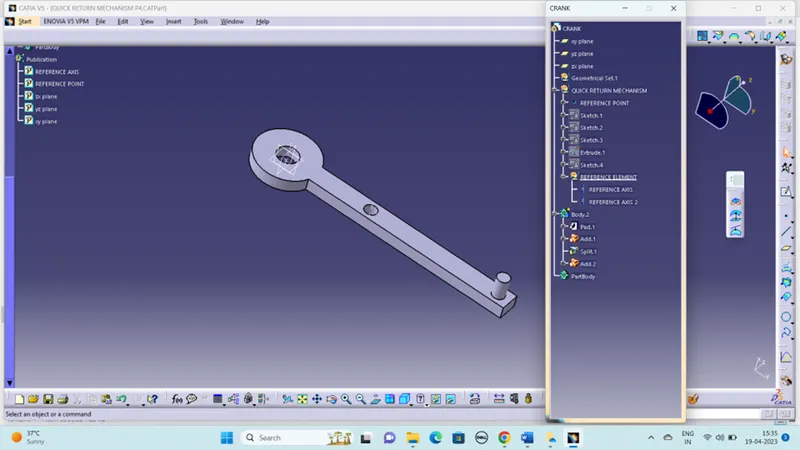
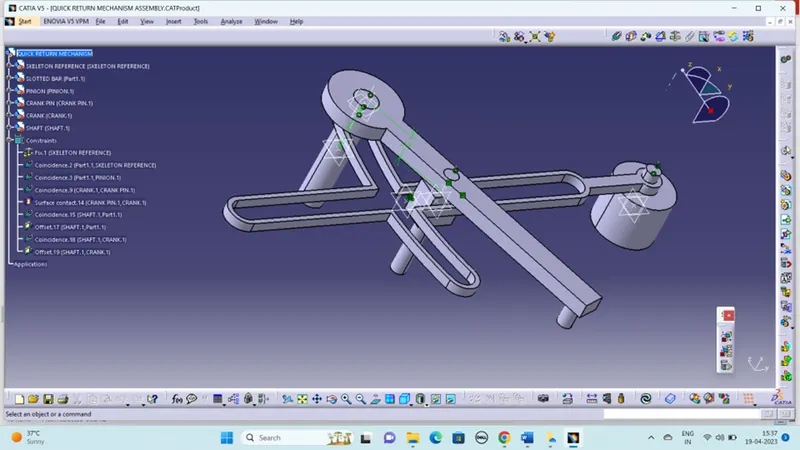
CV JOINT:
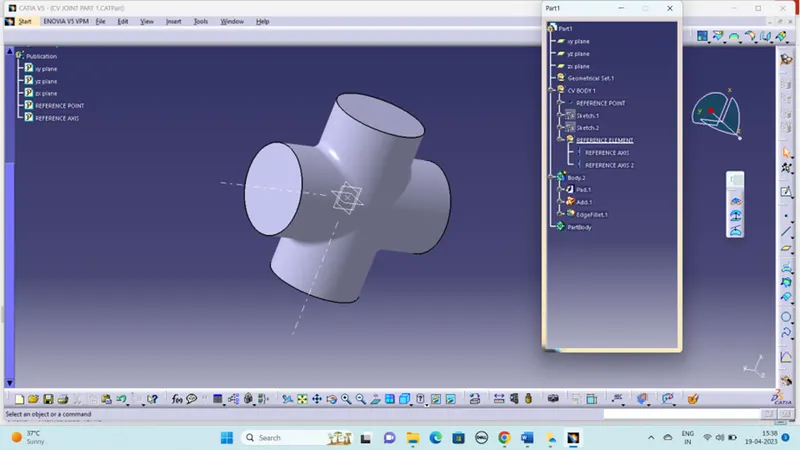
DRAFTING: