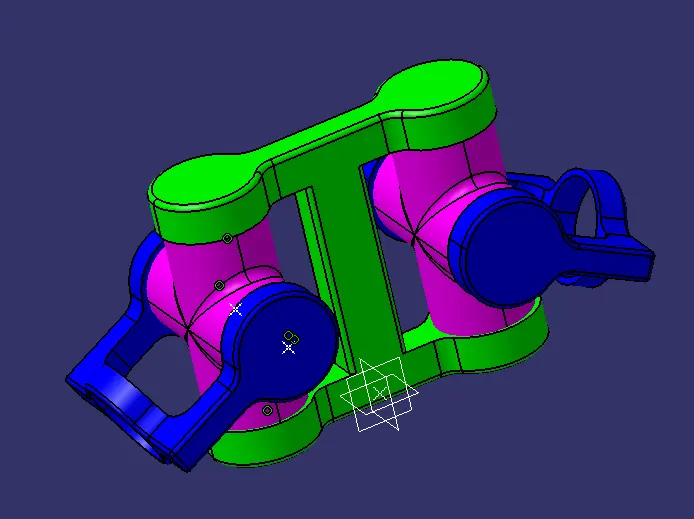
Week 7 Challenge - Assembly Workbench
Assembly Workbench : To first create the individual part files and then create a complete assembly of those part files in the assembly workbench.
Creation of Parts : Create each and every part of the product separately using the given dimensions. Create reference geometries where mating or assembly happens.
Assembly : Import every parts of the product into the assembly workbench using existing part command. Move every part approximately to their position using manipulation and assemble them using the reference geometries by appling constrains.
Model 1:
Body 1 Sketch :
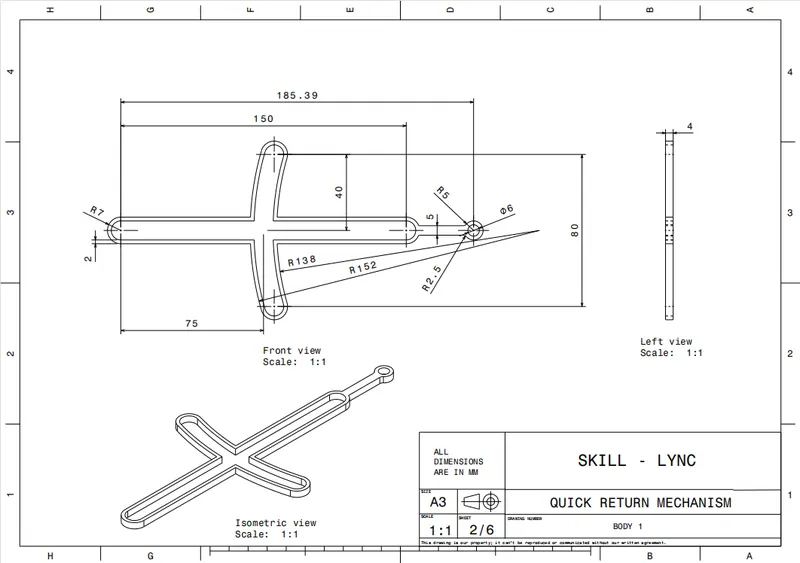
Body 2 Sketch :
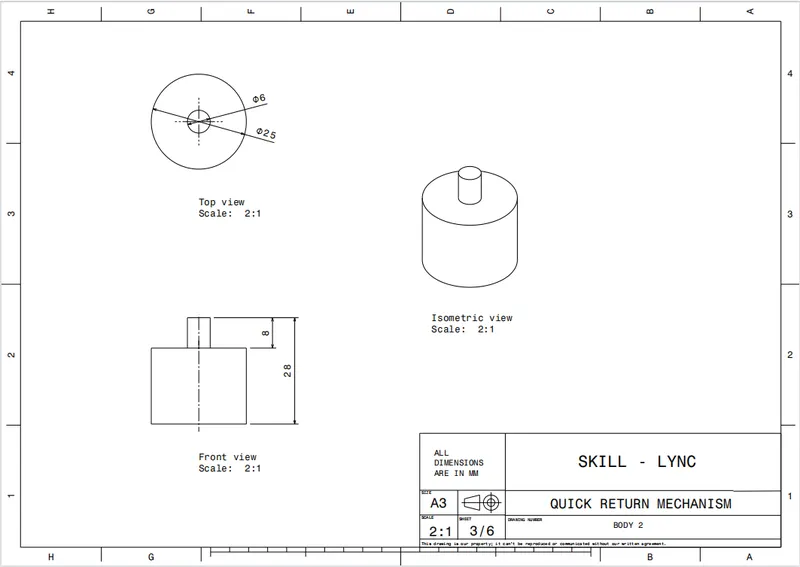
Body 3 Sketch :
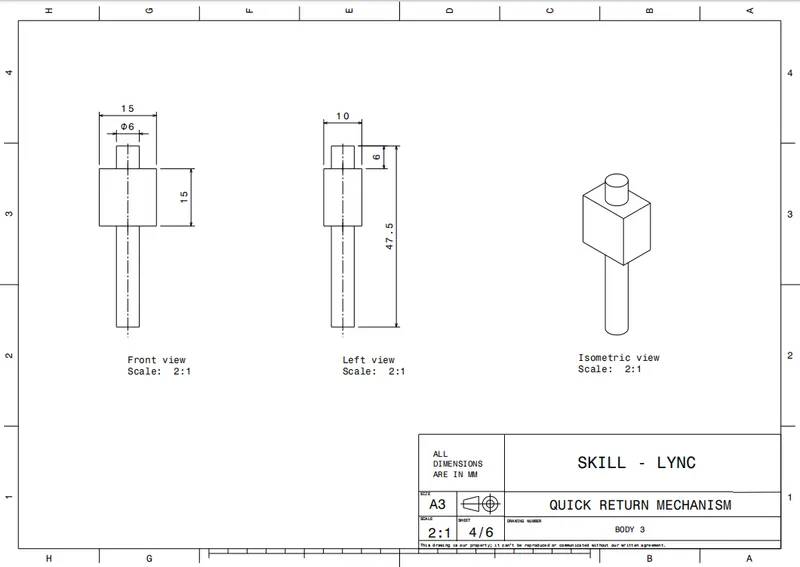
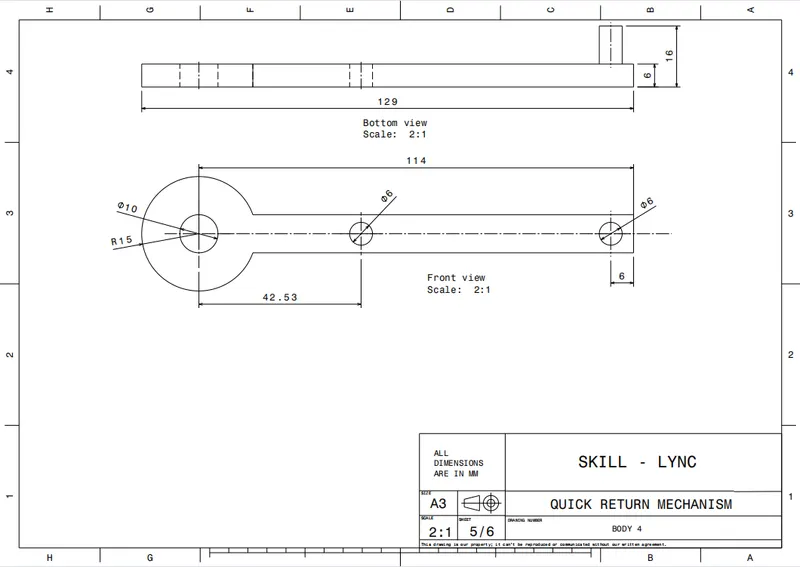
Body 4 Sketch :
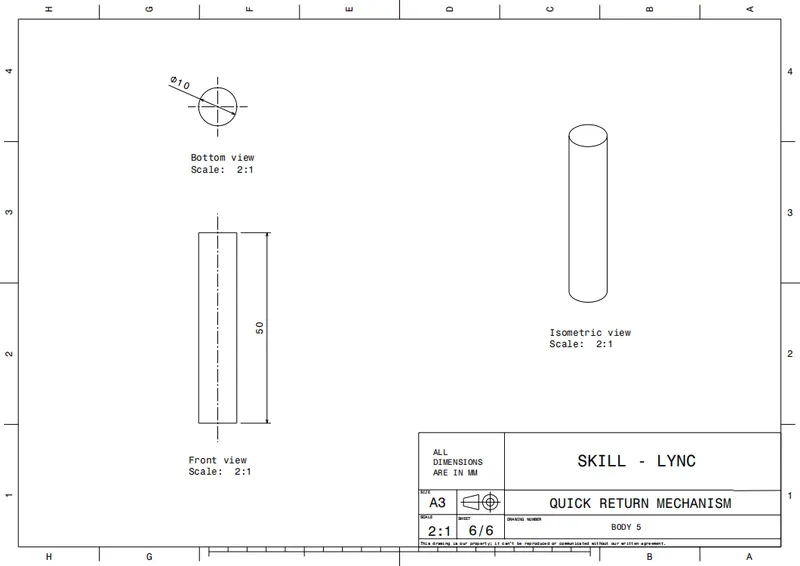
Body 5 Sketch :
ISO CONSTRAINED, ISOMETRIC & FRONT VIEWS :
BODY 1 :
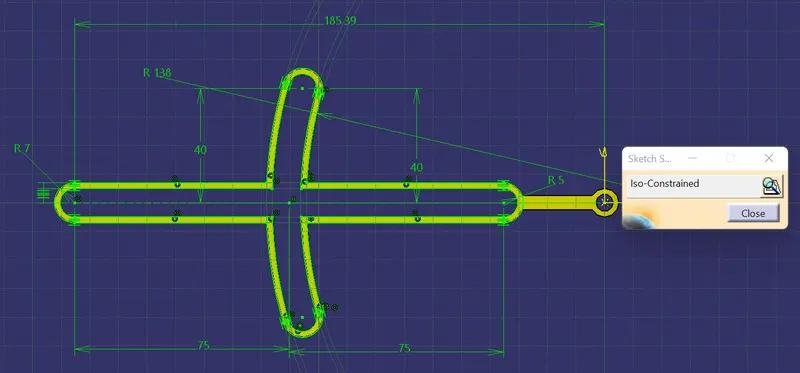
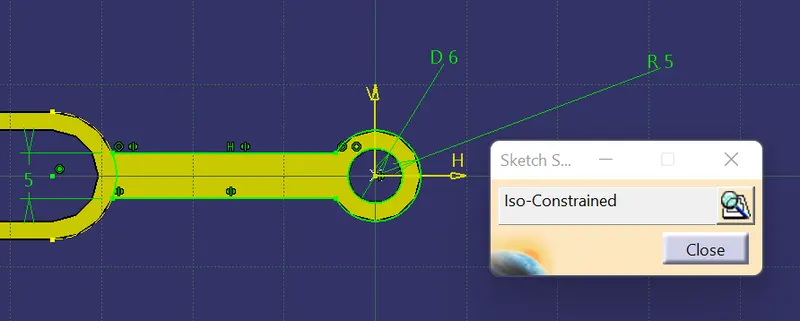
ISOMETRIC VIEW :
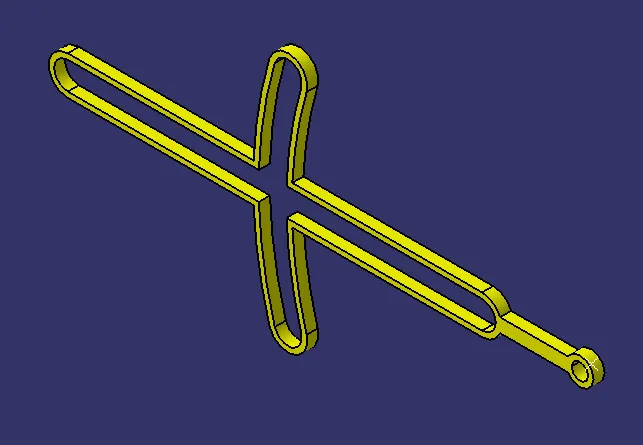
FRONT VIEW :
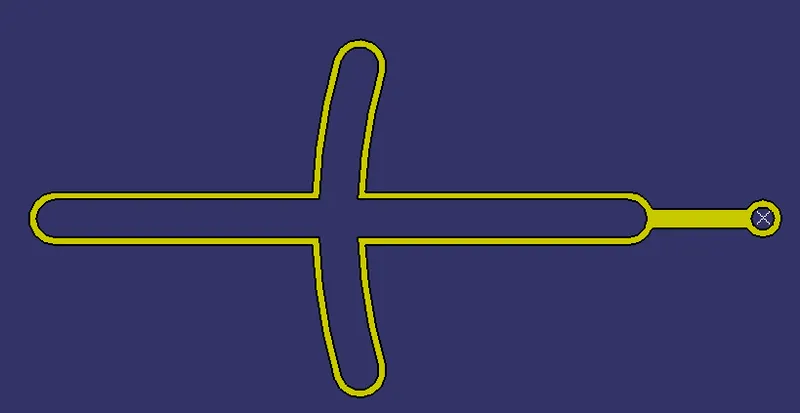
BODY 2 :
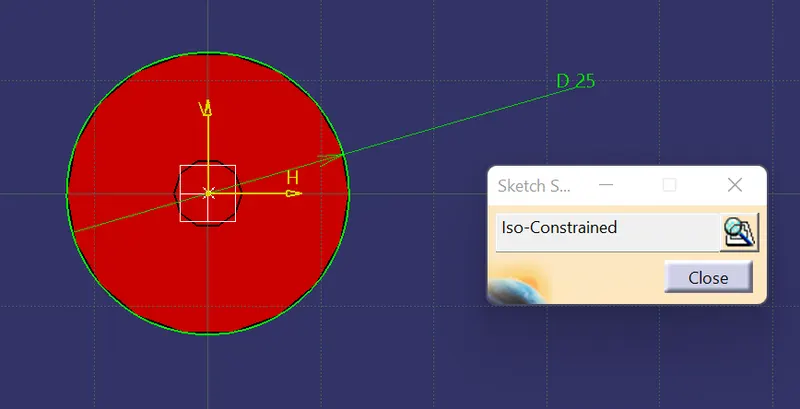
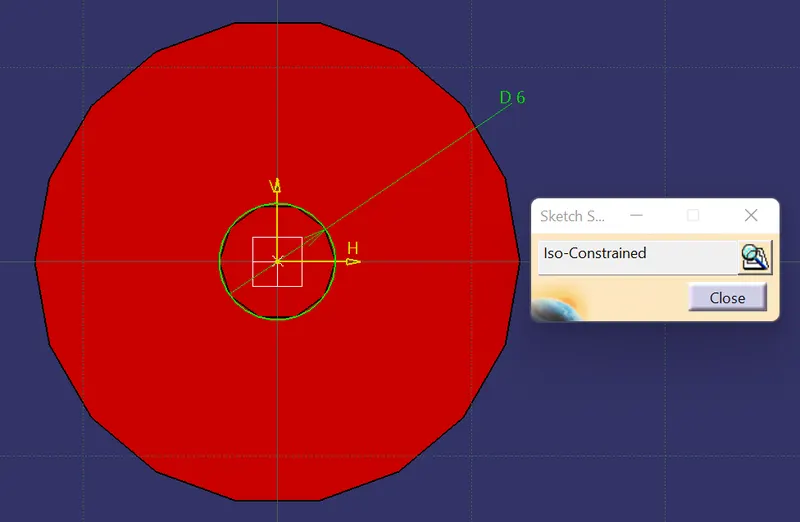
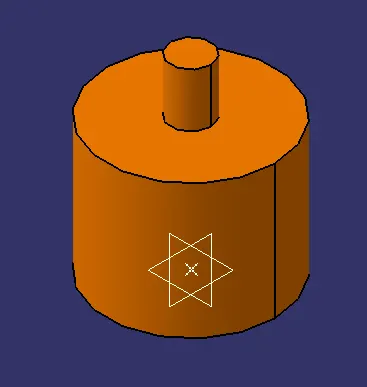
ISOMETRIC VIEW :
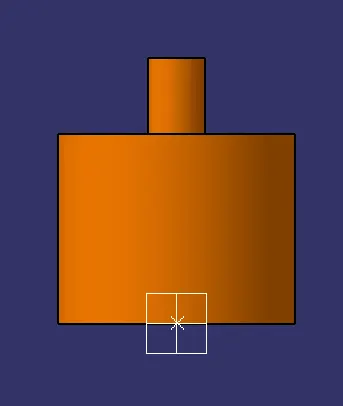
FRONT VIEW :
BODY 3 :
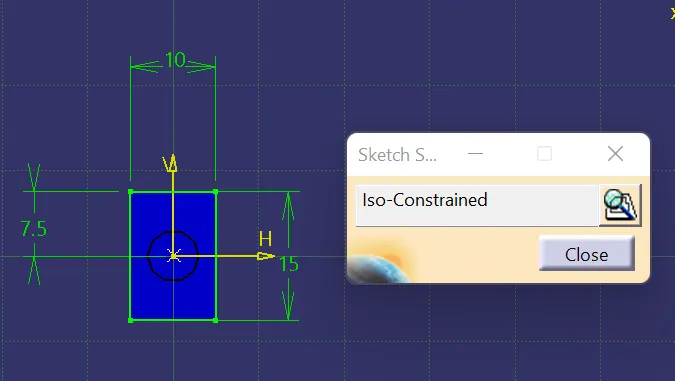
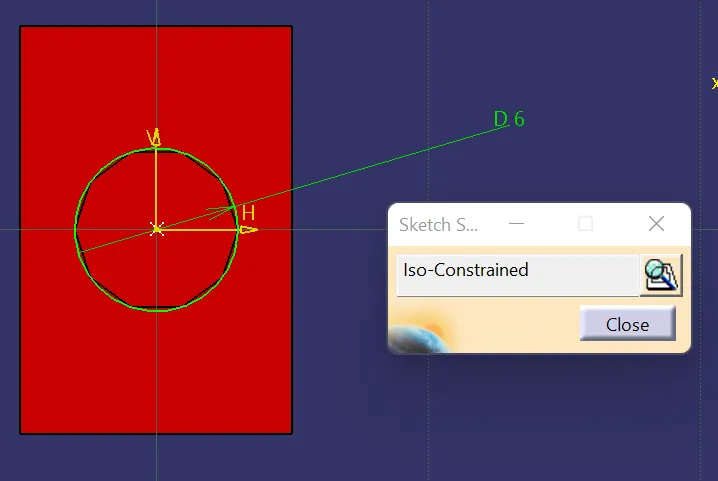
ISOMETRIC VIEW :
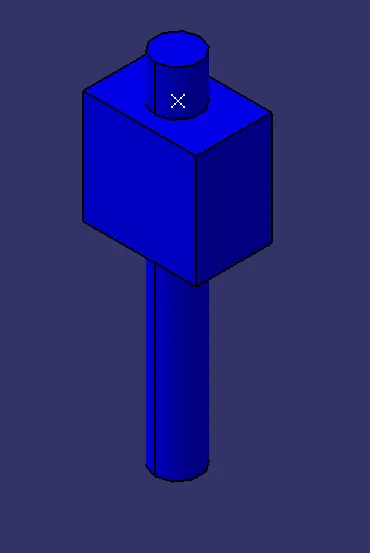
FRONT VIEW :
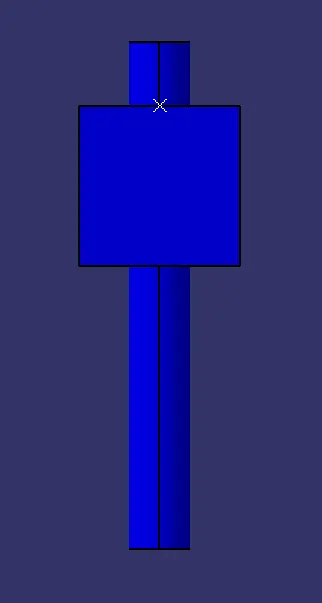
BODY 4 :
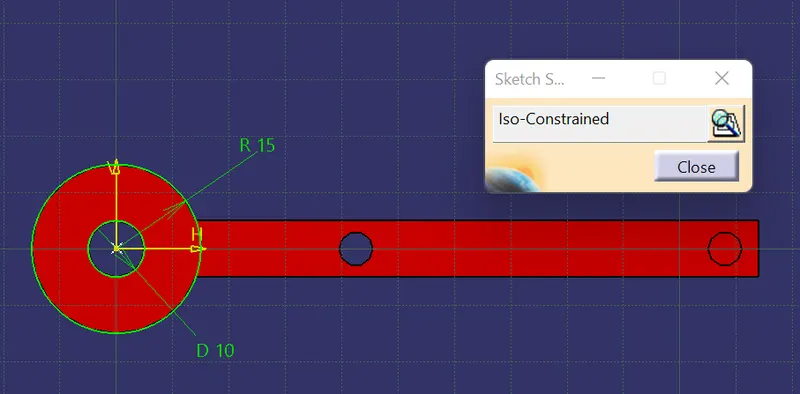
ISOMETRIC VIEW :
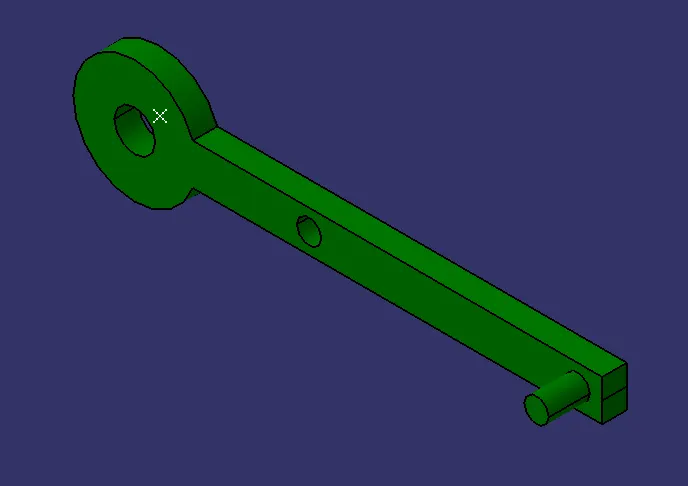
FRONT VIEW :
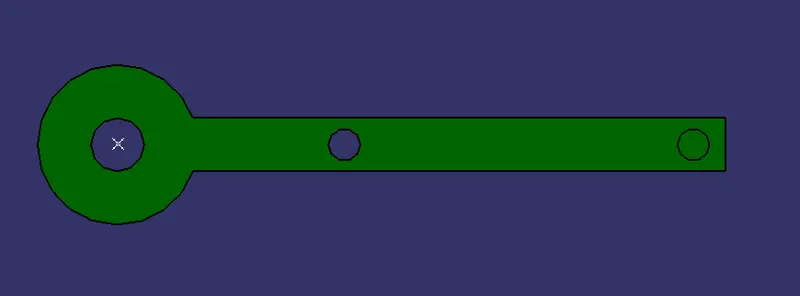
BODY 5 :
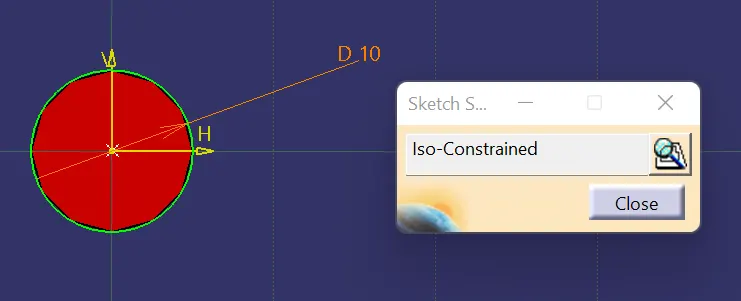
Isometric View :
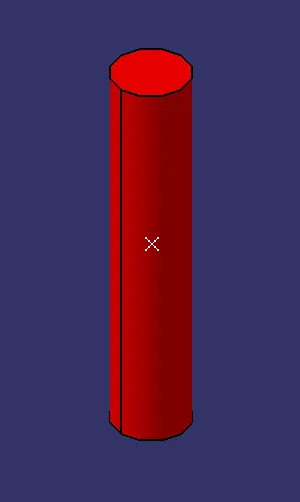
FRONT VIEW :
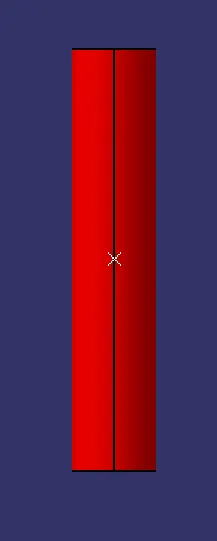
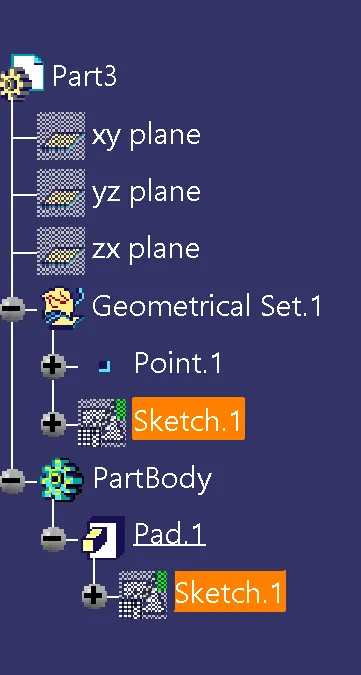
TREE STRUCTURE :
BODY 1 :
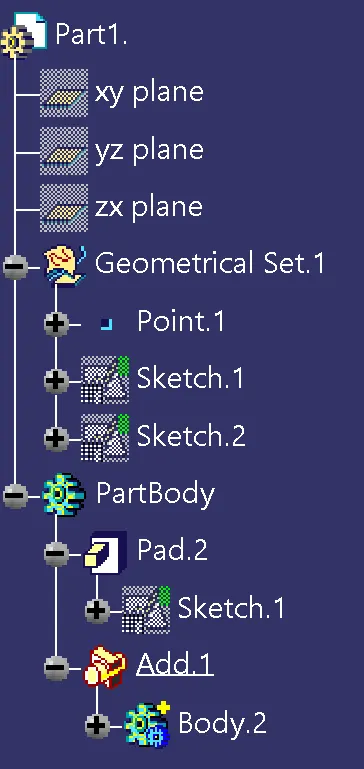
BODY 2 :
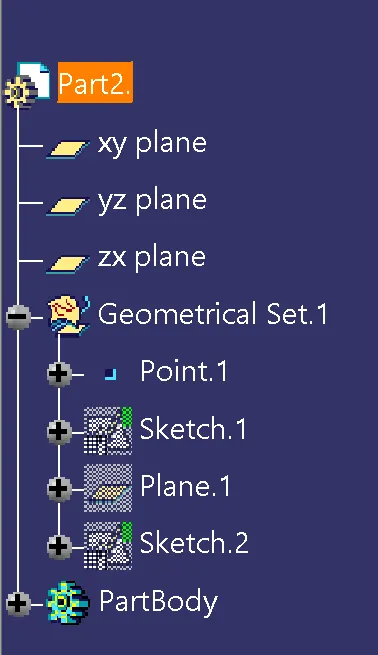
BODY 3 :
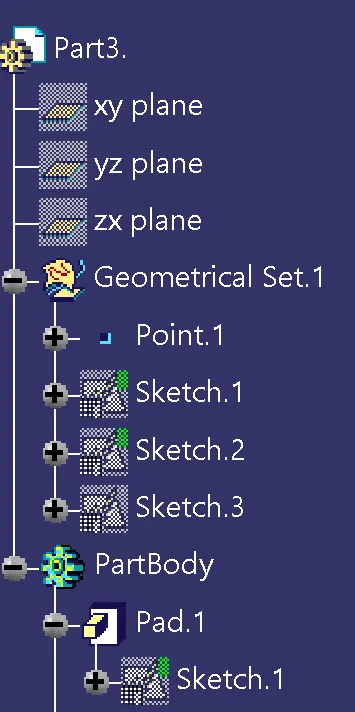
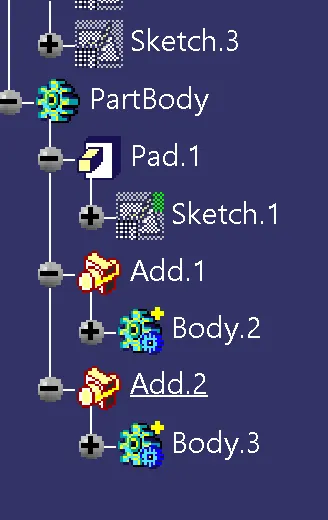
BODY 4 :
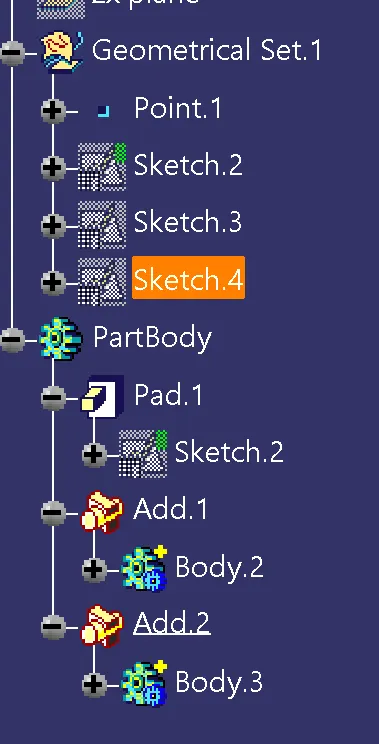
BODY 5 :
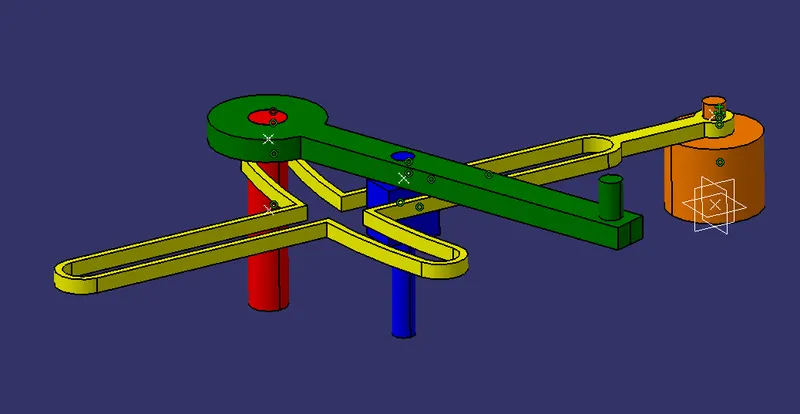
ASSEMBLY DIAGRAM :
Model 2:
Body 1 Sketch :
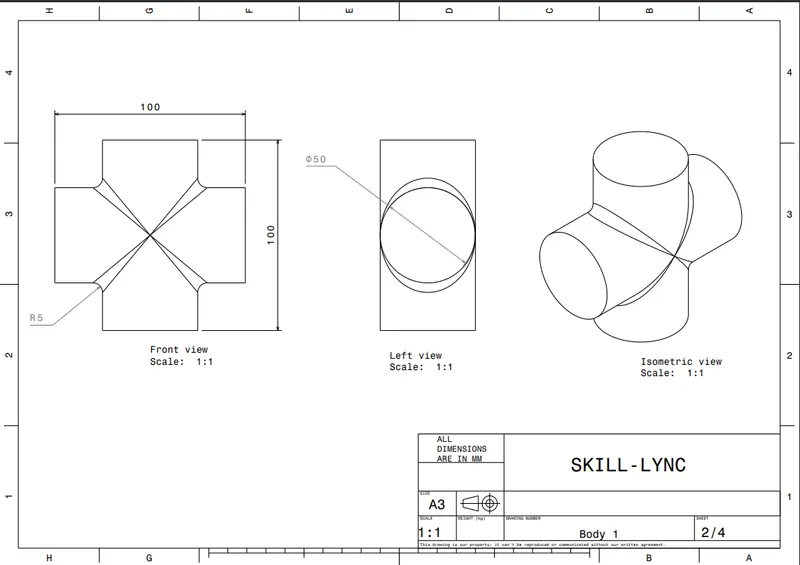
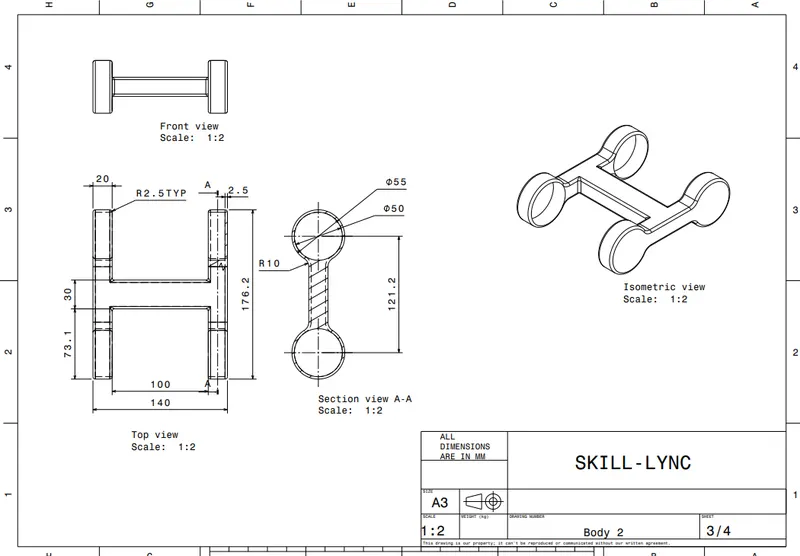
Body 2 Sketch :
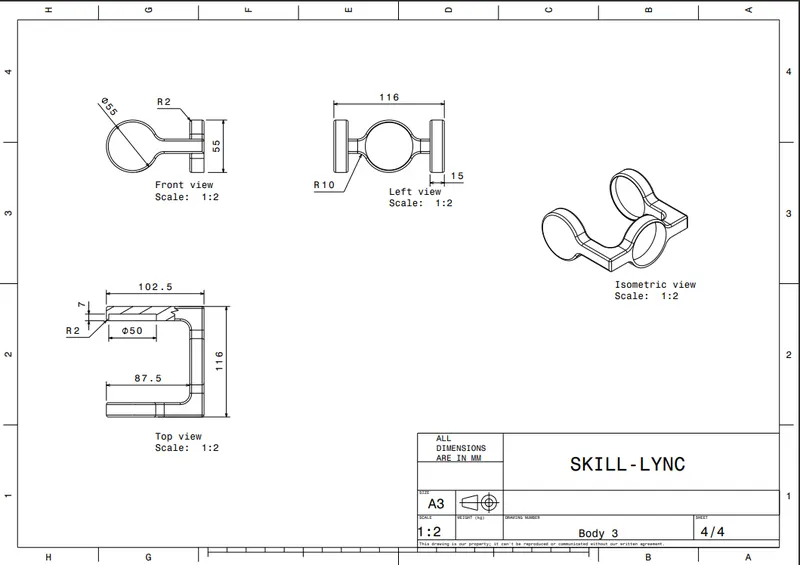
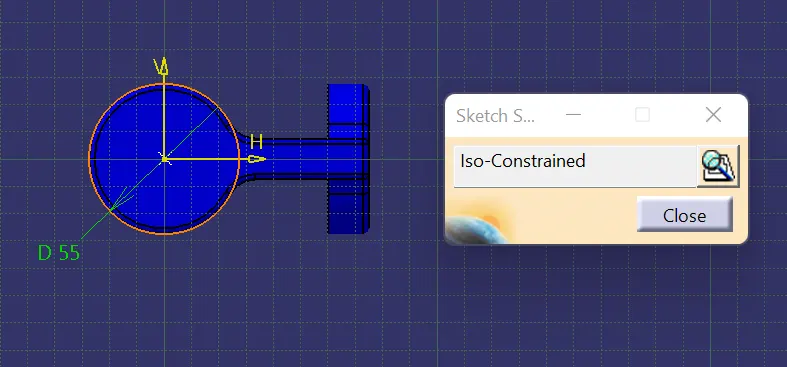
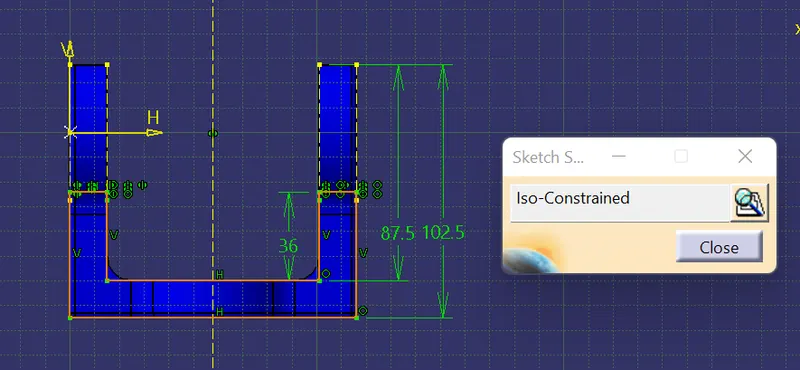
Body 3 Sketch :
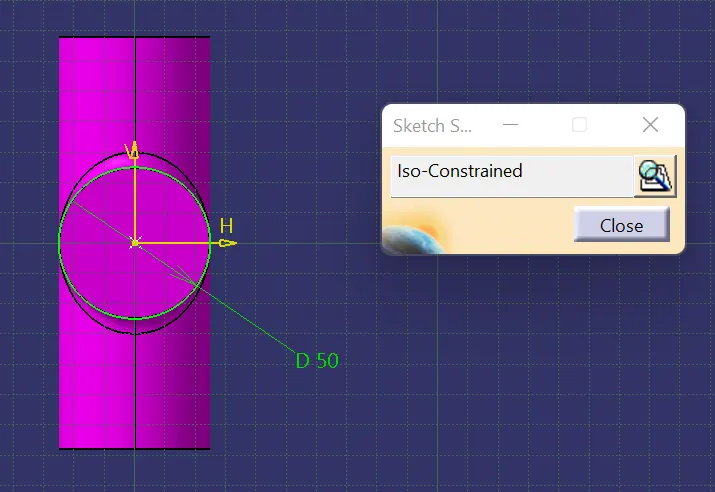
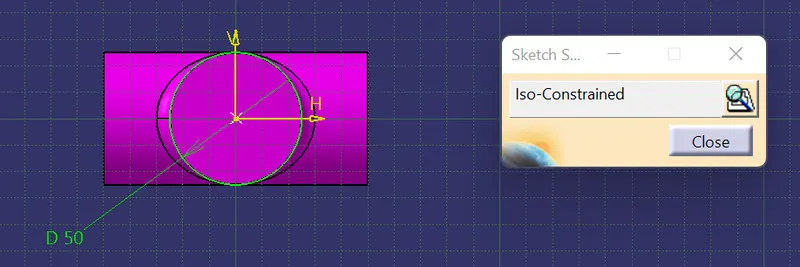
ISO CONSTRAINED, ISOMETRIC & FRONT VIEWS :
BODY 1 :
ISOMETRIC VIEW :
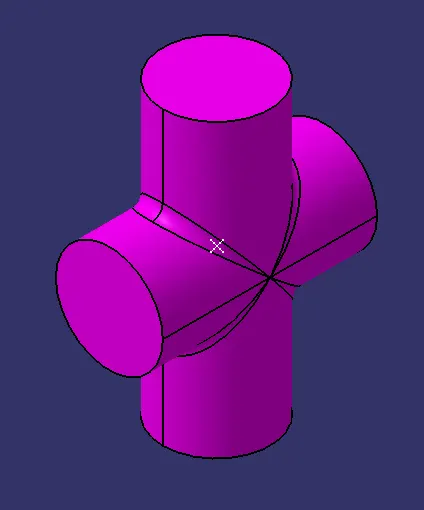
FRONT VIEW :
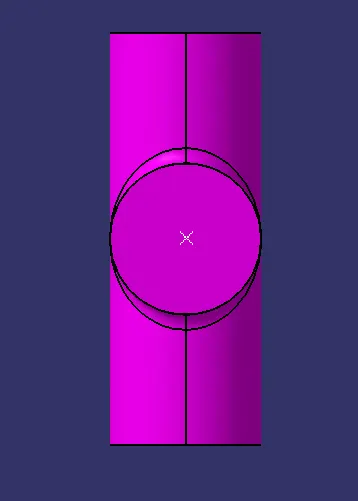
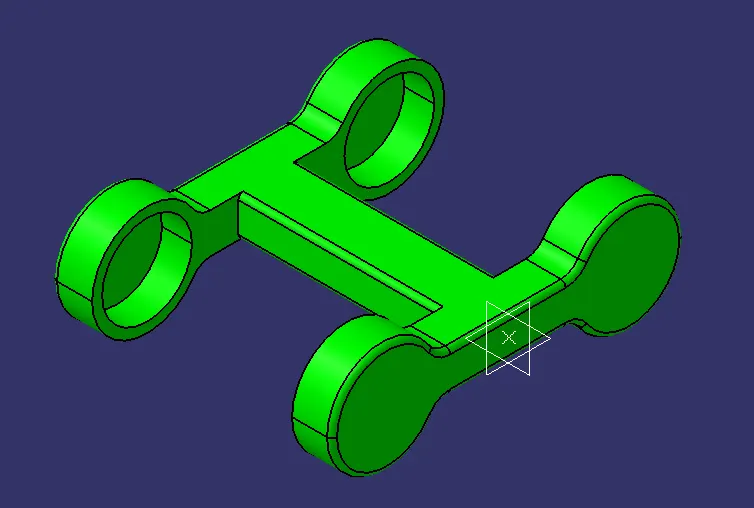
BODY 2 :
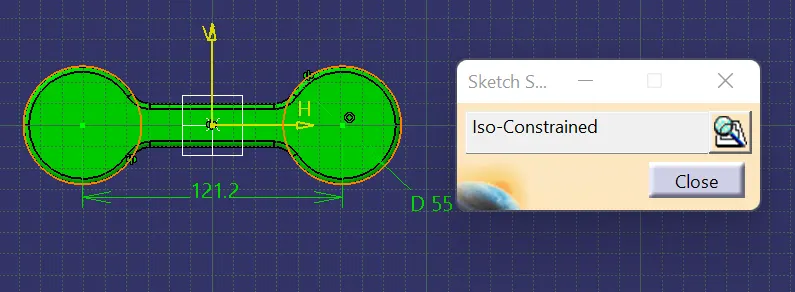
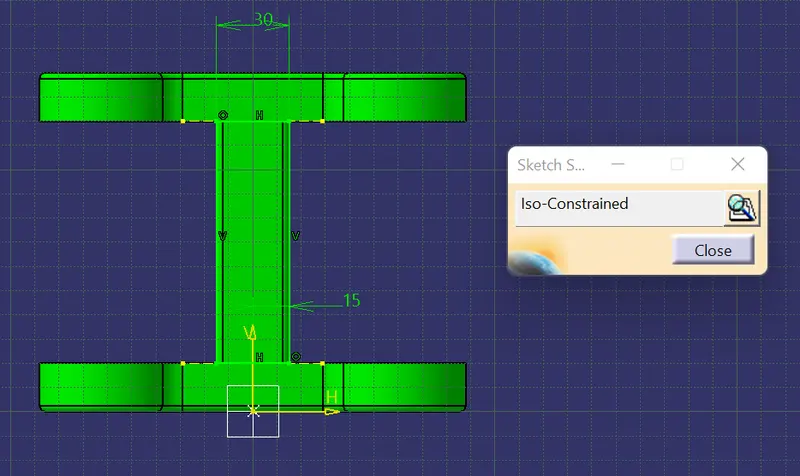
ISOMETRIC VIEW :
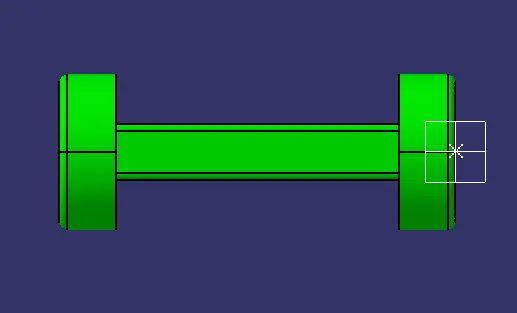
FRONT VIEW :
BODY 3 :
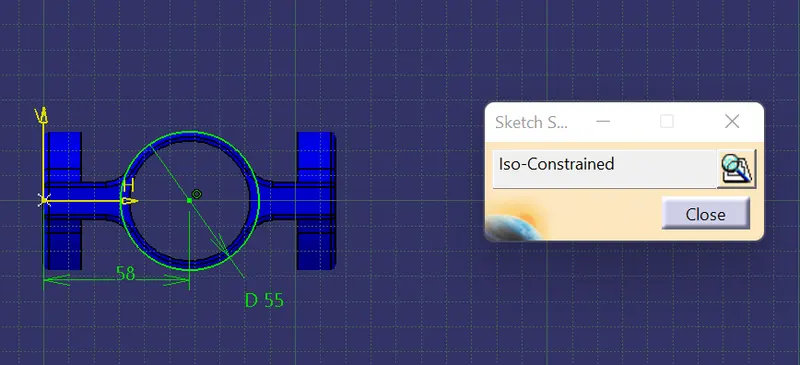
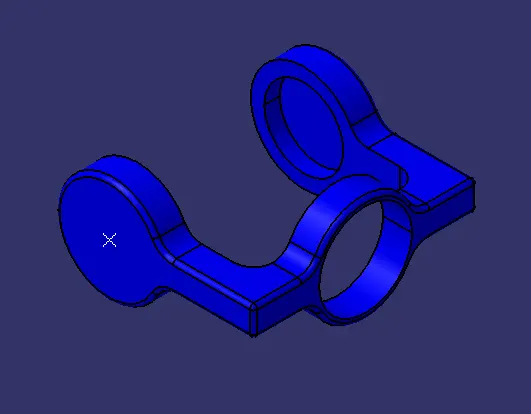
ISOMETRIC VIEW :
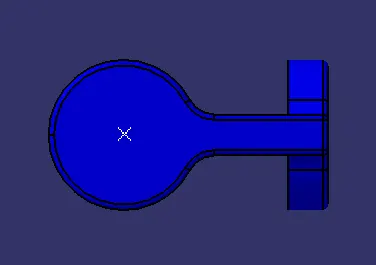
FRONT VIEW :
TREE STRUCTURE :
BODY 1 :
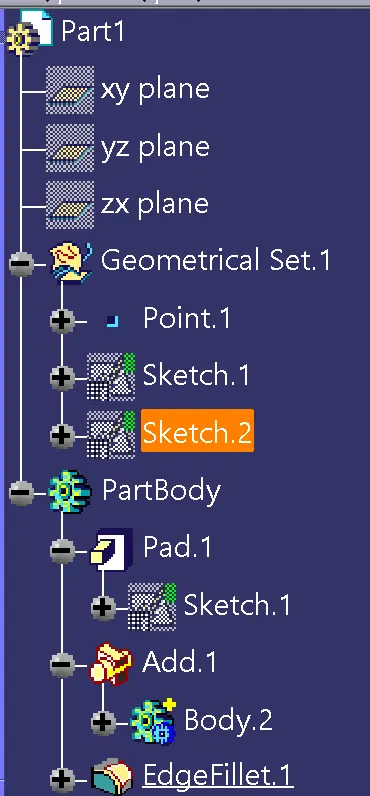
BODY 2 :
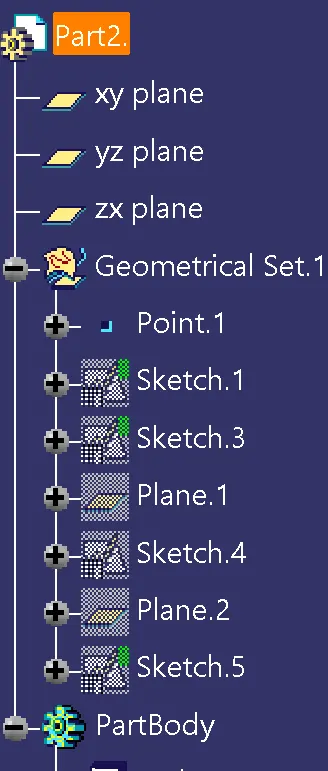
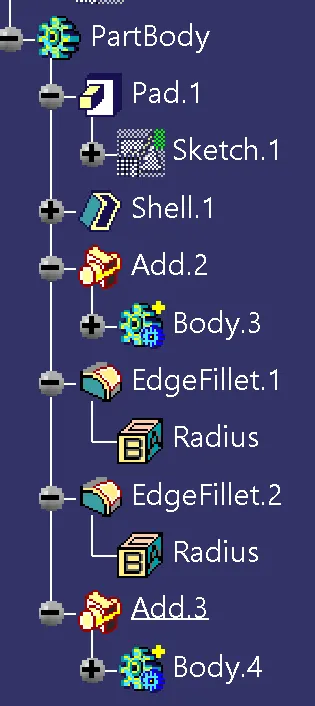
BODY 3 :
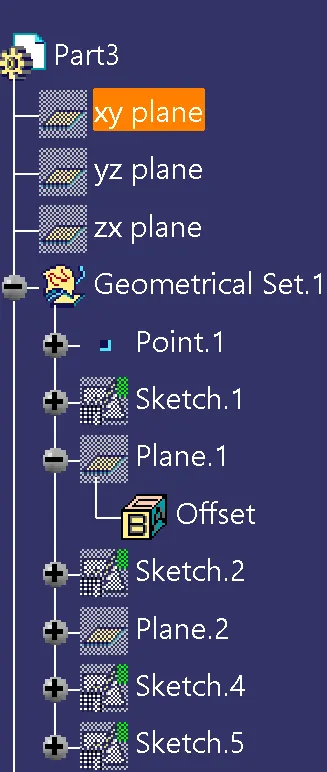
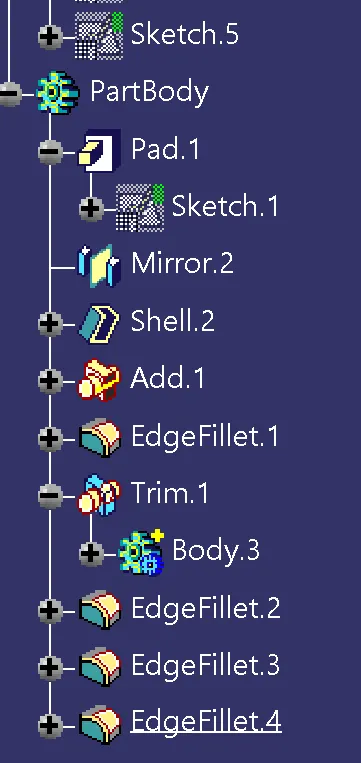
ASSEMBLY DIAGRAM :