Week 6-Meshing of Hood Challenge
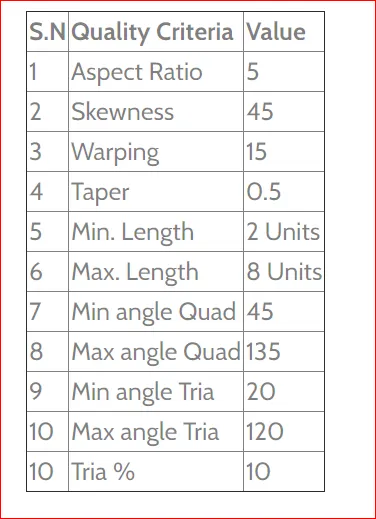
AIM: Follow the below-mentioned quality criteria, mesh the component given below and assign thickness:
Target Element Length = 5 Units
SOFTWARE USED:Altair - Hypermesh (Optistruct).
ABOUT SOFTWARE: It is a preprocessor tool which is used in CAE domain for Meshing.
PHASES HYPERMESH:
1) IMPORT A CAD MODEL
2) GEOMETRY CLEANUP
3) SKIN/MID SURFACE GENERATION
4) SHELL/SOLID MESHING
5) ELEMENTARY QUALITY CHECK
6) MESH IMPROVEMENT
7) APPLY LOAD AND BOUNDARY CONDITONS
8) EXPORT AN IMPORTED MODEL.
1) IMPORT A CAD MODEL: This is the first step in any prepocessor in CAE domain. here the hypermesh takes/accepts some files that can be readable to hypermesh itself.it means it converts the files inputs to hypermesh readable formats .
below examples tells the hypermesh readable files.
1)STEP-(.STEP/*, .STP/*,.step/*,.stp/*)
2)IGES-(.IGES/8,.IGS/*,.iges/*,.igs/*)
3)HM-(.HM/*,.hm/*)
All the above files are hypermesh readable files.it converts cad software files into any one of the above file formate.below figure represents the after importing a cad model in hypermesh.
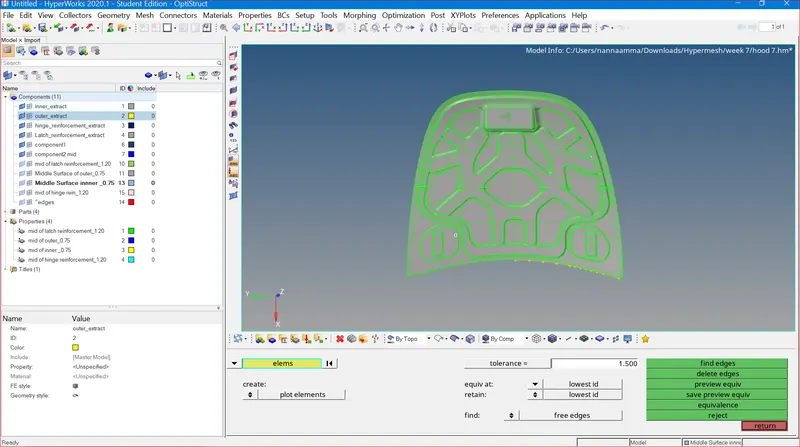
Above figure represents the importing a cad model.
- In hypermesh we need to delete solids of that particular component.
- While in ansa we will just do to take a mid no need to delete solids that is the main difference.
- Here we will press F2 it directly opens into a delete page means what we want to delete and in their we will select solids and click the delete button.
2) GEOMETRY CLEANUP: In hypermesh we wont perform geometry cleanup because it supress some necessary lines in hypermesh.we have to work on that directly. if any unnecessary triple cons ,double, single cons are present we have to remove manually.by checking with that we have to put a model/component in topo mode.we have to create surface by using ruled/lined, skin option.depending upon the shape and size and criticality we have to use the command. if any unnecessary holes, sharp edges, corners are present we have to remove that.
3) SKIN/MID SURFACE GENERATION: This is the main step after meshing, we have to take a mid surface by using mid surface command.Depending upon the thickness we have to choose the mesh weather shell or solid meshing.
- If the thickness is less than 5mm we will go for shell meshing.
- If the thickness is greater than 5mm will go for solid meshing.
- here this model thickness is less than 5mm, i choosen shell mesh here.
below figure represents the mid surface of each component.
Flange reinforcement.
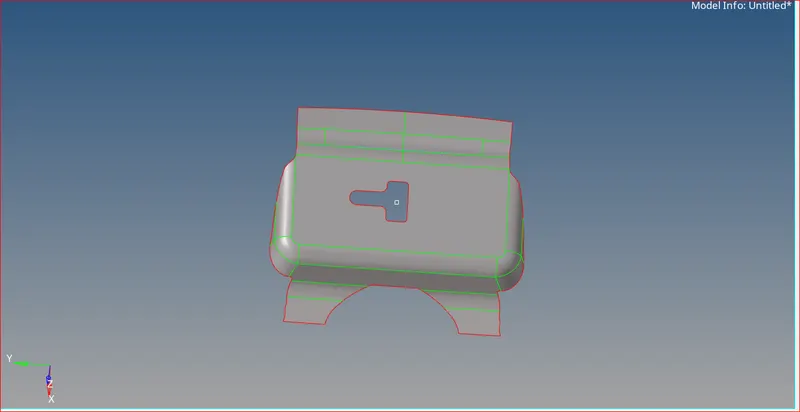
outer hood
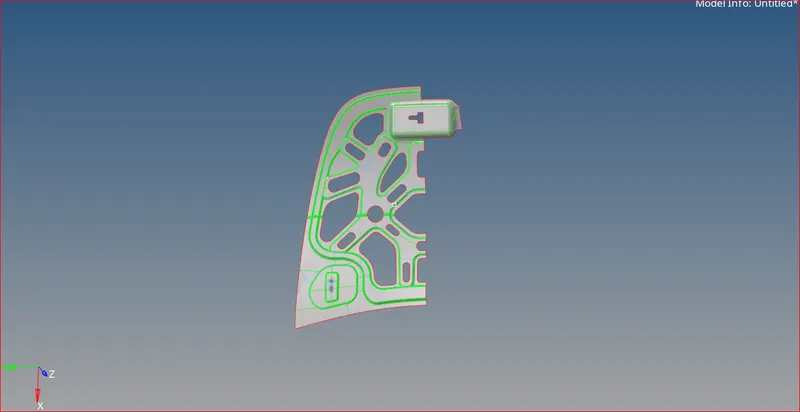
Inner hood
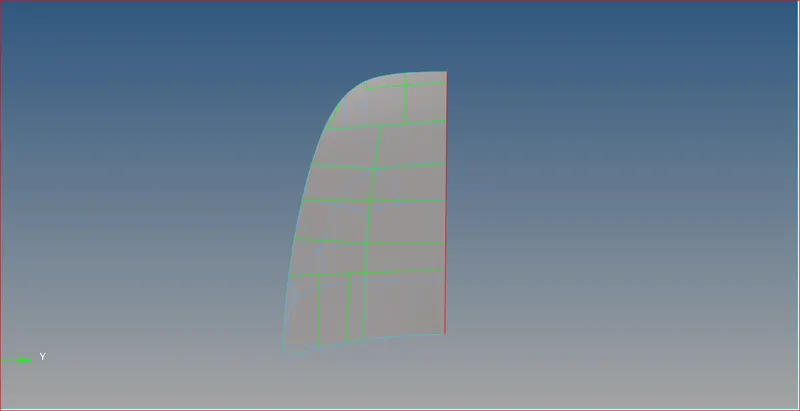
Latch reinforcement
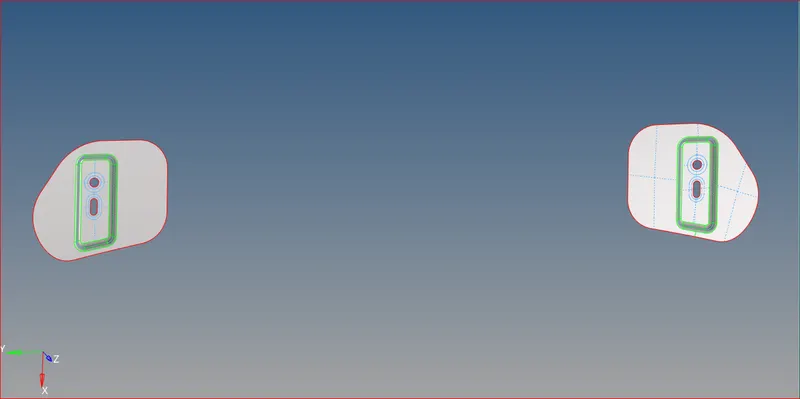
4) shell/ solid meshing: In this we have to take a mid surface by using midsurface command in hypermesh. but here there are diiferent commands internally for automatic mid surfaqce extraction there are
1) skin offset: It is one of the important mode for getting better mid surface.
2)offset: This method will give better results in sometimes.
3) offset+planes: This method will give better results for long planes with harder capturing shapes.
4) offset+sweeps+planes: This is very handy method in automatic midsurface because it try to take mid surface in any harder geometry with any shapes with include planes and sweeps.
Below figure represents the shell meshing figures.
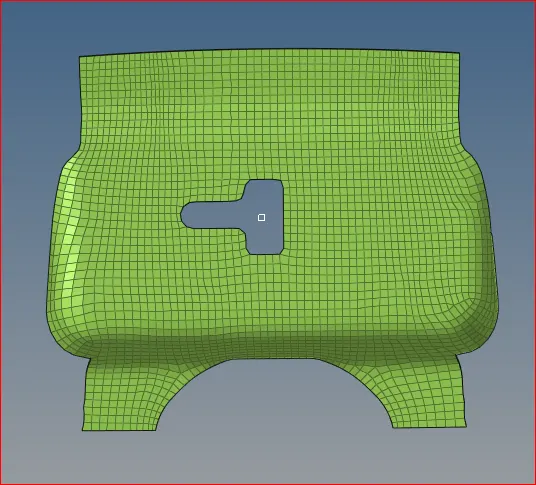
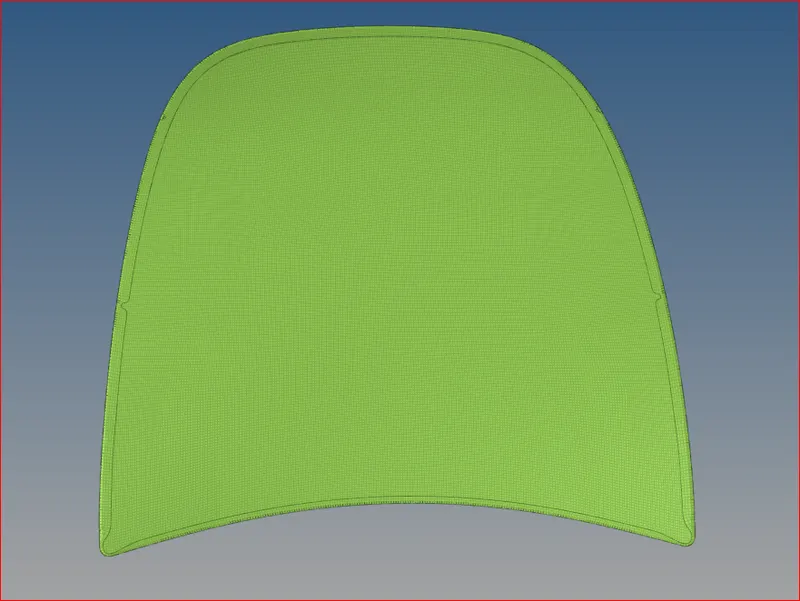
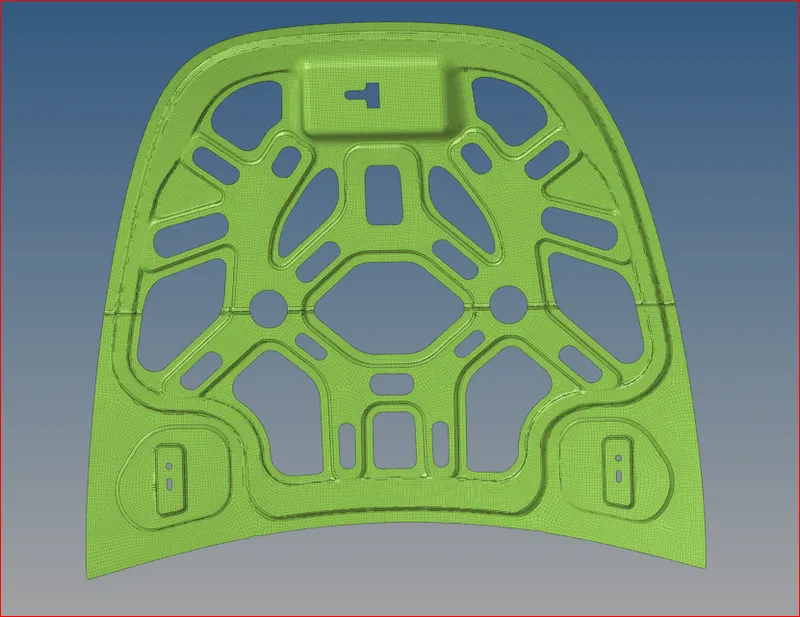
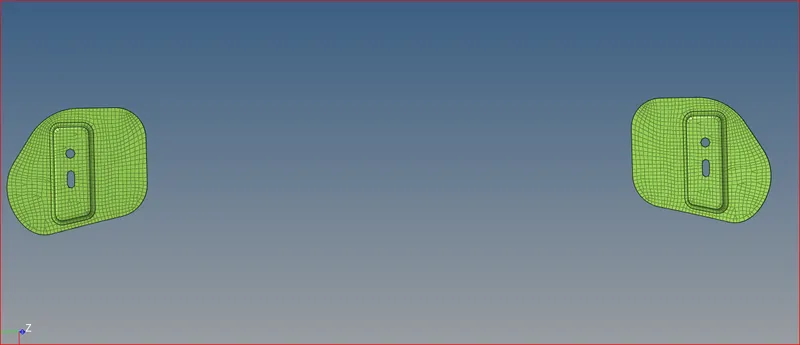
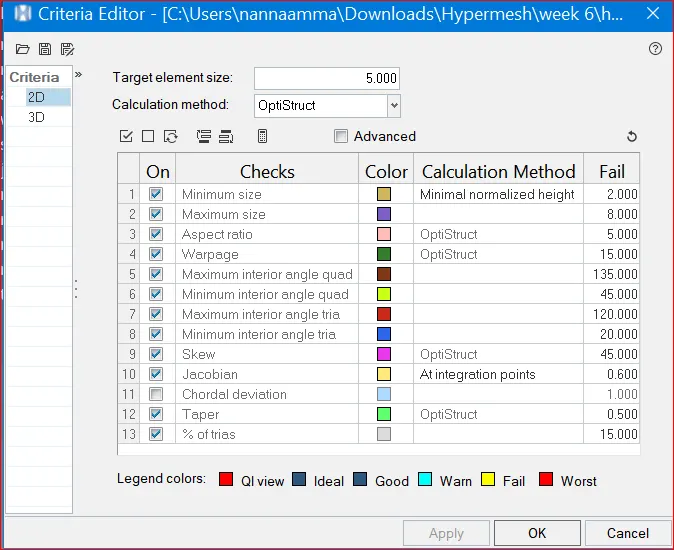
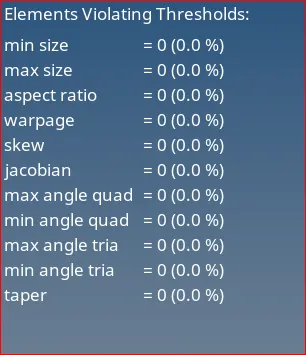
5) ELEMENTARY QUALITY CHECK: In this they already provided some quality criteria for this hood model depending upon that we have to assign the values in that quality criteria file.
below figure represents the quality criteria file.
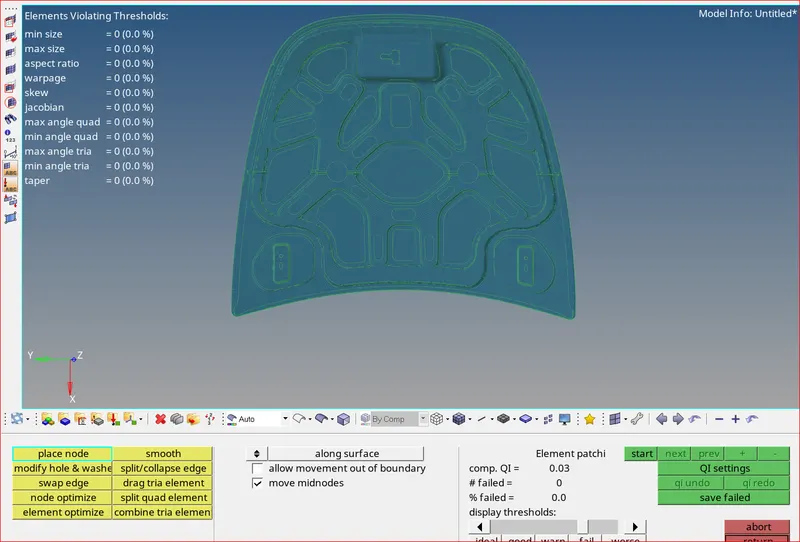
6)MESH IMPROVEMENT: For this we have seperate tools are presented in hypermesh. there are drag tria and place node, element optimisation, node optimisation etc.
below figure represents the mesh improvement tools.
After that as per the question menctioned i have assigned the thickness values correctly.
below figure represents the thickness figures. properties assignings.
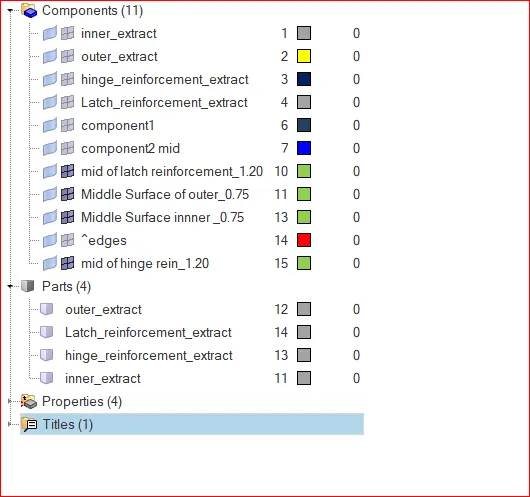
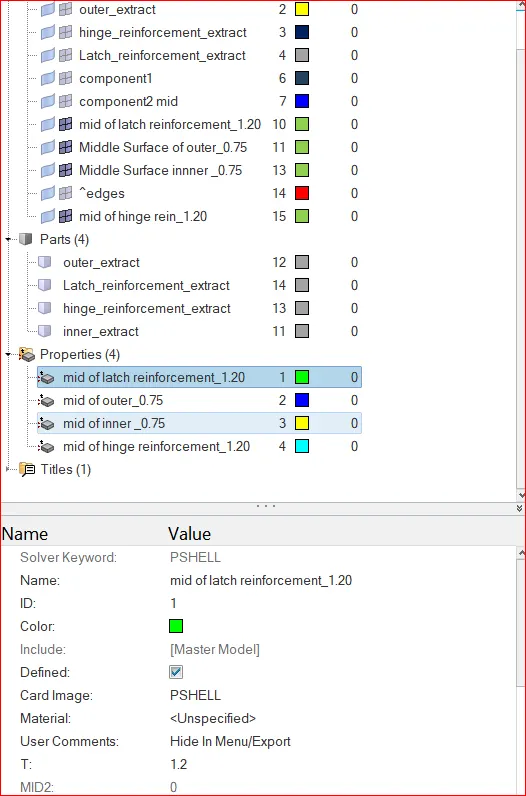
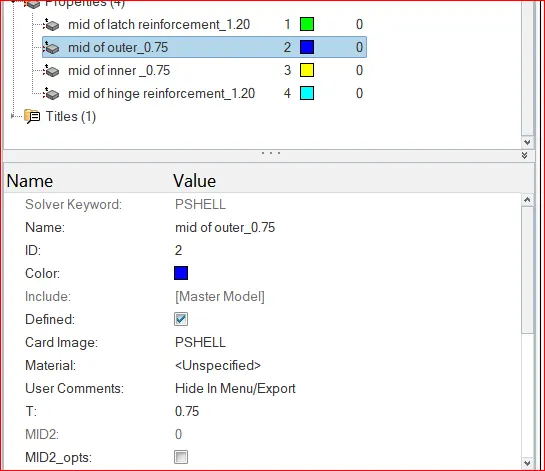
after assiging the thickness it should be like this.
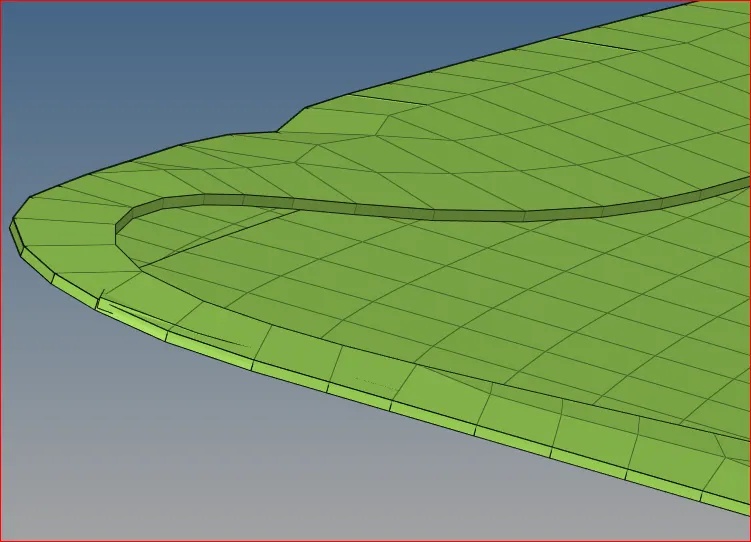
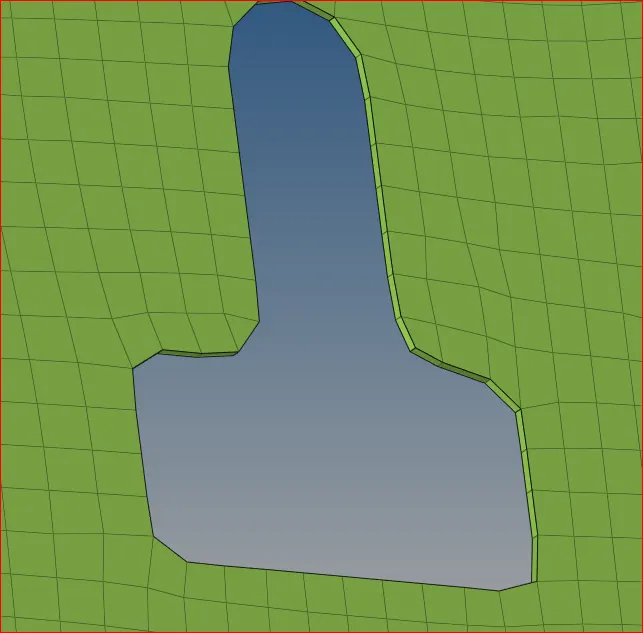
RESULTS: I have succesfully
- clean up the geometry manually.
- taking the mid surface
- meshing the components
- reflect the component by using reflect option.
- organise the component by using organise tool.
- assigning criteria file setting.
- tria% is 1.4.

Learning outcomes: I know how to
- clean up the geometry manually.
- taking the mid surface
- meshing the components
- reflect the component by using reflect option.
- organise the component by using organise tool.
- assigning criteria file setting.
- remove free edges by using tolerance.