Week 6-Meshing of Hood Challenge
Objective: The objective of this challenge is to generate midsurface, geometry cleanup, generate mesh with low tria concentration with proper mesh flow of a Hood.
CAD Model:
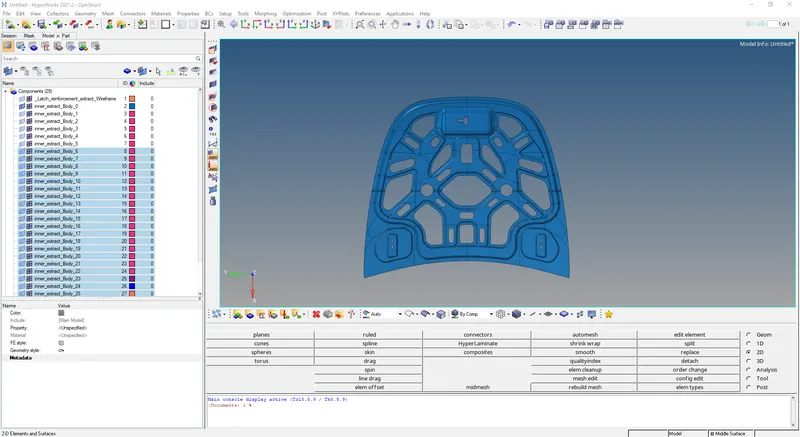
Figure-1: CAD Image of Imported Component
Procedure:
Step-1: Firstly the Housing model has been imported. It has thickness of 0.75 mm.
Step-2:
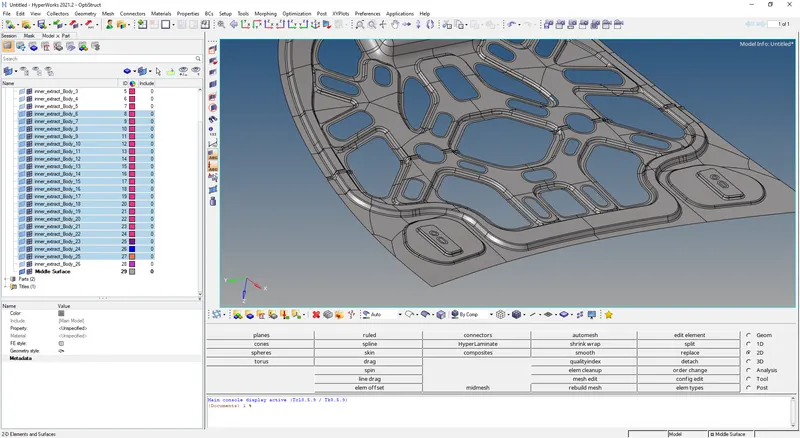
Figure-2: Above image is of extracted mid-surface of Hood
Step-2:
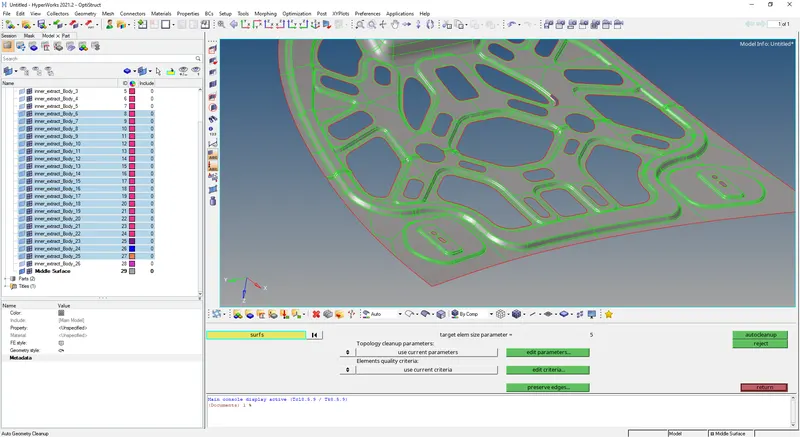
Figure-3: Above image is of cleaned up surfaces of Hood
Step-3:
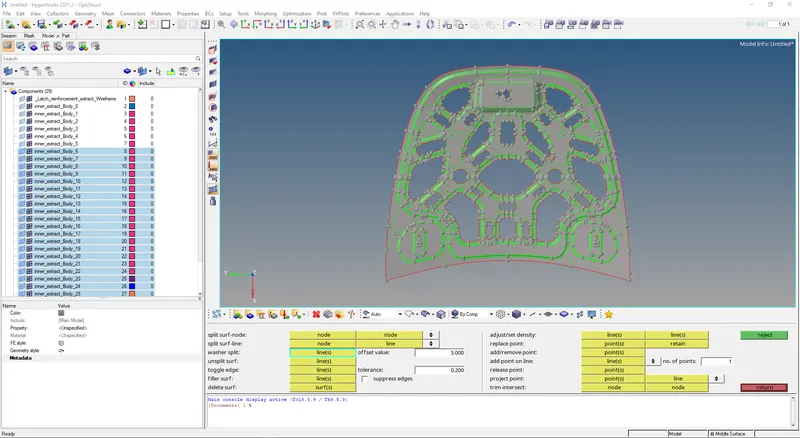
Figure-4: In above image it has shown that washer split has given to cut area of component
Step-4:
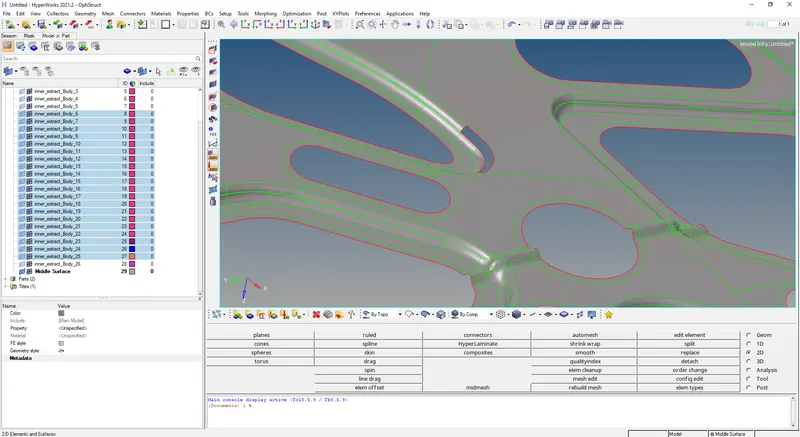
Figure-5: Above Image has shown surface error
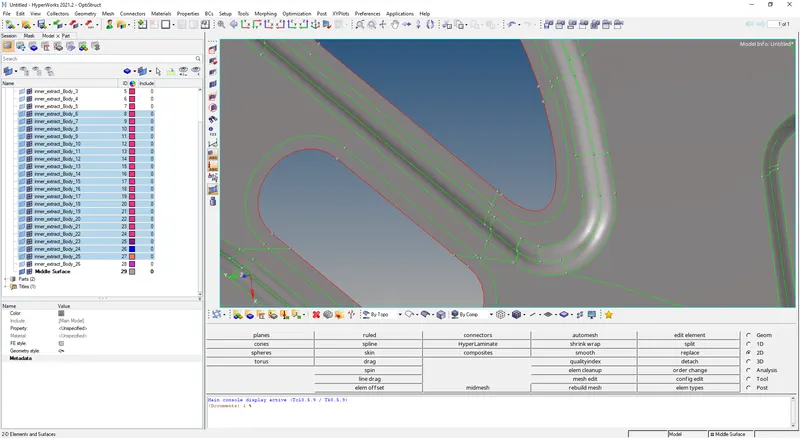
Figure-6: Above Image has shown the filled aurface with Spline Command
Step-5: (Given)
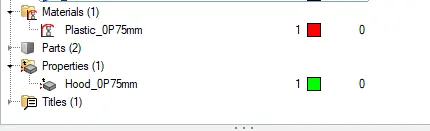
Figure-7: Above Image has shown the properties and material has given to the surface
Step-6:
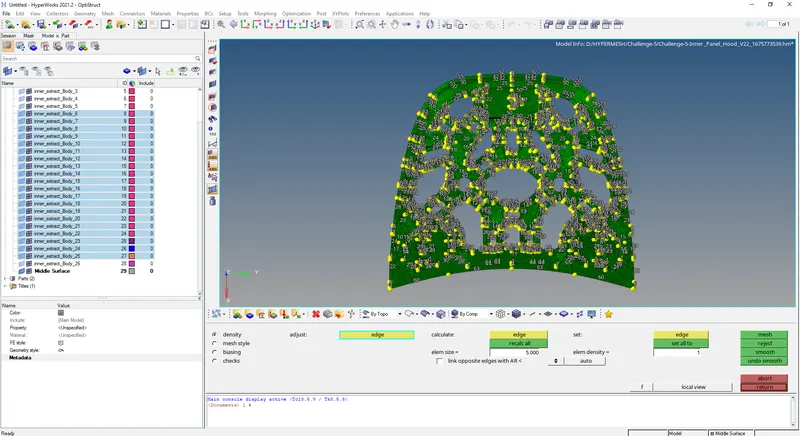
Figure-8: Above Image has shown mesh of size 5 has given to the surface
Step-7: (Free edges checked)
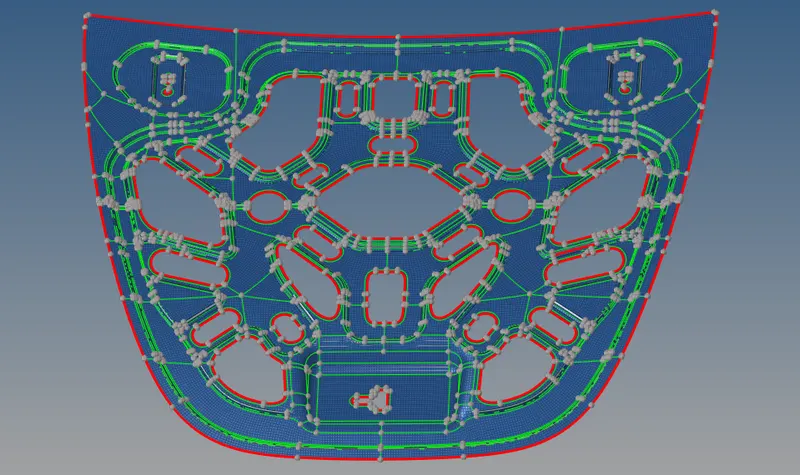
Figure-9: Above Image has shown there is no free edges in component inside surface
Step-8: (Unmatched component-surface checked)
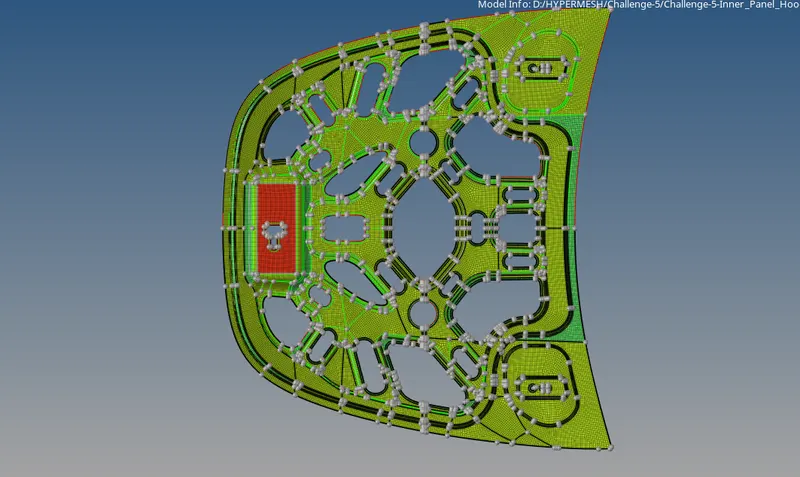
Figure-9: Above Image has shown there were some unmatched surfaces are there which has resolved
Step-9: (Normals checked)
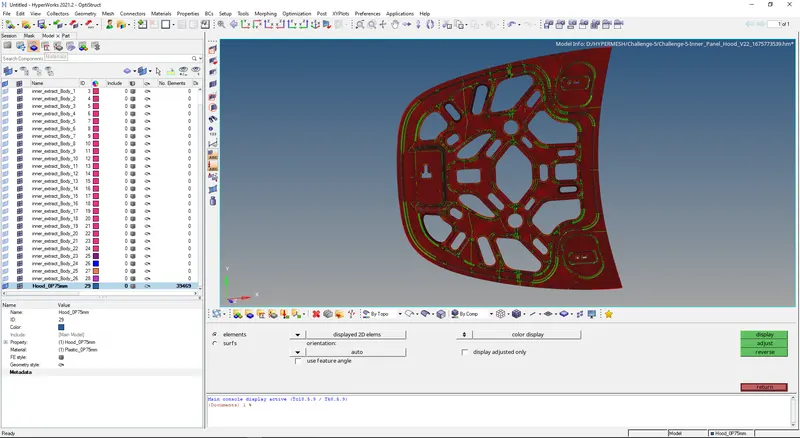
Figure-10: Above Image has shown the normals are in perfect direction (one side)
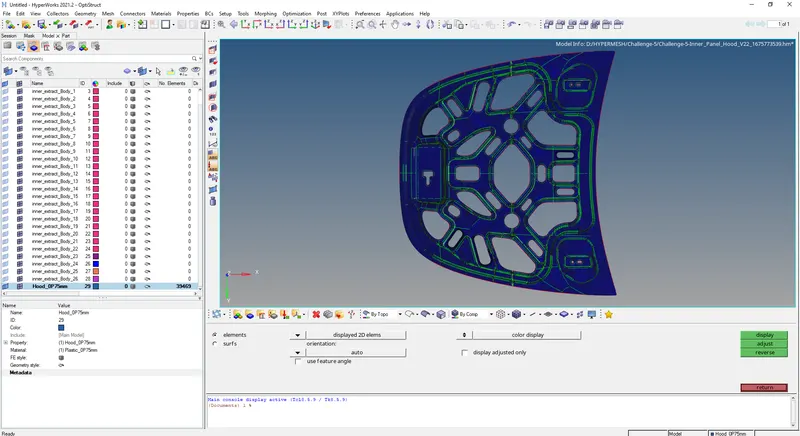
Figure-11: Above Image has shown the normals are in perfect direction (another side)
Step-10: (Dependency checked)
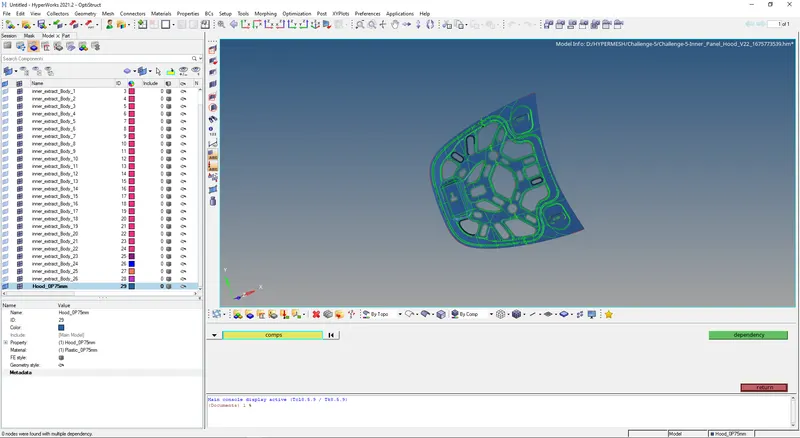
Figure-12: Above Image has shown the dependency has checked and has no error
Step-11: (Penetration checked)
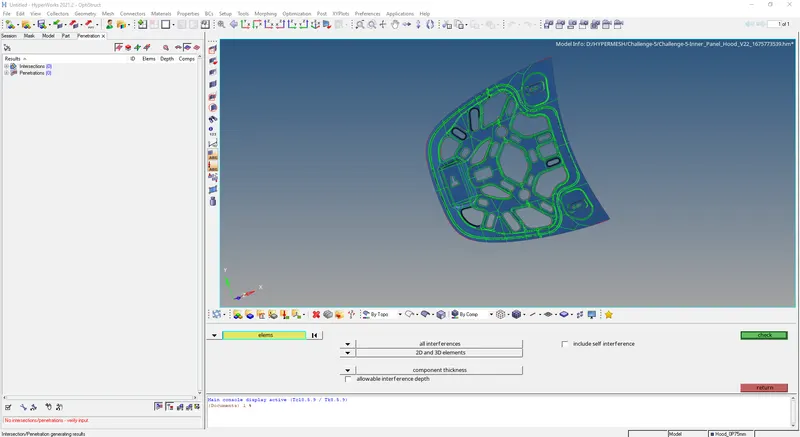
Figure-13: Above Image has shown the penetration has checked and has no error
Step-12: (Results of Quality Index)
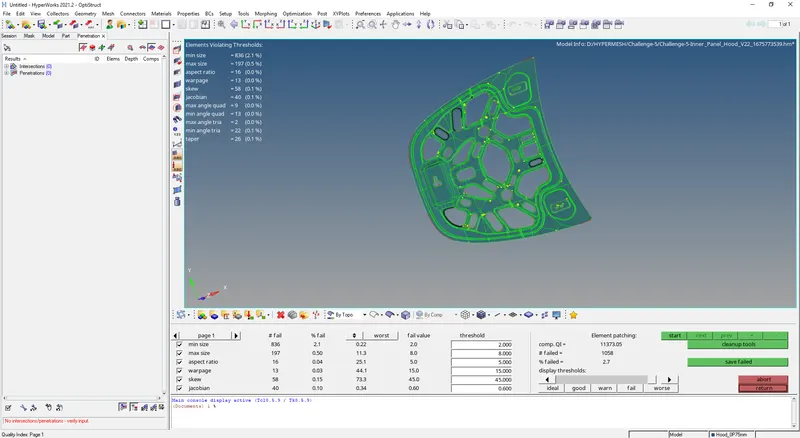
Figure-14: Above Image has shown Quality Check Result-1 (before solving)
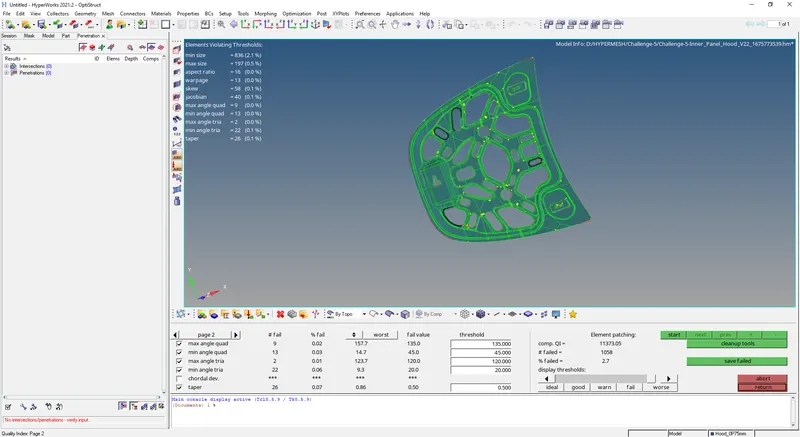
Figure-15: Above Image has shown Quality Check Result-1 (before solving)
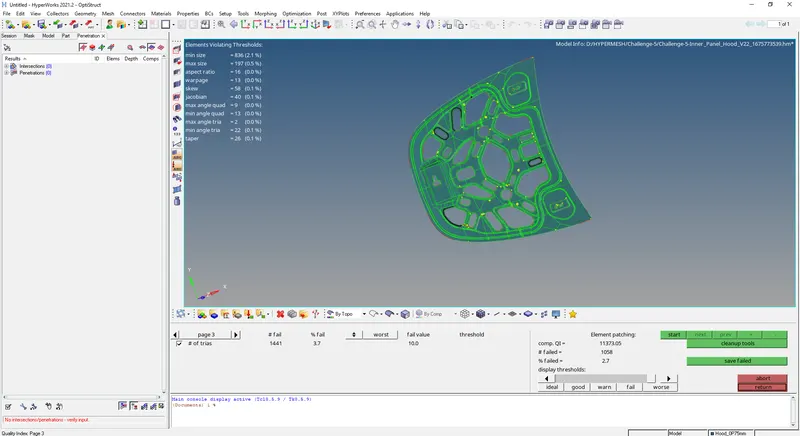
Figure-16: Above Image has shown Quality Check Result-1 (before solving)
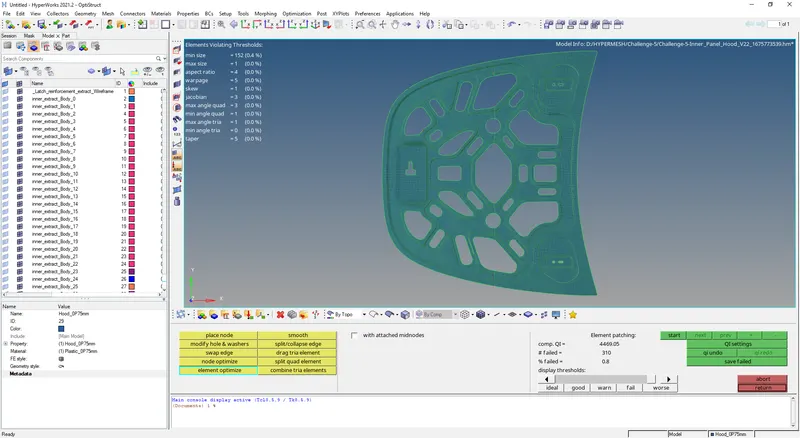
Figure-17: Above Image has shown Final Quality Check Result (after solving)
Result: (Final Meshed Component)
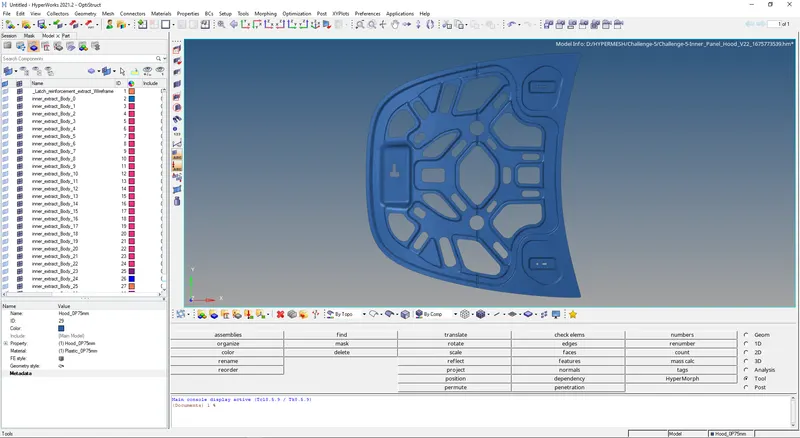
Figure-18: Above Image has shown the Final Mesh without surface
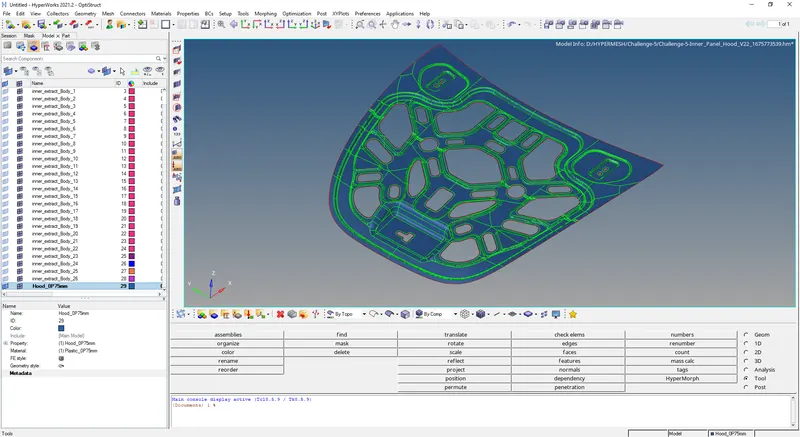
Figure-19: Above Image has shown the Final Mesh with surface