Week 6-Meshing of Hood Challenge
Week 6 Challenge
Aim- To perform meshing on automobile hood.
Google drive link-https://drive.google.com/file/d/10LcRgI3K2FDk5zmJ9TWI53DtcSzOBwdB/view?usp=share_link
Procedure-
Step 1- Import the Geometry.
Step 2 – Checking for the number of components.
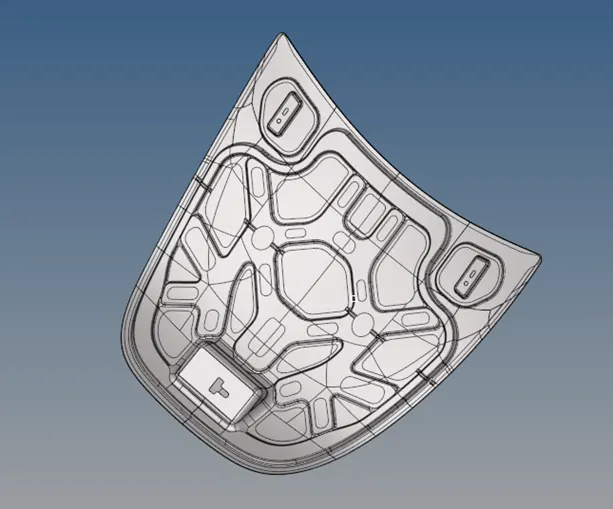
Fig 1 – CAD of hood model
Step 3 – Deleting the solid objects from delete- solids-unchecking the Delete bonding surfs and delete associated elems.
Step 4 – The hood model is symmetric about x-z plane, and deleted the other half part of the symmetric components.
Step 5- checking and performing the geometry clean up.
Step 6- Turning on the components one by one and extracted the mid surface and measured the thickness of the component. The mid surface extracted from geometry-mid surface-extraction options- skin offset-auto extraction-extract.
Step 7- Performing the geometry clean up by suppressing the edges from geometry- quick edit-toggle edge, Replace points, washer split etc.
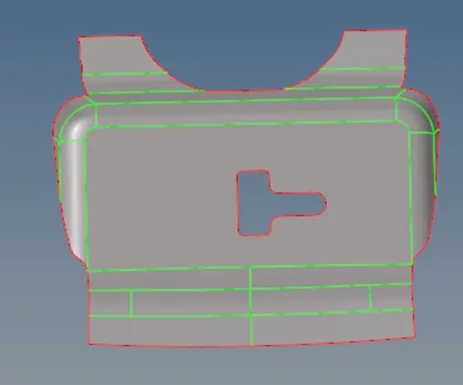
Fig 2-Latch Reinforcement extract mid surface after Geometry cleanup.
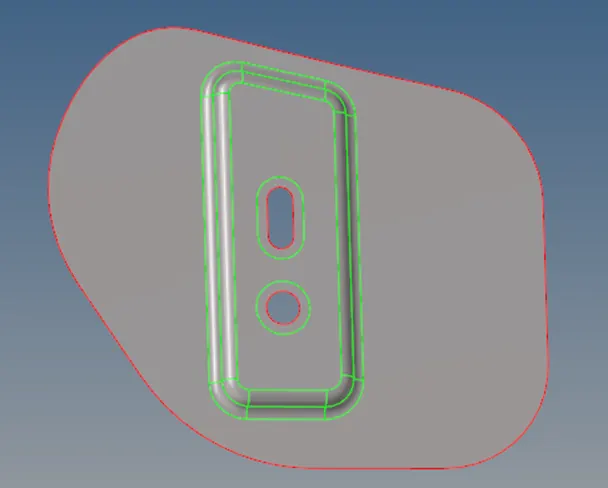
Fig 3-Hinge Reinforcement extract mid surface after geometry cleanup
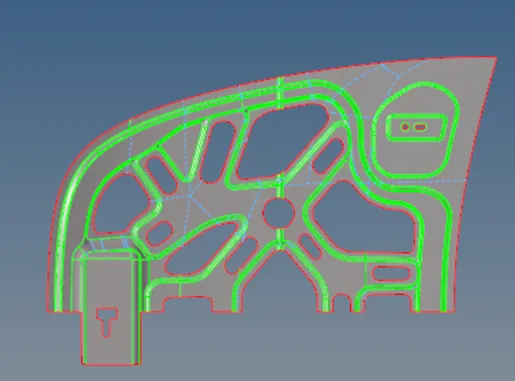
Fig 4 -Inner extract mid surface after geometry cleanup.
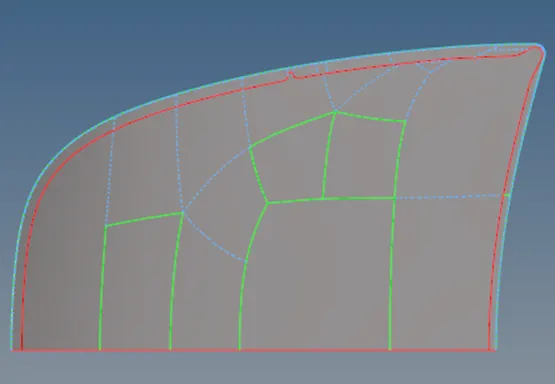
Fig 5- Outer extract mid surface after geometry cleanup
Step 8 – Setting the quality criteria as the assignment from 2D- element cleanup-edit criteria-edited the criteria and saved the file.
Step 9 – Meshing the Components one by one from 2D-automesh-selecting the surface-mesh type mixed- element size -5 unit- mesh.
Step 10- Improved the mesh quality and elements using Split , Smooth, Drag tria , replace nodes, Swap edge etc.
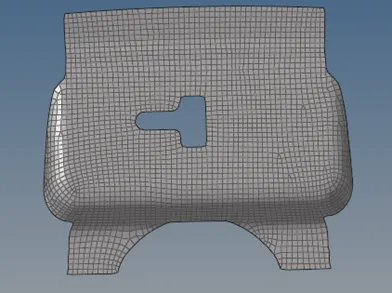
Fig 6 – meshing of Latch Reinforcement extract mid surface
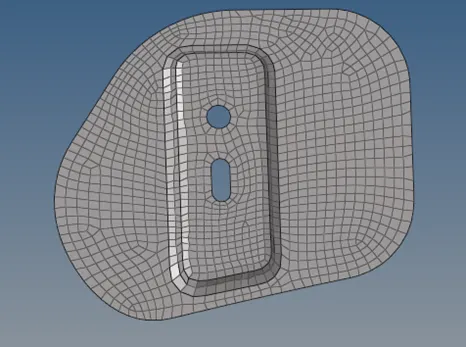
Fig 7- Meshing Hinge Reinforcement extract mid surface
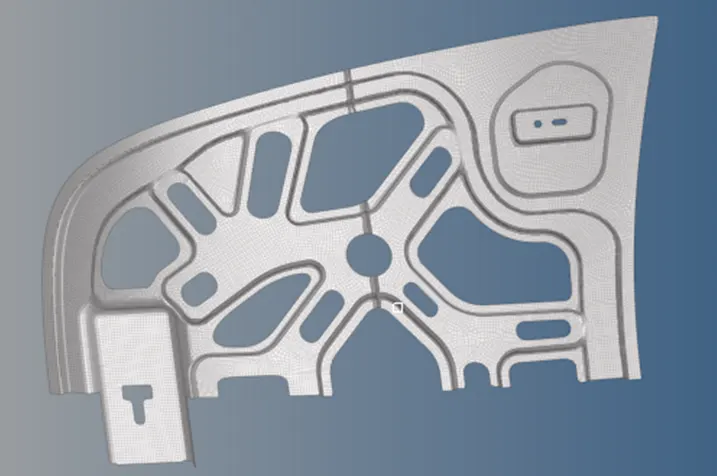
Fig 8- Meshing of Inner extract mid surface
Step 11 – Reflecting the elements from tools-Reflect elements- select the elements-Duplicate the elements- Z-axis-selected the base surface-Reflect.
Step 12- Reflecting the Hinge Reinforcement extract by creating the midpoint in the parent geometry from selecting the midpoint of the two curve from nodes-Arc center. Then selecting the two nodes and nodes between.
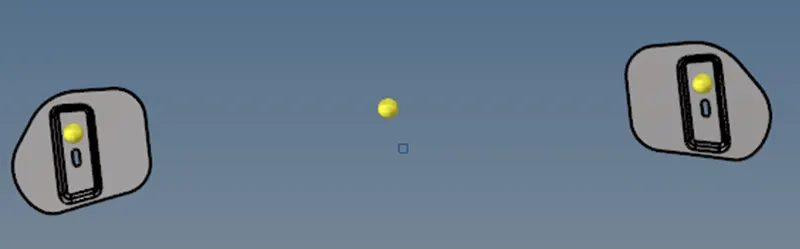
Fig 9- Base nod for reflecting the Hinge reinforcement.
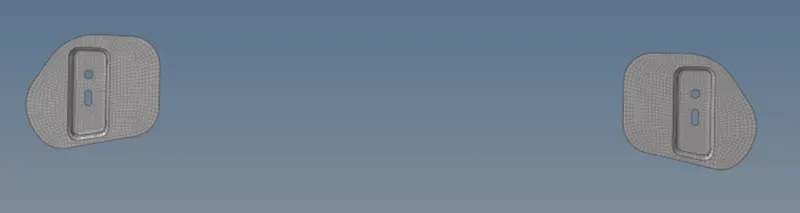
Fig 10 – Hinge Reinforcement extract after reflect.
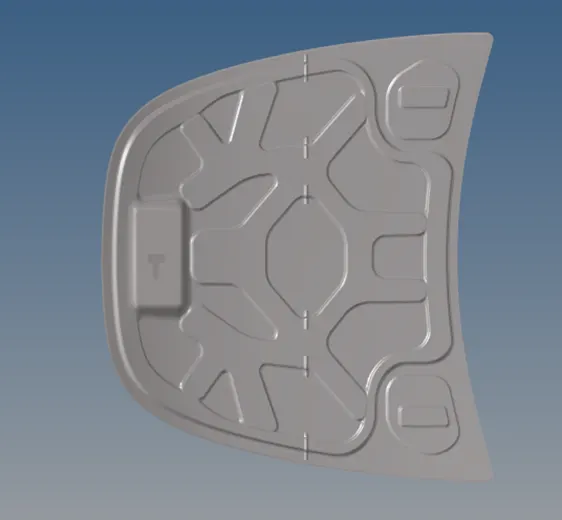
Fig 11- Hood assembly after reflect.
Step 13- Check up for edges from Tools-edges- elements -selected the elements – equivalence- delete edges.
Step 14- Checking for normal, from Tools – normal- selecting the components-display -adjust.
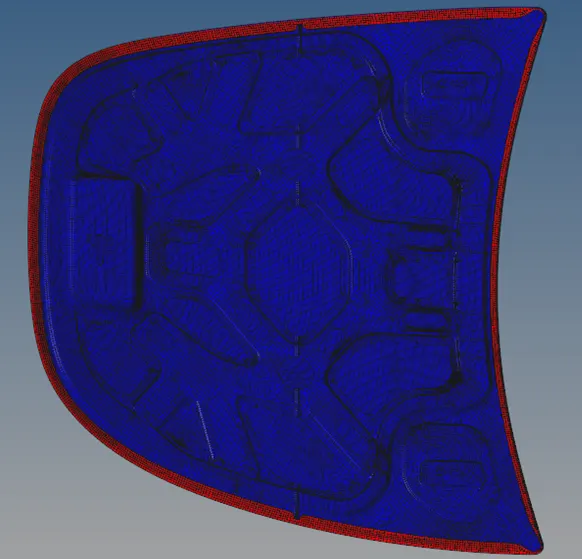
Fig 12 – Normal of complete assembly
Step 15 – Created the material card from create- material- assign the property.
Step 16- Created the two property card of thickness 0.75and 1.2 from create-property – Thickness -card image PSHELL-material -Steel.
Conclusion
- We learned about the Automatic mid surfacing option.
- Meshing on the different components.
- Learned about assigning the thickness.
- Constraints of the Software.