Week 6-Meshing of Hood Challenge
AIM:
- To mesh the component given by following the quality criteria specified.
- To Assign property and thickness to the component.
OBJECTIVE:
- Meshing the model components seperately by creating sepearte mid-surface.
- Using the 'Mixed' (Not Quad) option to generate the mesh, because the model is preparing for the crash & safety simulations. The quad-only mesh is preferred for durability and structural simulations.
- Understand quality index and model check options available in HyperMesh.
GIVEN CRITERIA:
| S.N | Quality Criteria | Value |
| 1 | Aspect Ratio | 5 |
| 2 | Skewness | 45 |
| 3 | Warping | 15 |
| 4 | Taper | 0.5 |
| 5 | Min. Length | 2 Units |
| 6 | Max. Length | 8 Units |
| 7 | Min angle Quad | 45 |
| 8 | Max angle Quad | 135 |
| 9 | Min angle Tria | 20 |
| 10 | Max angle Tria | 120 |
| 11 | Tria % | 10 |
PROCEDURE:
Importing geometry and cleanup:
- To import the geometry, go to file → Import → Import geometry → Import.
File name given: hood.stp
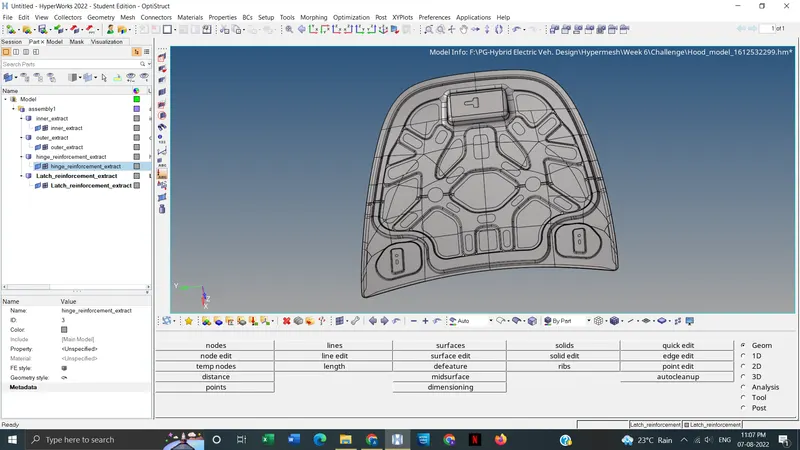
Imported model
- After importing the geometry, the geometry is checked for any missing surfaces or triple cons. If there are no errors present in the geometry then the geometry is ready for the mid-surface extraction.
Mid-surface generation:
- Remove the solid before midsurfacing, Delete → Solid → Select solid → delete entity. Then using By topo geometry color mode check the model for free lines and errors.
- After checking the model, we need to produce mid surface for meshing. There are 4 subcomponents present in the imported model, inner extract, outer extract, hinge reinforcement extract and latch reinforcement extract.
The mid surface is created for each component seperately and they are named appropriately.
Geom. → auto midsurface → select surface → extract.
Selected extraction option: skin offset
Auto cleanup:
- After midsurface generation, it is also checked for any freelines and errors. Then the criteria file is saved. Preferences → criteria file settings.
- Then the auto cleanup option is used to toggle the unwanted lines and small pinholes etc for better meshing.
Surface trimming:
- We can see that the outer extract and inner extract is symmetric component. So to reduce the meshing time we split them into two. Then remove the other half and used for meshing.
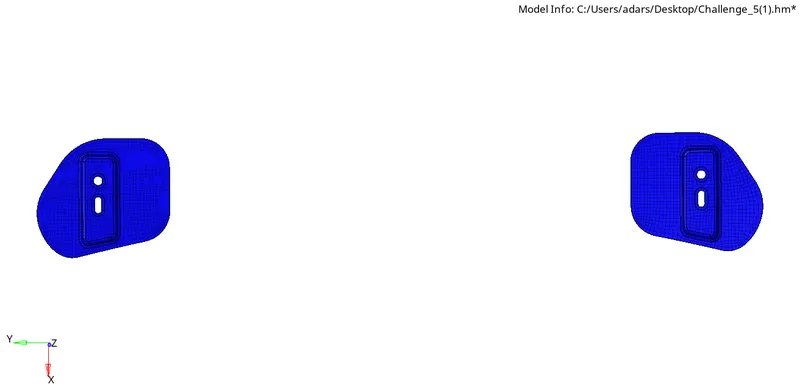
- Also the 2 hinge parts are same. So only need to mesh one. Then we can reflect same mesh into other using reflect tool.
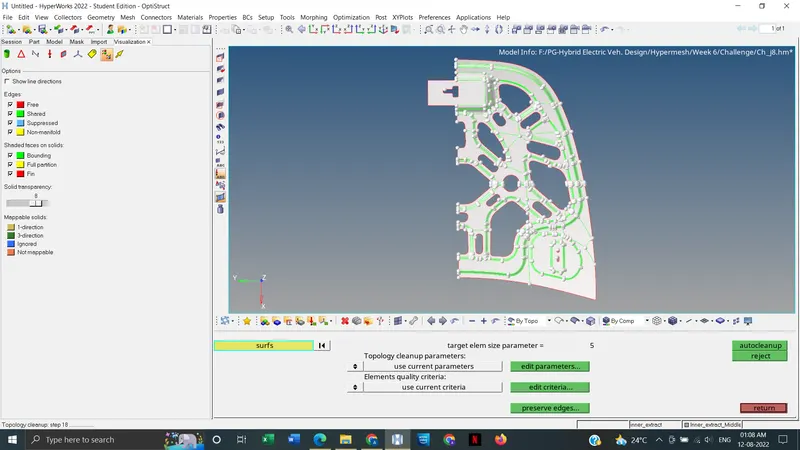
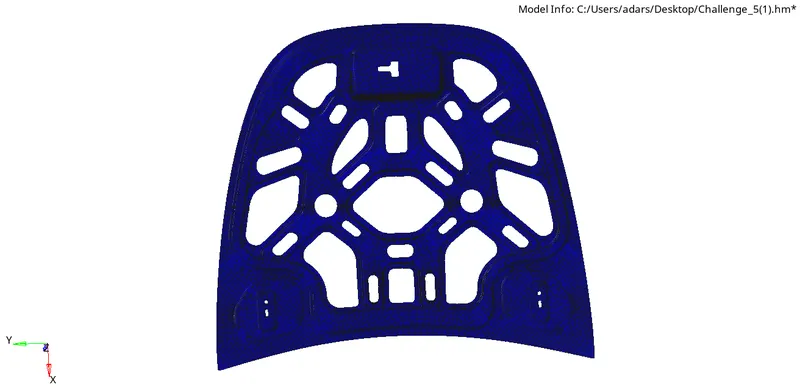
Symmetric half part of inner extract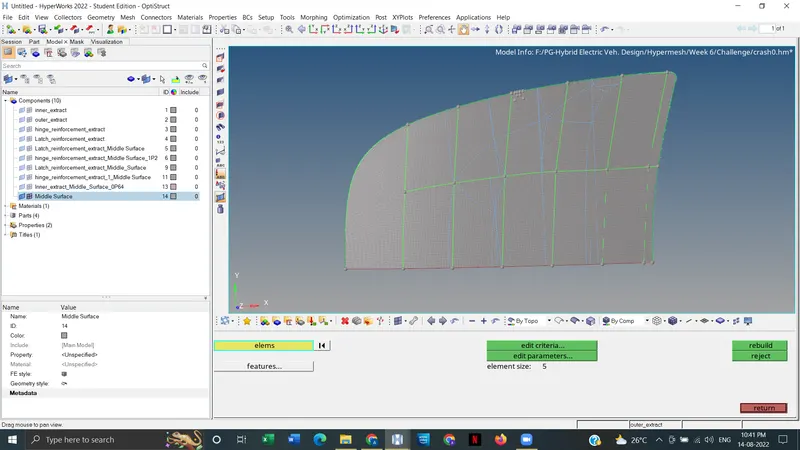
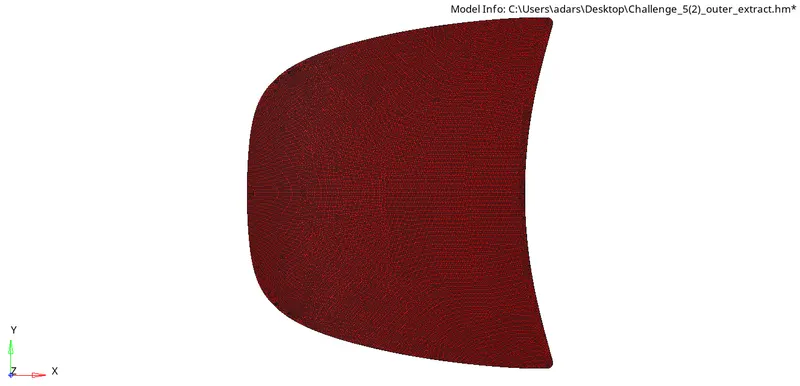
Meshed symmetric half part of outer extract
Meshing quality checking:
- As decided each part is meshed seperately using automesh with mixed element as specified.
2D → automesh → select surface , element size =5, mesh type = mixed → mesh - The rebuild mesh is used to create better mesh flow. 2D → rebuild mesh
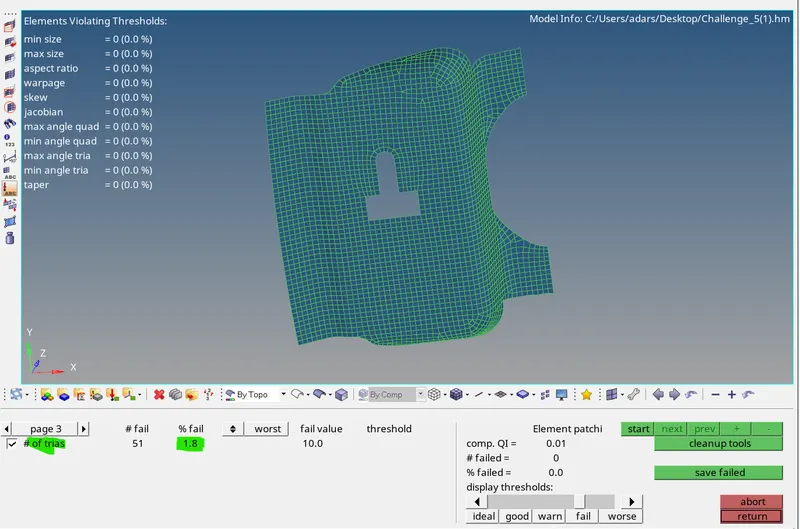
- Then we need to check the quality of the mesh. open, 2D → quality index. It will show the elements failing the criteria. Then we need to rectify it using the cleanup tools available. We can also use rebuild tool.

cleanup tools
- If needed we can split element using split option.
2D → element edit → split (Split by dragging if needed)
Completing the mesh using reflect tool:
- Use reflect tool to reflect the surface and element to the other half of inner and outer extract. This tool is also used to reflect the element into the hinge. Tool → reflect → select what we want to reflect and duplicate it → select base point and reflecting directon → reflect

Assigning property and material:
- The materal is added and assigned for each component.Also by adding property, we assign the thickness also.
- Use the renumber tool to renumbering as per our input.
Model check:
- Find edges of the model for perfection.
Tools → edges → select element dispalyed → find edges,
If no error noticed, delete edges . select element again → preview equivalent → return
otherwise, you can click on equivalence and try to fill that. - Element to surface edge check: To check how the element is captured the surface geometry.
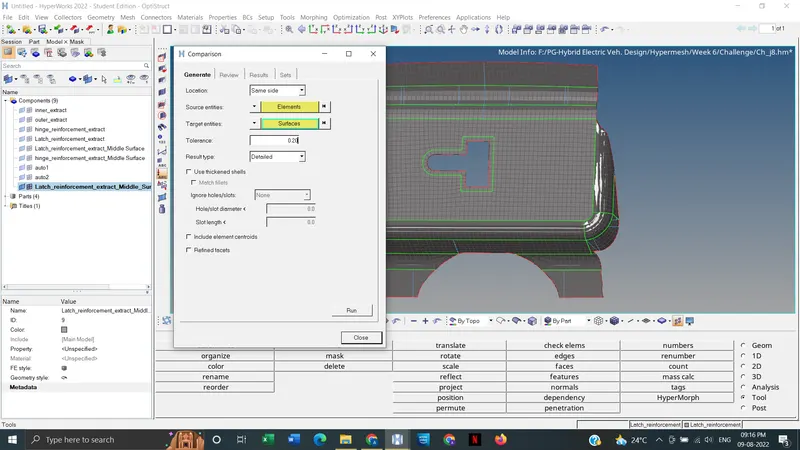
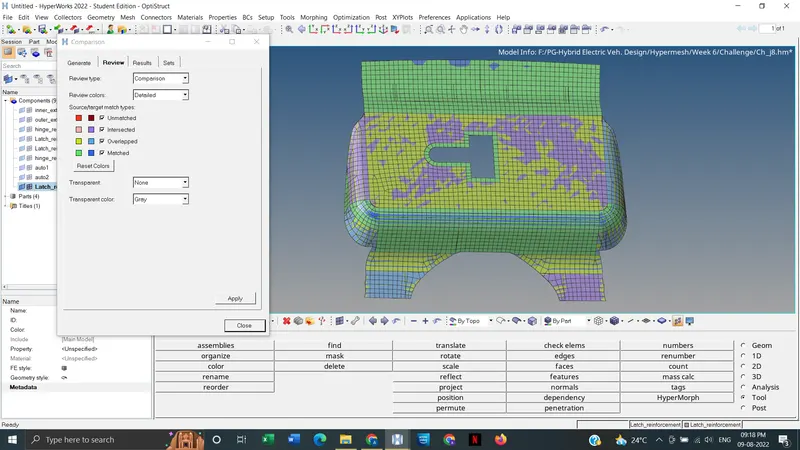
mesh → check → elements → comparison → click on element tab shown in source entity → Select element displayed → Proceeds → click surface tab in the target entity → select surface displayed → Tolerance = 0.2 → Run
The yellow and pink color in mesh is okay. If there is defect, we used project tool to rectify it.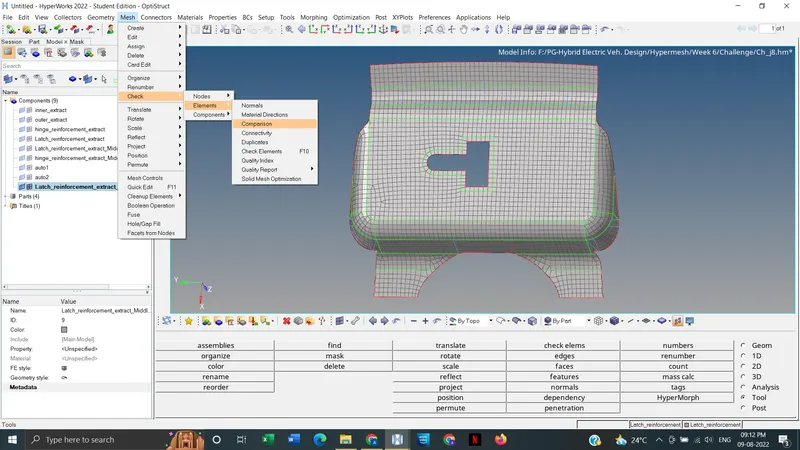
Latch Reinforcement Extract
Check for Normals: Tools → Normals → display → we can choose colordisplay or vector display.
The defected element's normals are reversed using the same tool by selecting the element.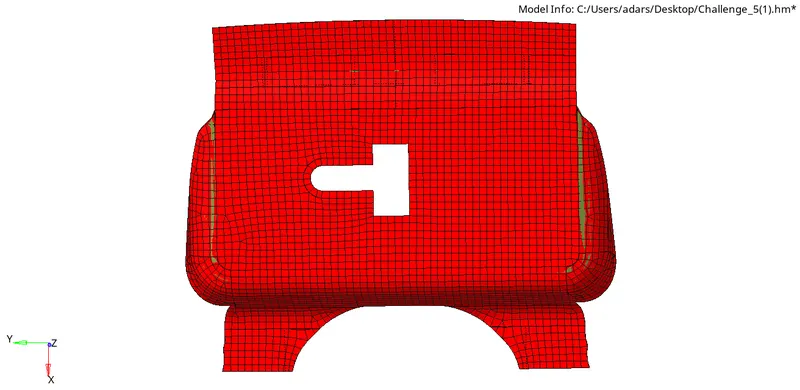
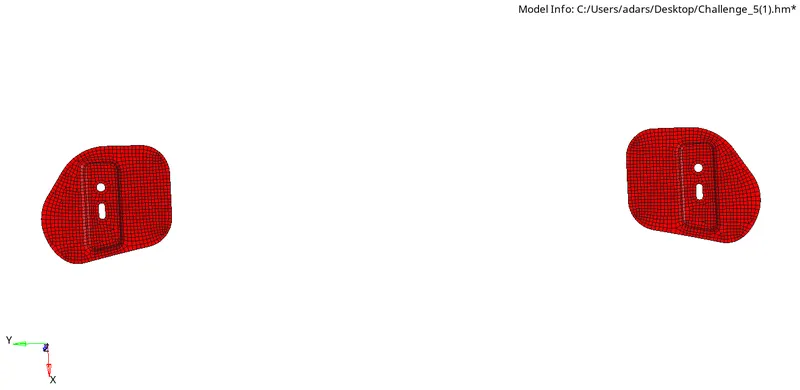
Penetration & intersection check: Tools → penetration → select element displayed → check
Penetration is defined as the overlap of the material thickness of shell elements, while intersection is defined as elements that actually pass completely through one another.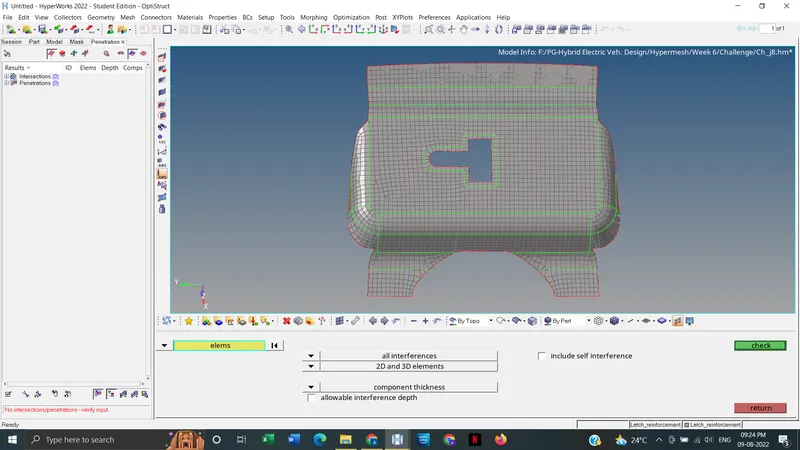
FINAL MODEL:
Meshed components:
Latch Reinforcement Extract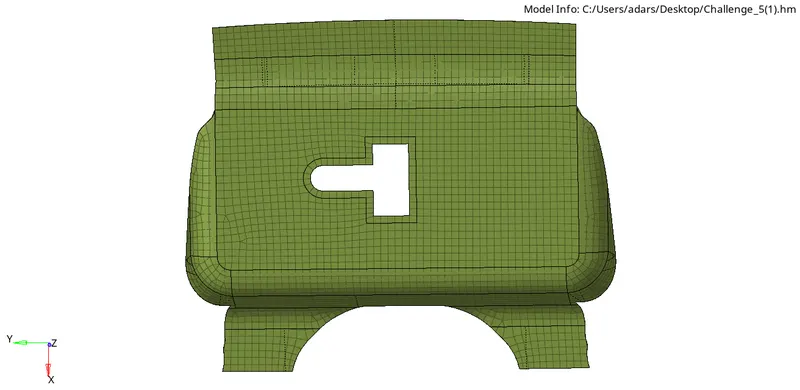
Hinge Reinforcement Extract
Inner Extract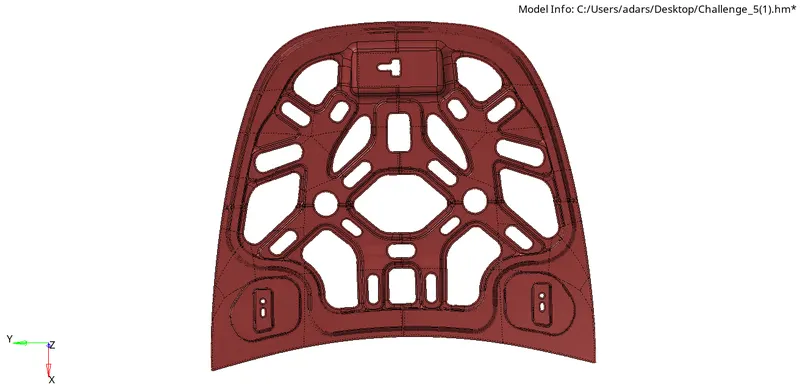
Outer Extract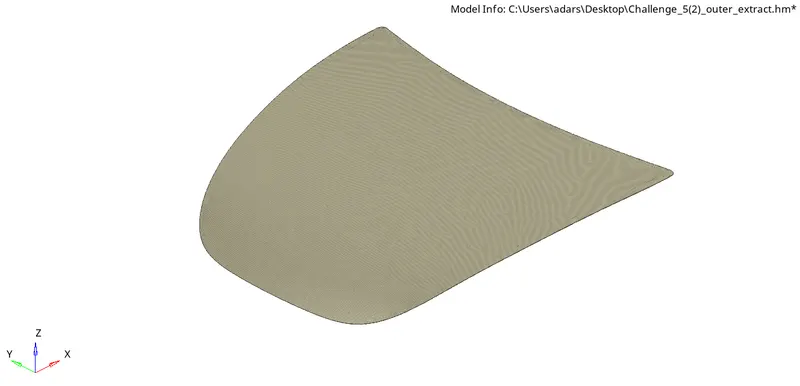
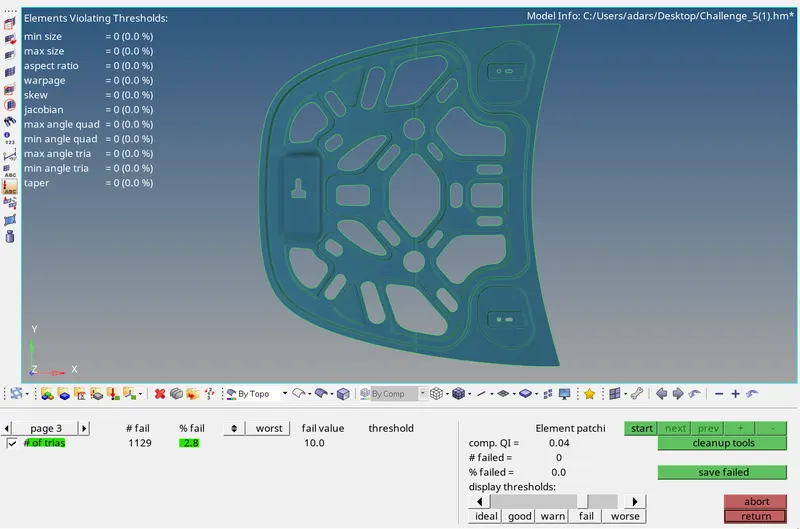
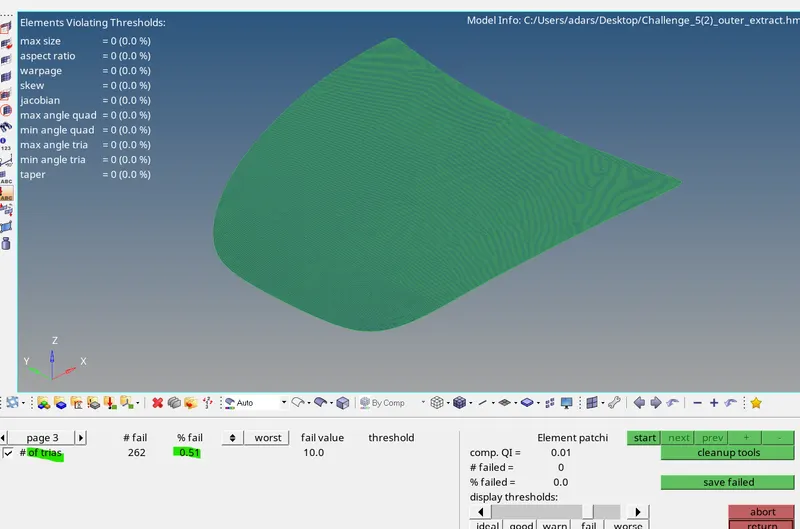
Quality Index Check Result:
Latch reinforcement extract:
Hinge reinforcement extract: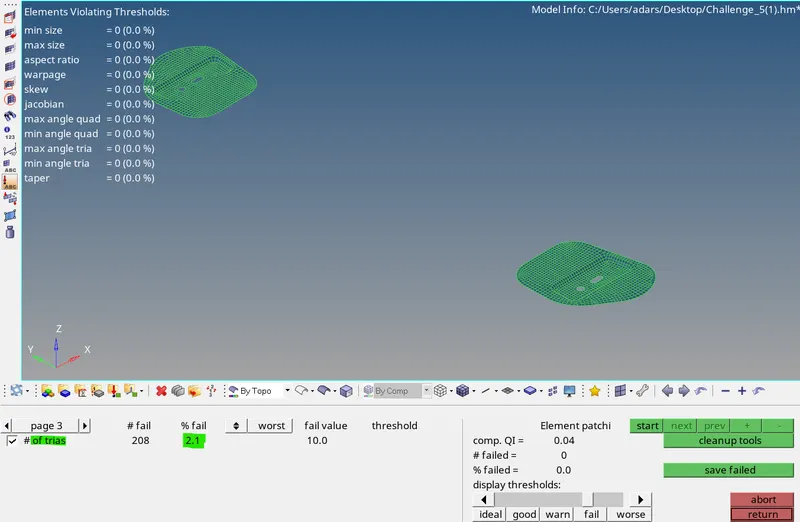
Inner Extract:
Outer Extract:
RESULT:
- Meshed the given component by following the quality criteria specified and tried to reduce maximum error.
- The property and thickness is assigned to the component. The mixed element (Both tria ansd quad) is used for meshing.
CONCLUSION:
- There are minimum length errors in the Hemming regions(Outer Extract), because of the very small cross-section of hemming region when compared to our minimum length.
- The project helps to understand the tools used for model checking and quality index. For crash and safety simulation the mixed element type is used while meshing.
Google Drive Link:https://drive.google.com/file/d/1CmkZw1925n2rp12JdfuXYWL4a21-h5LF/view?usp=share_link