Week 6-Mid-surfacing and Meshing of Hood using Hypermesh
Objective: For the given model, create midsurface, assign thickness and mesh the midsurface with given quality criteria.
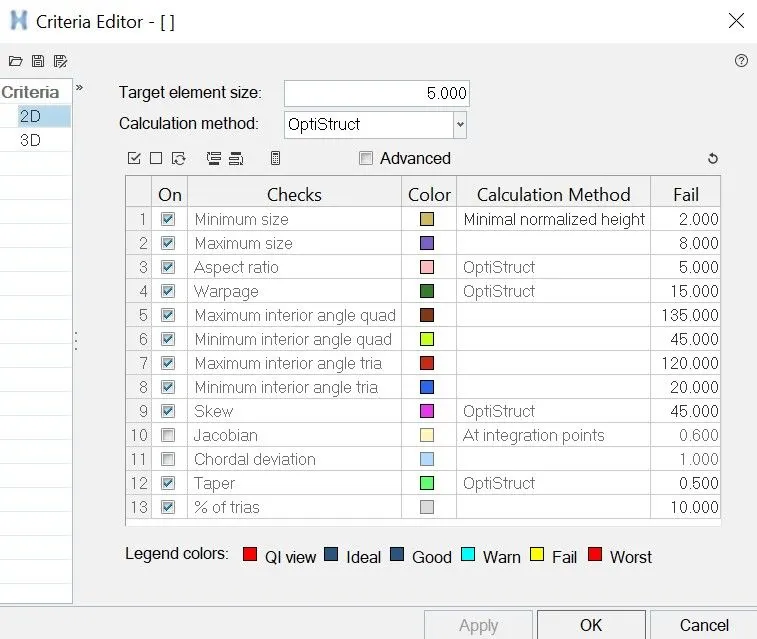
Quality Criteria:
| S.N | Quality Criteria | Value |
| 1 | Target Lenght | 5 |
| 2 | Aspect Ratio | 5 |
| 3 | Skewness | 45 |
| 4 | Warping | 15 |
| 5 | Taper | 0.5 |
| 6 | Min. Length | 2 Units |
| 7 | Max. Length | 8 Units |
| 8 | Min angle Quad | 45 |
| 9 | Max angle Quad | 135 |
| 10 | Min angle Tria | 20 |
| 11 | Max angle Tria | 120 |
| 12 | Tria % | 10 |
Procedure:
- Importing the model
- Deleting Duplicate and Solid Surfaces
- Creating midsurface
- Creating Properties and Material
- Assigning thickness
- Defeaturing
- Meshing
- Correcting mesh and failed elements
- Element Checkup and correction
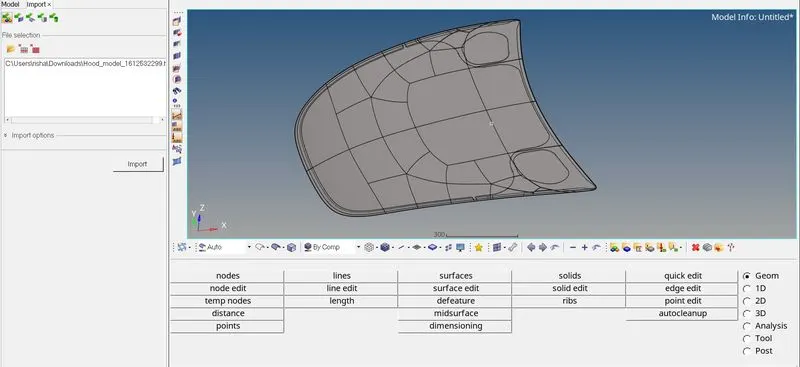
- Importing Model: The given model is in .hm format, hence it can be imported as model. To do so we will go to Import>model>select model file>import. The below image shows the same.
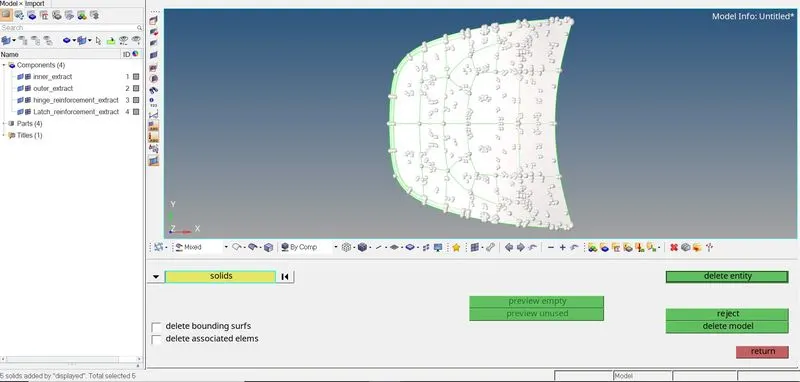
- Deleting Duplicate and Solid Surfaces: Once the model is importred we can check for duplicate surfaces by going to Geom>Defeature>surface>displayed. In the given model there were no duplicate surfaces. We will also delete solids, to check the same we will go to Delete>Solid>Displayed>Delete. The below image shows the same. Once done we wil che k for any free edges on the surface.
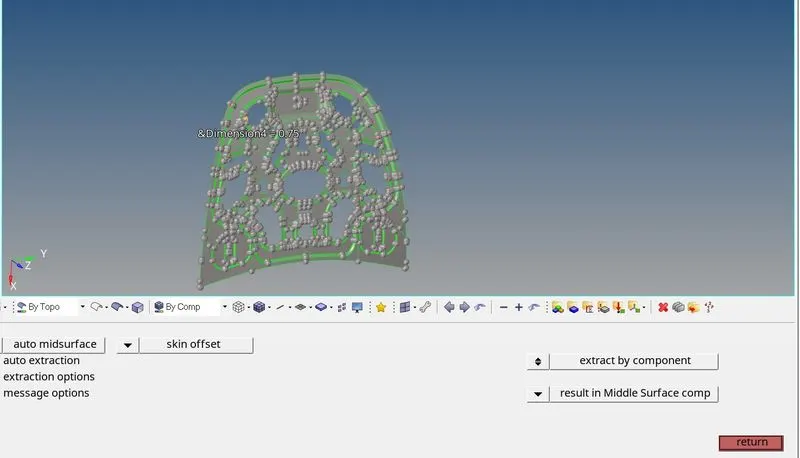
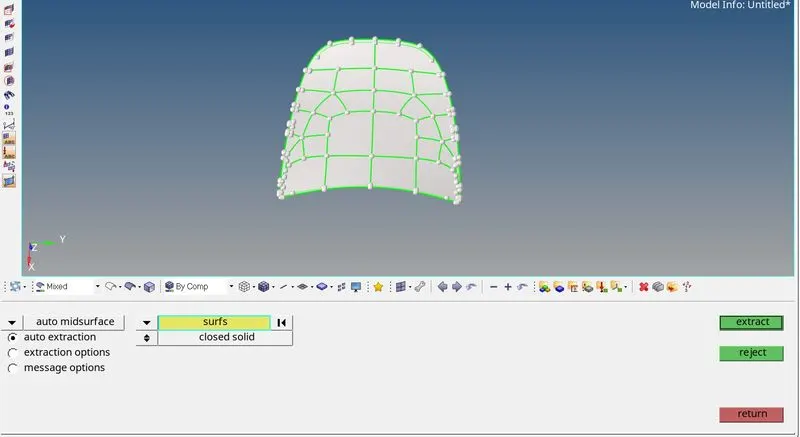
- Creating midsurface: Once all the geometrical errors are removed we can proceed for midsurfacing. In order to create midsurface we will use Geom>Midsurface>Automid>Skin Offset>Surface>Displayed>Extract. For this model Skin offset seemed best option. The similar process is used for all components.
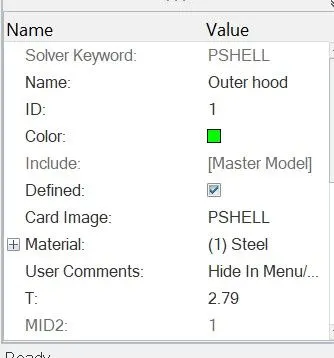
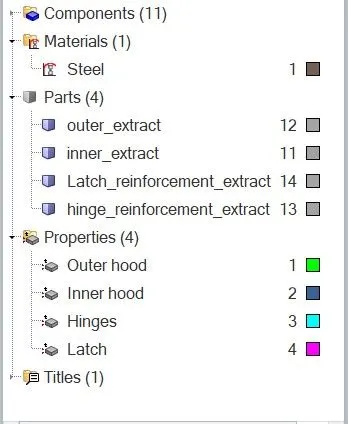
- Creating Properties and Material: Once the midsurfaces are created we can assign thickness to them by creating properties. Hence we created property bfor each component, we also created a material namely Steel and assigned it to properties. We assigned of the geometry to the properties. Once such example is shown below.
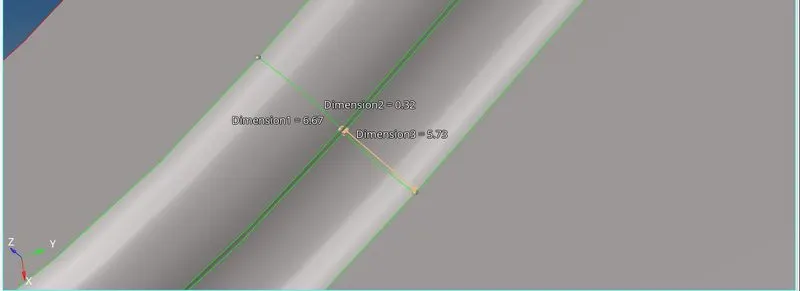
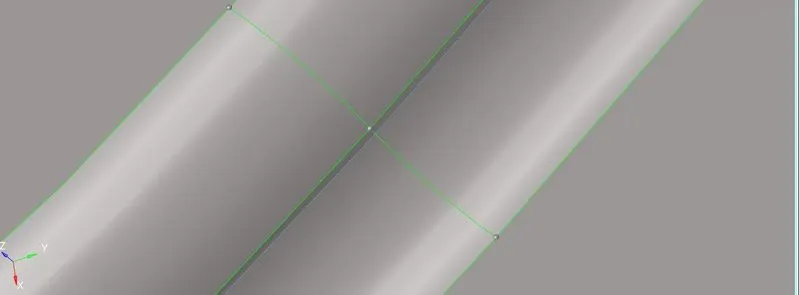
- Defeaturing: In order to acheive better mesh flow and less failed elements we need to defeature some regions. The below image shows the distance between two lines, as middle line could cause min lenght failure we toggled the line using Geom>Quick tools>Toggle Edge. We will repeate similar process wherever required on the model.
Before toggling lines:
After toggling lines:
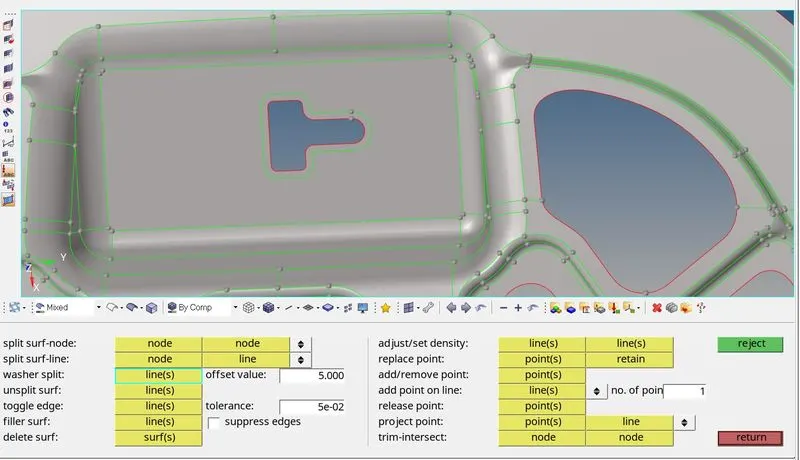
Washer Split: In order to create better mesh flow around the holes, we create a surface split. The below image shows the same.
- Meshing: Before starting the meshing we will enter the given quality criteria in Hypermesh, to add we have to go to Preferences>Criteria file settingApply/
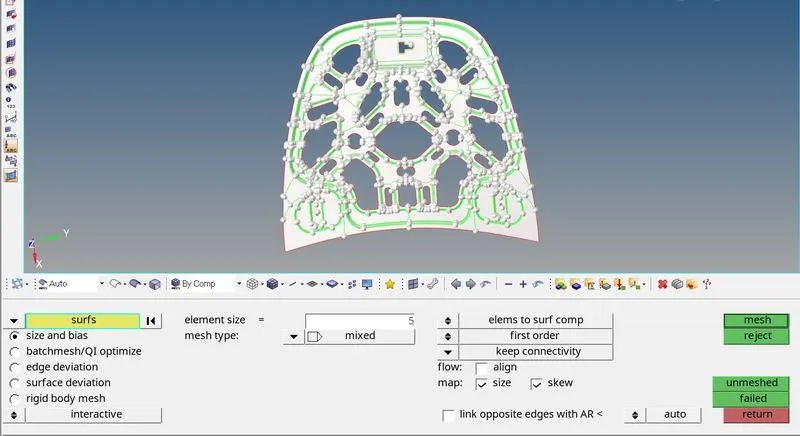
Applying mesh: After the quallity criteria are entered we wiill mesh the model using 2d>Automesh. For the given model we will use Mixed elements. In element size we will enfer 5 which is over target element lenght. We will repeat same method for other componenets.
- Correcting mesh and failed elements: Once the meshing has been there could be some off and failing elements in the mesh which are not desirable. In order to remove them can Elem Cleanup and Quality Index tools. We can use Cleanup in Element Cleanup or we can use
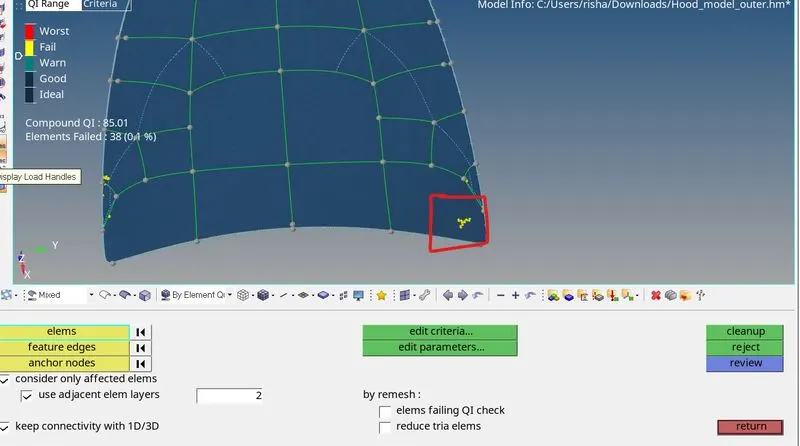
Before Cleanup
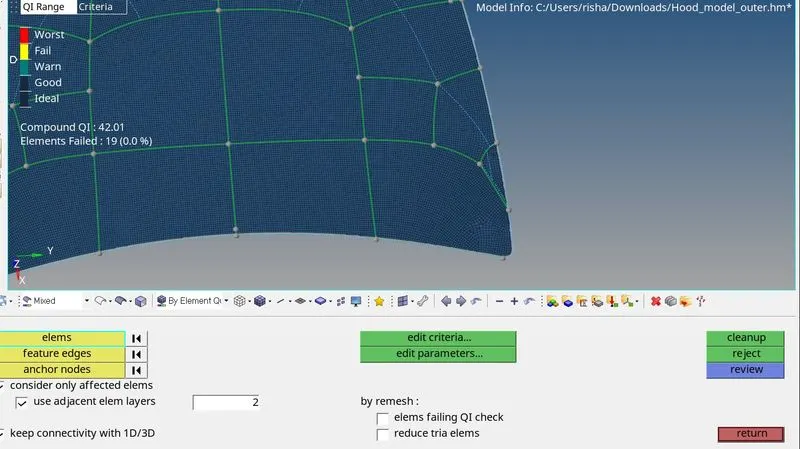
Post Cleanup
- Element Checkup and correction: Once the meshing done and cleanup has been completed we can check elements for duplicates, edges, connectivity issues, overlapping elements etc. The below image shows overlapping elements.
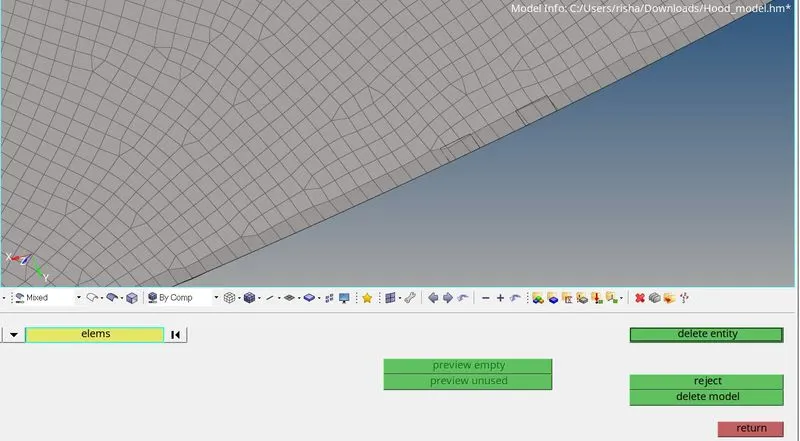
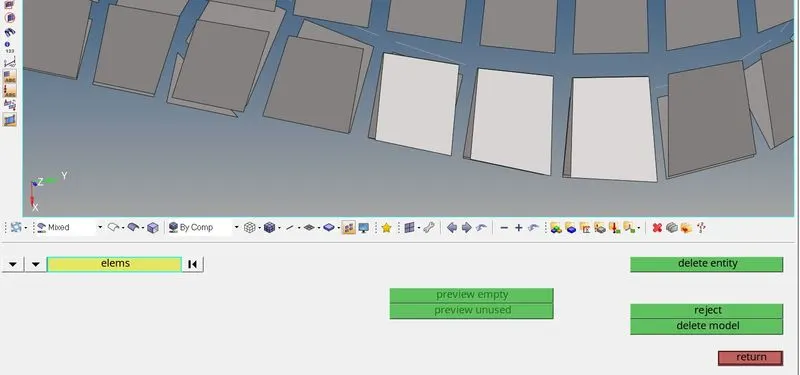
In order to fix them we have to delete the extra elements, we will use shrink elements tools to and individually slelect extra elements to delete them. The below image shows the method.
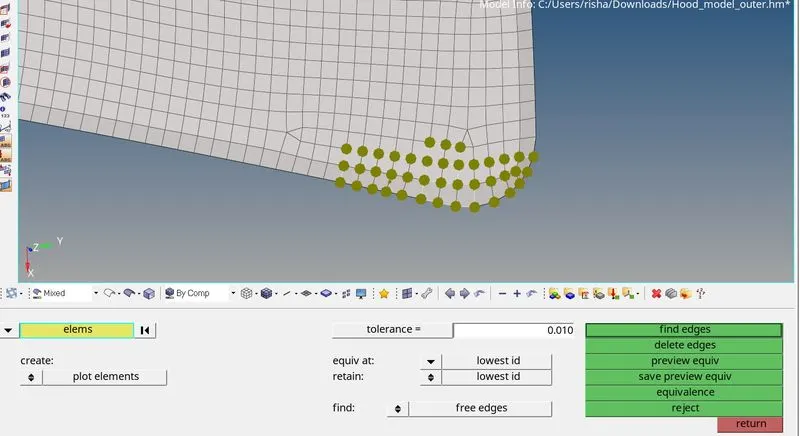
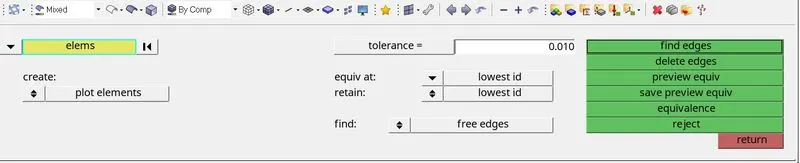
Fixing free edges on elements: Using Tools>Edges we will check for free edges in elements and if found we can check for equvivalence and fix using Equvivalance option. Below image shows the same,
For other chekks we will use tool Tool>Element Check in the given model there were no other issues,
Final Outcome: Below are images of model after meshing and element correction.
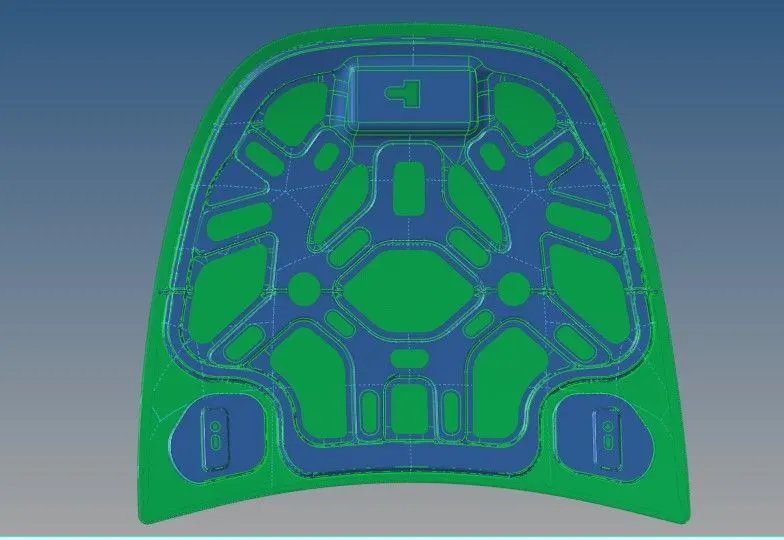
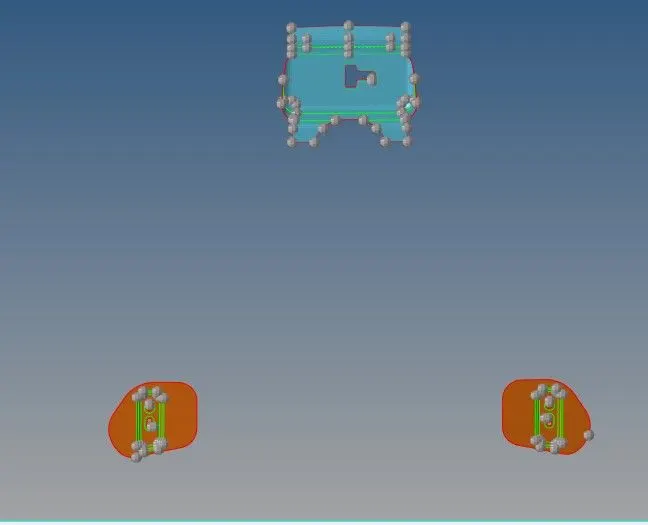
Conclusion: Hereby the given model has been meshed with given quality criteria. The thickness has been applied to the parts. Mesh generated has been checked for any failing elements has been corrected.
Learning Outcome: By completing this we learned to create the midsurface, defeaturing of midsurface, creating mesh and removing failing elements. And making mesh better using various tools.