Week 6-Meshing of Hood Challenge
Meshing of Hood:
Here we will see the Meshing of different parts of Hood.
Hood consists four different components as below:
- Inner Extract
- Outer Extract
- Hinge Reinforcement Extract
- Latch Reinforcement Extract
Inner Extract:
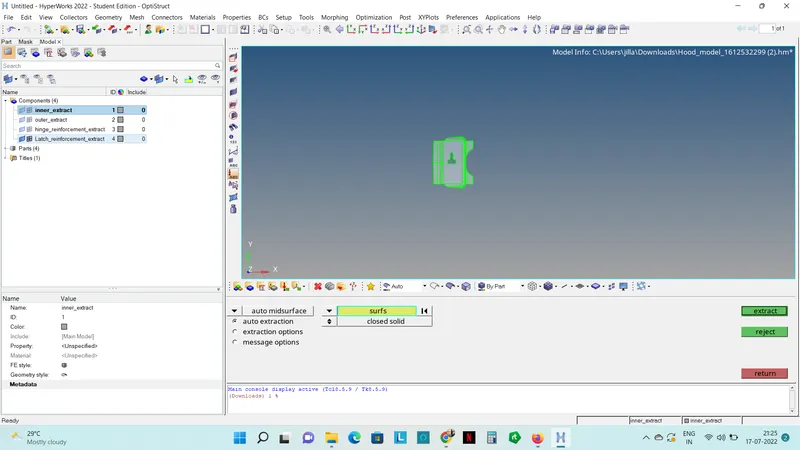
- There are four different components in the file when we import it.
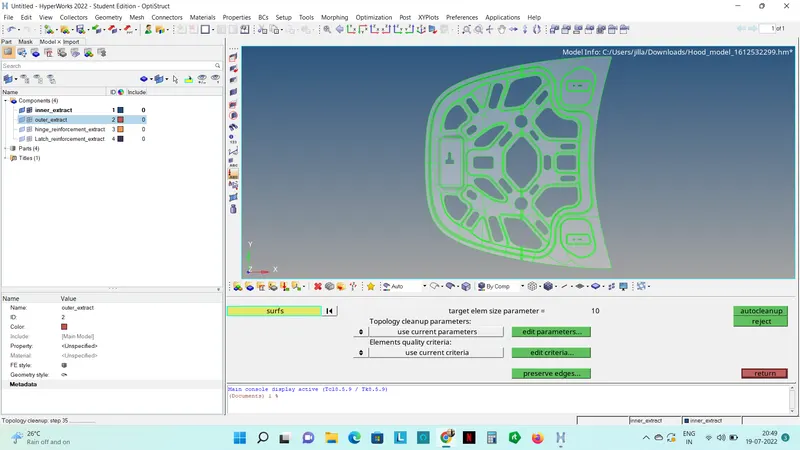
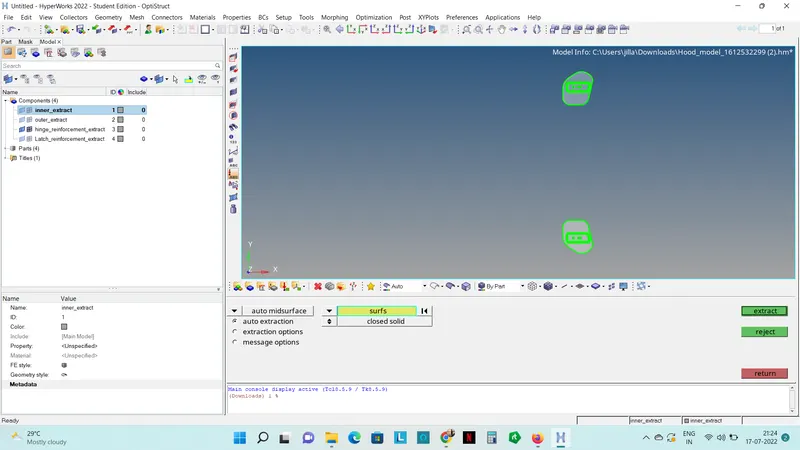
- First of all make sure that only “Inner Extract” component is active.
- Delete all solids from the component.
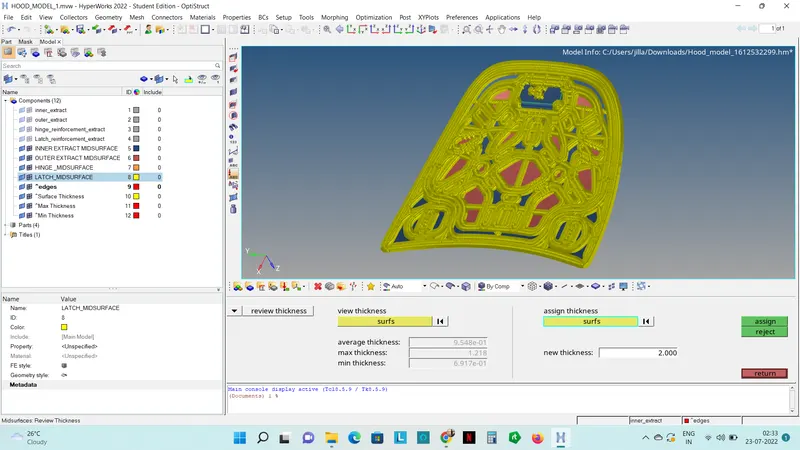
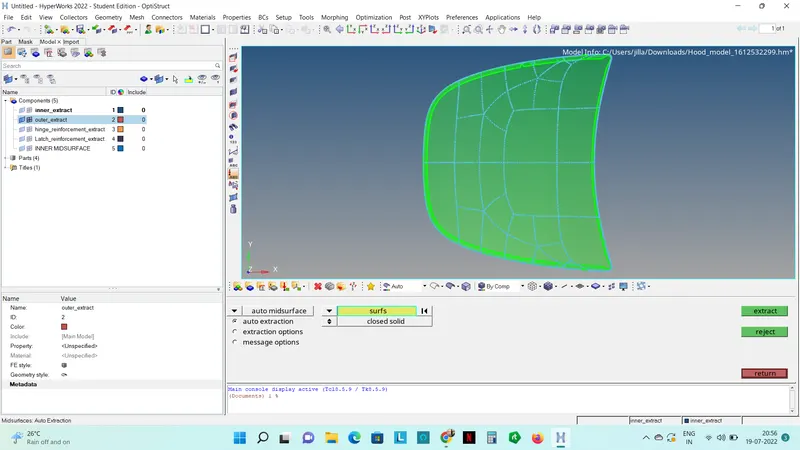
- Create Mid surface for only Inner Extract by selecting particular surfaces.
- we can mesh that at the last.
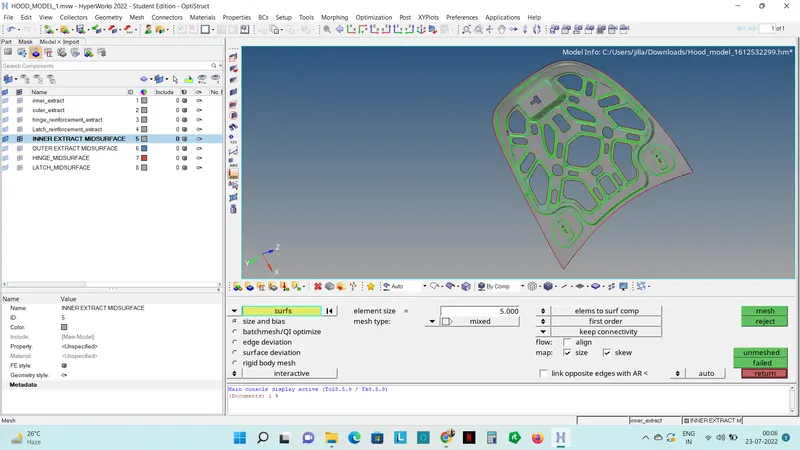
- As shown in above image, split the midsurface
- Start the Meshing with the closed area with less free edges.
- And avoid washer surfaces if possible.
- Keep the Mesh flow as per geometry and create mesh with less tria elements.
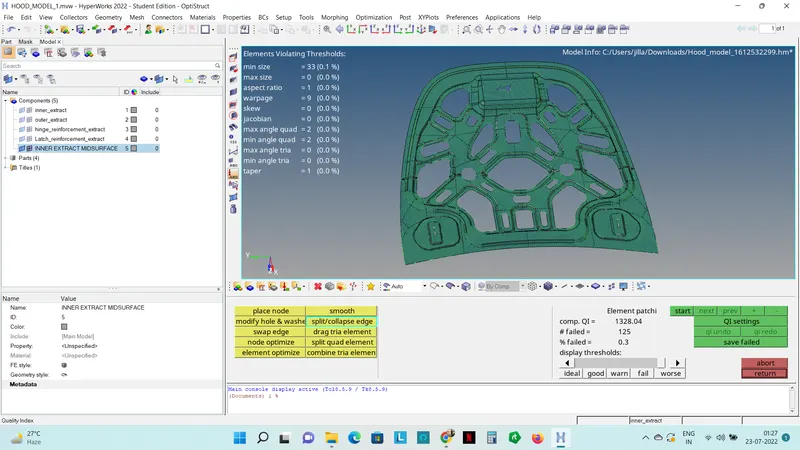
- Complete the mesh of the hald portion of the Inner Extract as shown in above image.
- As shown in above image, elements are reflected on the other side.
- Make sure that elements are in proper connectivity.
- So, create equivalence between the elements which are in symmetric line and make them connected as shown in above image.
- Thus we can complete the Meshing process for “Inner Extract” component.
- Outer Extract:
- Create Midsurface after deleting solids from Outer Extract
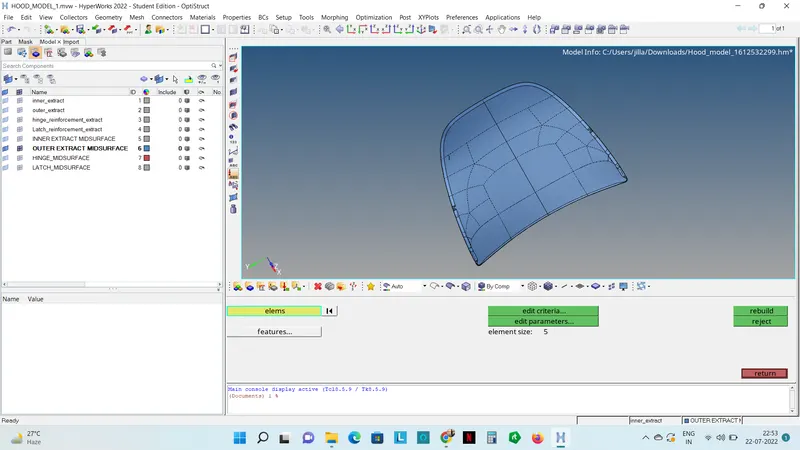
- As shown in above image, the hemming portion of the component is very thin.
- So, after creating midsurface, we can toggle the extra edges and split the component from the curvature area as shown in above image and easily create mesh without minimum length element.
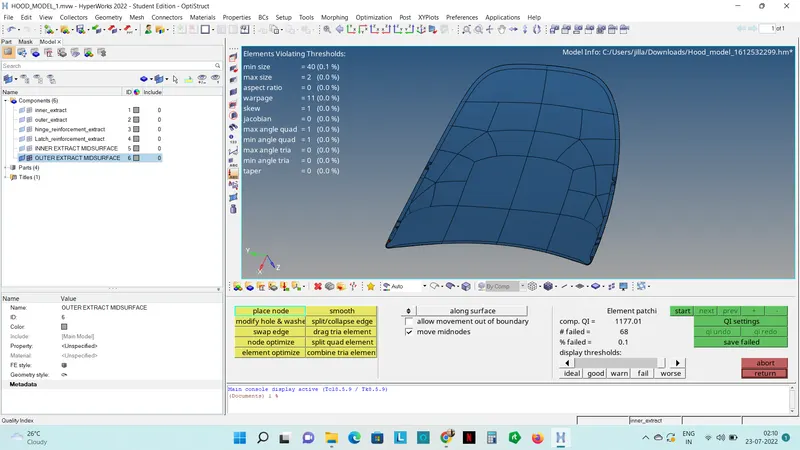
- Start with the curved or radius portion to avoid minimum length elements and step by step create mesh as shown in above image.
- We can further divide the curved portion marked in above image and create better quality elements in that region.
- Thus we can complete the Mesh of “Outer Extract” component with better mesh flow.
- Latch Reinforcement Extract:
- Delete solids and create Mid surface for Latch Reinforcement Extract component.
- Do necessary cleanup and toggle extra edges.
- Remove edge fillets from marked portion for better mesh quality.
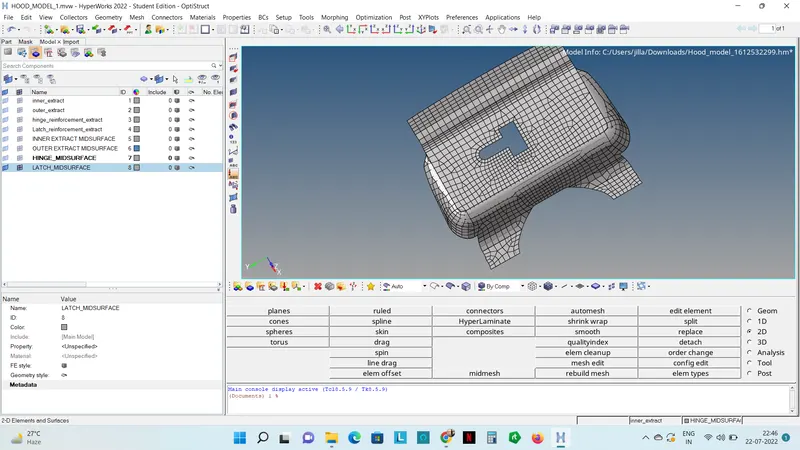
- As shown in above image, create washer surface with 5 mm distance and split the surface for better mesh structure.
- Keep the mesh flow as per geometry.
- Avoid tria elements at the free edges.
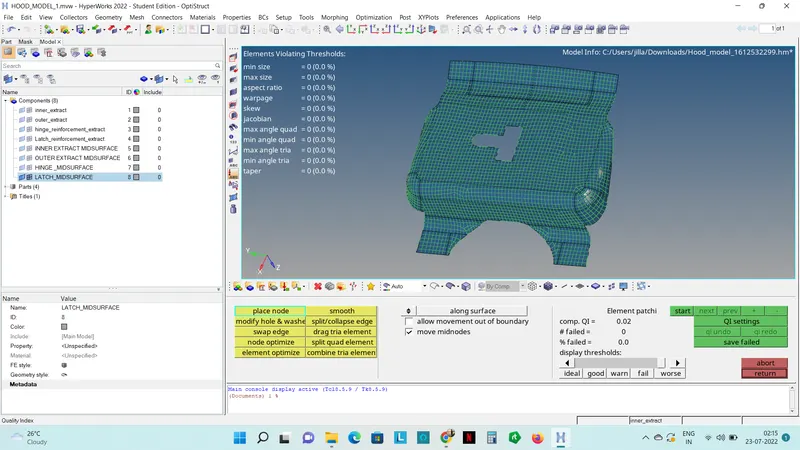
- As shown in above image, create mesh at the centre first and then proceed further for good mesh and complete the entire mesh for Latch Reinforcement extract.
- Hinge Reinforcement Extract:
- Here there are two components in Hinge Reinforcement Extract.
- If we create mesh only for two
- So, delete solids and create midsurface for only one part.
- As shown in image, avoid creating washer surface for the holes for better mesh arrangement.
- Toggle the edges where minimum length element can occur.
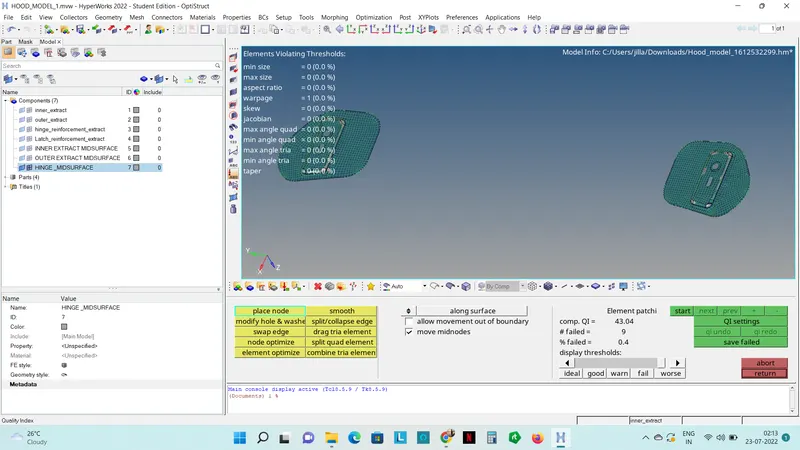
- s shown in above image, mesh is created at the inner most area where less free edges are there.
- Then followed by them, rest of the part is meshed
- Mesh Results:
- Inference:
- First thing to do with any given model is geometry cleanup and removing or toggling extra edges or lines.
- For good meshing, we should always take care of necessary lines and edges by which we can create easy and structured mesh.
- If there is small gap between two fillets, we can toggle one of the edges and simplified the meshing area to avoid minimum or maximum length elements.
- Important thing in meshing is mesh flow, which should be followed by the given geometry.
- We should avoid as much tria elements as possible.
- There should not be any rotational quads, which can disorient the analysis process and we can get poor results.
- We cannot avoid tria elements at the rounded or curved portions, so the elements at that area should be taken care with different splitting the surface.
- Where the elements are of poor quality, we can mask them any separately work on them to be corrected.
- Make sure that tria elements do not break the flow of the mesh.
- Thus, we can create good mesh with good arrangements of tria and quad elements and with proper flow and remeshing techniques.
- THICKNESS: