Week 6-Meshing of Hood Challenge
Meshing of Hood challange
Aim:
Mesh the given Hood component individually and follow the quality criteria of mesh as per given data
Objective:
- Import the geometry file and extract the mid surface individually and make a geometry cleanup for all the given componenet.
- And then Mesh the given component separately with target element size 5mm.
- Check the quality of the element with given quality criteria it is shown below table.
- And assign the thickness of component.
| S.No | Quality Criteria | Value |
| 1 | Aspect Ratio | 5 |
| 2 | Skewness | 45 |
| 3 | Warping | 15 |
| 4 | Taper | 0.5 |
| 5 | Min. Length | 2 Units |
| 6 | Max. Length | 8 Units |
| 7 | Min angle Quad | 45 |
| 8 | Max angle Quad | 135 |
| 9 | Min angle Tria | 20 |
| 10 | Max angle Tria | 120 |
| 10 | Tria % | 10 |
Procedure:
1.)Importing the Geometry file and extracting the midsurface and make a geometry cleanup for all the given components
- First step is to import the geometry in hypernmesh by using import option and the select the file.
- After importing,change the view into Topo mode and then check the solids present in the component if any delete the solids.
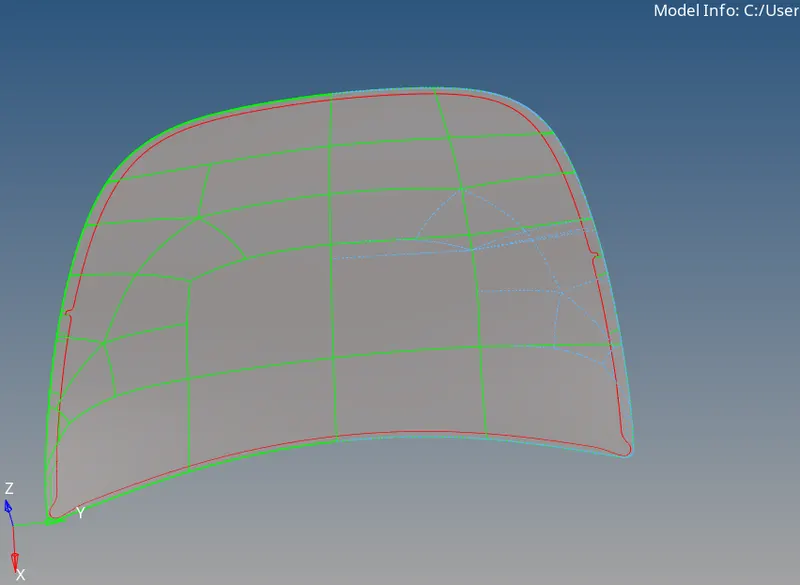
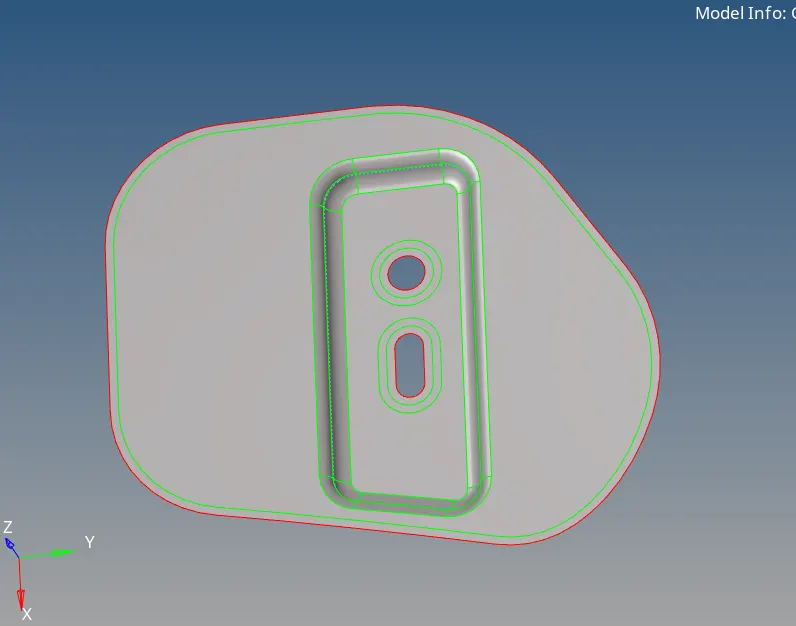
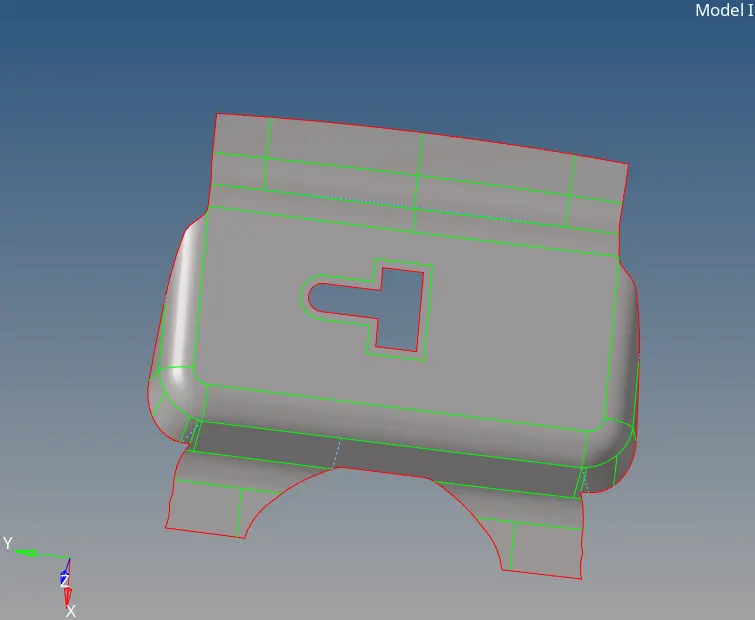
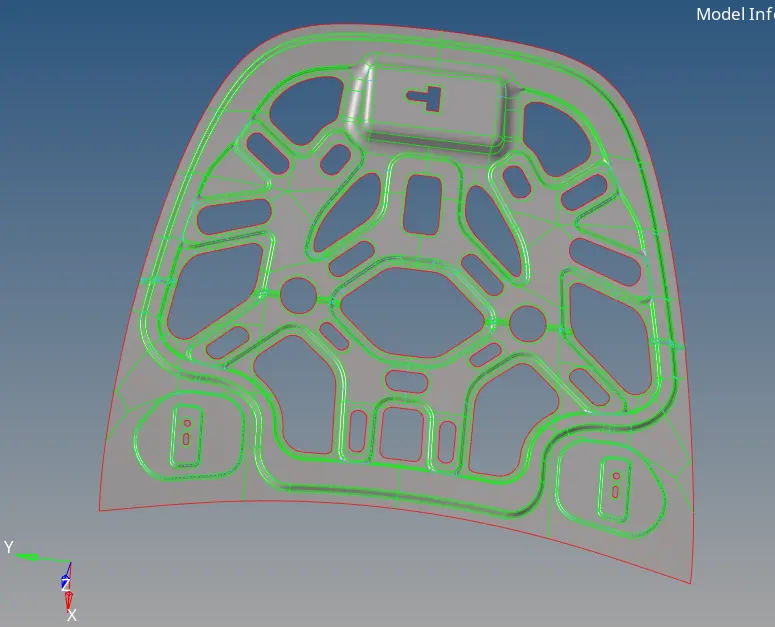
- In hood component there are four different parts so check the geometry errors in each parts and clean the errors to get proper midsurface extraction.
- Geometry errors like damage surface ,freee dgees, unnessary points ect
- By using quick edit tools clean all the geomety errors.
- And then extract the midsurface separately by using Midsurface->automidsuraface->offset+planes+sweep.
- The below image shows midsurface with no geometry errors also to get proper mesh flow we need to toggle some lines and use washer splits in critical zones as shown in images.
2.)Mesh the given component separately with target element size 5mm.
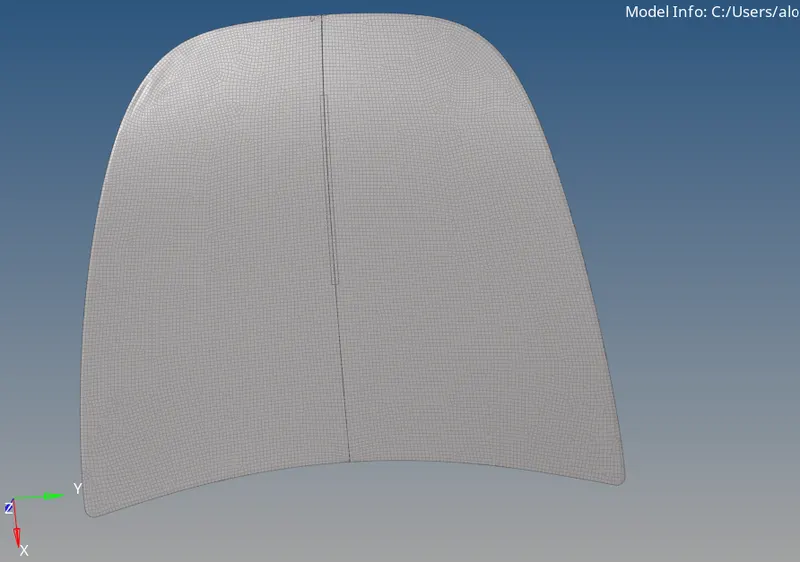
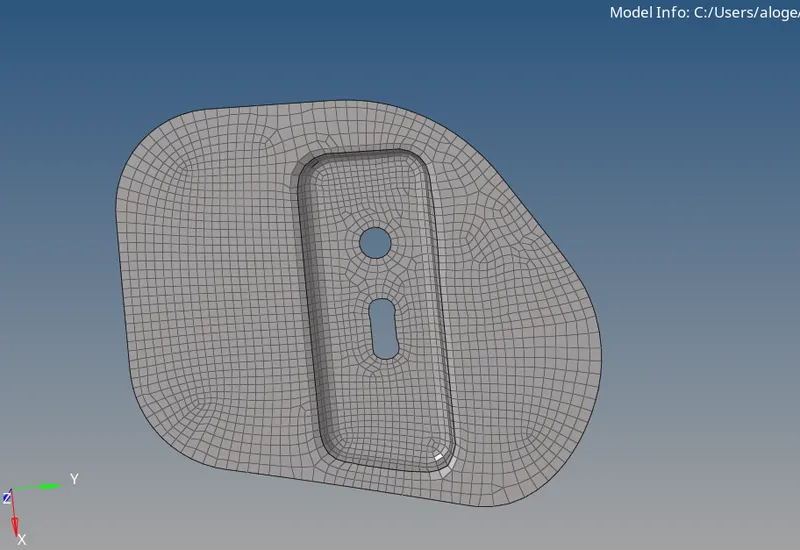
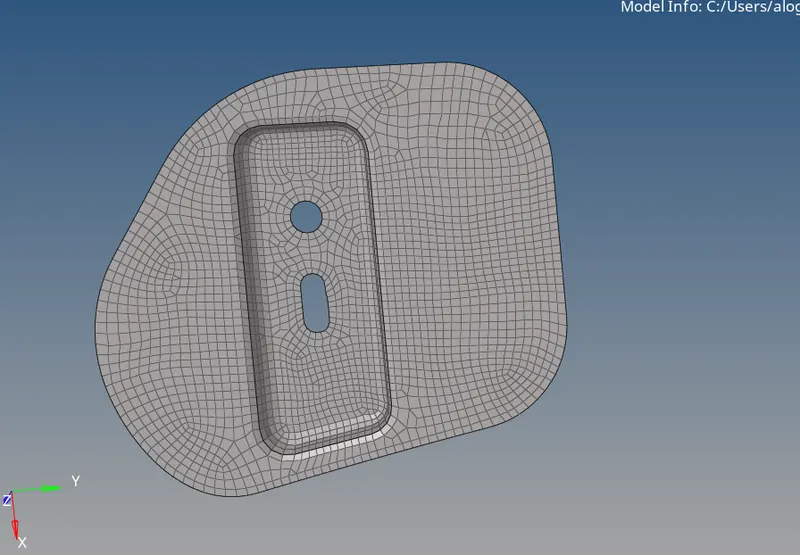
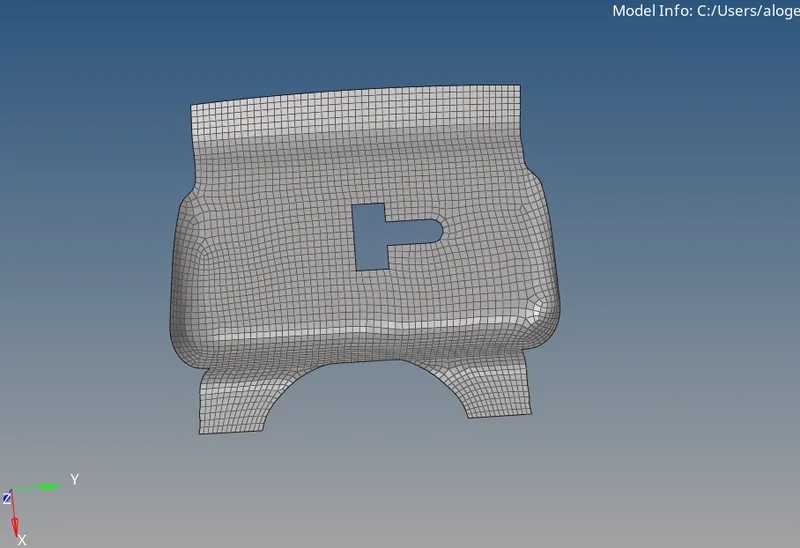
- After midsurface extraction and geometry cleanp the next step is to mesh the given component separately with target element size 5mm.
- For meshing the component we are using the automesh which works on the program best algoritham and provide the mesh best as program can.
- Also select the type of mesh as per requirement
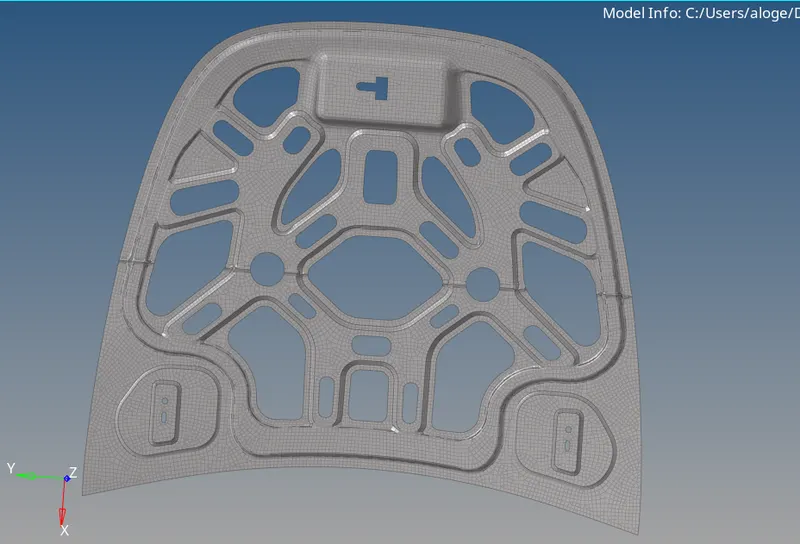
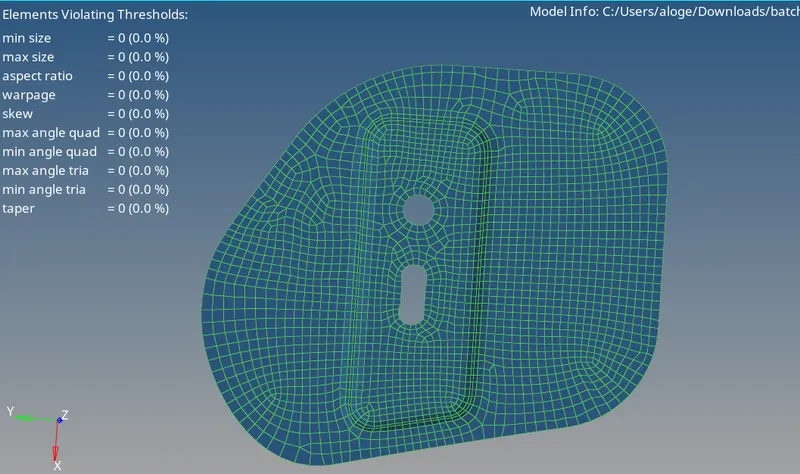
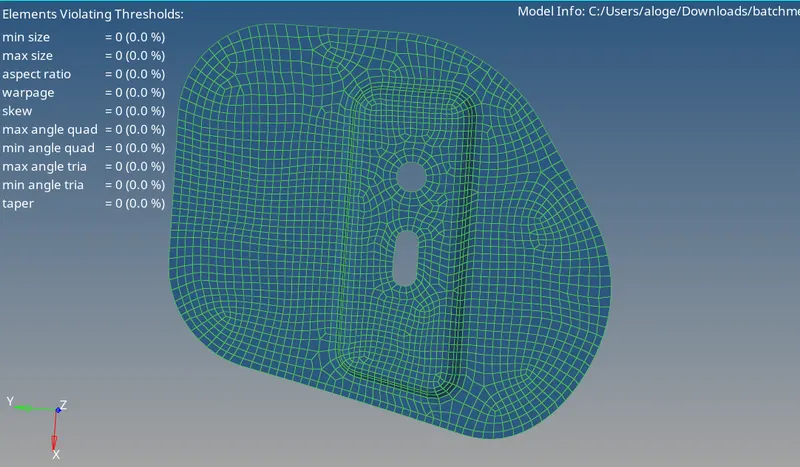
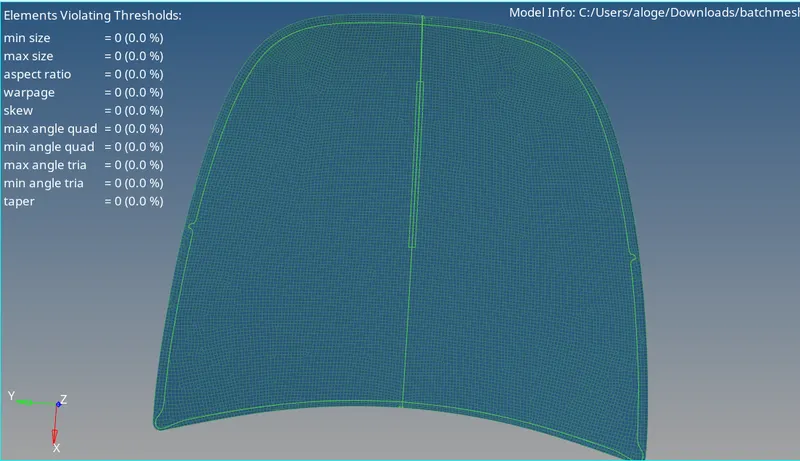
- The below image shows the meshing of each component seprately.
Note:
In this component it symmetry in geometry to reduce the meshing time we mesh the component at one side and then reflect into other side by using tools->reflect->select the nodes.
3.)Check the quality of the element with given quality criteria it is shown below table.
| S.No | Quality Criteria | Value |
| 1 | Aspect Ratio | 5 |
| 2 | Skewness | 45 |
| 3 | Warping | 15 |
| 4 | Taper | 0.5 |
| 5 | Min. Length | 2 Units |
| 6 | Max. Length | 8 Units |
| 7 | Min angle Quad | 45 |
| 8 | Max angle Quad | 135 |
| 9 | Min angle Tria | 20 |
| 10 | Max angle Tria | 120 |
| 10 | Tria % | 10 |
- After meshing the component we have to check the quality of element with given quality criteria.
- For that first we need to put the values as per given data in the criteria tab as shown below fig 1.
- After the criteria value filled go to the 2 D->quality index
- By using quality index we can check the number of element is failed in which category.
- There are some cleanup tools available in quality index shown below fig 2.
- By using that cleanup tools correcting the elemnts which are failed in meshing quality criteria.
- Also there is another tool called element cleanup bys using these also we can correct the failed elements.
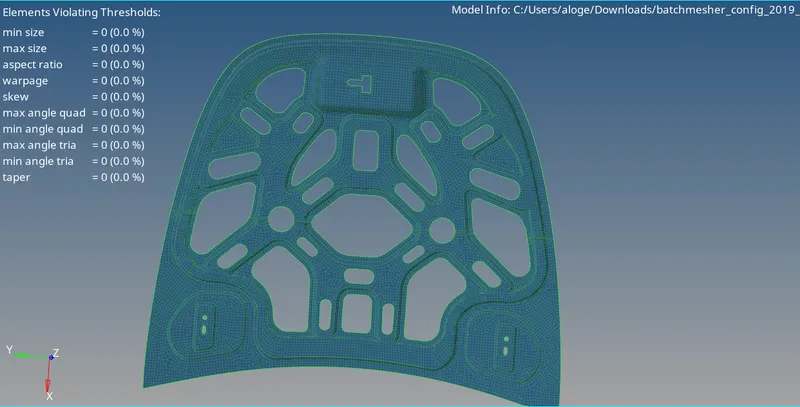
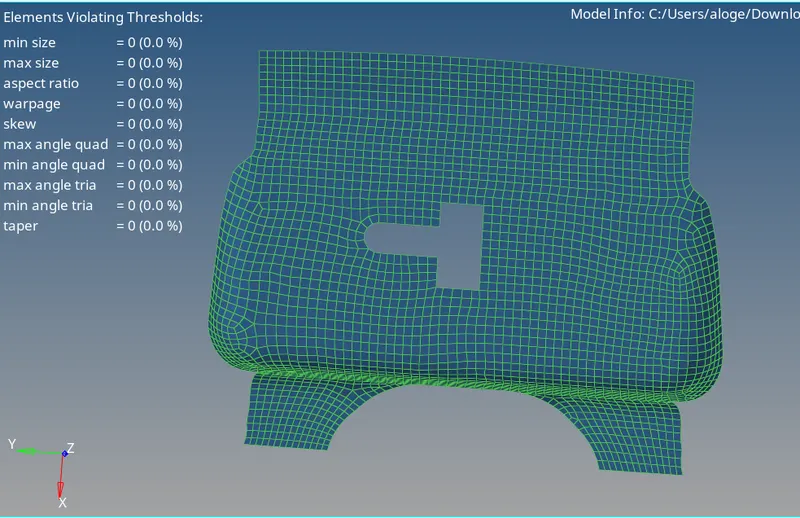
- Fig 3 shows the quality of different parts in this challange.
Fig 1:
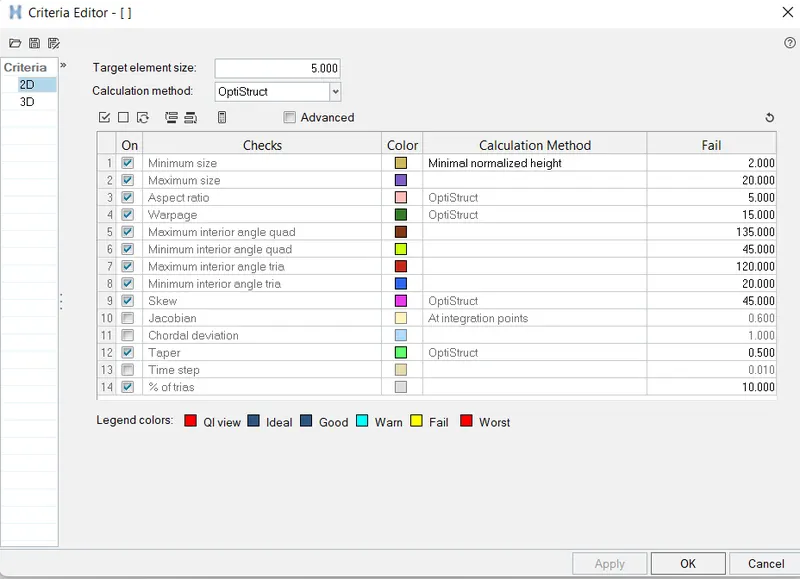
Fig 2:

Fig 3:
4.Assign thickness to the component
- To assign thickness of component first we need to check the dimension of the component.
- For that by using the geometry->distance->select the two points and check the dimensions here it was 0.75mm.
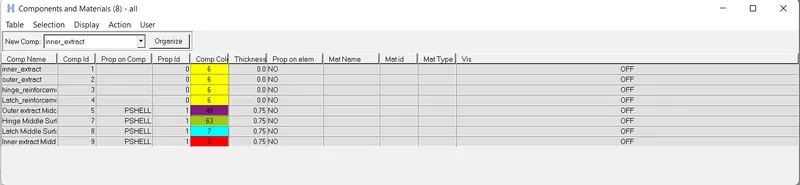
- To assign thickness first we need to assign the property of the component then we need to specify the thickness as 0.75mm.
- Then assign the property to each midsurface
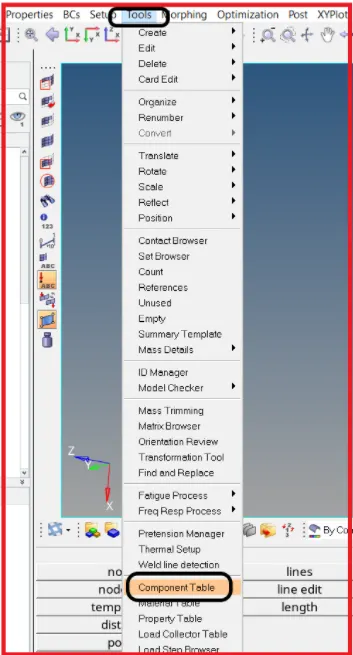
- To check weather the thickeness is assigned or not for that follow the below image.
Result and Conclusion:
Finally the given component is meshed seperatly with target element length and checked the element quality with given quality criteria also thickness is assigned to the given component.