Week 6-Meshing of Hood Challenge
Aim :-
Perform geometry Clean up, mid surfacing and 2D meshing using Hypermesh.
Steps Followed :-
- Importing the CAD file.
- Geometry Clean-up.
- Mid Surfacing.
- 2D Meshing.
- Clearing Quality.
Quality Criteria :-
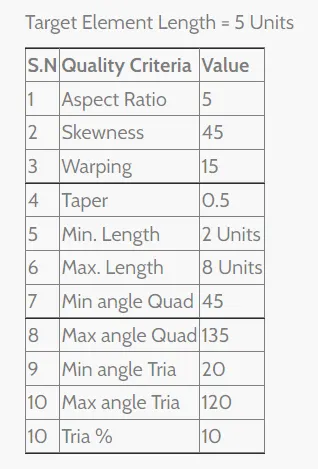
Procedure :-
1. Import the given Hood model if .step file is being used or open the .hm file directly.
2. Delete the solid parts from the model by Geometry->Delete->Solids->All->Delete Entities.
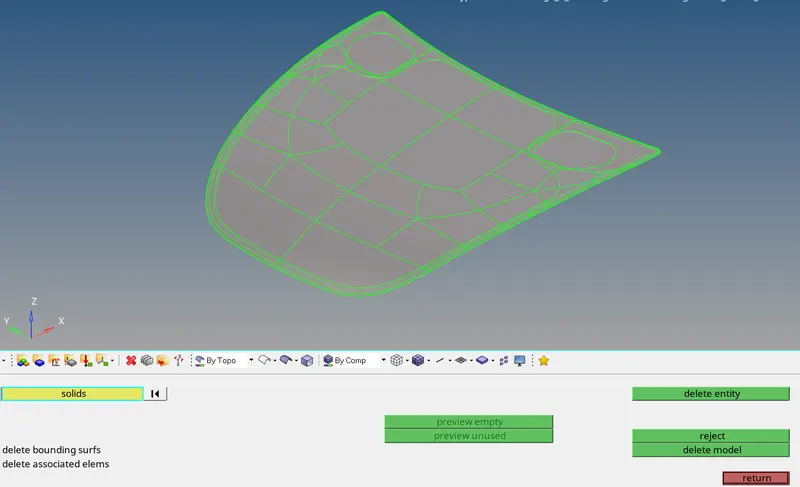
Fig :- 1 (Delete Solids from the model)
3. Clean up the geometry using Geometry->Quick Edits->Toggle Edges/Split.
4. Once the clean up activity is coplete, extract mid surface for each component by using Geometry->Midsurface->Automid->Surface selection->Extract.
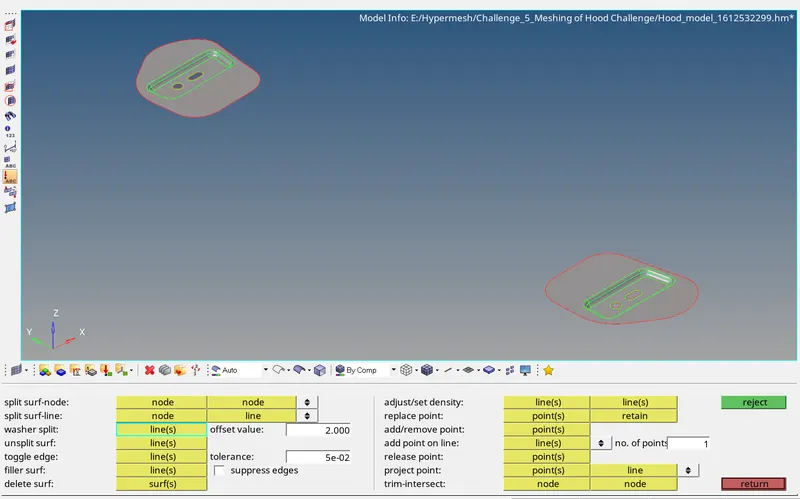
Fig :- 2.1 (Midsurface of Hinge Plate)
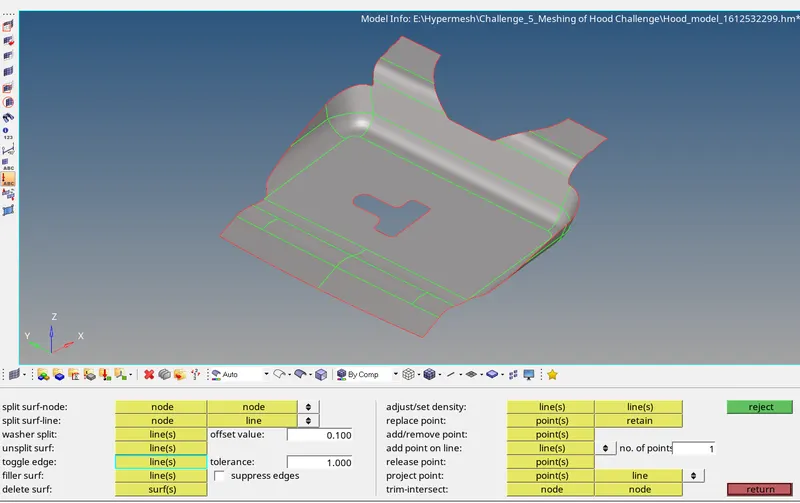
Fig :- 2.2 (Midsurface of latch)
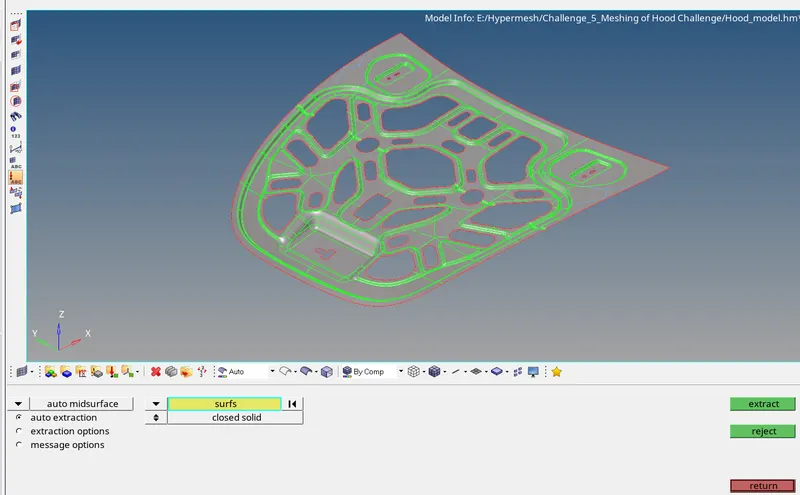
Fig :- 2.3 (Midsurface of Inner Body)
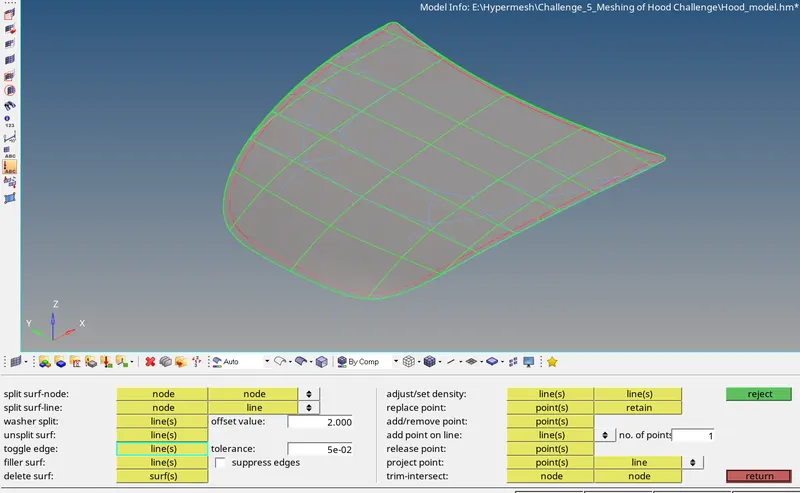
Fig :- 2.4 (Midsurface of Outer Body)
5. Add washer split for all the holes on the mid surface.
6. As per the given element size, perform 2D meshing on the midsurfaces extracted by pressing F12 or 2D->Automesh->surface selection->Mesh.
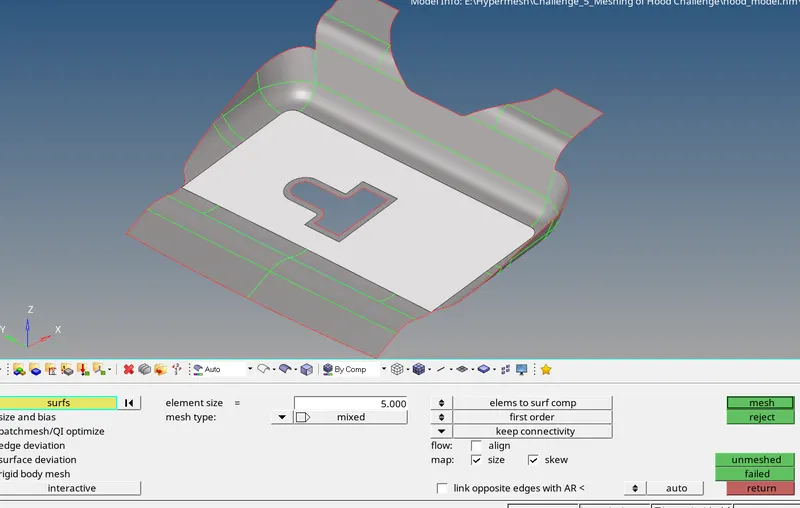
Fig :- 3 (Meshing on the Midsurface)
7. Similarly perform meshing on all the components to match the given quality criteria.
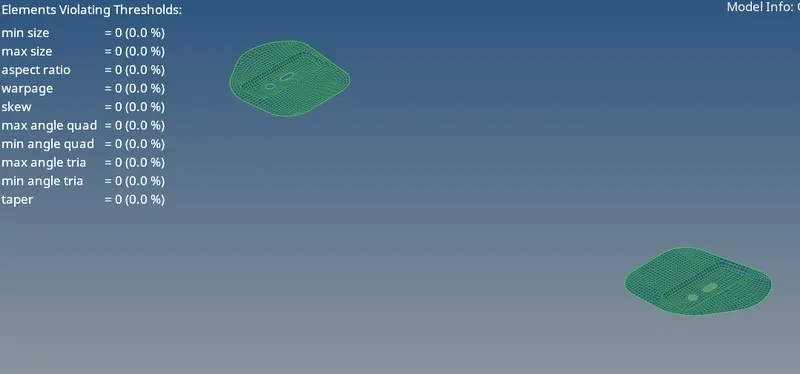
Fig :- 4.1 (Hinge Plate Meshing with quality)
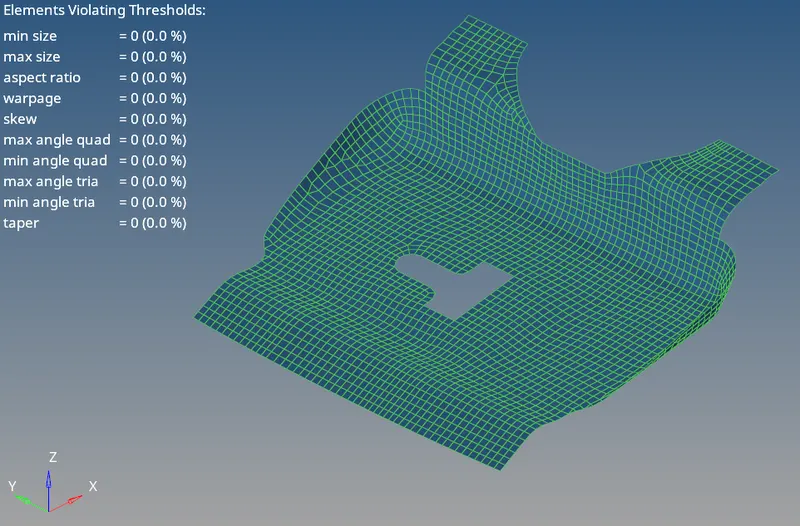
Fig :- 4.2 (Latch Meshing with quality)
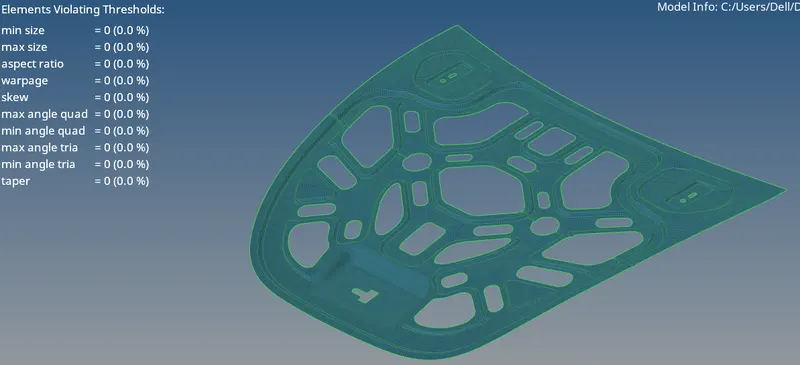
Fig :- 4.3 (Inner Body Meshing with quality)
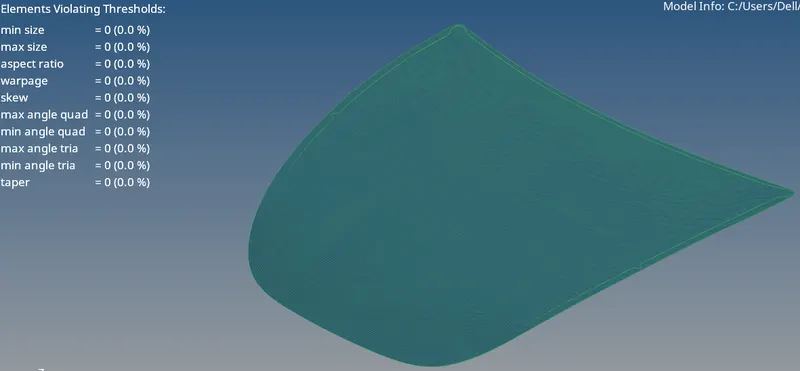
Fig :- 4.4 (Outer Body Meshing with quality)
Learning Outcome :-
- Geometry Cleanup.
- Mid Surface Extraction.
- 2D meshing.
- Clearing Quality.
Result :-
The given geometry is cleaned up, extracted midsurface and meshed successfully with the given quality criteria using Hypermesh.