Week 6-Meshing of Hood Challenge
AIM
Mesh the component with mentioned quality criteria and assign the mentioned thickness
Target Element Length = 5mm
Quality Criteria: Aspect Ration = 5, Skewness = 45, Wraping = 15, Taper = 0.5, Min. Length = 2mm, Max. Length = 8mm, Min angle Quad =45, Max angle Quad = 135, Min angle tria = 20, Max angle tria = 120, Tria % = 10.
OBJECTIVE
To mesh the given component with mentioned quality criteria and also assign the mentioned thickness
PROCEDURE
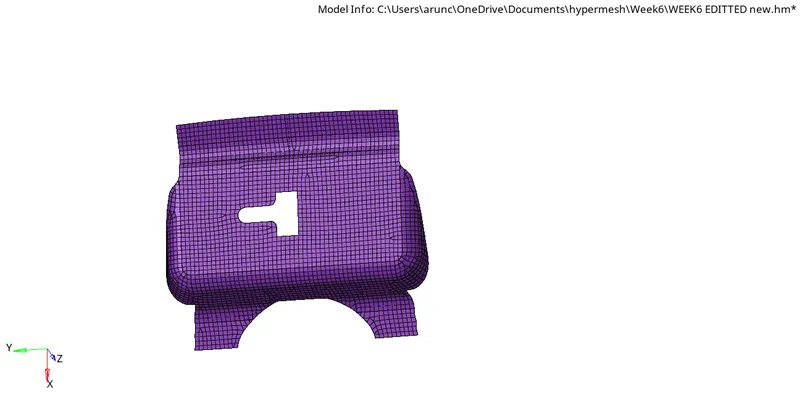
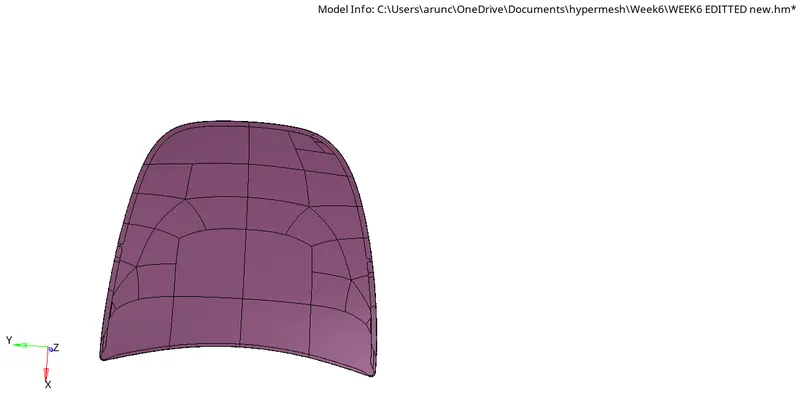
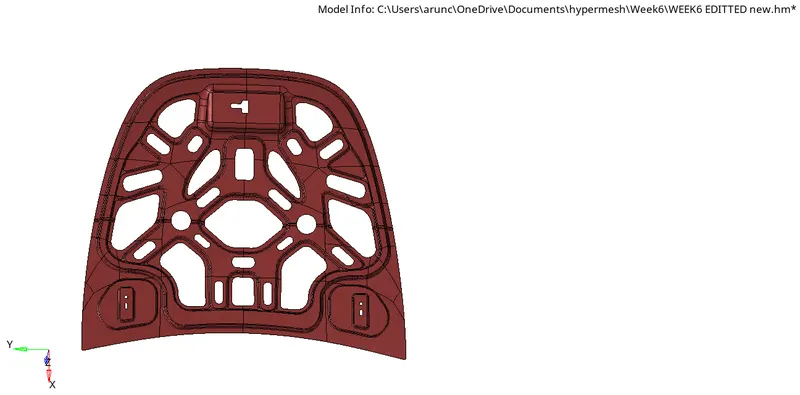
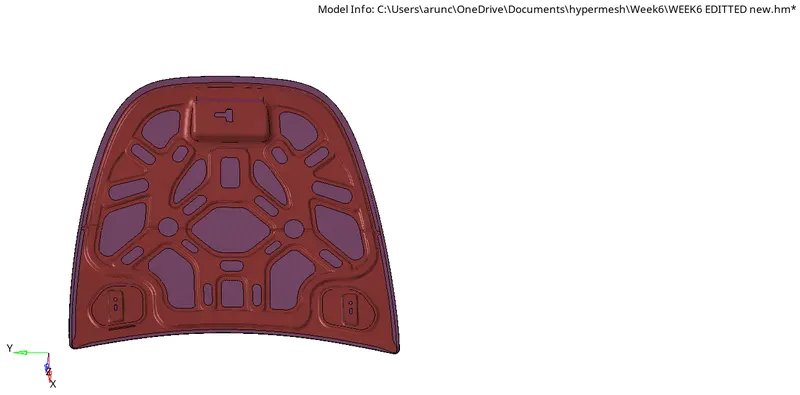
Here the component is given as Hood. It has 5 sub parts, they are: Inner panel, Outer panel, Hinges (2) and Latch.
To proceed,
- Import the IGES file.
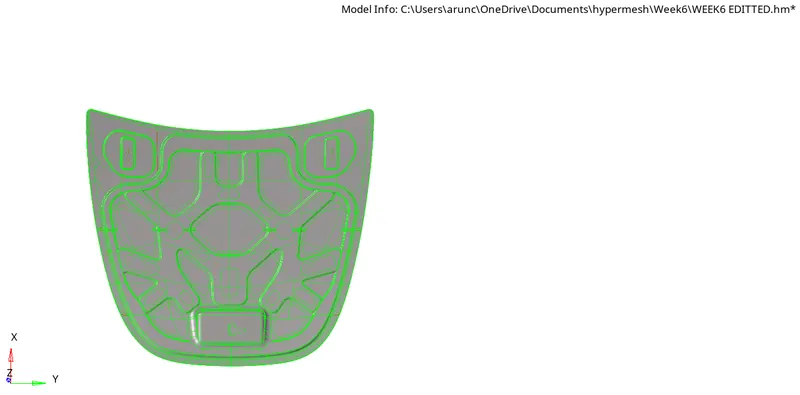
- After importing the file, do the geometry clean up separately.
For doing clean up manually:
- Here from the toolbar change the view option into shaded geometry and recheck the edge boxes.
- From the geometry toolbar click on the quick edit option.
- With the use of toggle, clean up the geometry as required.
- After the Clean- up is done, update the property of the componnet as steel.
To do mid surface:
- Click on mid surface option from toolbar.
- Select skin offset option from the extract option.
- Select the surface of components which needs to be extracted and click on extract option (doing it for all the five sub parts).
- For viewing the mid surface disable the part component.
- Using the quick edit option from toolbar do the geometry clean up separately for all the five sub parts.
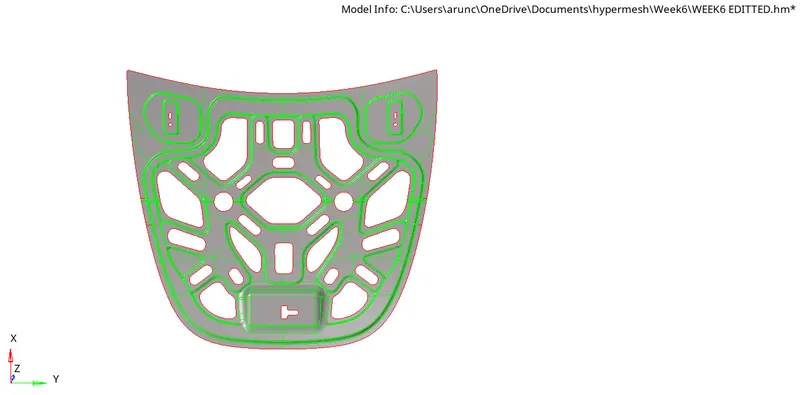
1. Inner mid surface
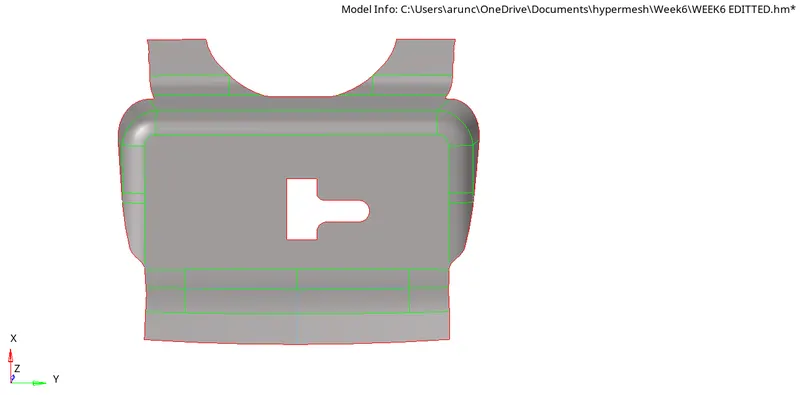
2. Latch mid surface
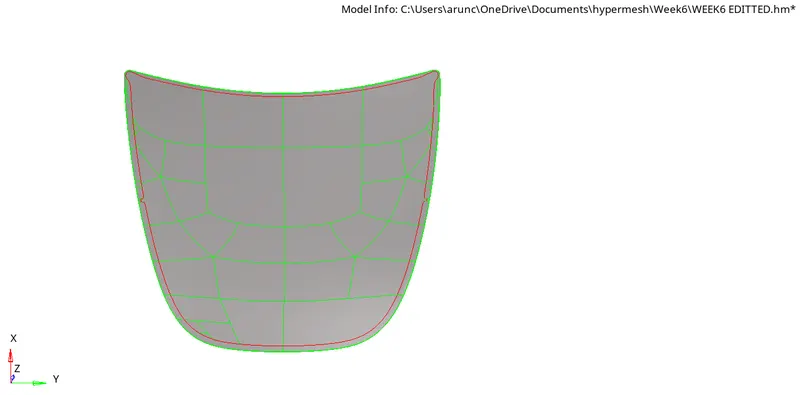
3. Outer mid surface
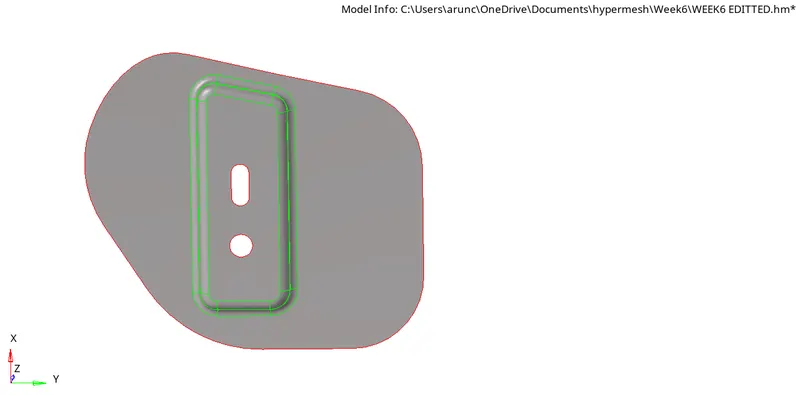
4. Hinge 1 mid surface
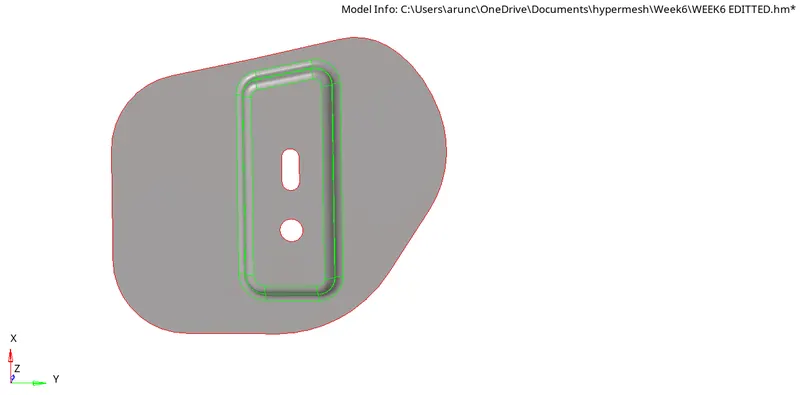
5. Hinge 2 mid surface
Meshing
After the geometry clean-up had been done set the criteria as mentioned in the challenge.
To set the criteria:
- From the Menu bar click on Preferences
- Click on the criteria file setting from the preference options
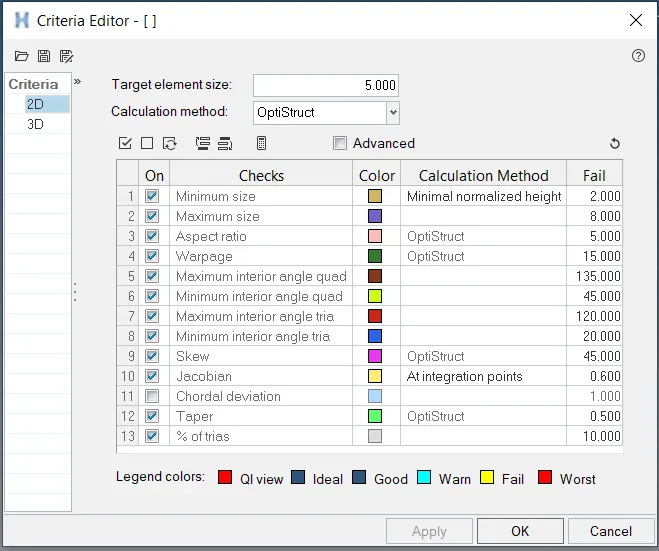
6. Quality criteria
- After setting the mentioned criteria, go to 2D option which is in the tool bar
- Click on the Automesh option from there and set the element size as 5
- Then select the component and click on mesh
- Do the same for all the five sub parts.
To check the mesh Quality Index:
- Click on 2D option from the tool bar.
- From there select the Quality index option.
- Once selected the quality index, we will be able to see any element violating threshold has been occurred or not.
- Resolve the errors using the clean-up option which is in the Quality index.
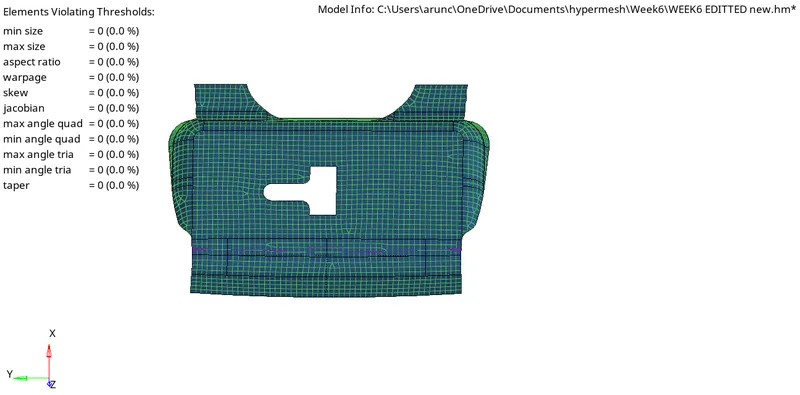
7. Quality index of meshed latch
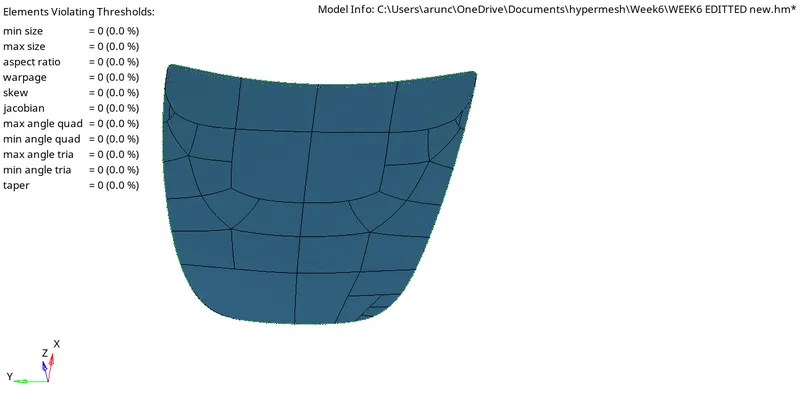
8. Quality index of meshed outer component
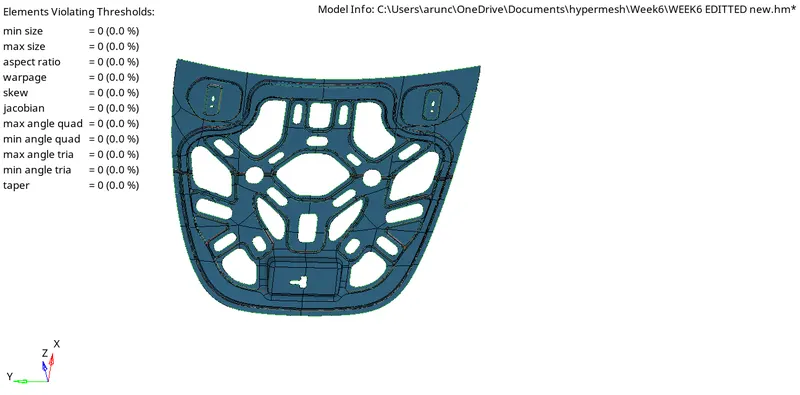
9. Quality index of meshed inner component
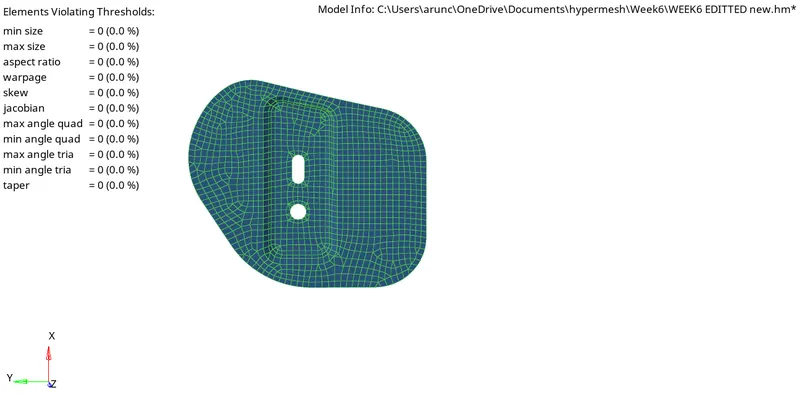
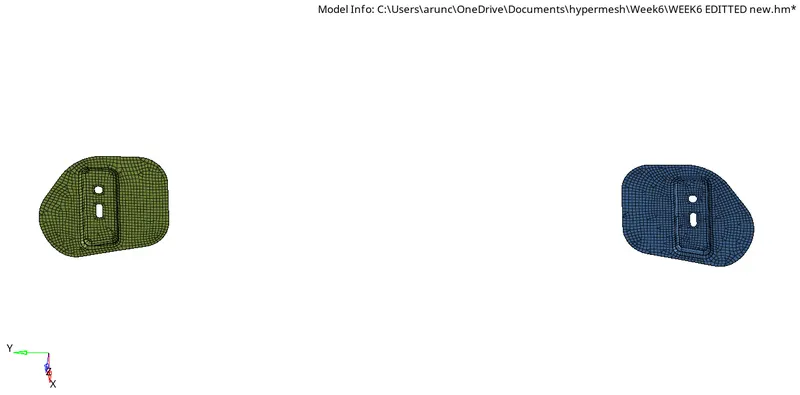
10. Quality index of meshed hinge
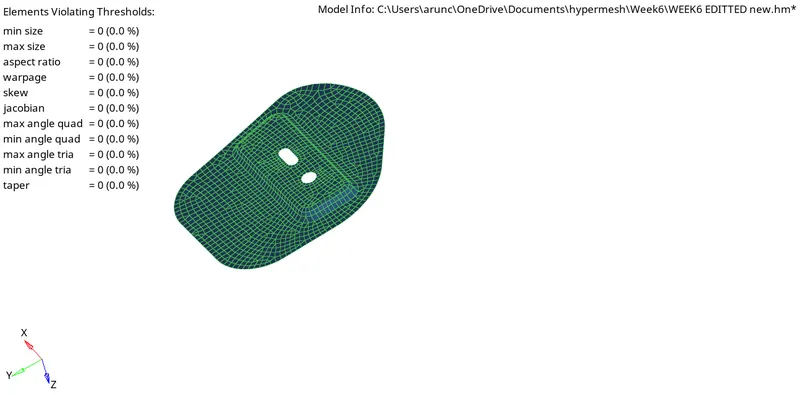
11. Quality index of meshed hinge
CONCLUSION
Completed the project with the specified quality criteria and assigned the thickness.
Through this project I have learned to do meshing and to resolve the errors which occurred during meshing with the help of Quality index and check elems.