Week 6 - Creating connection for Rear door
Aim : for given FE MODEL of car door performed suitable connections
Given data : given data for this challenge is an FE MODEL of an car rear door .
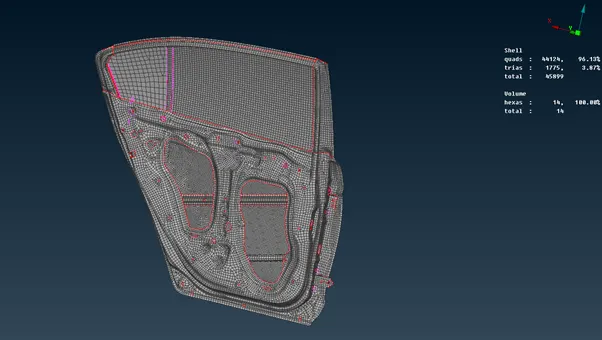
Information : door in the car consist variety of connections from spot weld to weather strips at the edges of glass each connection having some specific characteristic.
In this challenge we are going to do these connections , which will help in understand how to do connections for any FE model
Procedure :
after opening the model in ansa enviroment. The first thing we have to do is setting PIDs for each different components .
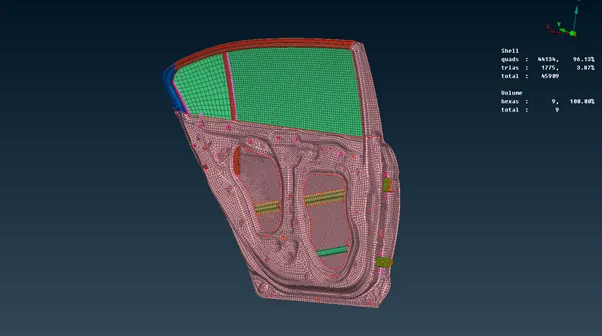
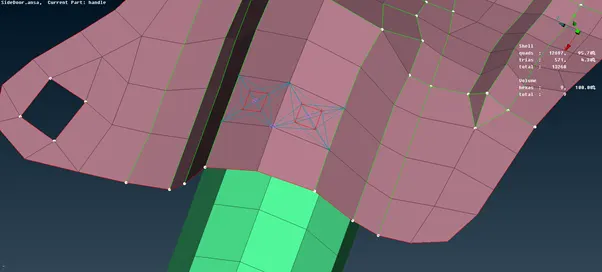
We will start by doing connection of door handle , for this we didn't need any physical handle , we can use RBE2 connection to do this
To do this connection first we go to NASTRAN deck in it ELEMENT>>RBE2>>MANY node . And selected the holes were handle is gonna be connected .there are two holes as we can see after these two connections we will join these two RBE2 by another RBE2 many node connection (cluster connection).
Now we have to assign some mass to this connection so that it can represent this connection as real handle.to do that we will use CONMi from NASTRAN >>ELEMENTS and input value of mass as shown in below .
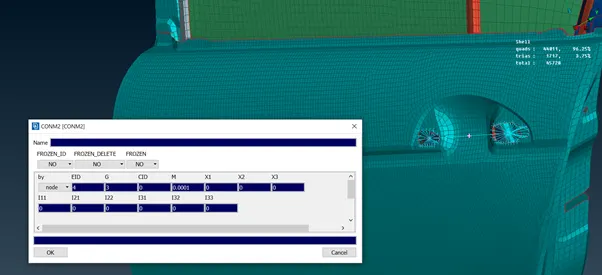
Doing this will realize the handle connection.
Moving to the next connections in which we have to represent the connection of weather strip around glass edges
For representation of weather strip we can use RBE3-CBUSH-RBE3 . To do this we have to we have to isolate glass component.
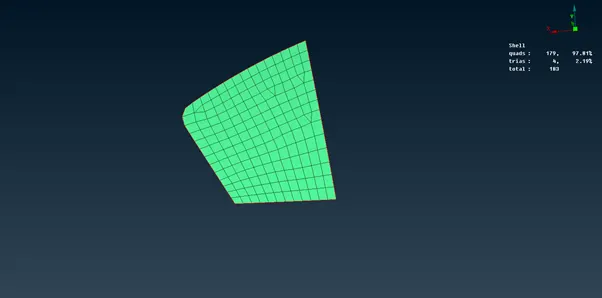
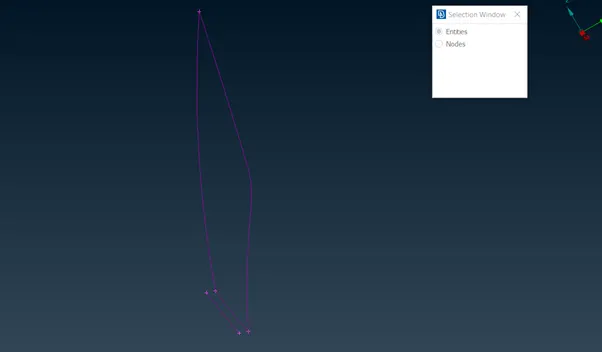
Convert its outer edge into curve from FE by using Feat2Curve from MESS>>PERIMETER as shown in below image . And copy one of its curve at sufficient distance as it is important for the realization of this connection here we copy bottom edge curve at distance of 10 mm
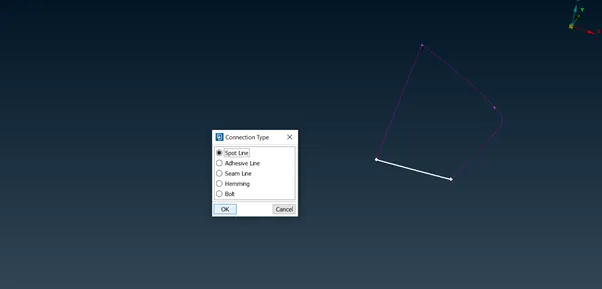
Next is to convert this curve into SPOT LINE with the help of CONVERT>> IN CONNECTION DECK to do this we we have to go CONVERT in connection deck select CURVE opt in it after this click on one of the curve and do middle click to confirm selection there will be one window pop up select spot line in it and do ok.
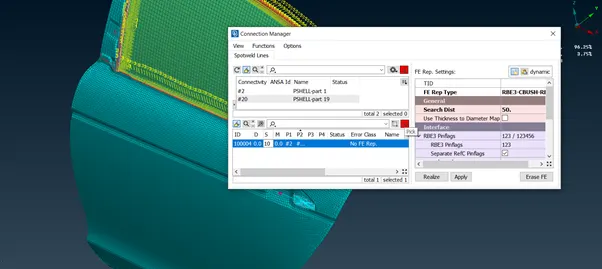
Next we have to select P1 & P2 to do so do R-click on p1 / p2 and click on modify box and press F1 which will allow us to select respective part , enter S = distance of copied curve , chose FE REP TYPE = RBE3-CBUSH-RBE3
Search dist =allowance distance=50 check mark KEEP ALL BRANCHES and select a PBUSH ID and finally do apply and realize it the connection will be realized.
Similarly do this connection to all edge curves that were created
Once CBUSH is created next thing is to correct its orientation and CID . To do so we have to go in database (F12)>>ELEMENT>>CBUSH an list will come we have to select all the cbush element and do R click and select modify opt.
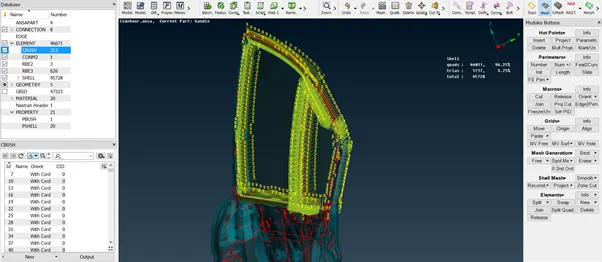
In modify select orient as WITH CORD & CID as 0 . As shown below.
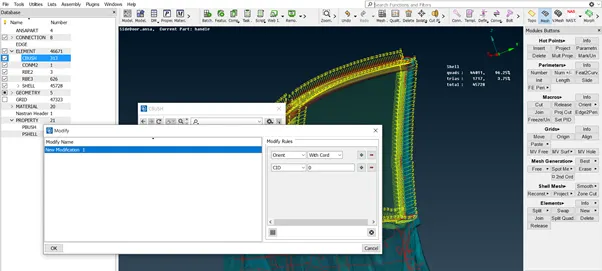
After this click ok it will correct its orientation
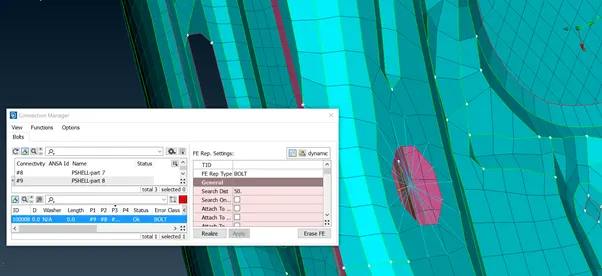
Next we do bolt connections by simply selecting perimeter of the bolt or by converting COG point into bolt and entering bolt dist as 20 fe rep type as BOLT and selecting P1 & P2.
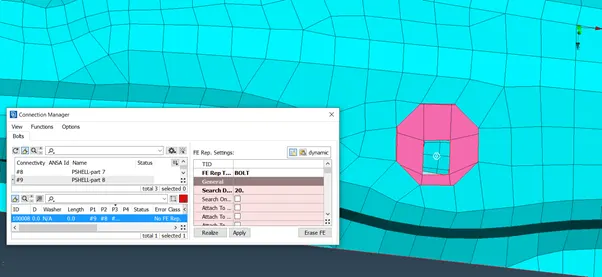
Connections will be look like this.
And for spot weld connection we will follow along below inputs.
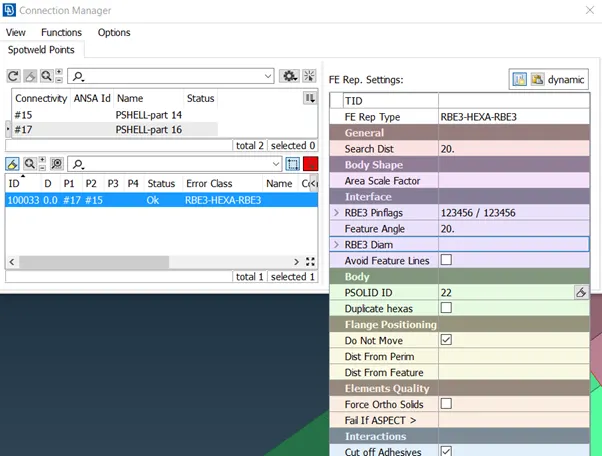
And do apply and realize it it will appear as below
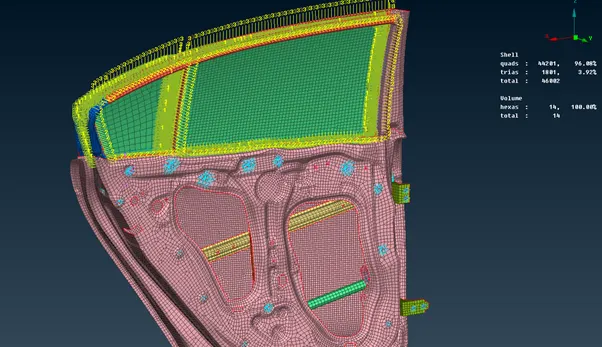
Complete all the necessary connections as shown below.
Learning outcomes:
- At the end of this challenge ,i can able to
- Perform connections from NASTRAN DECK
- Can realize bolt connection by RBE2 and converting point method
- Realize spot connection
- Weather strip connections
- And two node RBE2 connection
Conclusion :
Realization of bolt by using convert opt allows us to easily select in/out connections .instead of selecting elements for RBE2 connections .