Week 6 - Creating connection for Rear door
Aim
To Create a connection on Rear door and apply different PIDs for different components.
Procedure
- Import the model
- In the given model assign PID to the components.
- Bolt Connection is to be established wherever bolts are to be deployed.
- Bolt connection created withMultinode RBE2 elements and joined by Two node RBE2 elements.
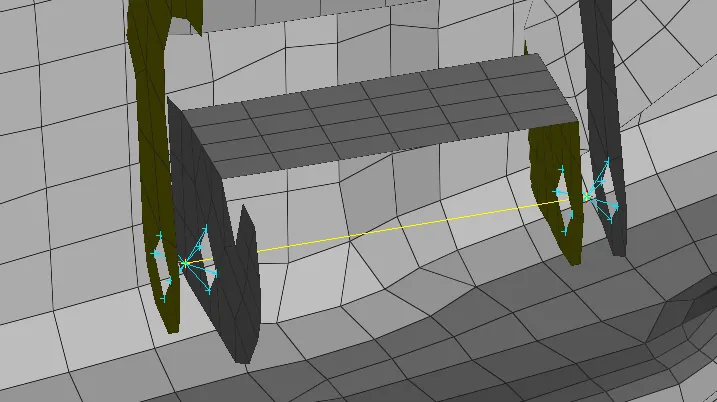
- bolt connection also be created by Creating a 3D point at the Centre and convert it to bolt >> connection manager >> BOLT FE Rep type between the respective PI.
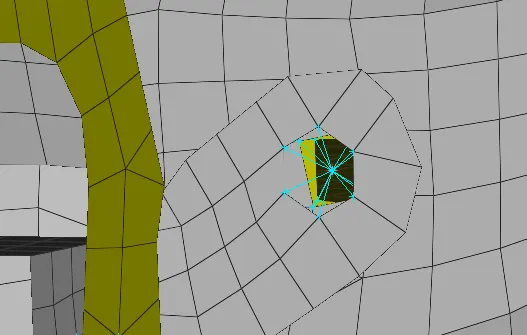
- To Create a curve where seam weld is to be don
- Curve >> Seam curve >> Convert option.
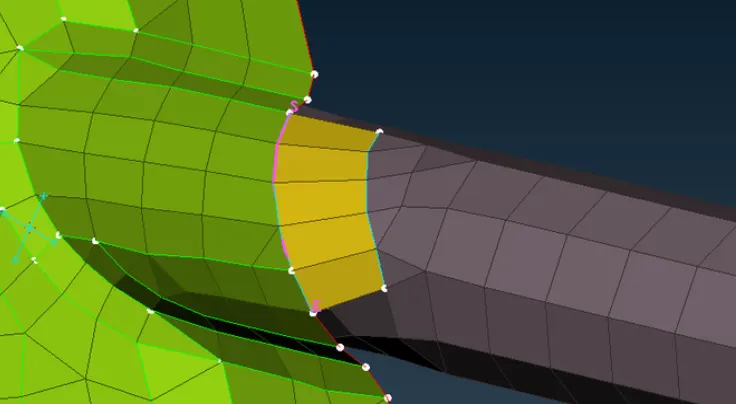
- Connection Manager >> P1 and P2.
- Set FE Rep Type >> OVERLAP-SHELL (for Parallel parts) and Y JOINT SHELL(for perpendicular parts).
- Set appropriate search distance and root shells and realize the connection.
5. Create spot weld
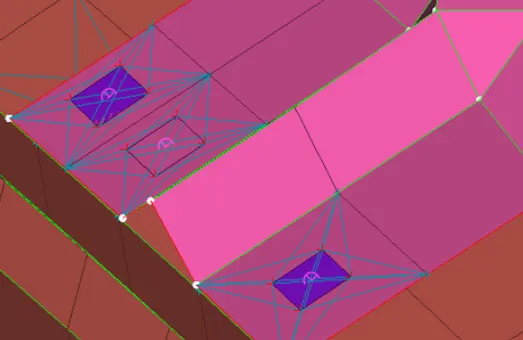
- 3D Point >> Spot Point >> Convert option.
- Open the connection manager >> assign the required P1 and P2.
- FE Rep Type >> RBE-HEXA-RBE3, Enter search distance >> Realize
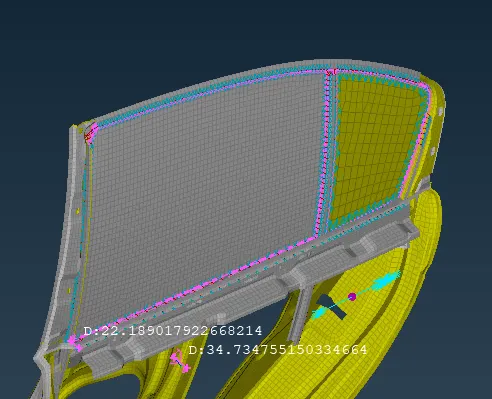
6. Create Cbush Element around the Window Panes.
- Create curves along the window surface
- Curves >> Spot Lines using the convert option.
- Open Connection Manager >> P1 and P2
- Enter space between them.
- Select FE Rep Type >> RBE-CBUSH-RBE3 >> search distance >> PBUSH ID >> realize the connection.
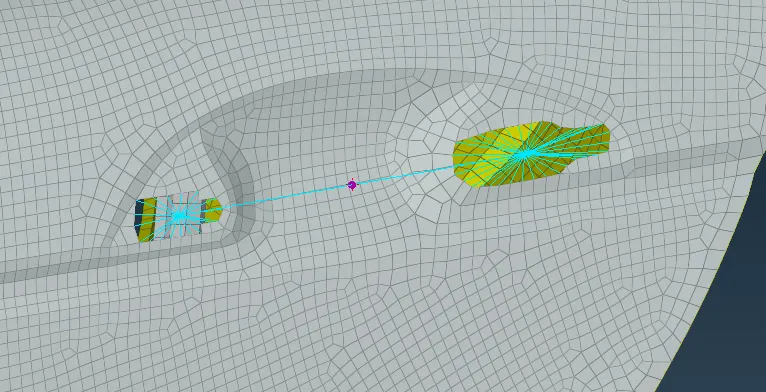
7. Creating door handle connection.
- Multi Node RBE2 is to be created on each door handle hole.
- Select the 2 master nodes >> create a Multi Node RBE3 with master node and the midpoint.
- Assign Mass on master node at the midpoint >> CONM2(CONMi).
CONCLUSION :
The connection such as Bolts, Seam welds, spot welds and Cbush connection are made and successfully realized.