Week 5- Tetra Meshing of Rear View Mirror Using ANSA
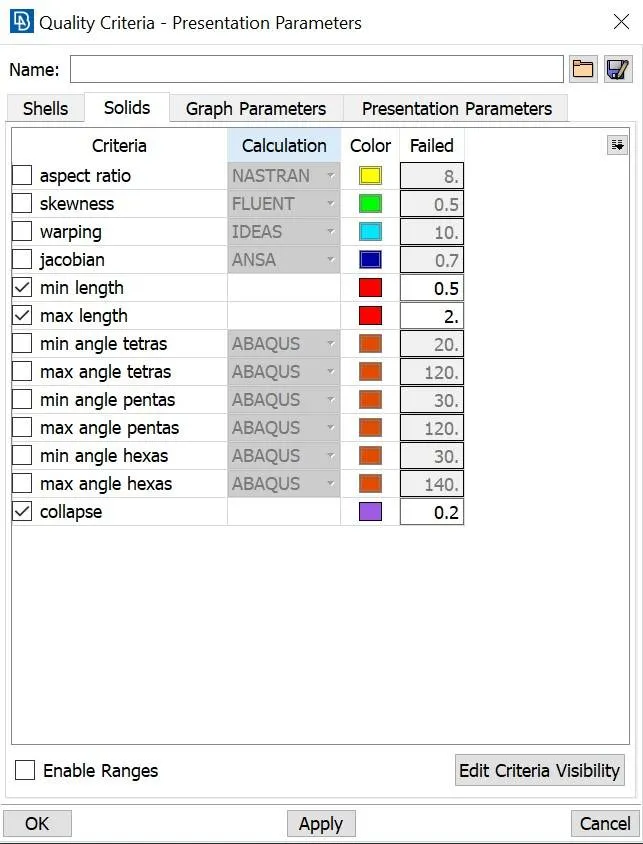
Objective: For the given component, check for the geometrical errors and mesh with the given element Quality criteria. Use tetra elements to model the component and there should not and kinks and dips on the surface of the component.
Write a detailed report on your meshing process.
|
S. No |
Quality Criteria |
Value |
|
1 |
Target/Average length |
1 |
|
2 |
Minimum Length |
0.5 |
|
3 |
Maximum Length |
2 |
|
4 |
Tet-collapse |
0.2 |
Meshing Process:
Importing the model: Firstly, we imported the model from the storage in .IGS format to ANSA software.
Model Setup: We performed ‘TOPO’ for the whole model to connect any unattached surface. The given model has been given with 4 PID for different features.
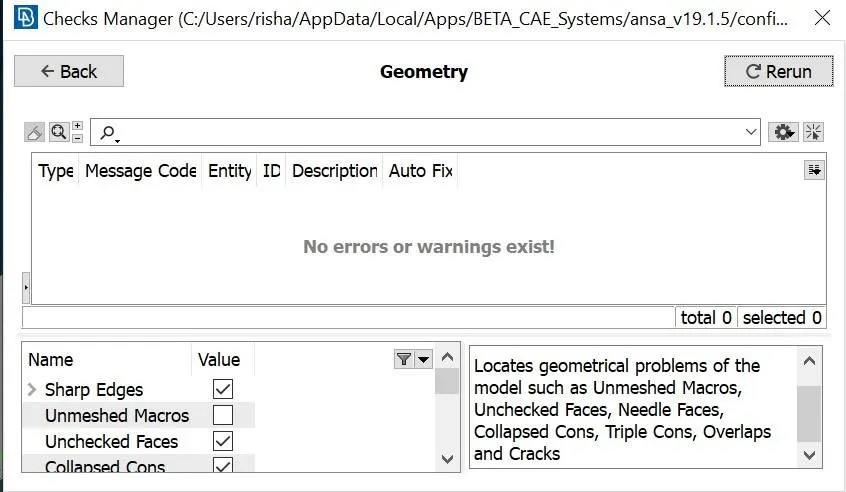
Geometry Check: From ‘Checks Manager’ using ‘Geometry’ we checked for any geometrical errors. And fixed using Auto Fix options. The below image shows the result after removing all errors.
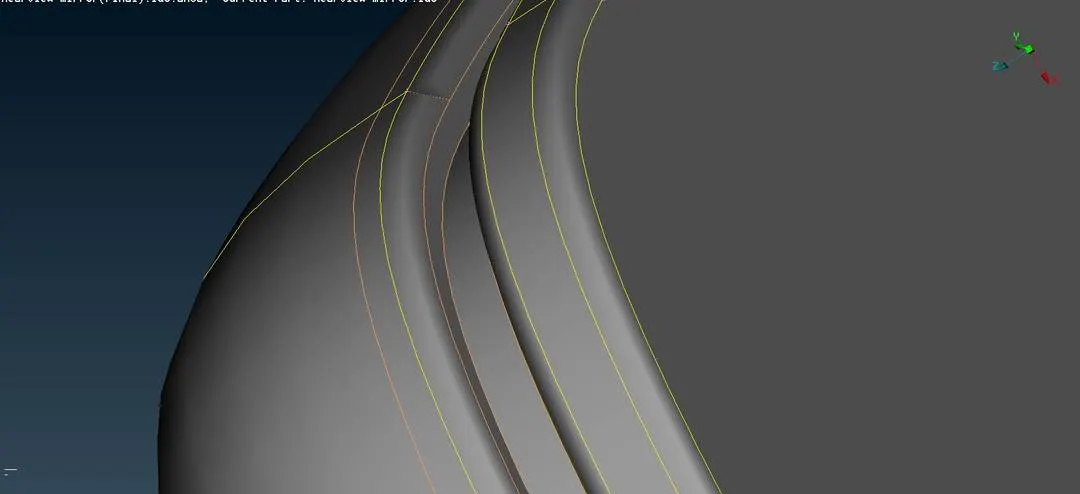
De-Featuring: In order to prepare the model for the meshing we removed unnecessary cuts and hotpoints from the surface. To maintain the minimum length criteria i.e. 0.5 throughout the model we removed some cuts from the model. Below image shows the de-featured element, where the cuts are removed to maintain the minimum length criteria.
Setting-Up Quality Criteria- Now to create mesh within the given Quality Criteria we feed the same to ANSA through Utilities>QUALITY CRITERIA> SHELL and QUALITY CRITERIA>SOLID. And to for parameters UTILITIES>MESH PARAMETERS. For getting Tetra Mesh we selected Element Type as Ortho Tria.
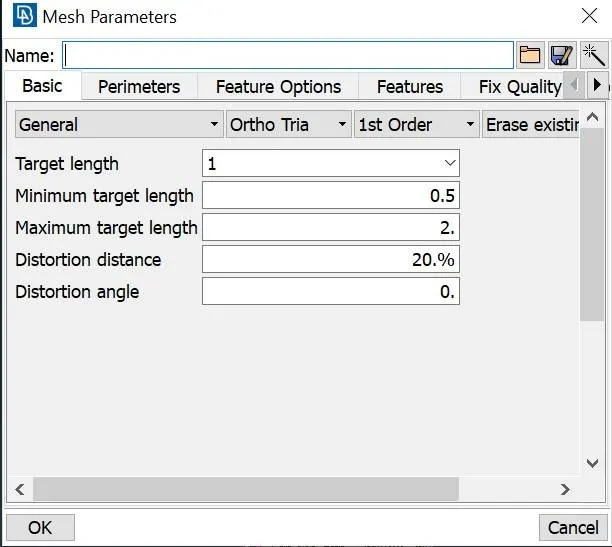
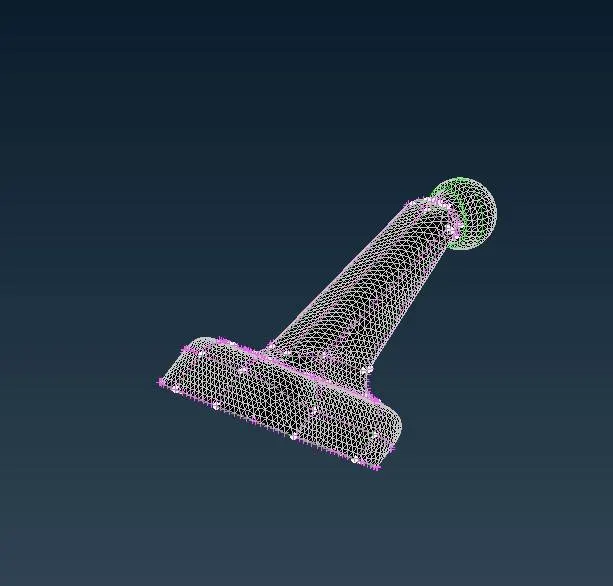
Meshing: In order to create the mesh, we assign mesh to surface by using MESH GENERATION>SPOT. The type of element for the mesh selected was Ortho Tria, which is preferably better for the curved features, however the element type can be changed. In case the result is not proper we can use SHELL MESH> RECONSTRUCTION to get better result. The below images shows the result using the above method.
Once Meshing is completed we checked for any quality failure in the meshed features, in the given model we did not received any off elements, hence we proceeded to next step.
Defining Volume: After completing meshing of all the features we need to define the volume for each feature as ANSA it is required for achieving volumetric mesh. In order to do so we use the tool VOLUME>VOLUME MESH>DEFINE>MANUAL. After volume is defined for each feature we can go to Property to create new PID as Solid. After creating 4 different Solid PIDs we applied it. Below image shows the Solid PIDs and type of elements created.
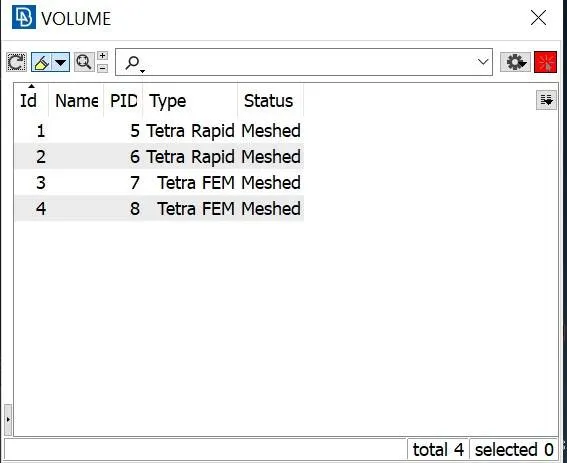
TETRA Meshing: Once the PIDs are created we can go to VOLUME MESH> LIST and check whether the Volumes are meshed or not. For unmeshed volumes, we can either use the Re-mesh the option or we use the tools in VOLUMES>UNSTRUCTURED MESH. We can use between TETRA FEM and TETRA RAPID to create the Volumetric mesh, which are generally used methods. With the given quality criteria we can start meshing.
In the given model we achieved better results with TETRA FEM in two features, however in other two TETRA RAPID gave better results.
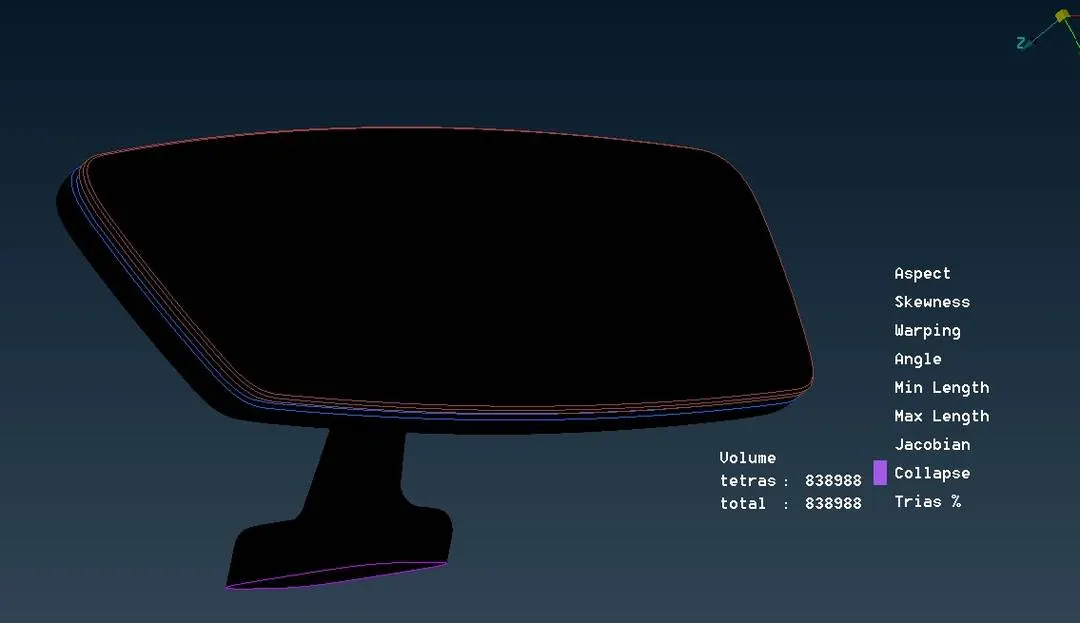
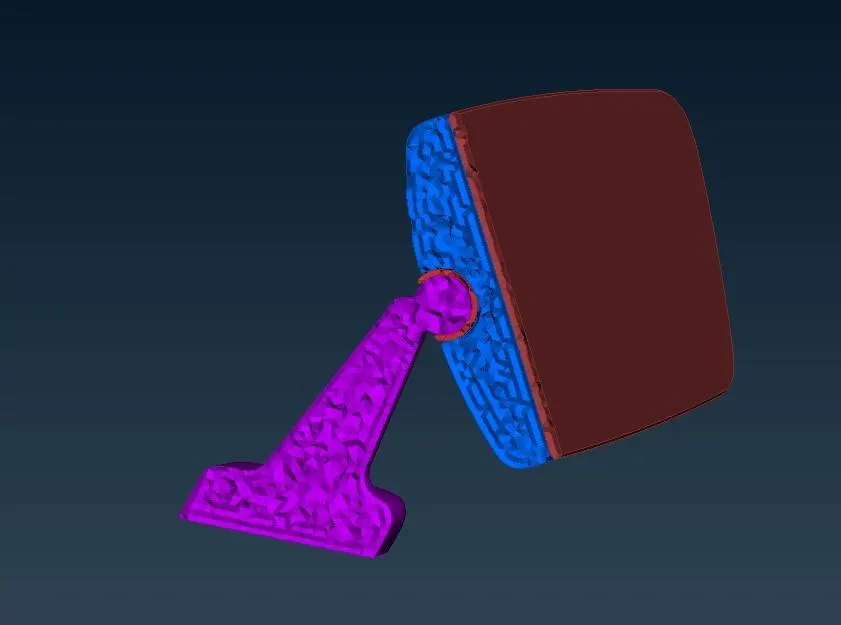
Once the meshing was done we checked for any off elements, in TETRA MESHING TET Collapse is of most importance in this model there was no TET Collapse, the Max. And Min. Length failure were reduced to lowest possible number without creating dents and kinks in the model. The below image shows that no off elements for TET-Collapse are produced in the model.
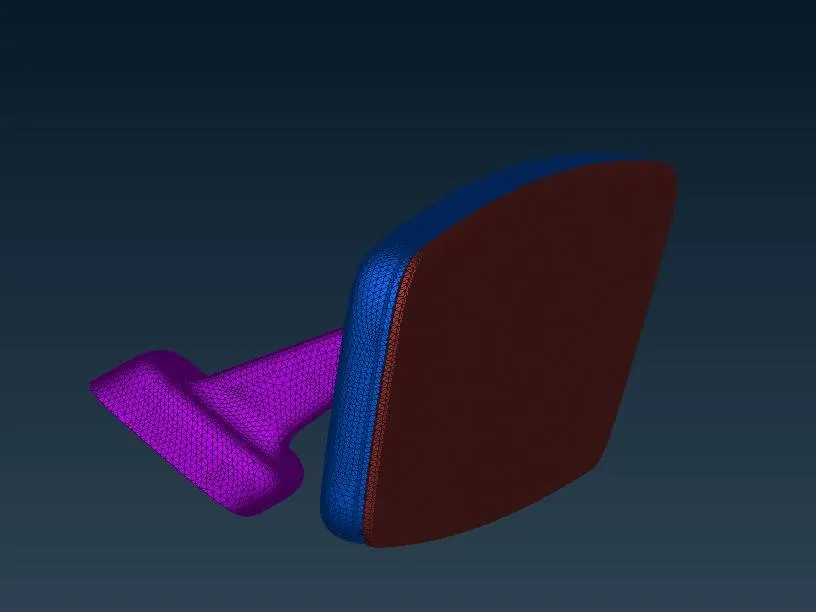
The below image shows the cut-off section of the model with TETRA Mesh.
Learning Outcomes: By completing this challenge we learnt to do the Volumetric Meshing. Leant about different tools which were not used in earlier challenges. Learnt different methods to achieve volume mesh.
Conclusion: Hereby the Volumetric meshing of given model was done successfully, within given quality criteria.