Week - 4 - crash box simulation
Aim- Crash box simulation using Ls-Dyna.
Objective-
A- To perform a simulation with 1.2mm box thickness.
B- To perform a simulation with 1.5mm box thickness.
Methodology-
1- Import the model.
2- Delete the unusable parts.
3- Give input data, i.e- Boundary, Material, Section.
4- Creat output file, i.e- Termination, Database- D3plot.
5- Run the simulation in Ls-Run and plot the results.
Note-
1-Gap between the box and the rigid wall will be assumed.
2- The unit system used kg, mm, ms.
Keyword Used-
1- MAT- (MAT-24, linear plastic)- To assign the material to the components with steel property in an appropriate unit.
2- Section- (Solid/Shell)- To assign thickness and type of parts shell or solid.
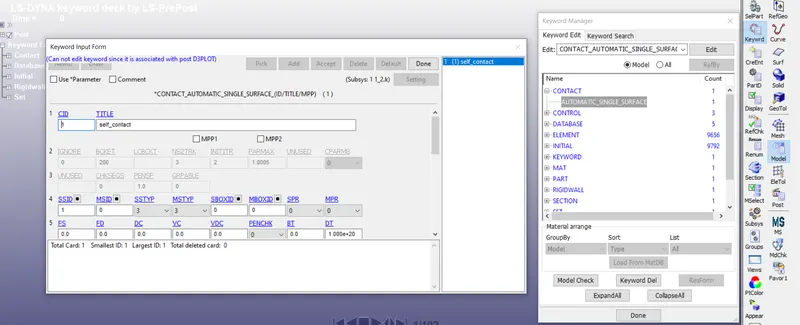
3- CONTACT- (SINGLE_SURFACE)- For self contact, so that element of the box will not intersect or collapse during the crash.
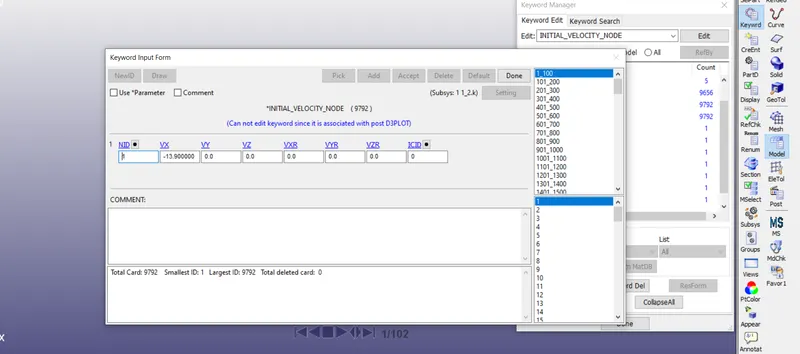
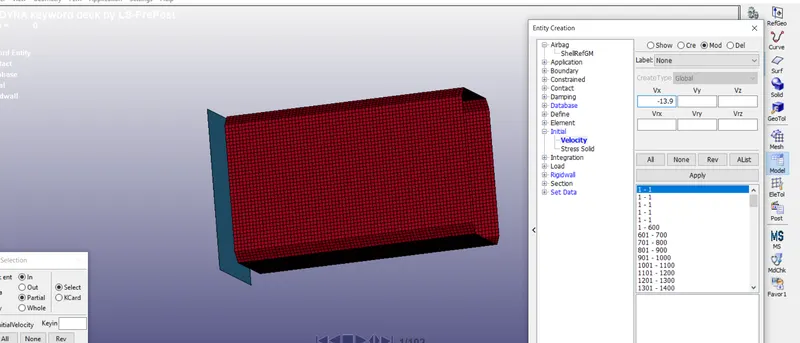
4- Initial Velocity- To give the velocity to the part.
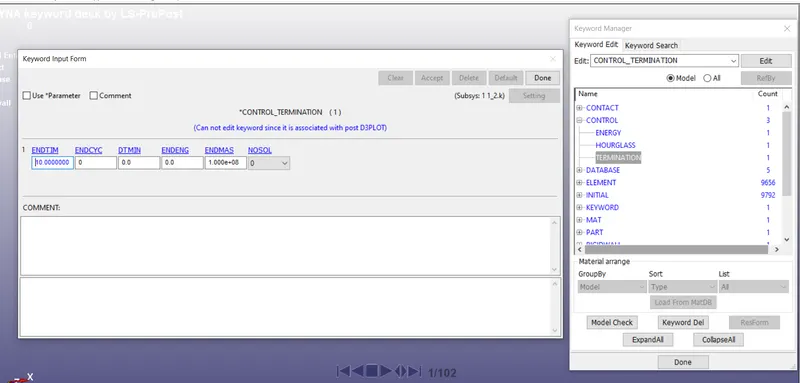
5- Control- Termination- To give termination time to the simulation.
6- Database- Binary_D3PLOT- To take animation plot from the simulation.
Procedure- Simulation with 1.2mm box thickness.
A- Material Assigning-
Here we used steel as material and its property for the simulation with a given unit system with linear plastic material card.
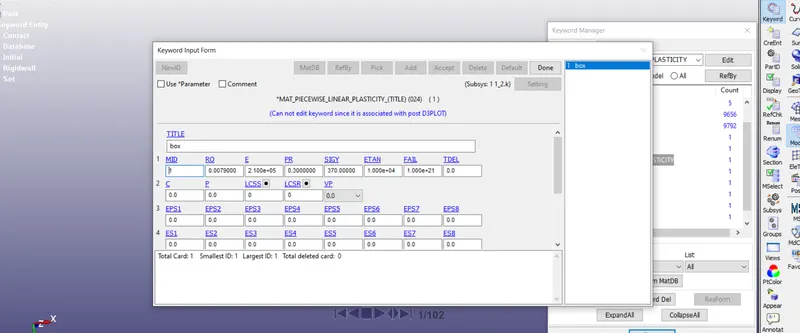
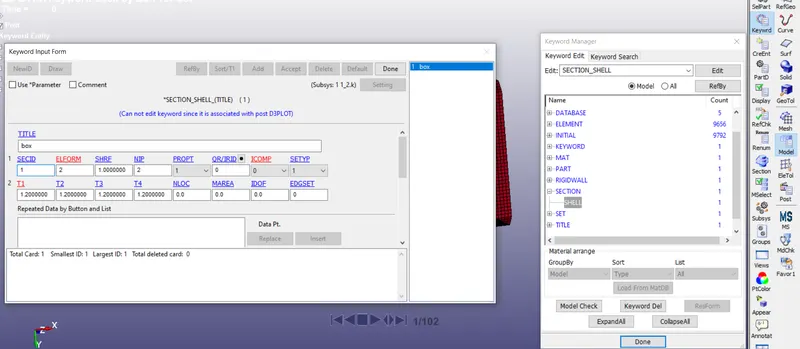
B- Section Assigning-
In this card, we assigned box thickness for the first simulation with 1.2mm thickness of the shell.
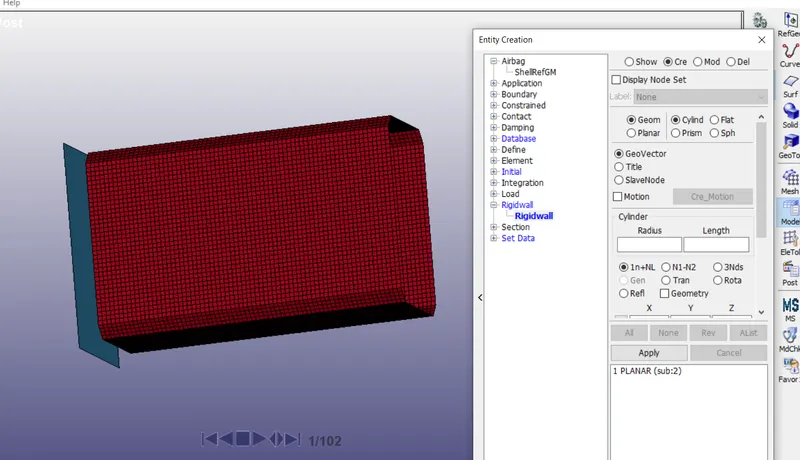
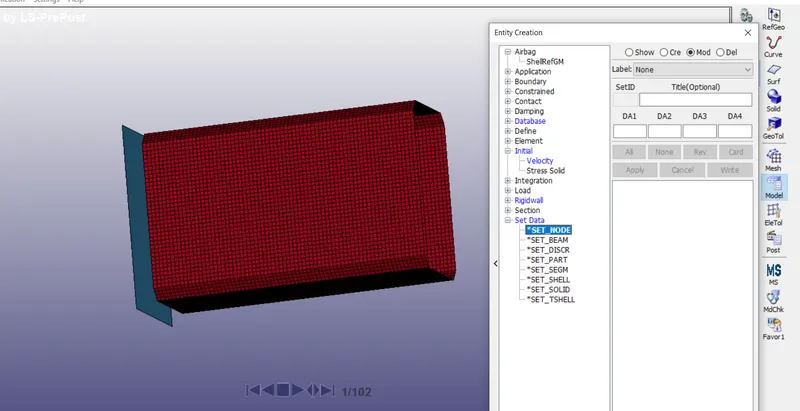
C- Rigid Wall Creation.
As per the given question, we need to assign a rigid wall for the box to crash, so we created a rigid wall with proper distance.
Create entity----rigid wall----cre----planar----with distance.
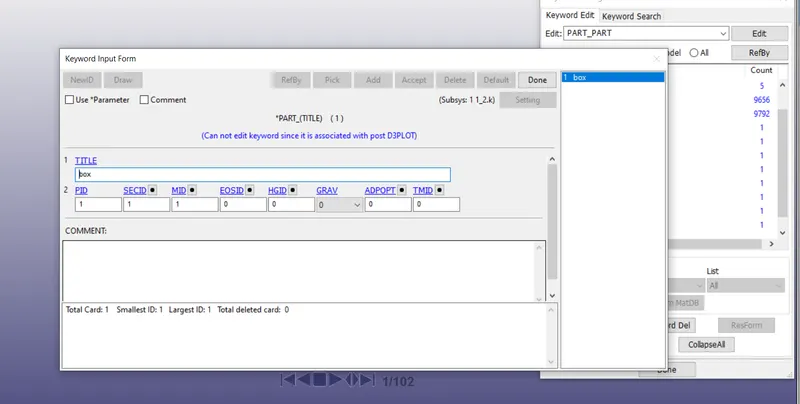
D- Part Assigning-
After assigning the material and section we need to assign it to the part.
E- Initial Velocity Assigning-
In order to move the box to crash on the rigid wall, we need to give an initial velocity, here we changed the unit of the velocity to match with the unit system and assigned it to the velocity card. v= 13.90 mm/ms (50kmph)
F- Contact Interface Assigning-
Contact interface needs to assign so that the element and node of the box will not interact with each other during the collision.
G- Control Card Assigning-
Control card assign in order to complete the simulation with proper termination time and take out the results from the simulation, here we used end time for simulation as 10ms.
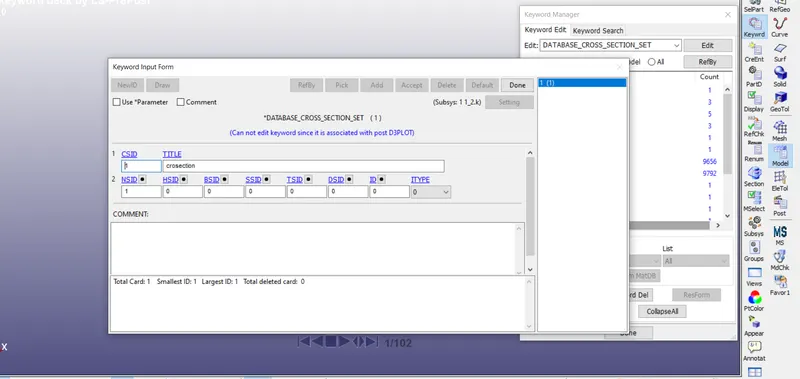
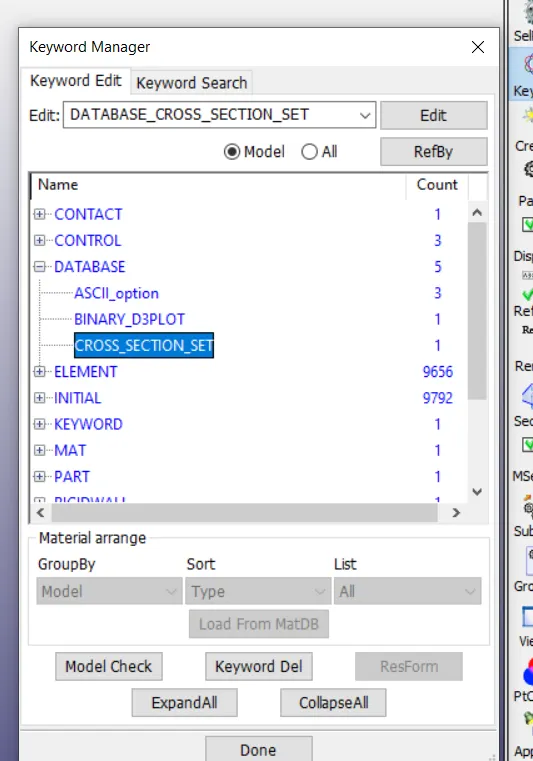
H- Database Card Assigning-
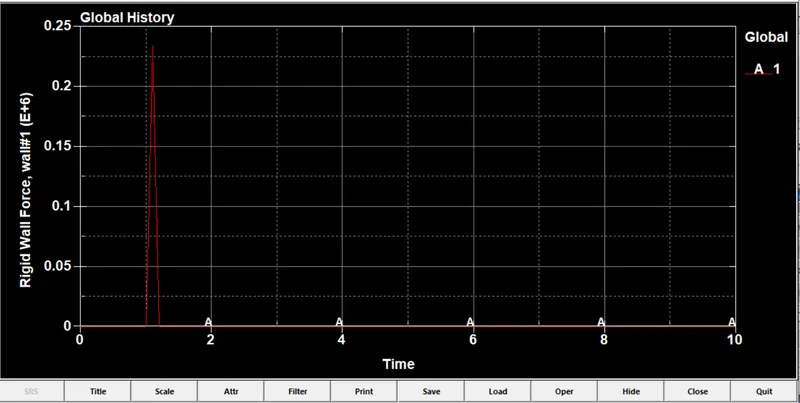
Database card used for output requests like, force, animation graph, acceleration and all the output that we want from the simulation will have to assign in the database card.
I- Results With Contour Plot and Graphs-
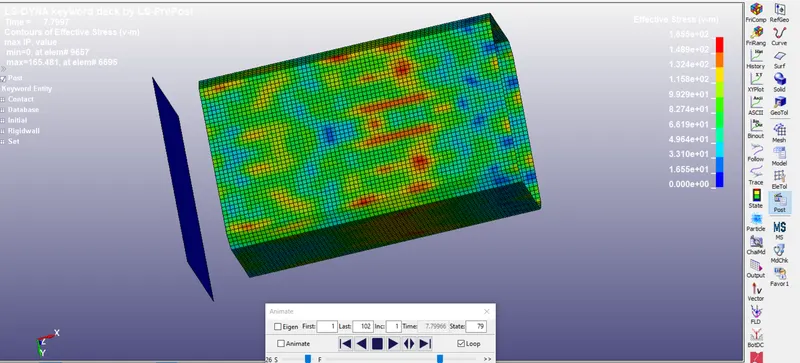
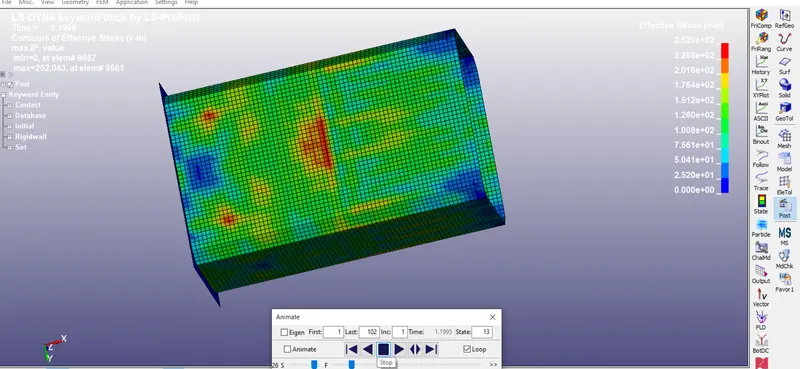
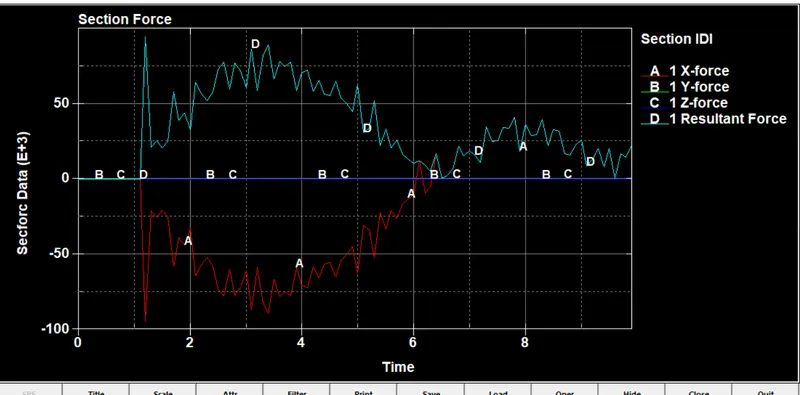
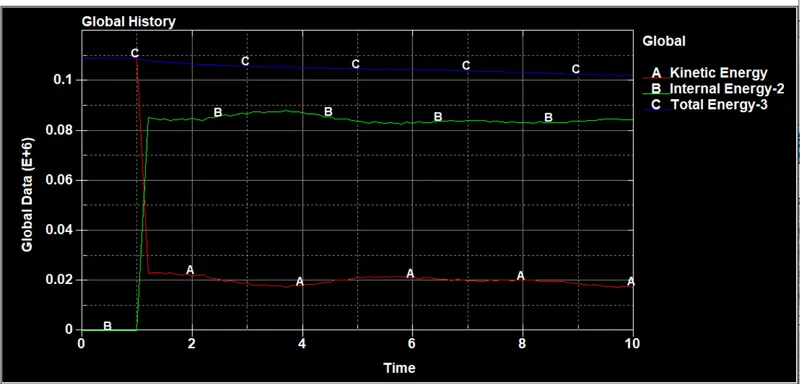
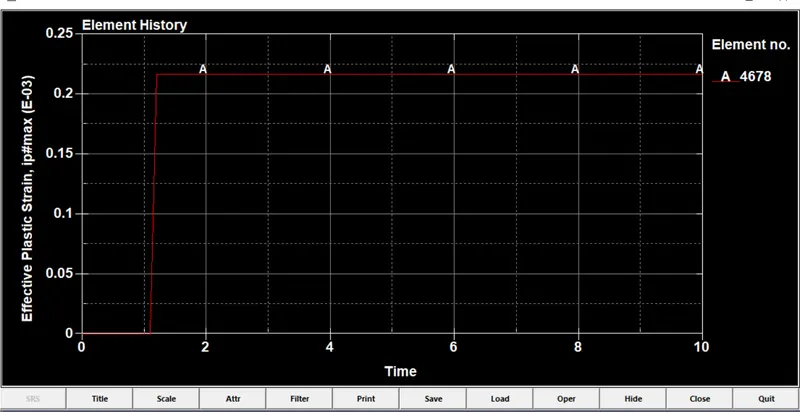
Here we got the results from the simulation fro LS-RUN
The animation shows Von-Misses's's Stress after the crash, Stress increasing as the box comes into the contact with the rigid wall.
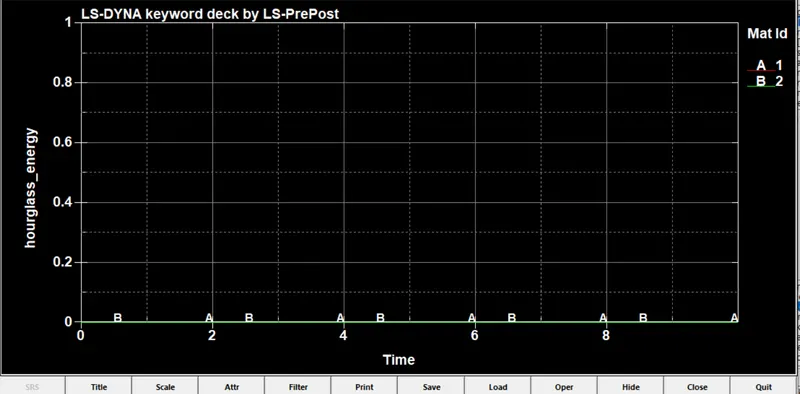
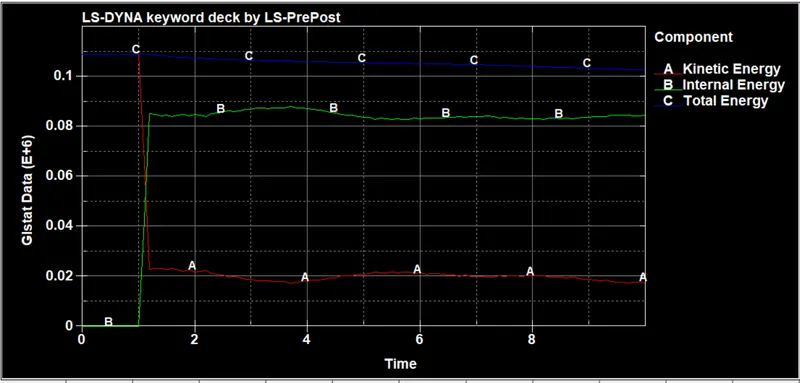
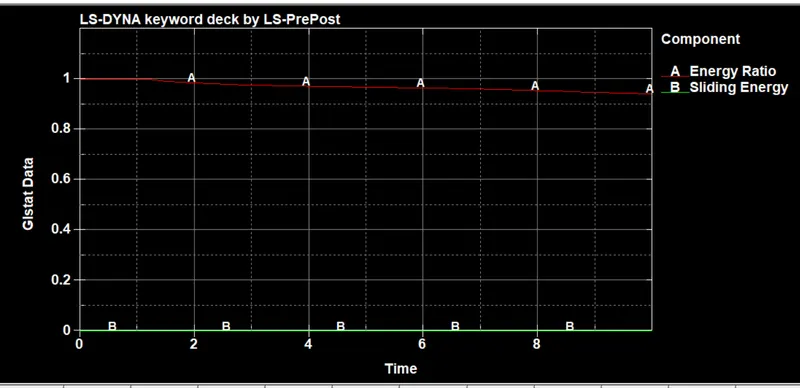
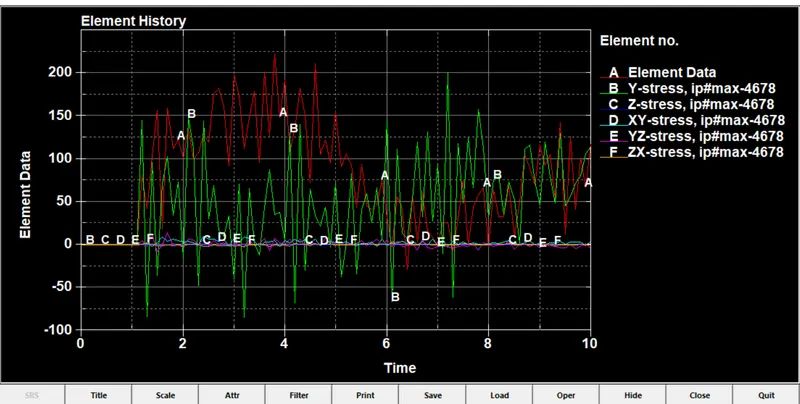
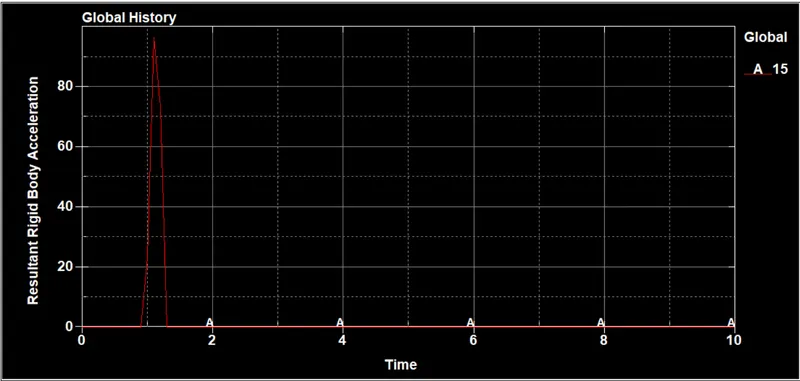
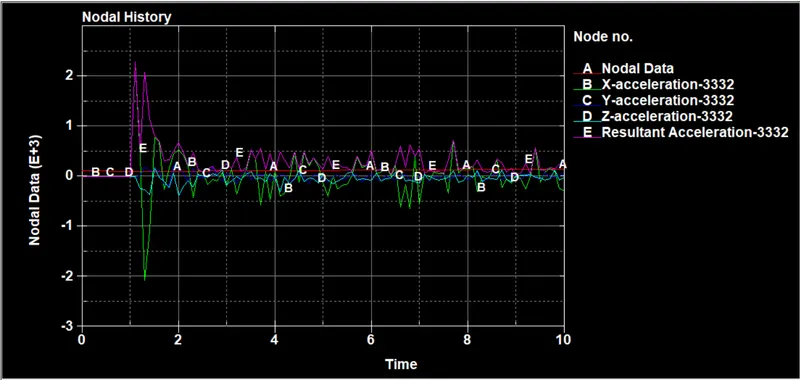
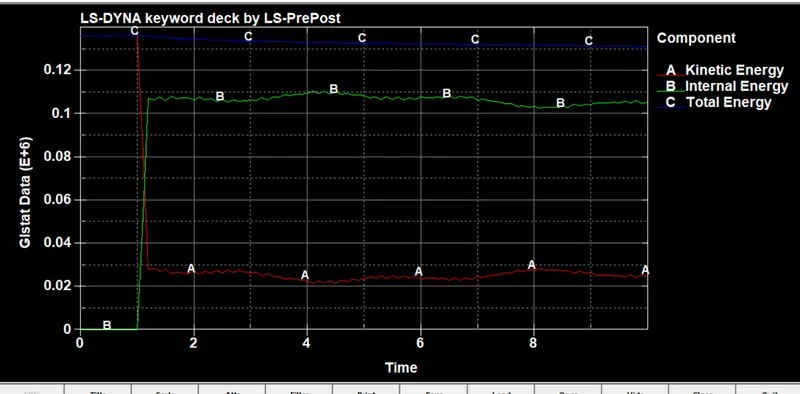
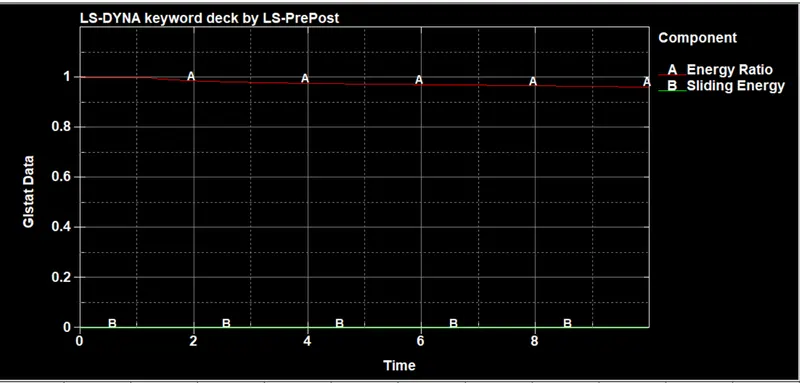
Energy, Force, Acceleration, and other graphs have been plotted.
2- Simulation with 1.5mm box thickness.
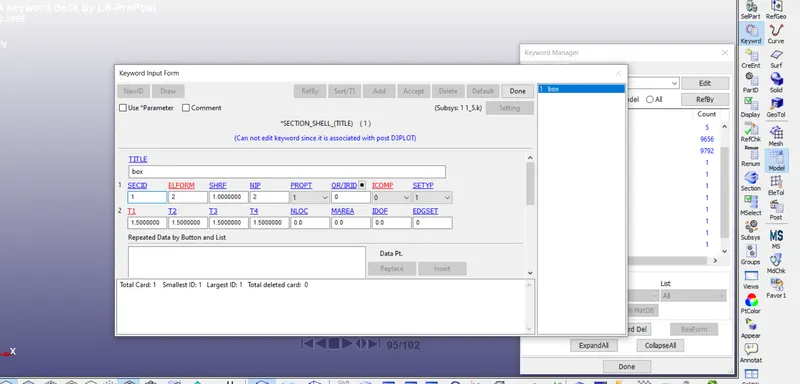
A- Thickness Assigning-
For the second simulation, we have changed thickness to 1.5mm.
Results With Contour Plot and Graphs-
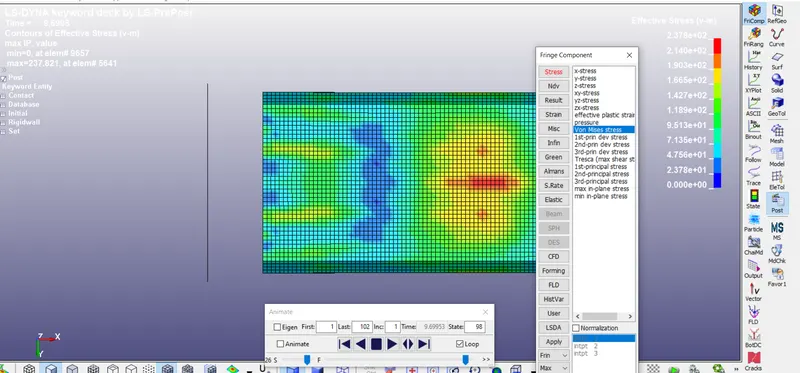
Here we got the results from the simulation fro LS-RUN
The animation shows Von-Misses's's Stress after the crash, Stress increasing as the box comes into the contact with the rigid wall.
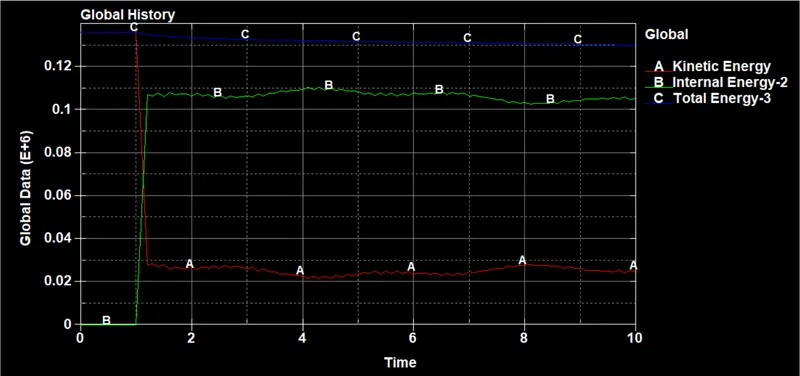
Energy, Force, Acceleration, and other graphs have been plotted.
Conclusion-
1-Successfully assigned input and output cards.
2-Simulation terminated with no error.
3- Both 1.2mm and 1.5mm thickness assigned to the box and simulated individually.
4- Von-misses stress has been plotted for both cases.
5- All the graphs have been plotted.
6- We can see von-misses stress is more in case of 1.5mm thickness of the box.