Week 4 Challenge : CFD Meshing for BMW car
Aim:To perform Meshing For the given BMW Car Model.
Logic:
Six volumes are to be created
Volume inside the car, 4 Volumes at the tyres, Volume between the car and the wind tunnel.
And then we will delete all the five volumes and keep only one volume ie. volume between car and the wind tunnel.
Geometry clean up:
Given Geometry Model
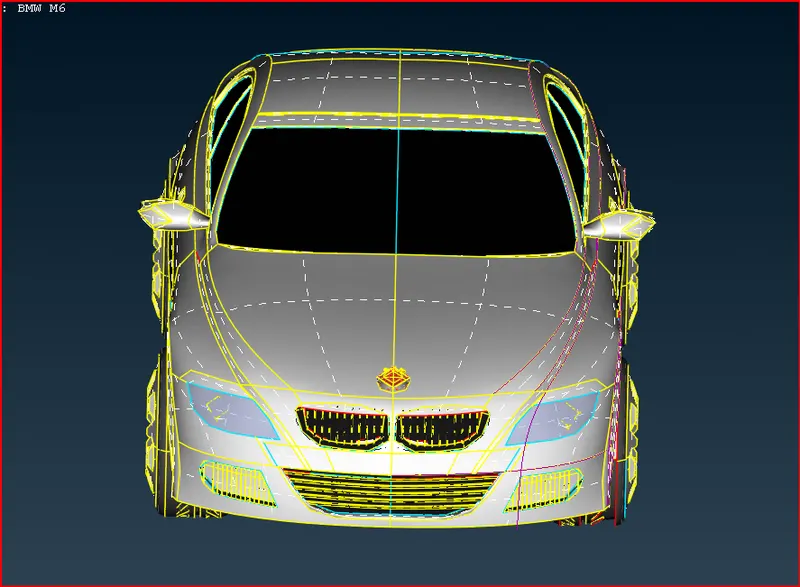
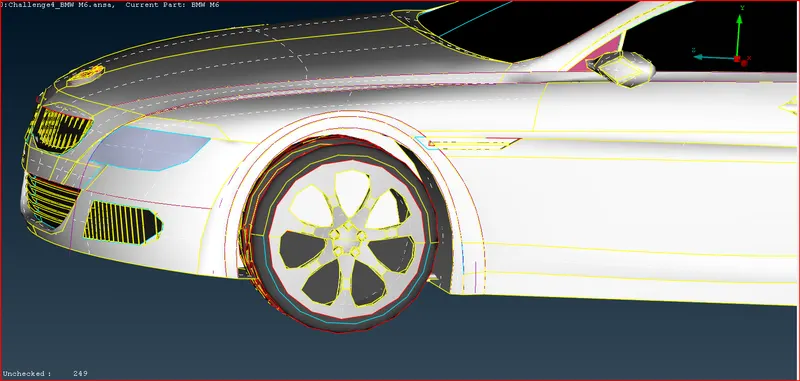
Click on fine and click on the edges repeatedly to make the edges appear smooth.
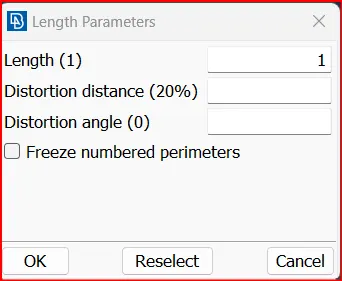
Instead Go to mesh> length> perimeter 1, macros select the entire geometry and enter 1 the geometry appears smooth.
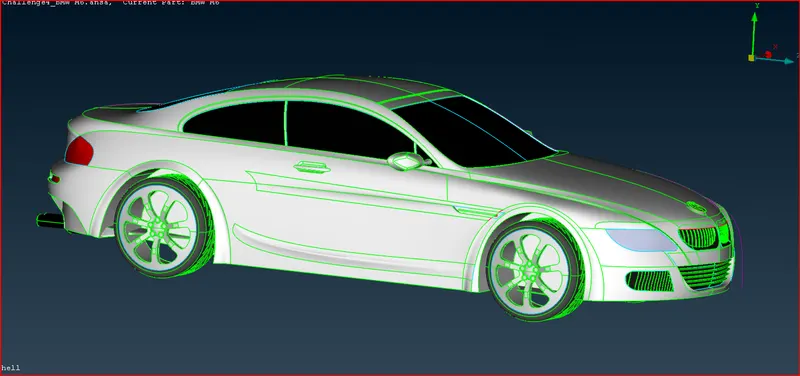
Deleting the model by half
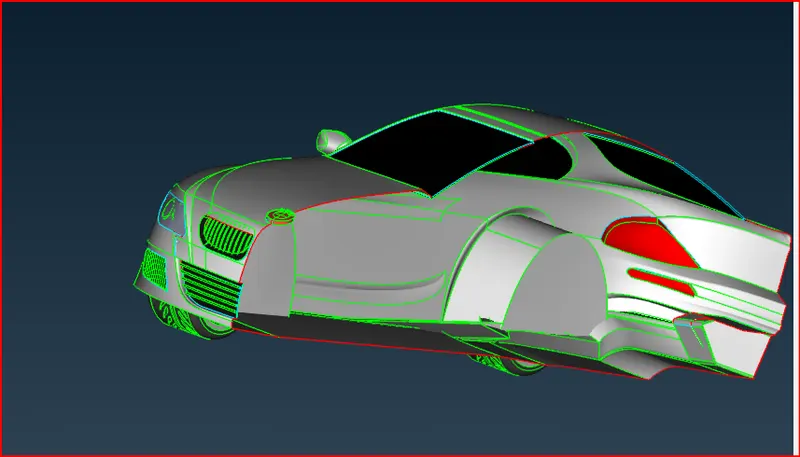
Deleting the unwanted edges.
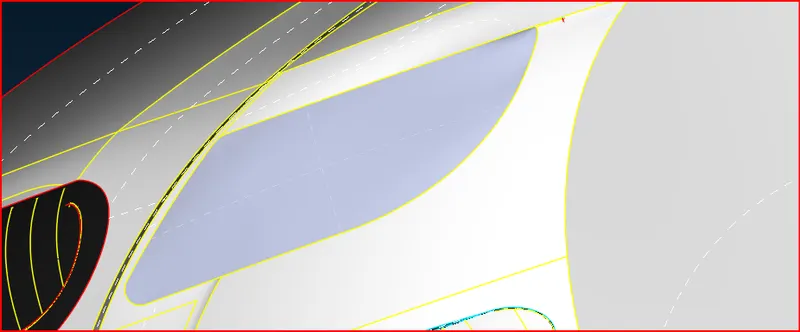
Face overlap
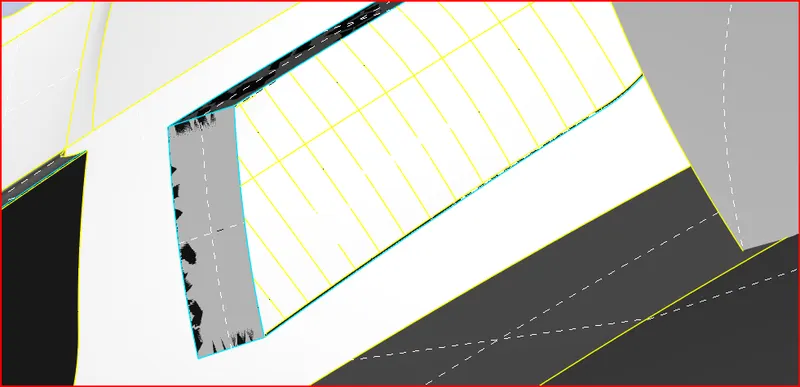
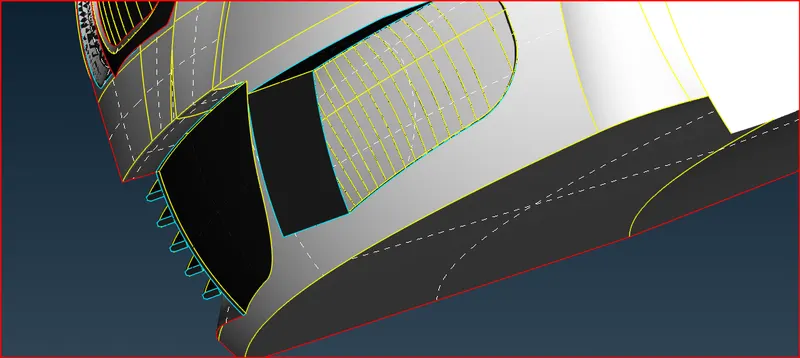
Grill Part After Geometry cleanup
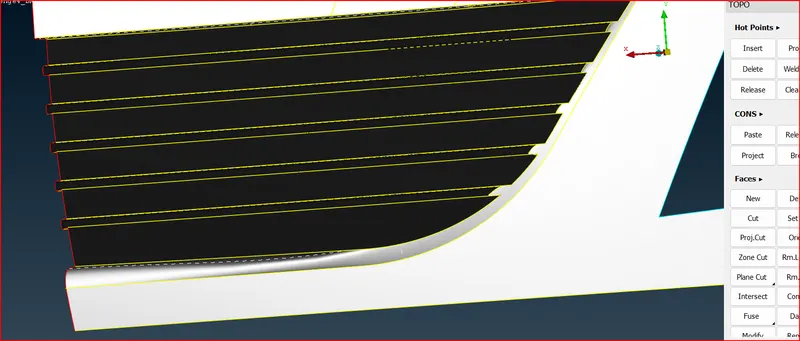
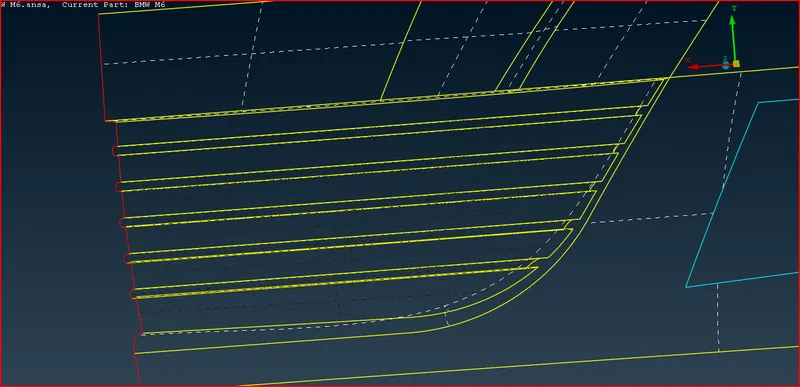
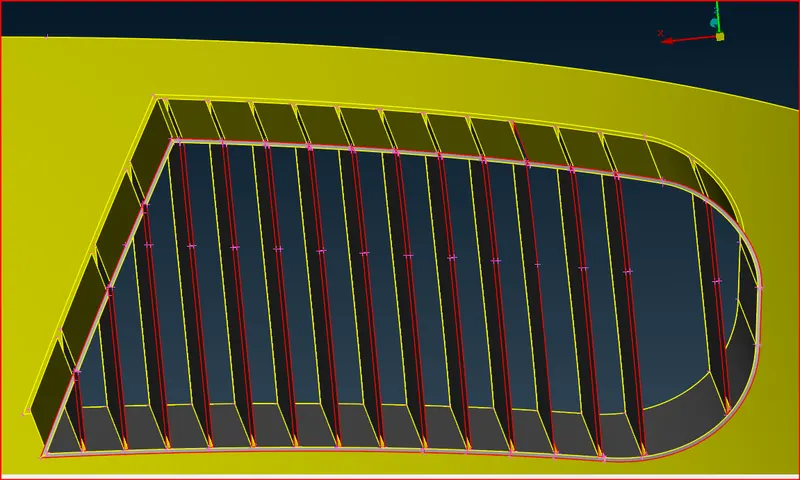
Multiple cuts
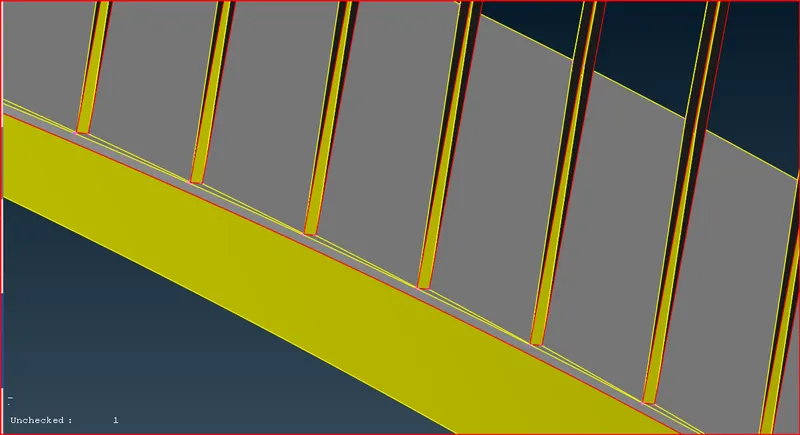
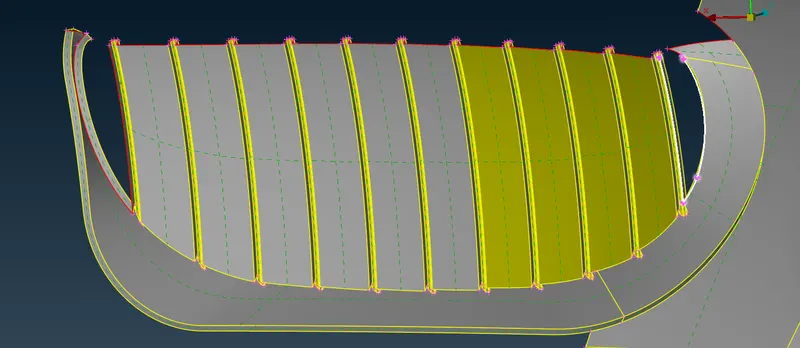
Radiator Grill
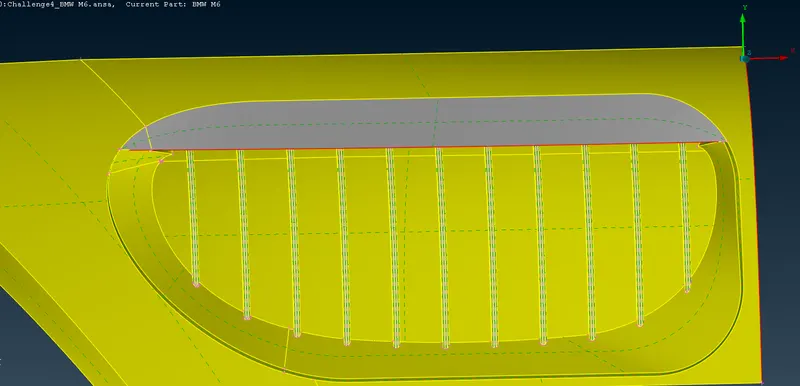
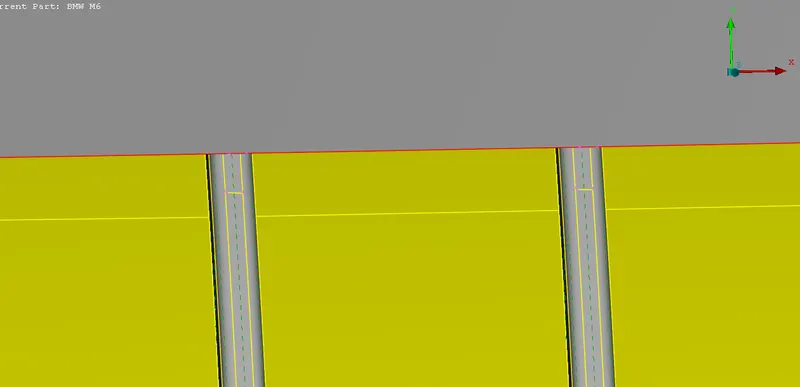
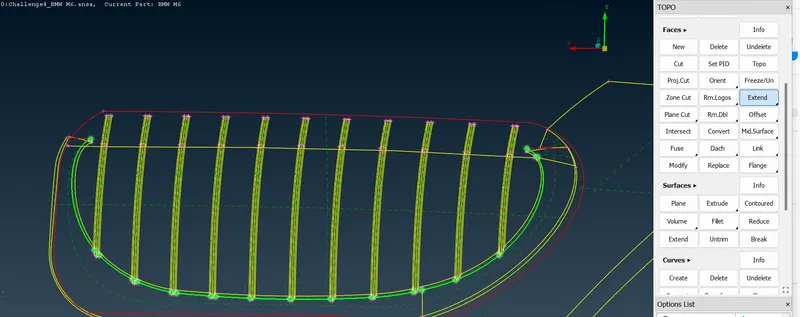
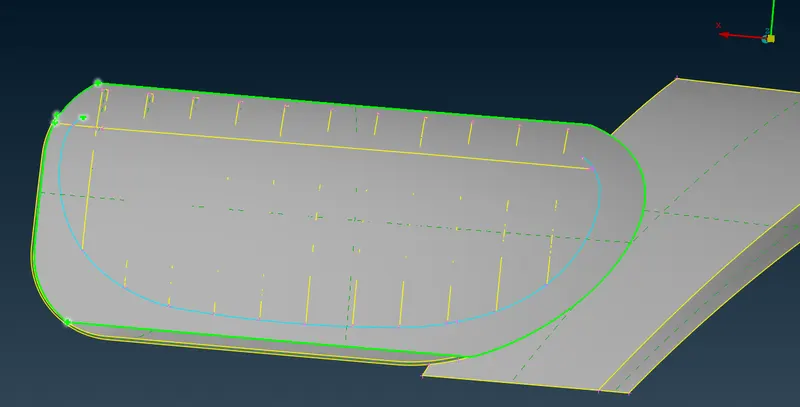
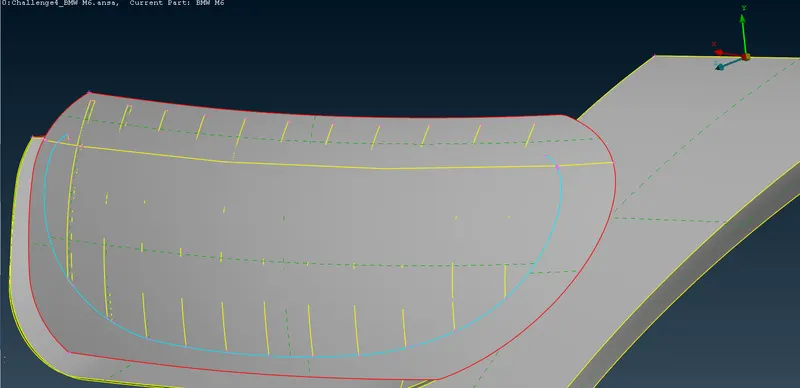
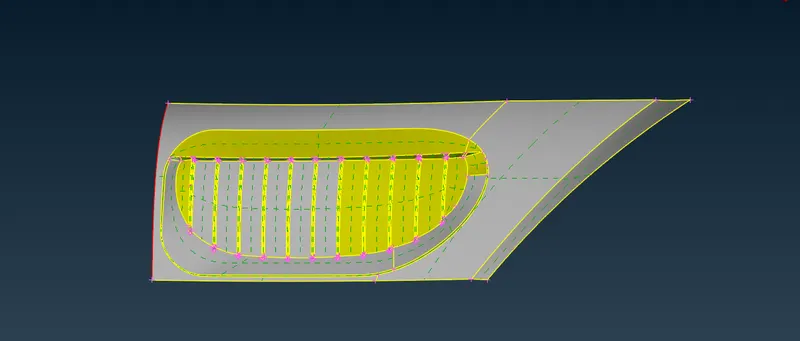
Side body Panel
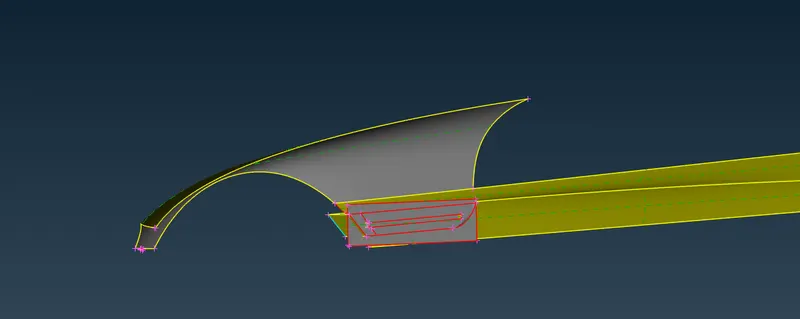
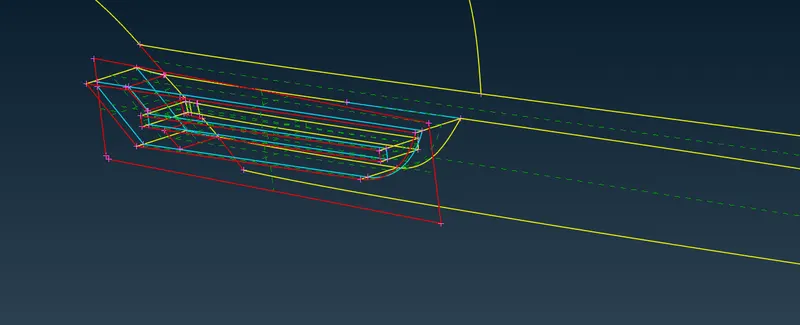
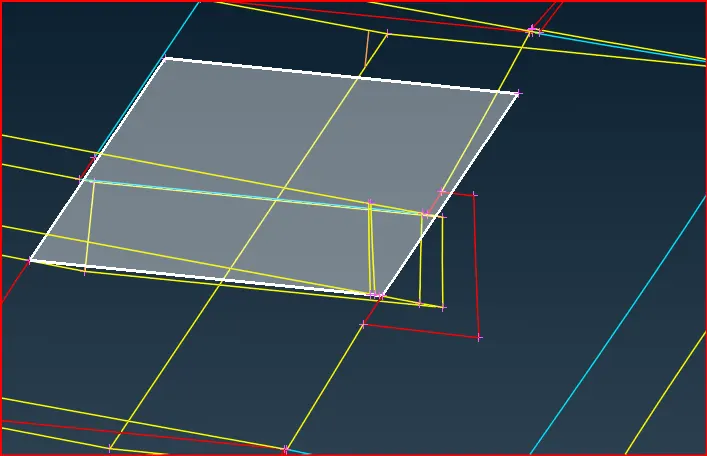
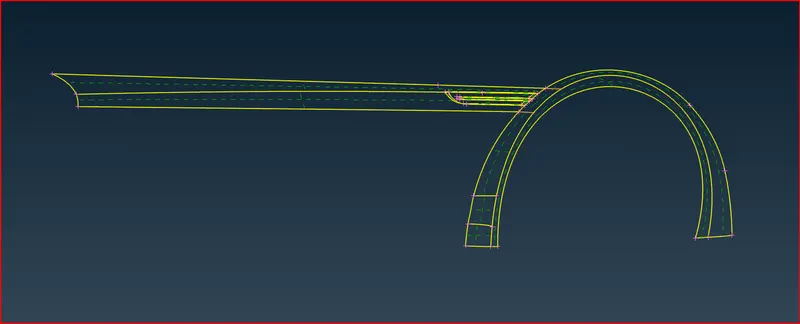
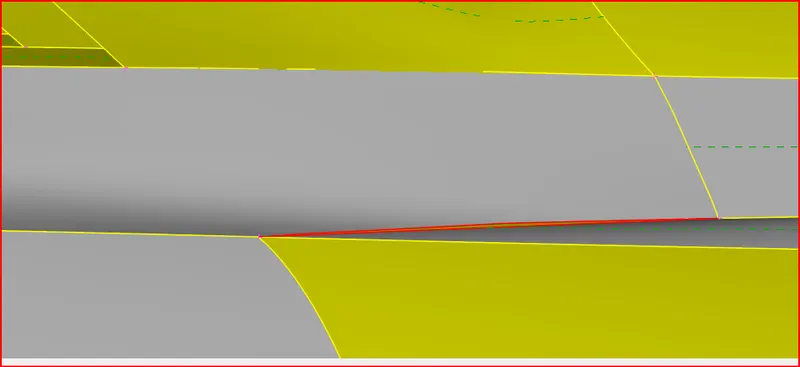
Make a cut delete the face and create a new surface
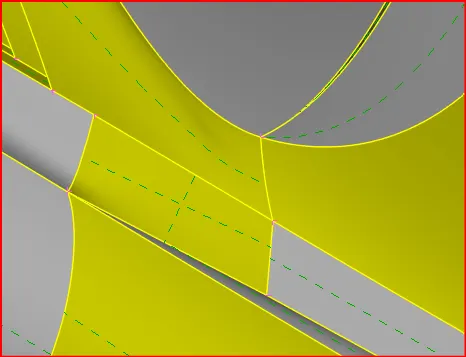
Mirror
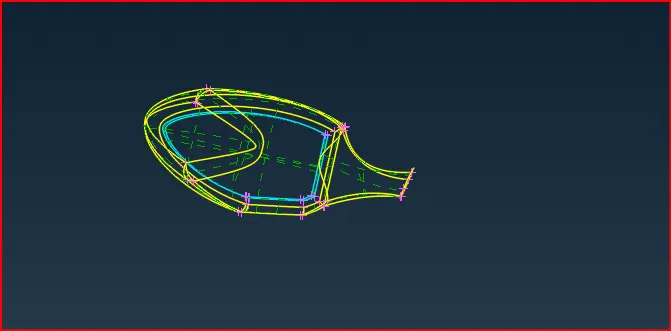
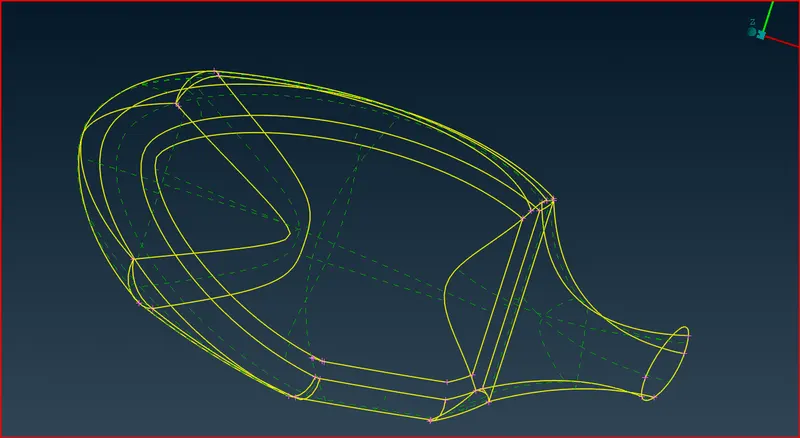
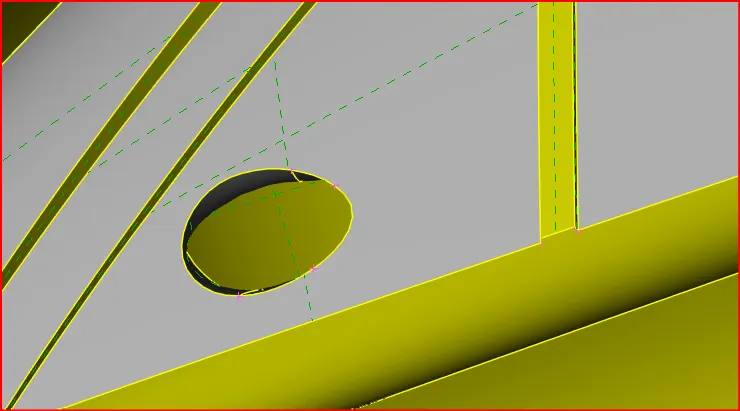
Tyres
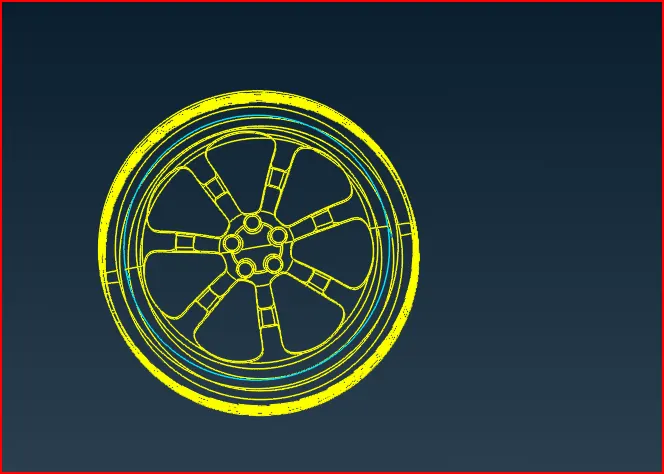
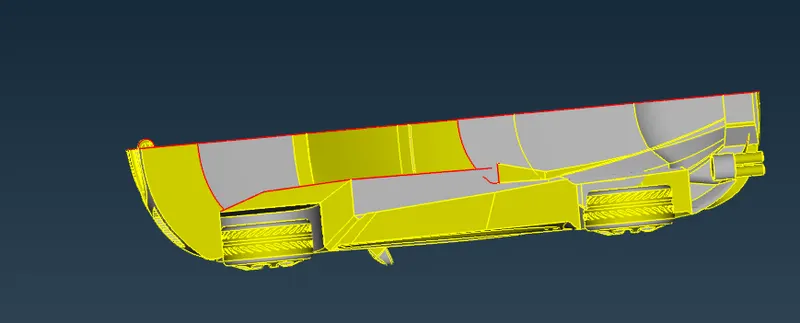
Bottom Area Near Tyre
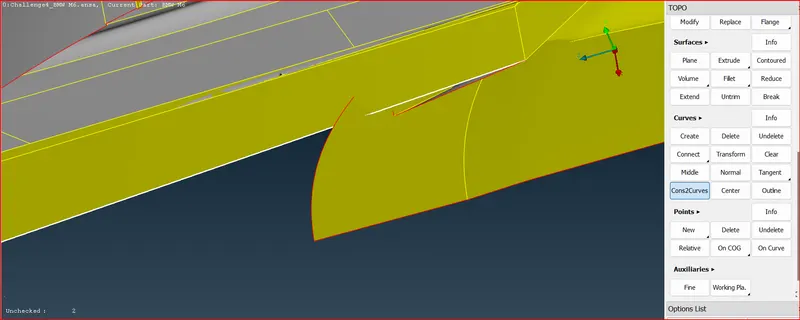
In Curves select cons to curve this helps in retaing the footprint of the deleted surface.
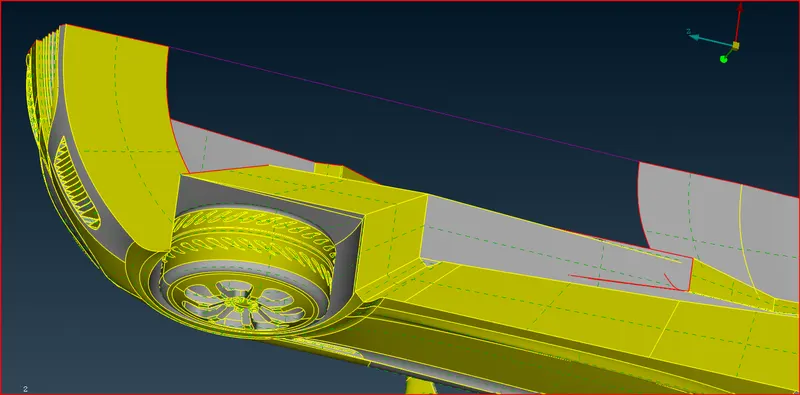
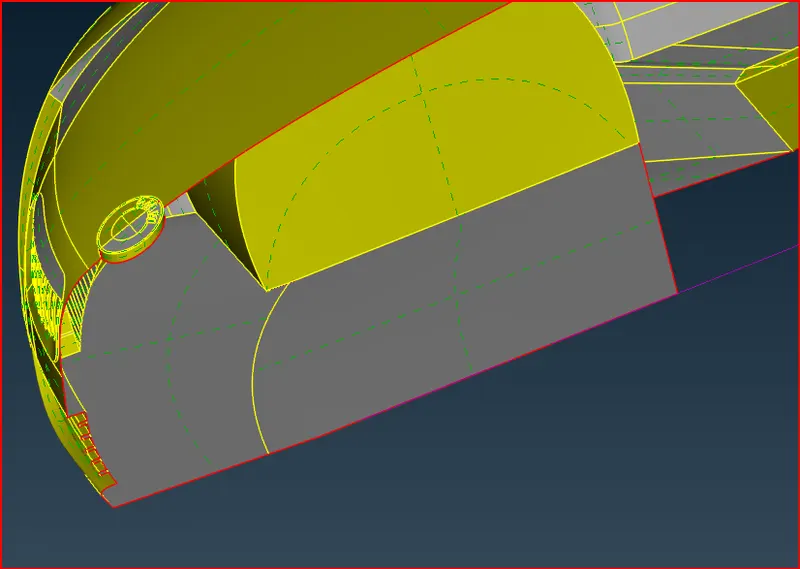
Surface delete
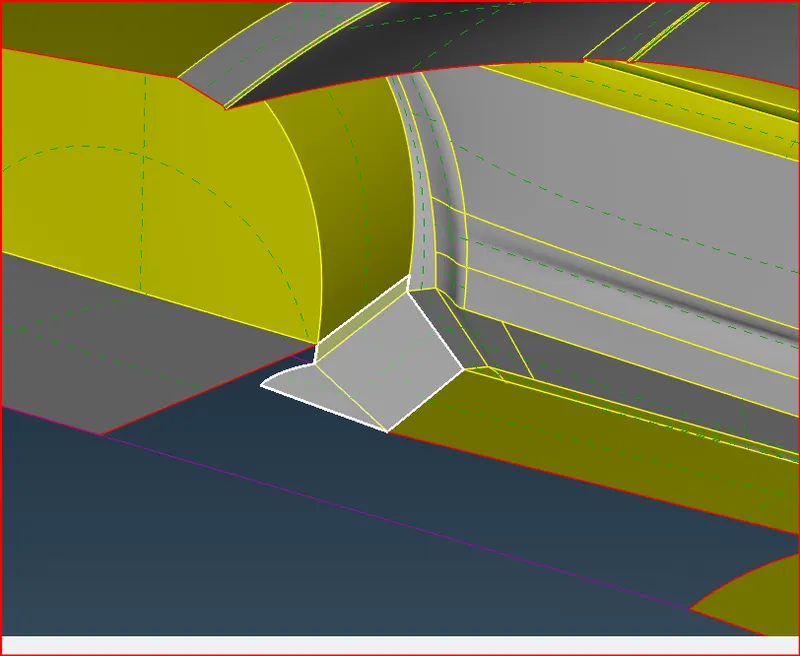
Geometrical errors
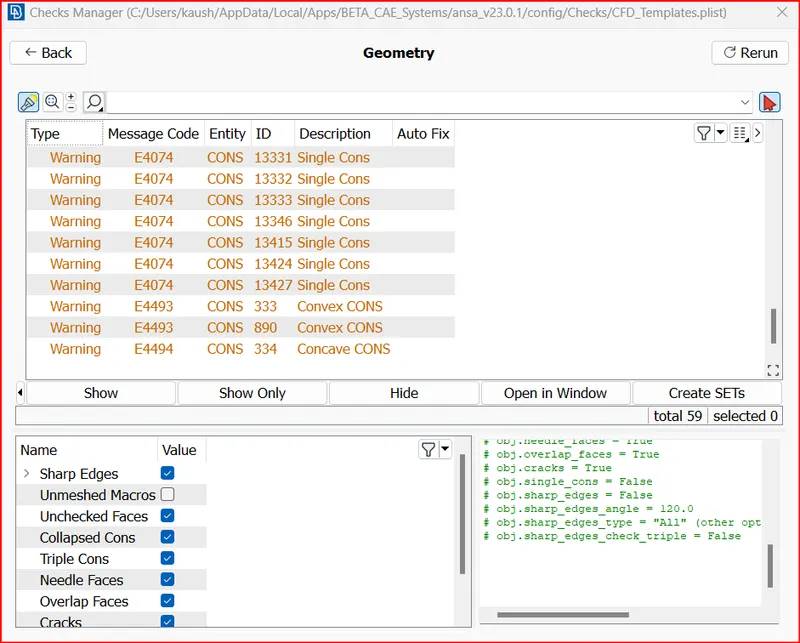
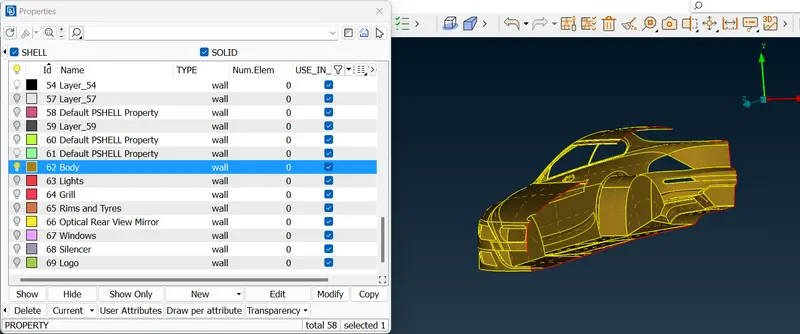
Assigning PIDs
Create PID
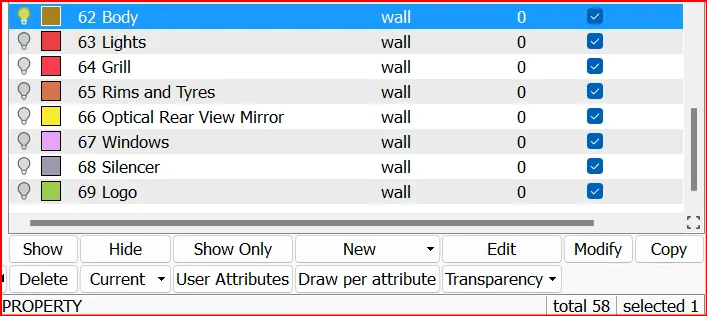
Body
Lights
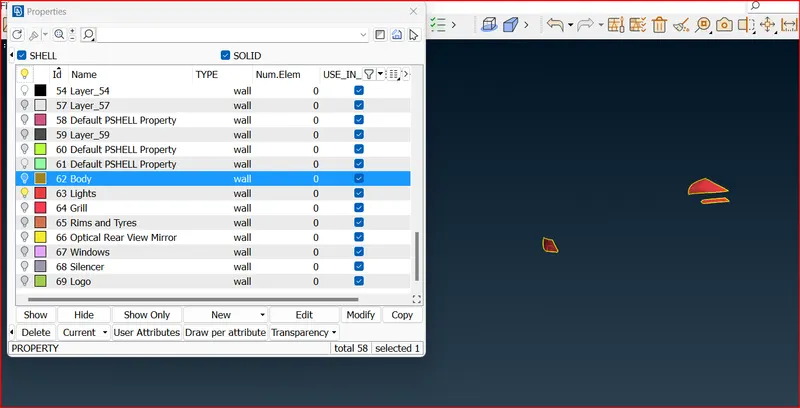
Grills
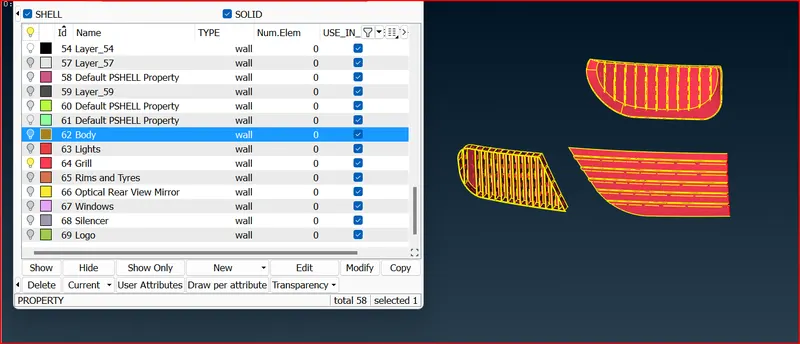
Rims and Tyres
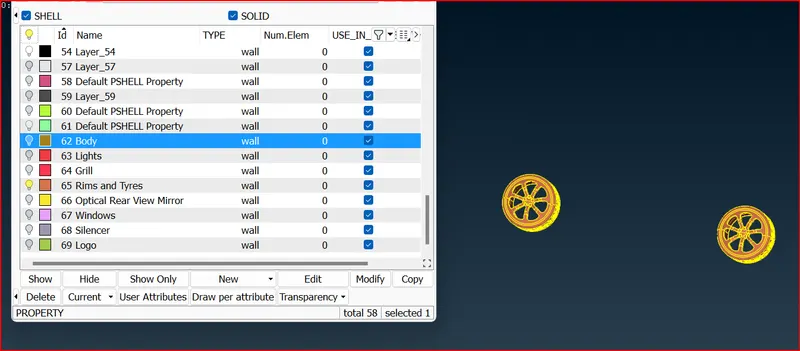
Rear view mirror
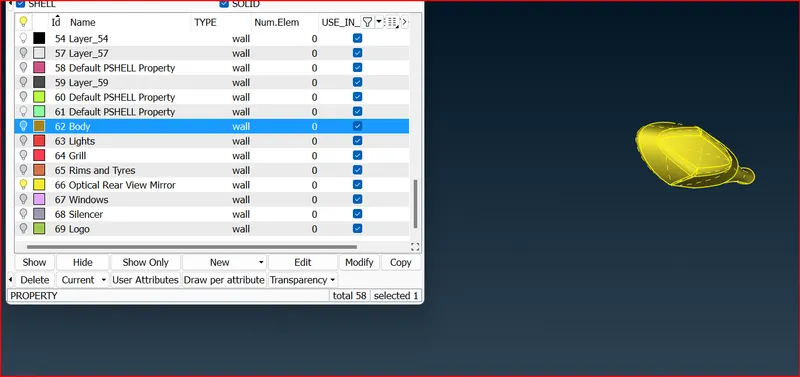
Windows
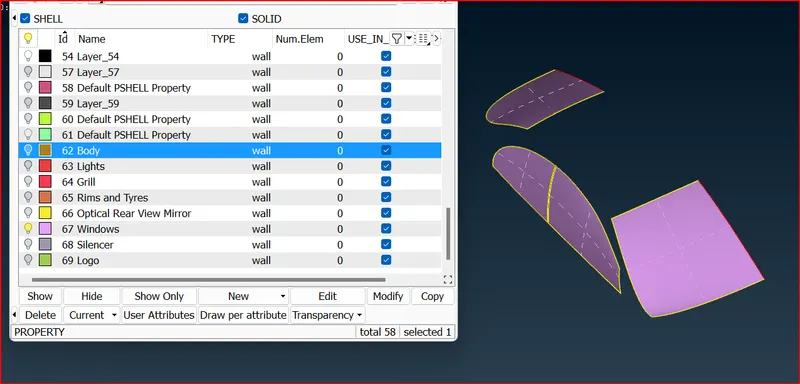
Silencer
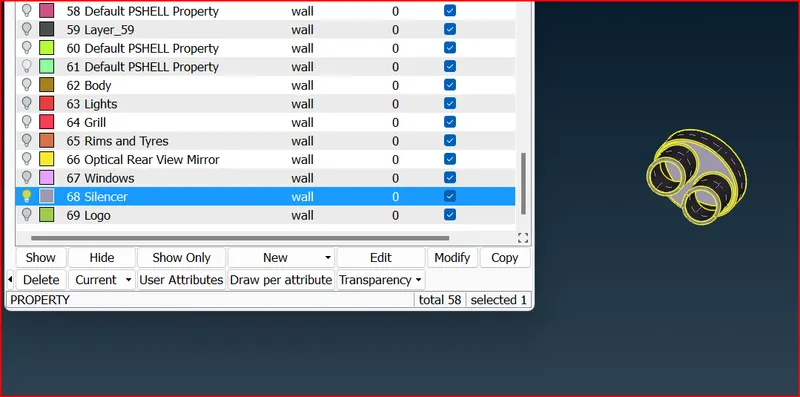
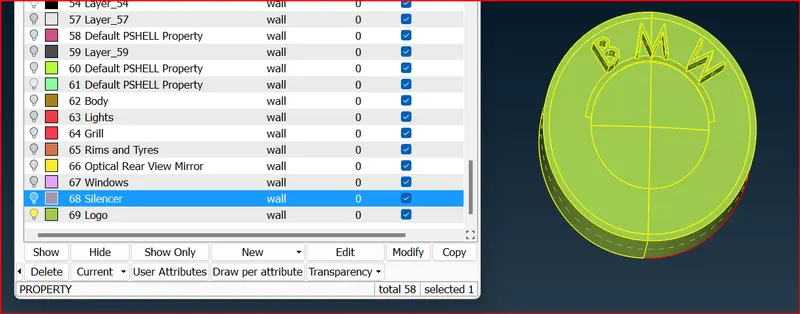
Logo
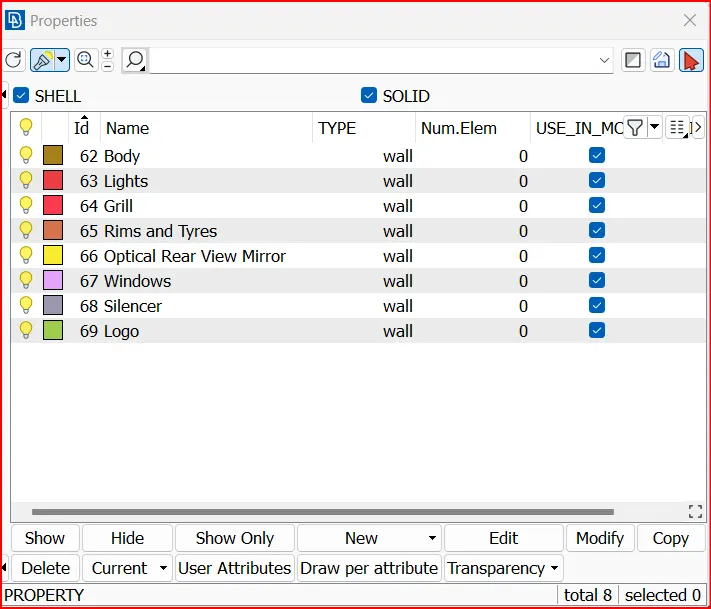
Deleting the unwanted PIDs
Utilities>compress>ok
Meshing
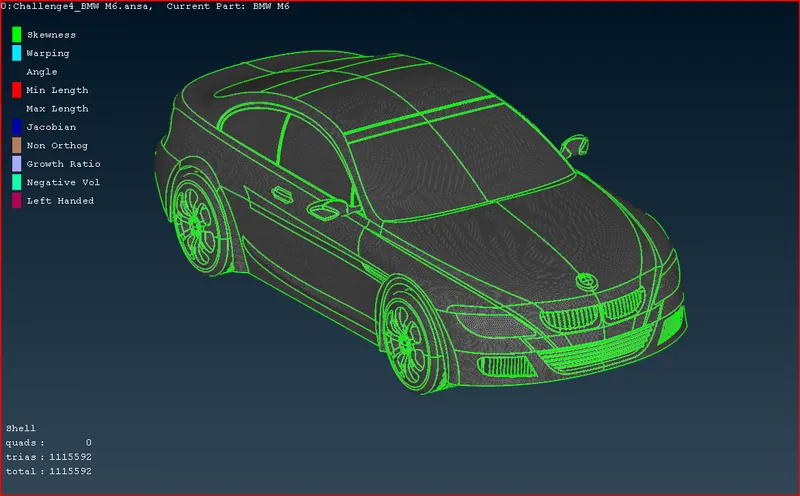
Now we can start meshing our geometry and for CFD applications we have to use volumetric mesh with tetra elements, hence we will first surface mesh using tria elements.
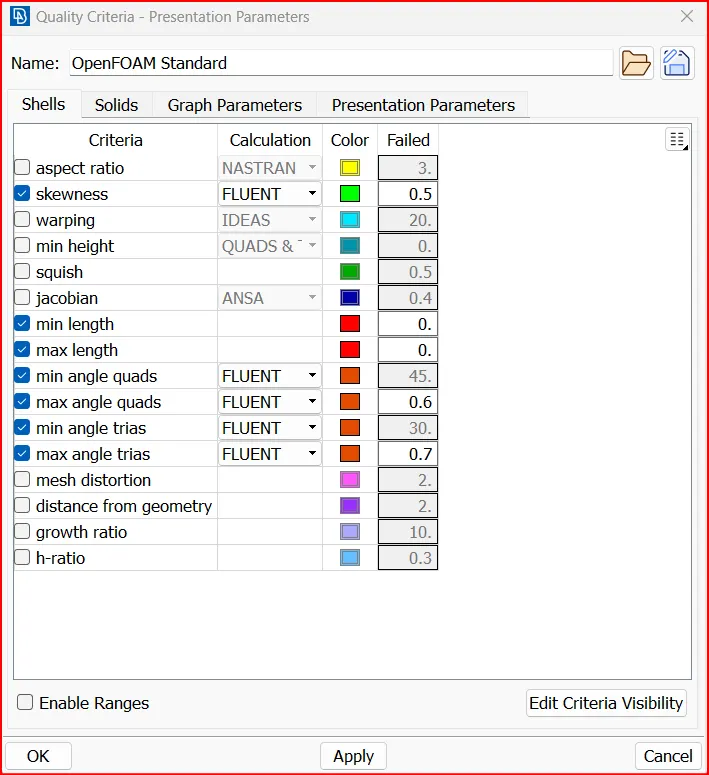
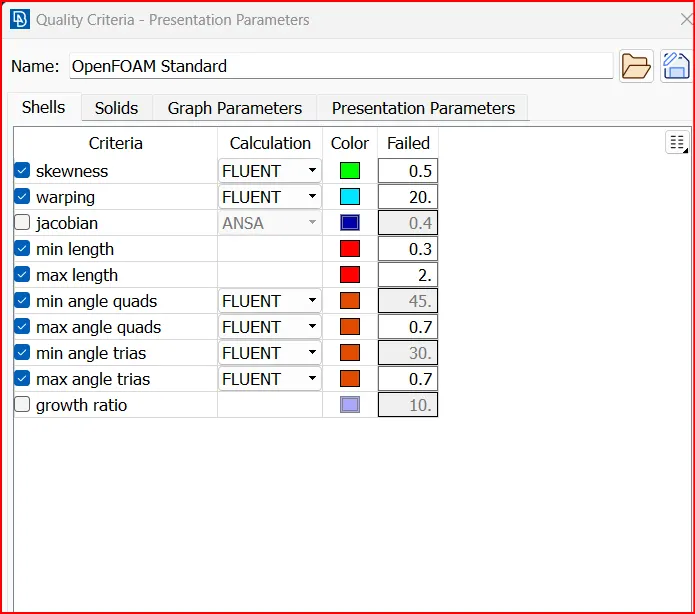
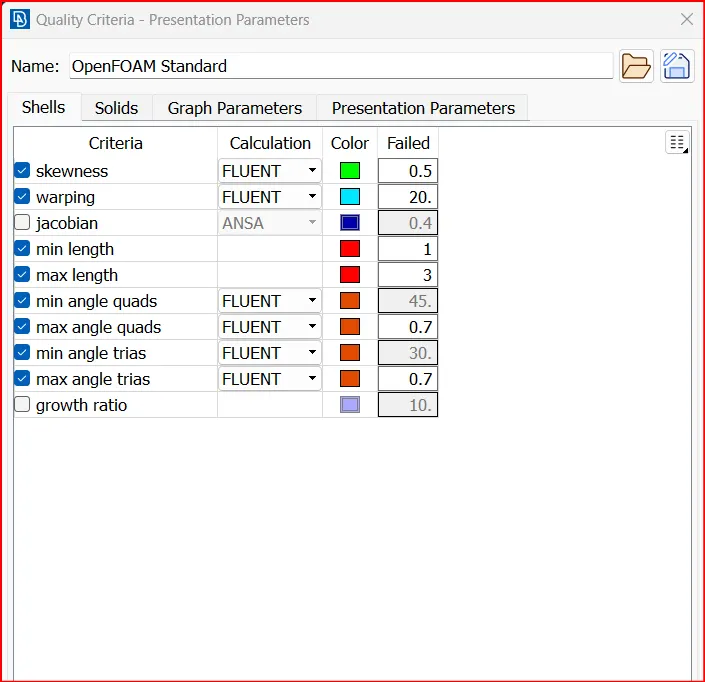
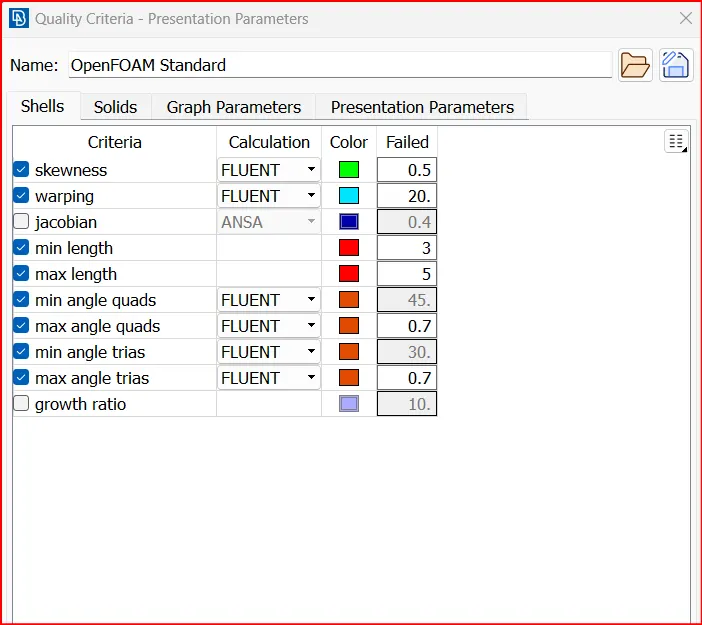
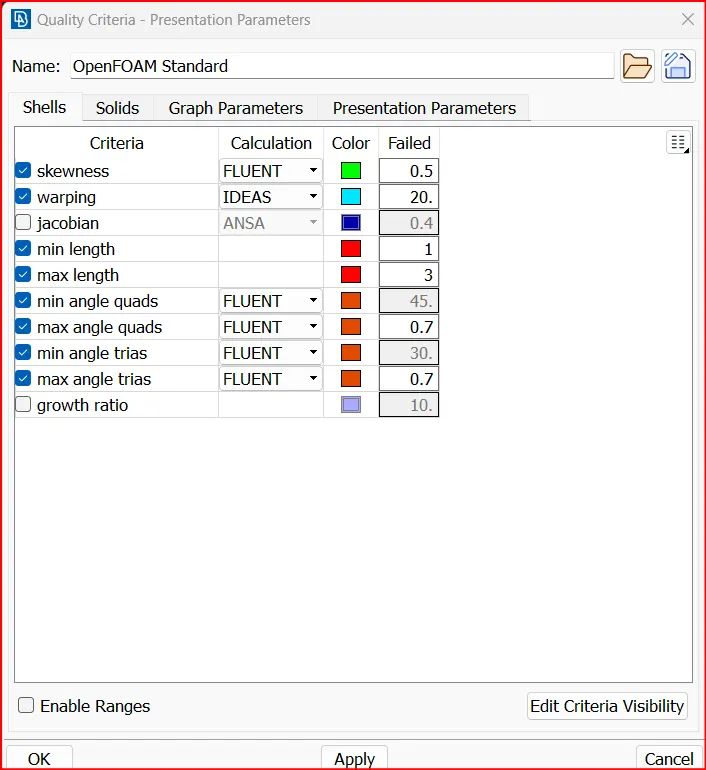
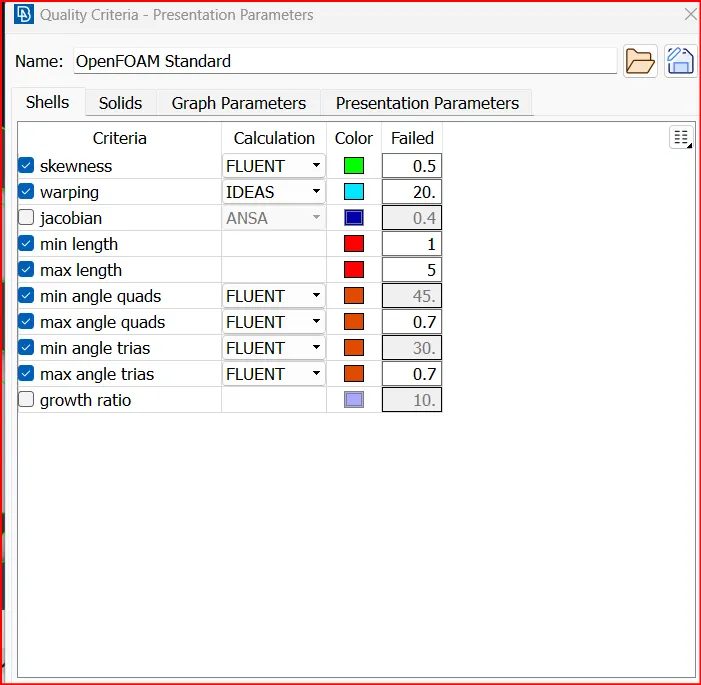
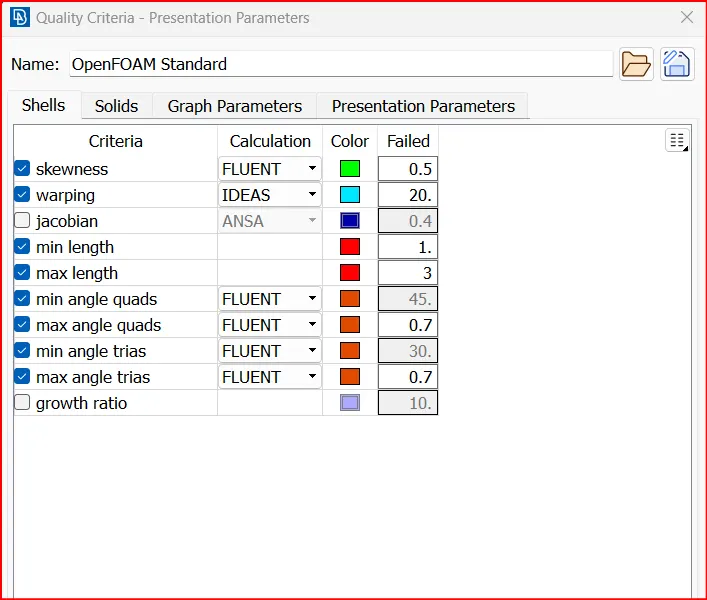
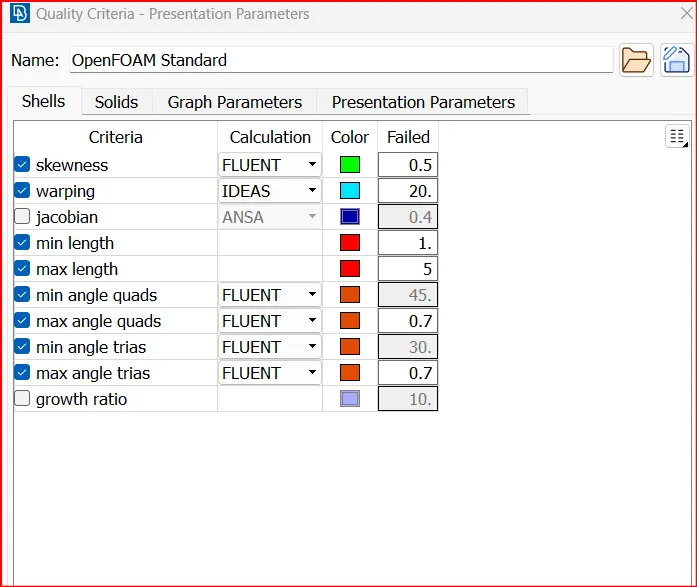
Click on Openfoam symbol and click on quality criteria and select the following parameters.
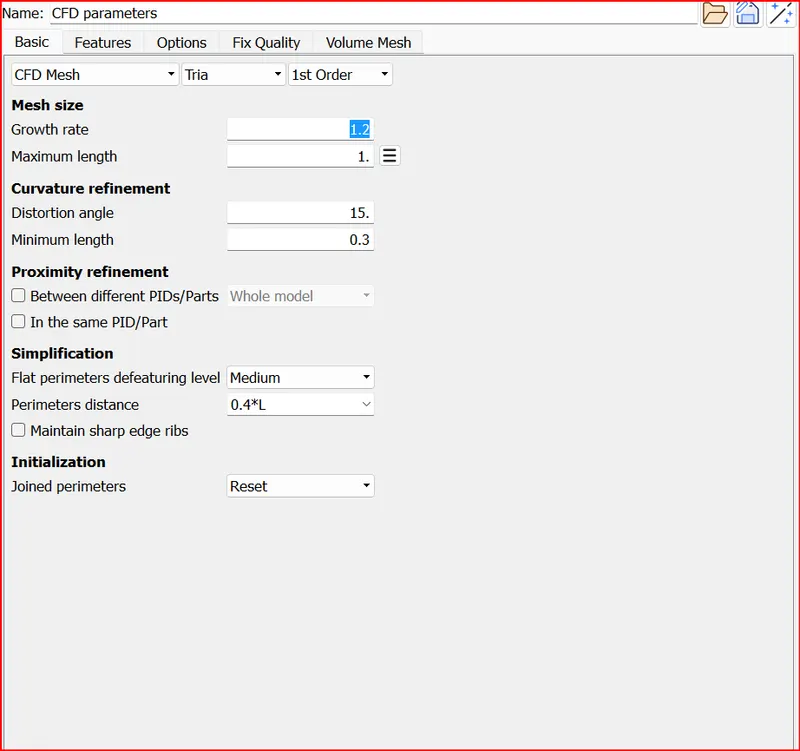
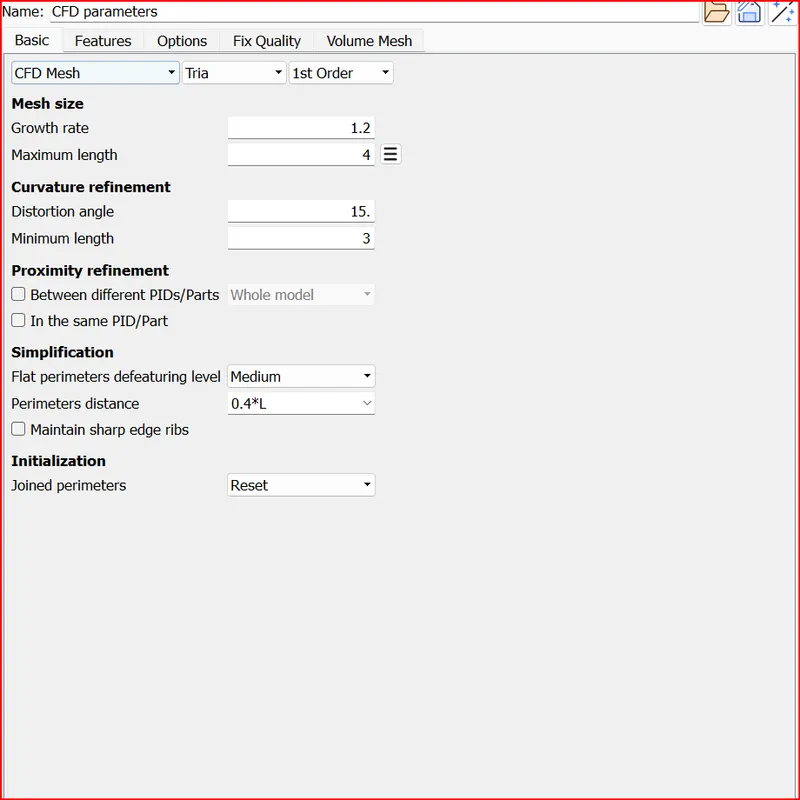
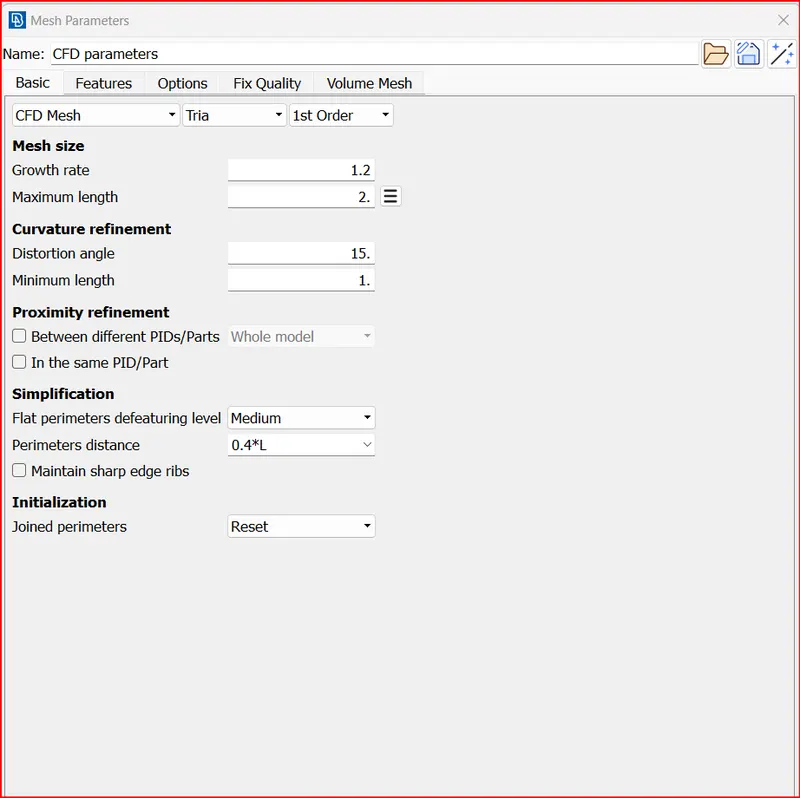
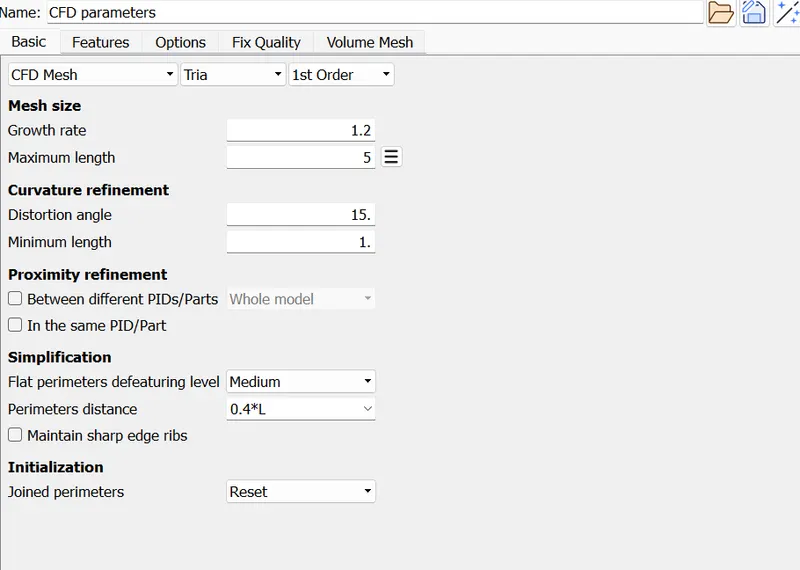
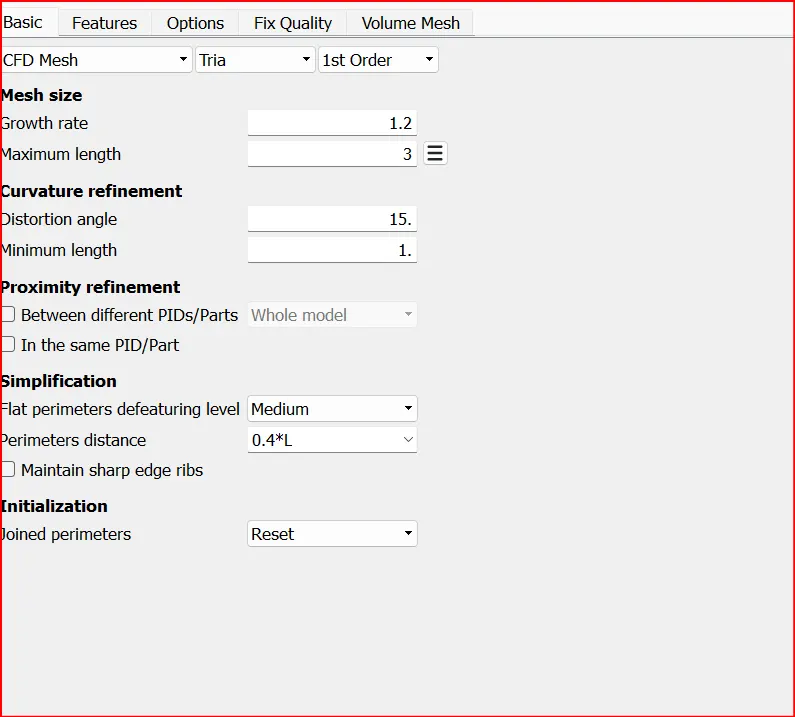
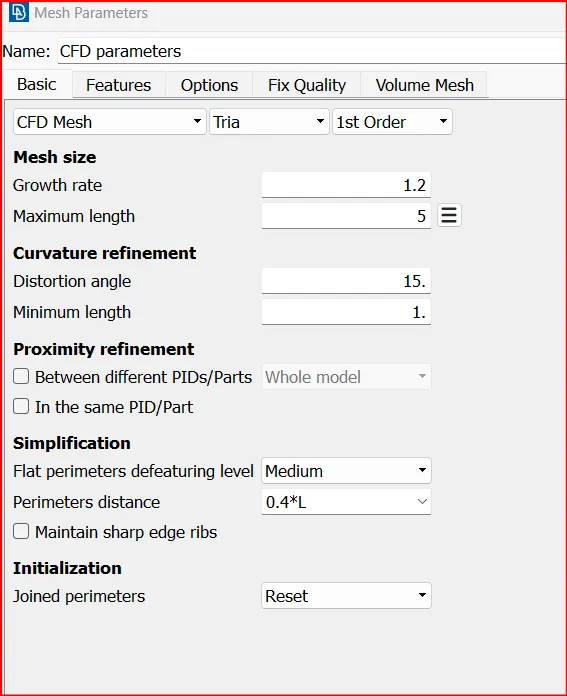
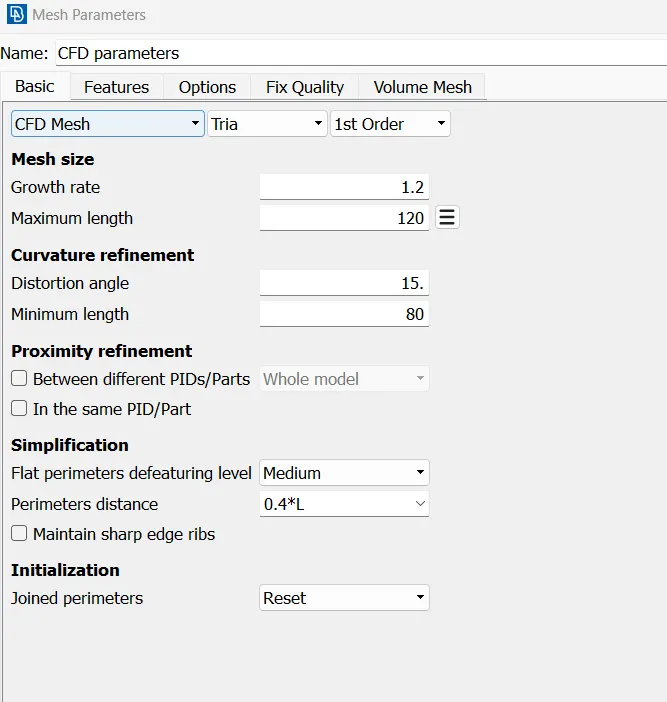
Mesh Parameters
- Target lengths for the different parts of a model are as follow:
- Body - 3 mm
- Lights - 4 mm
- Grills - 1 mm
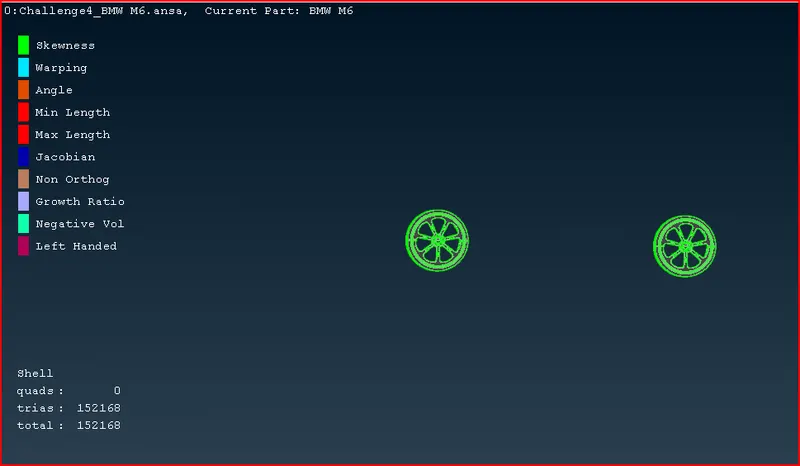
- Rims and Tyres - 2 mm
- Optical Rear view mirror - 2 mm
- Window - 2 mm
- Silencer - 3 mm
- Logo - 1 mm
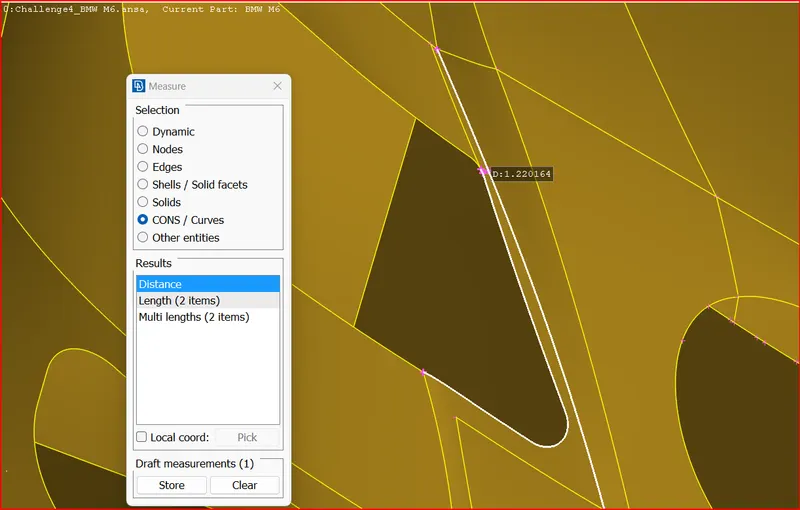
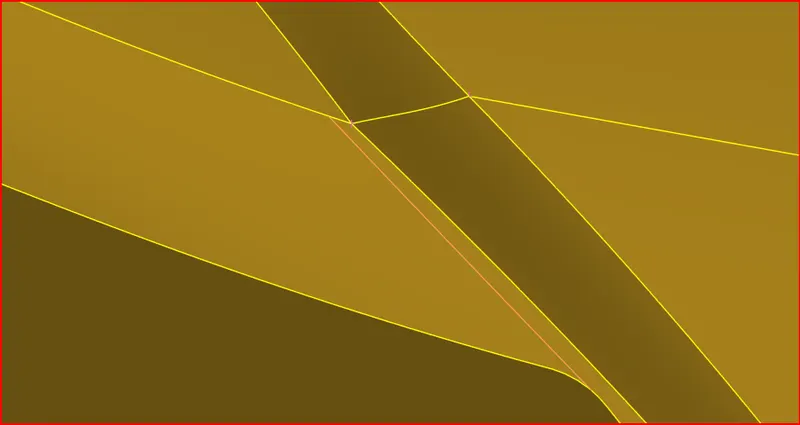
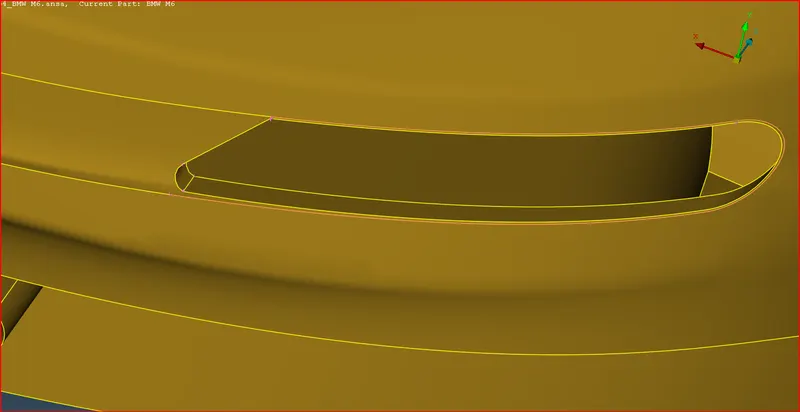
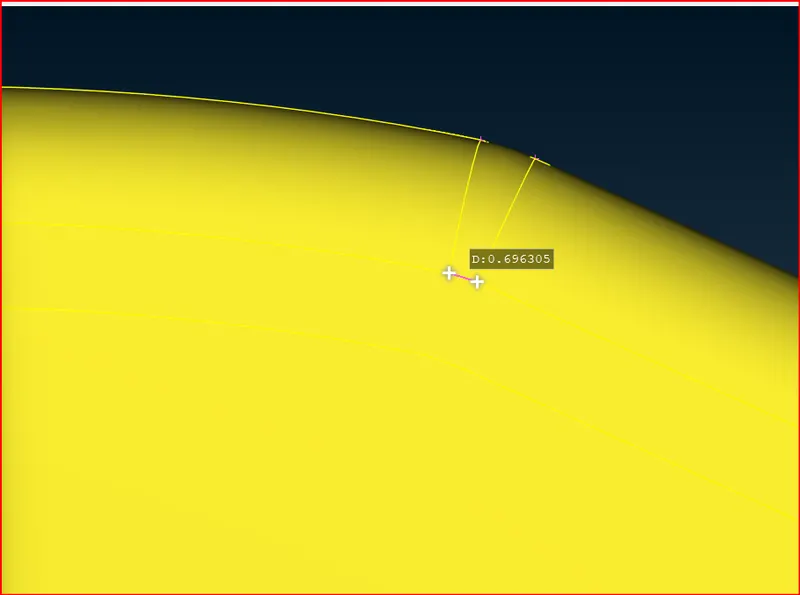
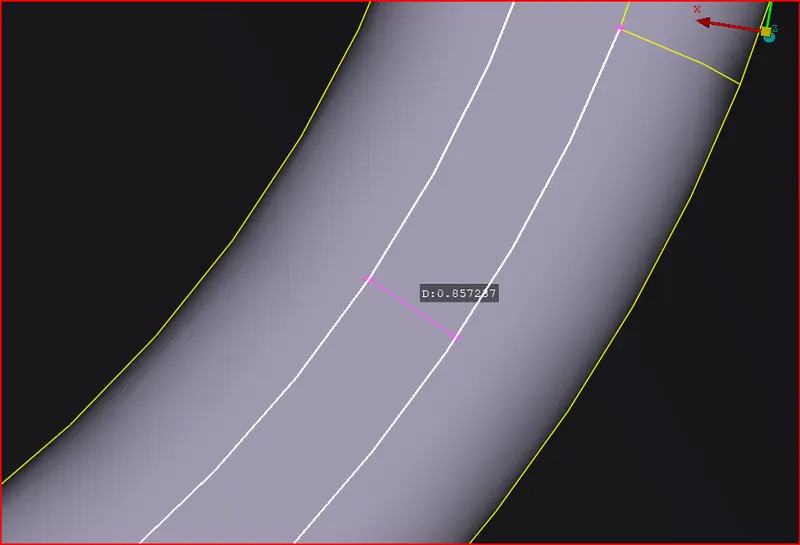
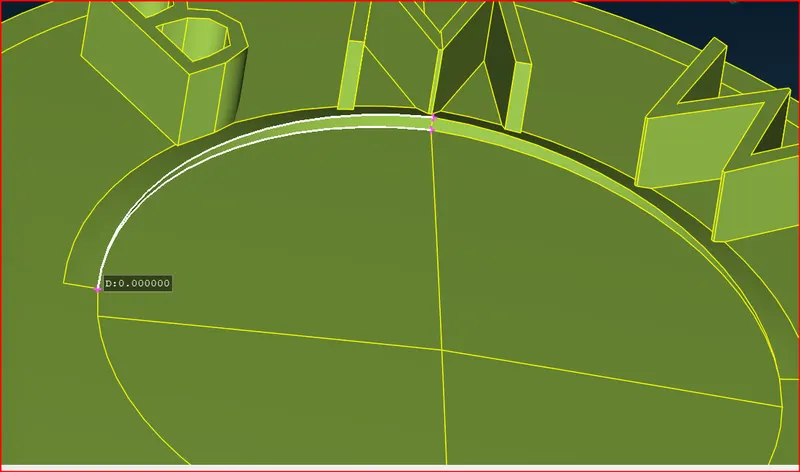
Now Check for ech pid check if the distance between two hot points or two cons is greater than the minimum length specified for that particular pid.
Mirror
Silencer
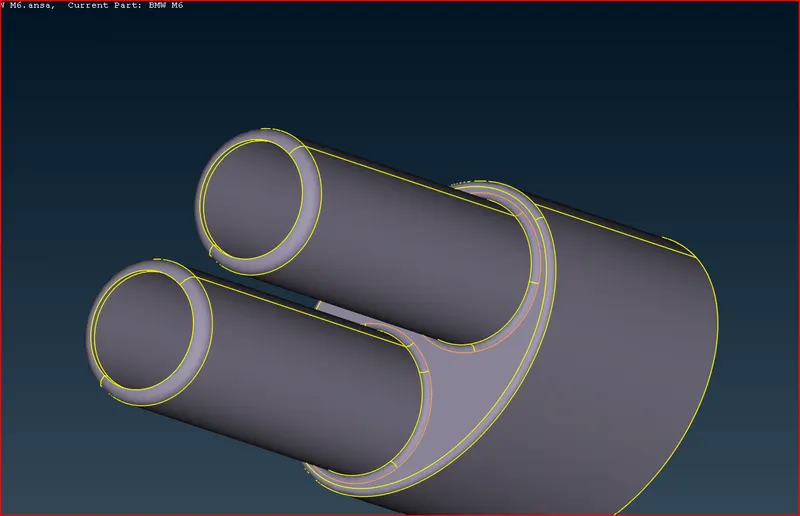
Logo
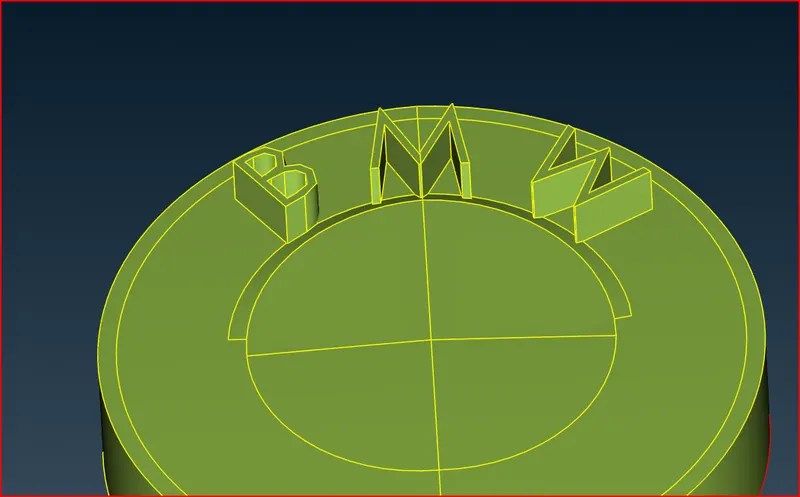
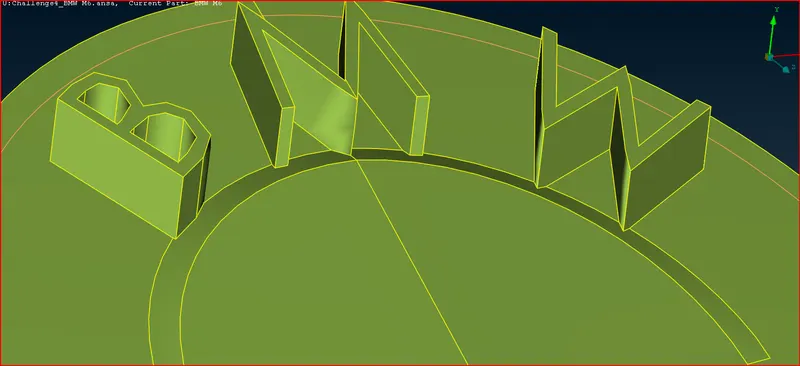
Mesh Generation:
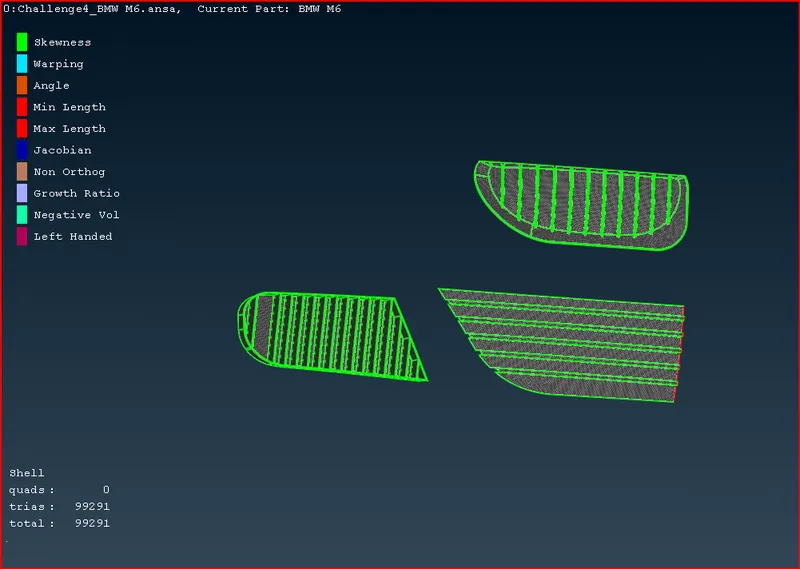
Now we select the individual PIDs and mesh them accordingly as per the given quality criteria.
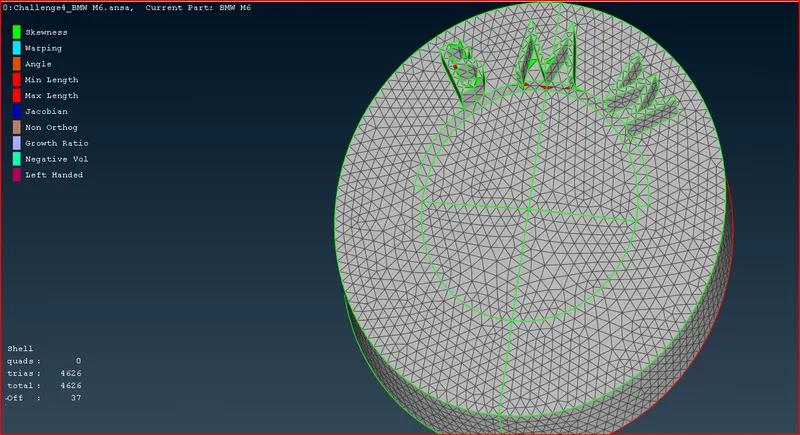
Logo
Quality criteria
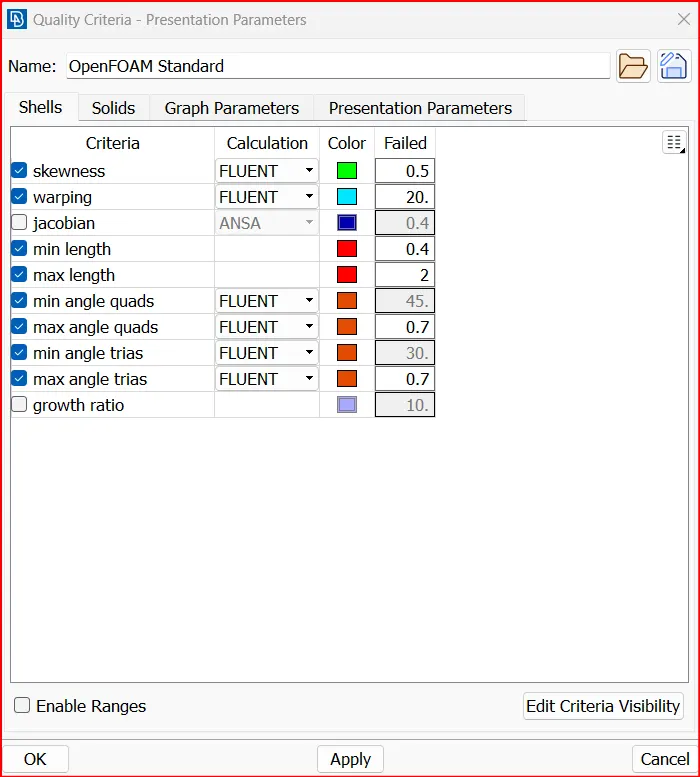
Mesh parameters
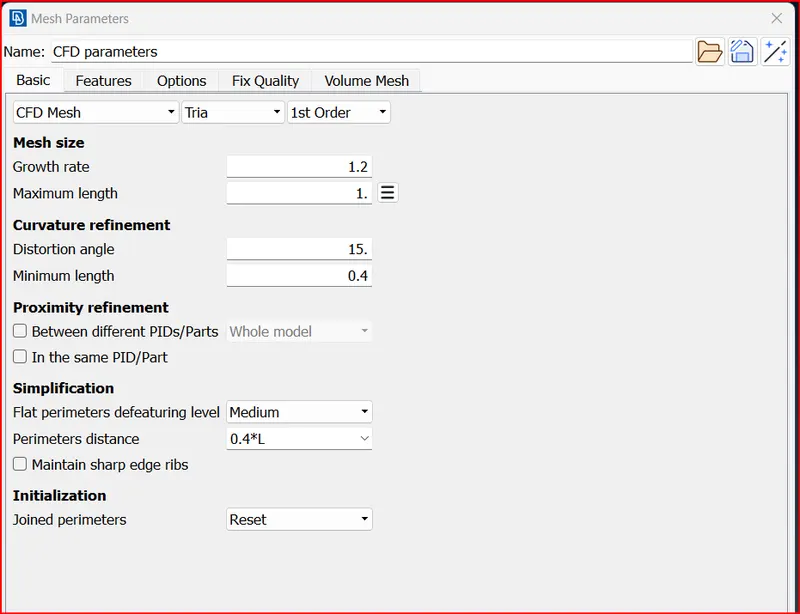
Go to mesh>Length>Give perimeters and macros as 1 mm.
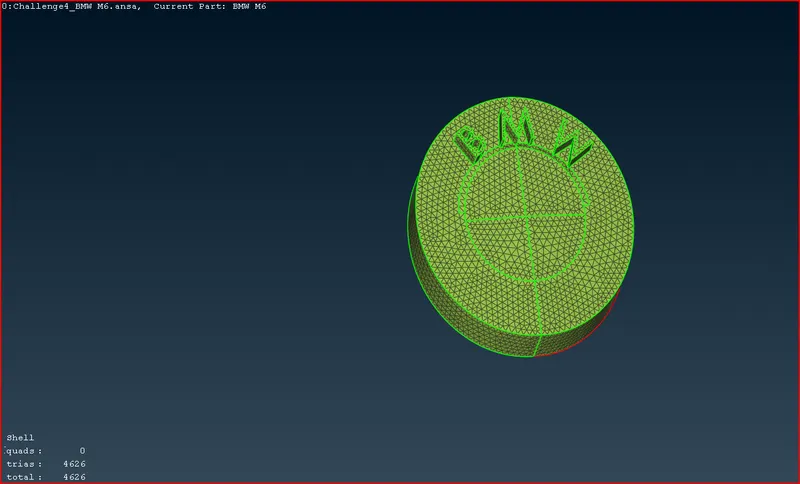
Hidden Mode
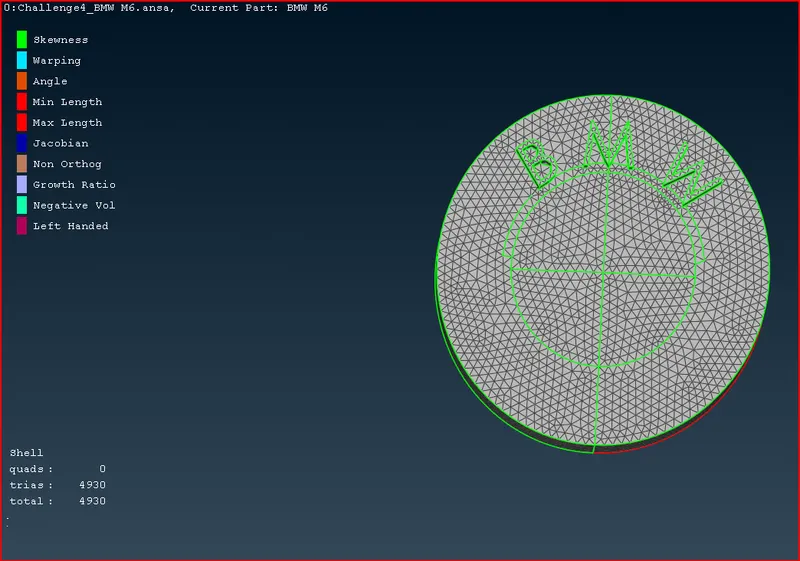
Grill
Windows
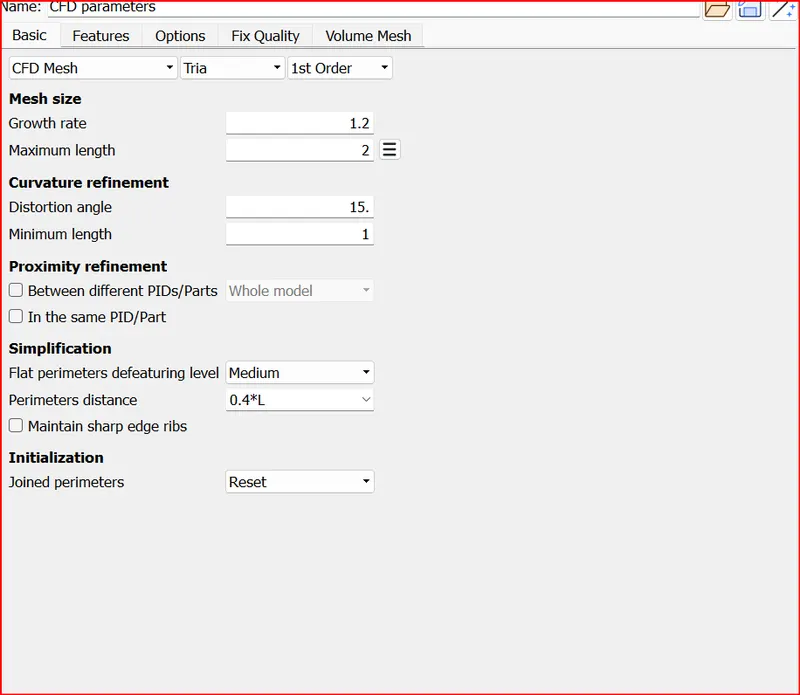
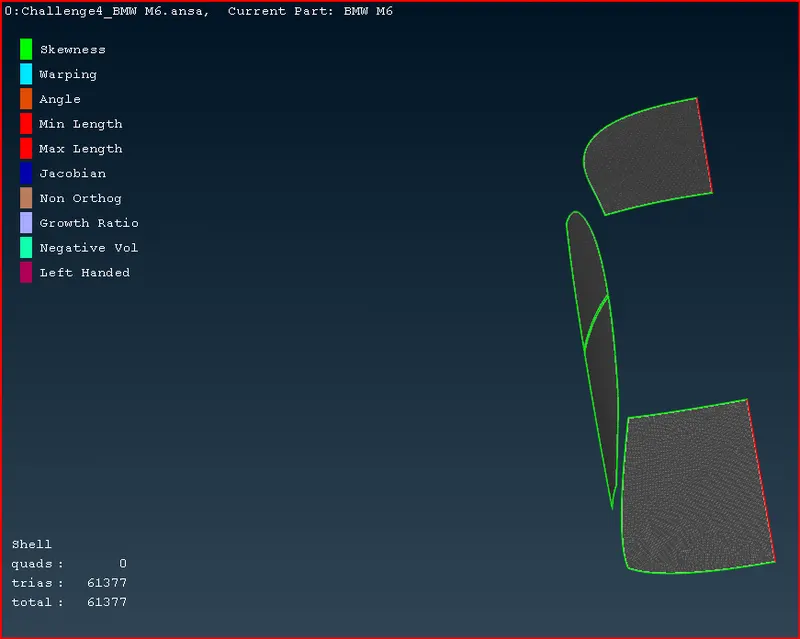
Lights
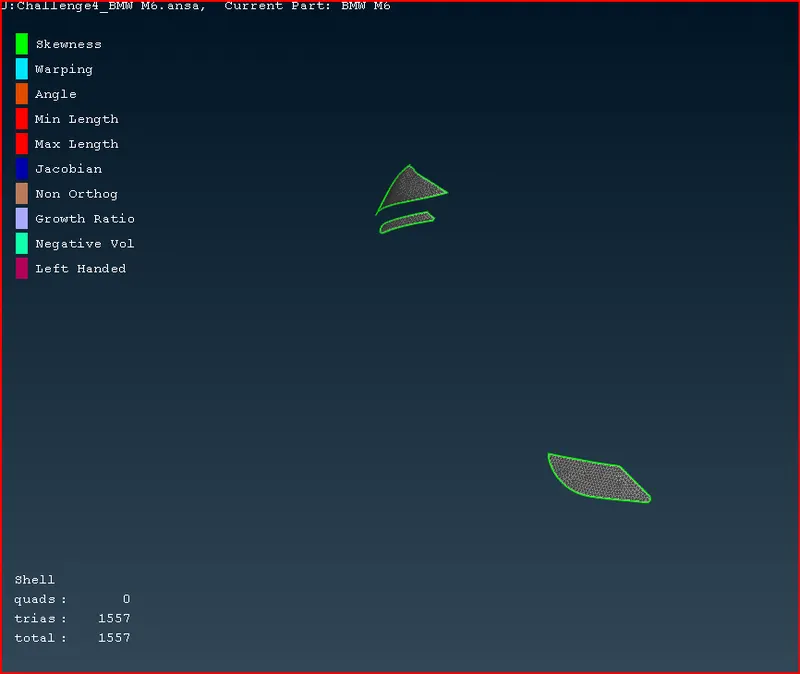
Note Remove off elements by using move option in grids.
Rims and Tyres:
Silencer
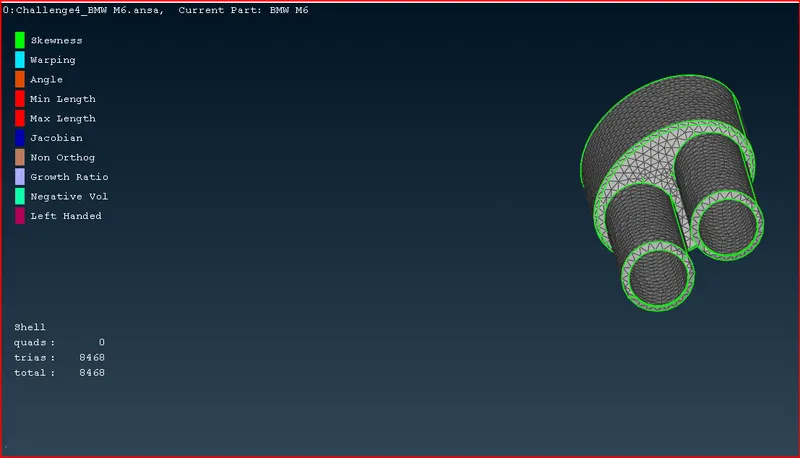
Mirror
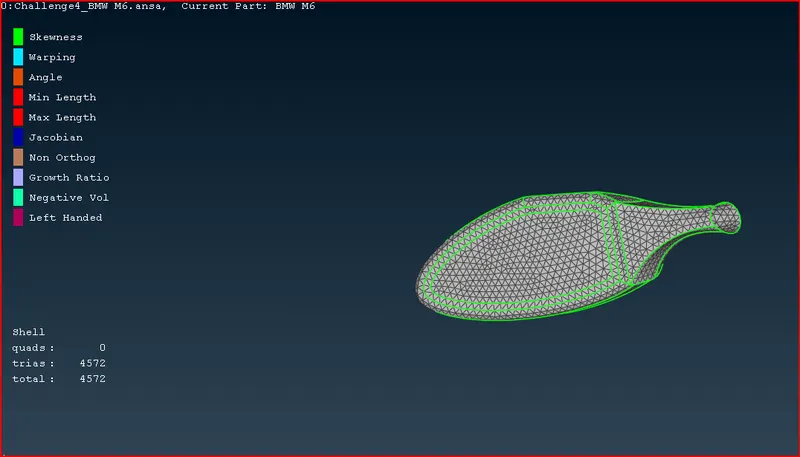
Body
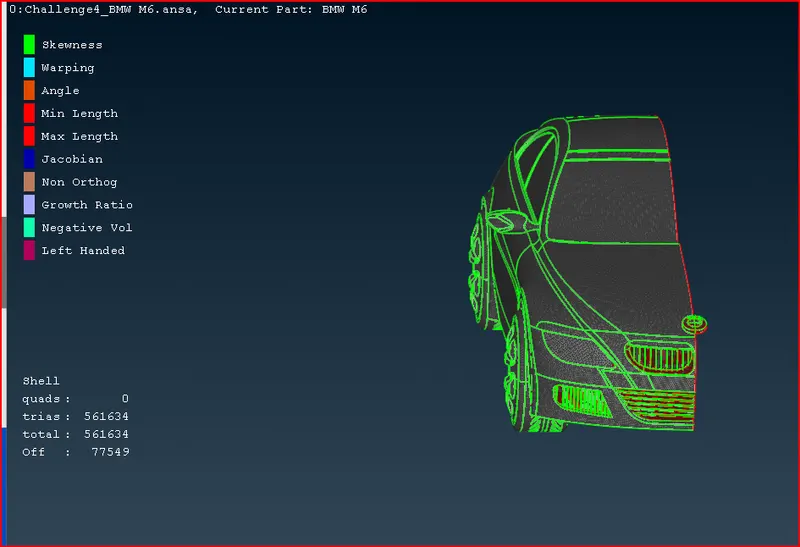
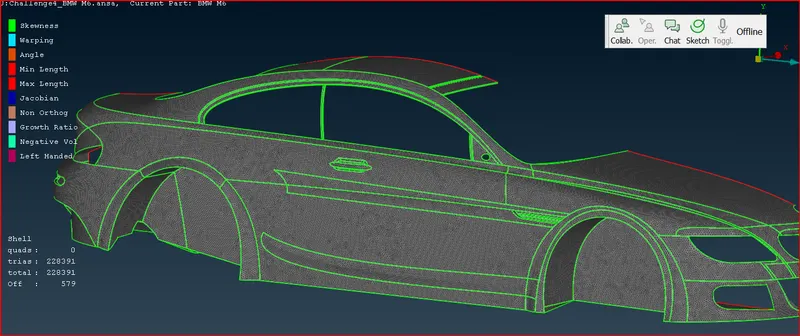
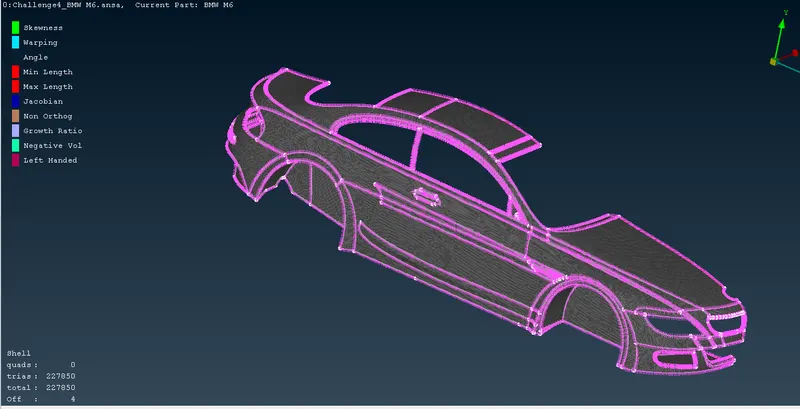
Now we have to do symmetry of the half part and copy the entity to the other side.
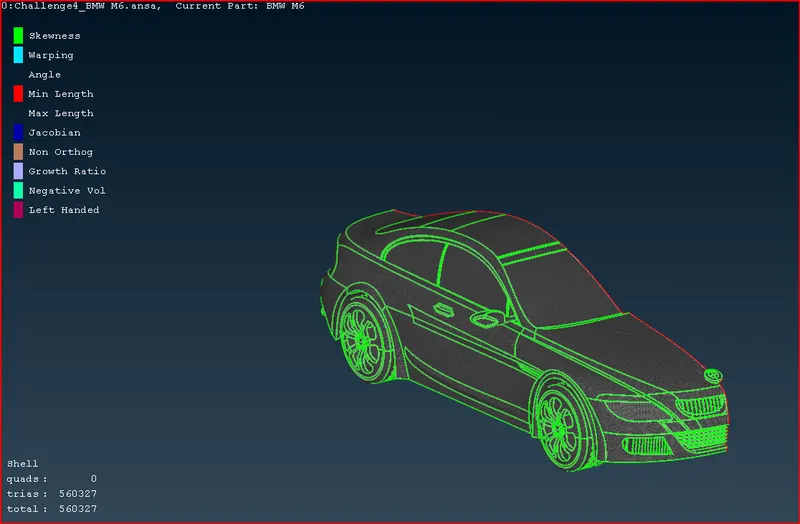
Go to Transform>copy>entities>select the entities except the logo and middle click.
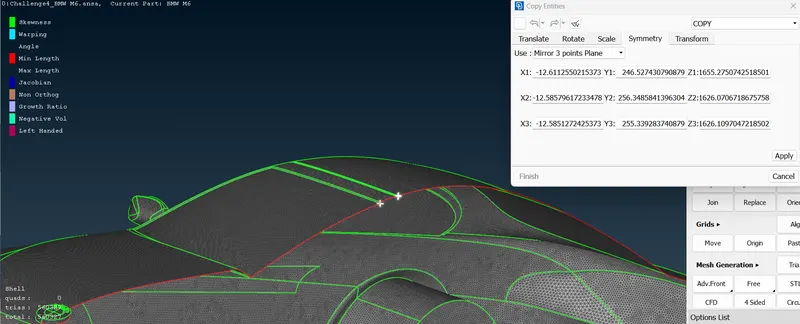
After middle click we get following window
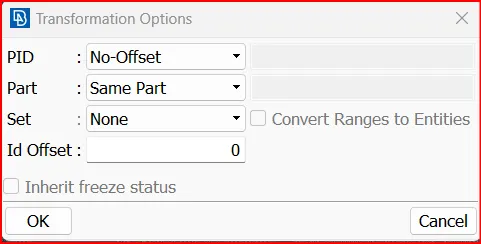
Check th preview and then click on finish
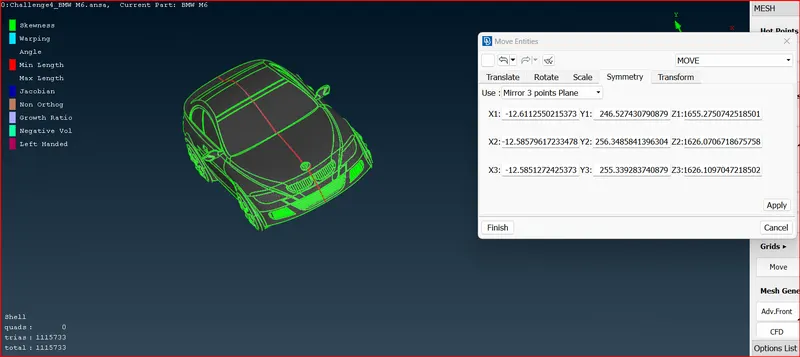
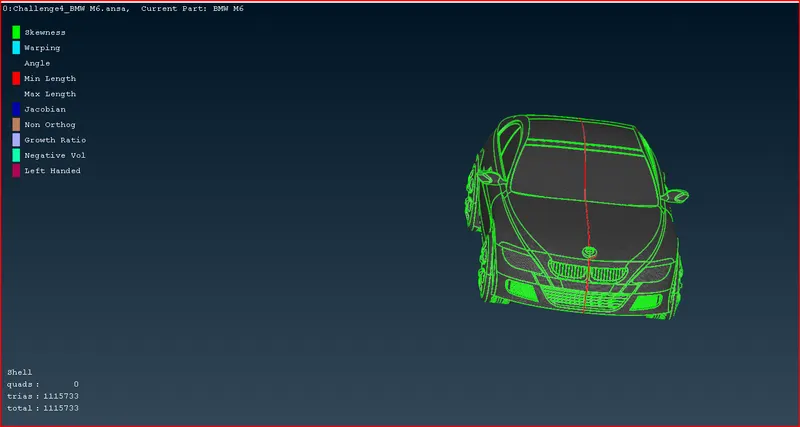
To remove the single con in the middle we select the two single cons and paste them.
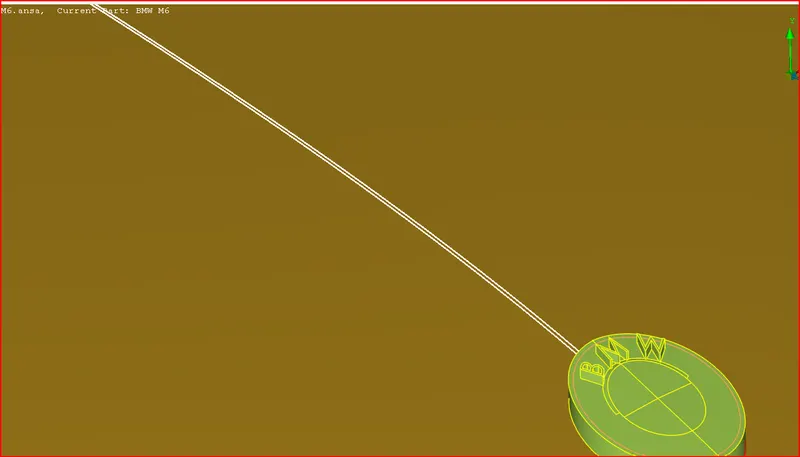
Now no single cons present
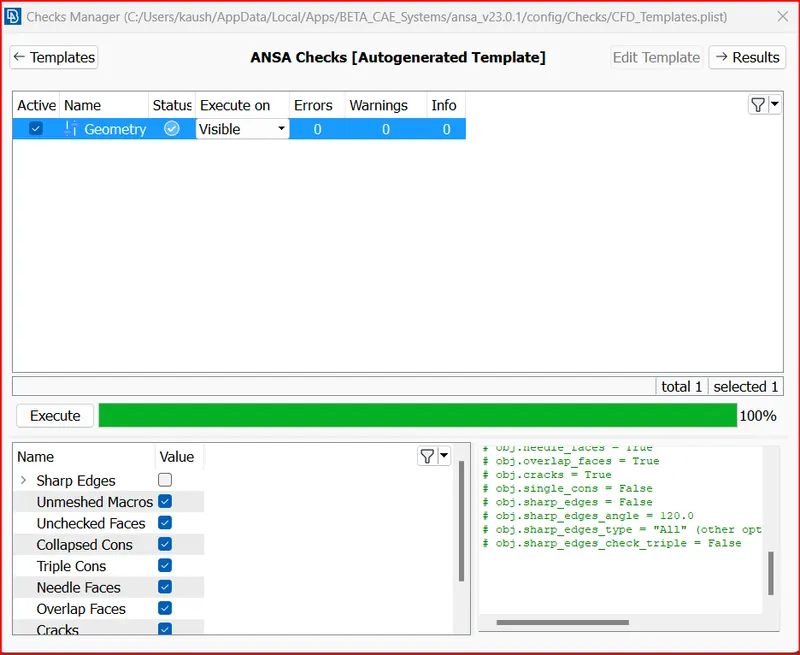
After performing geometry checks no errors and warnings found
Now e have to design the wind tunnel and mesh it.
Wind tunnel is a tube like structure where air flows and we study the air flow pattern around the object of interest.
Standard for creating wind tunnel.
If length of car is x mm, then wind tunnel should have its own dimension related as follows.
Front face of the wind tunnel: 4x distance from the front point of the car.
Rear face of the wind tunnel: 6x distance from the rear point of the car.
Top face of the wind tunnel: 3x distance from the Top point of the car.
Bottom face of the wind tunnel: nearer to the wheels.
side face of the wind tunnel: x distance from the side point of the car.
Dimensions of our model car:
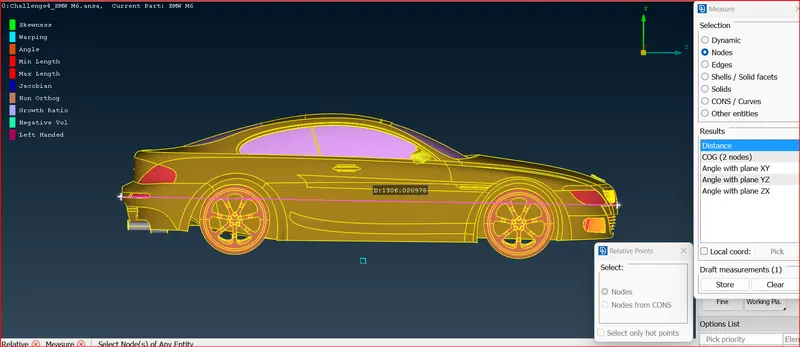
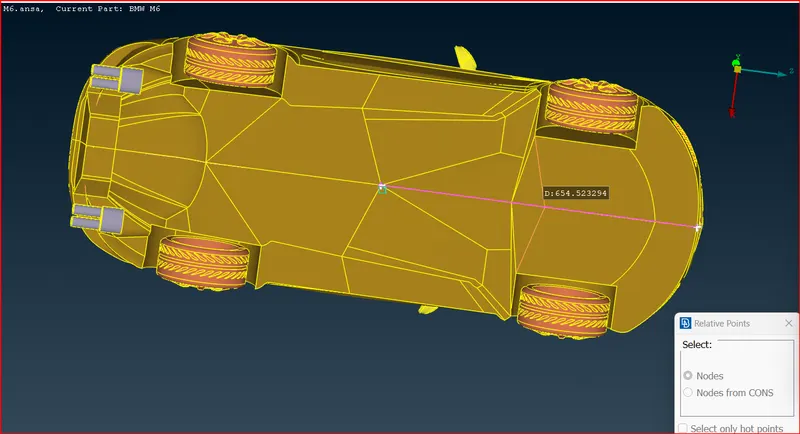
Creater a point at the bootom of the car
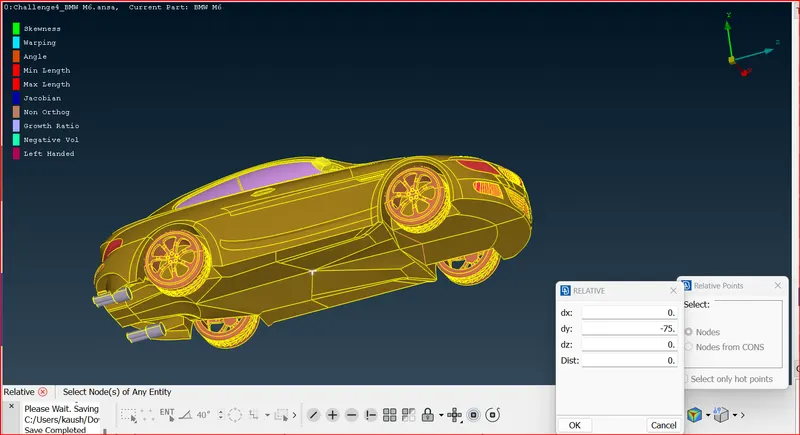
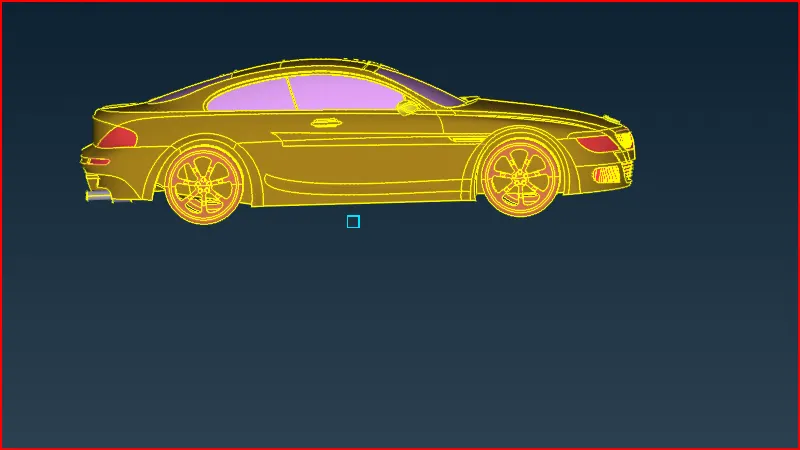
Now create a point relative to the above point in the front of car at a distance of 5878 (4x+distance of front of car from the point.) from the previous point.
this will help to create the front face of the wind tunnel.
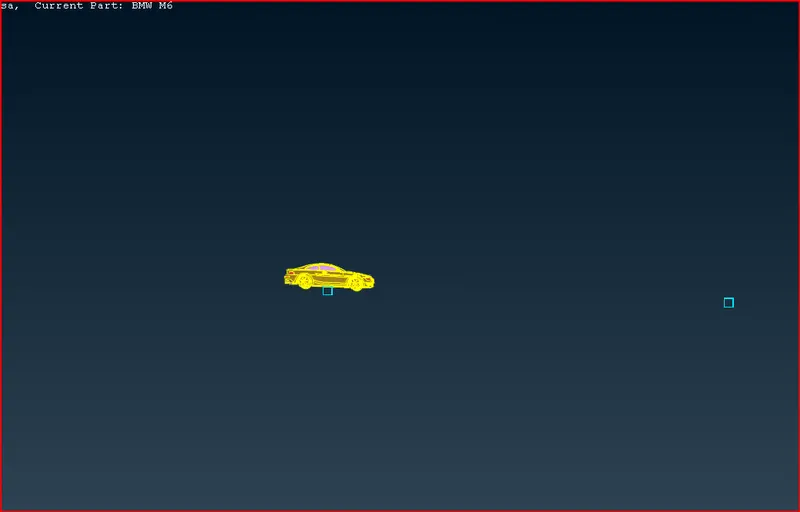
Similarly create a point at the rear of car at a distance of 611+6x distance ie 8447 units.
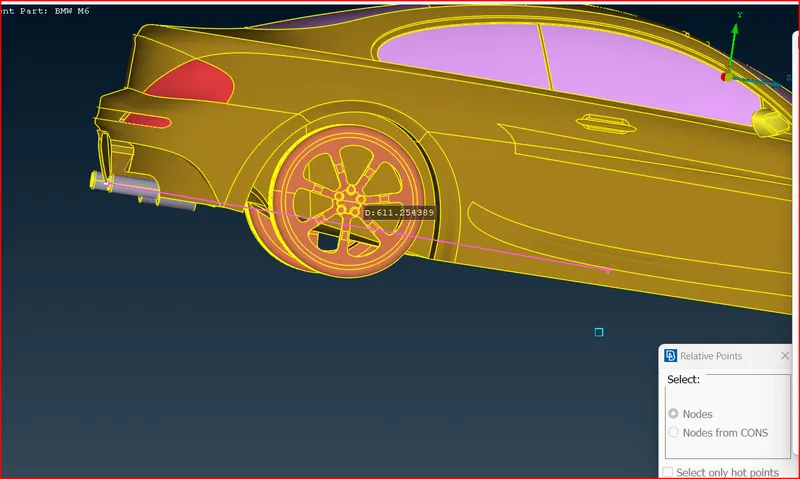
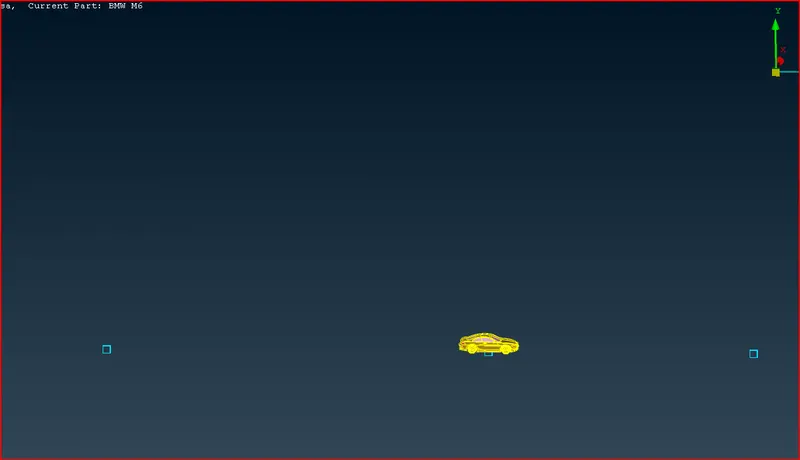
Create a ref point at the top of car at a distance of 3x ie 3918 from the top surface of the car.
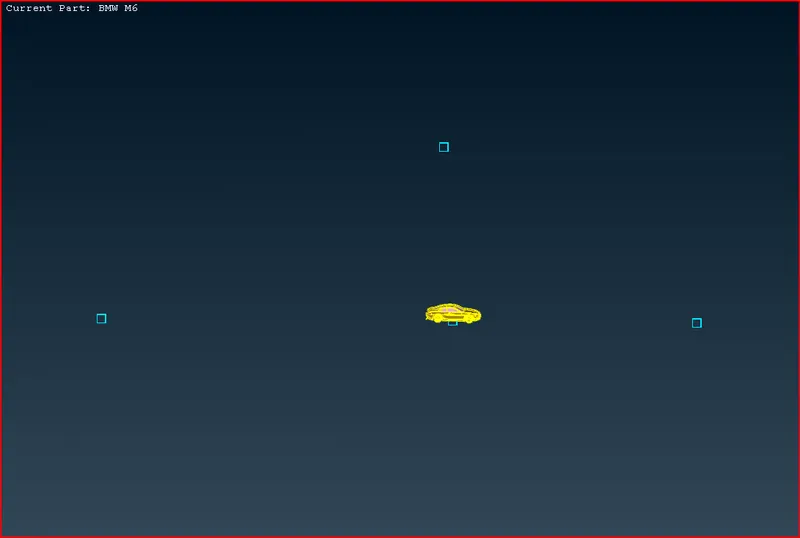
Create points on the sides of the car at x distance ie 1306 units.
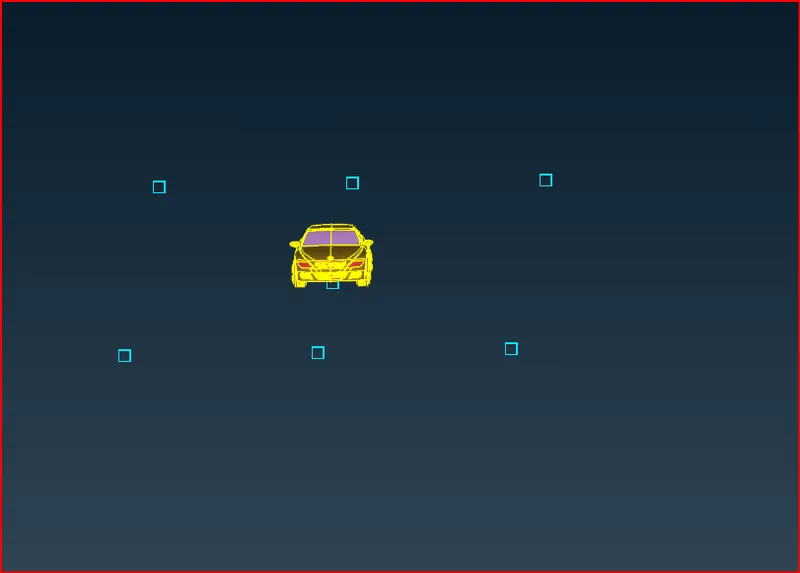
Connect the points using create curves option
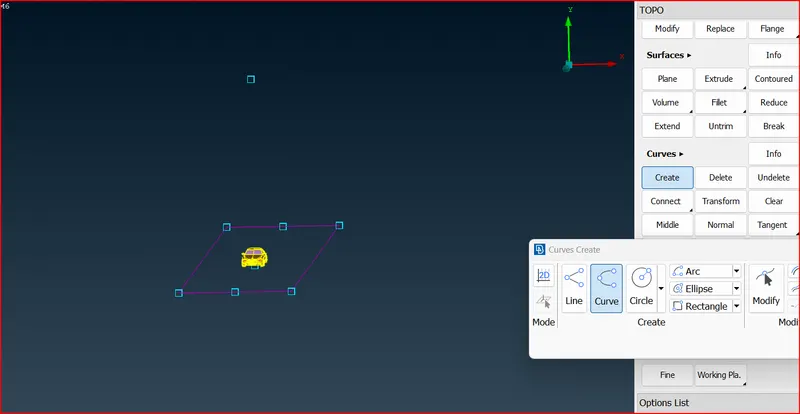
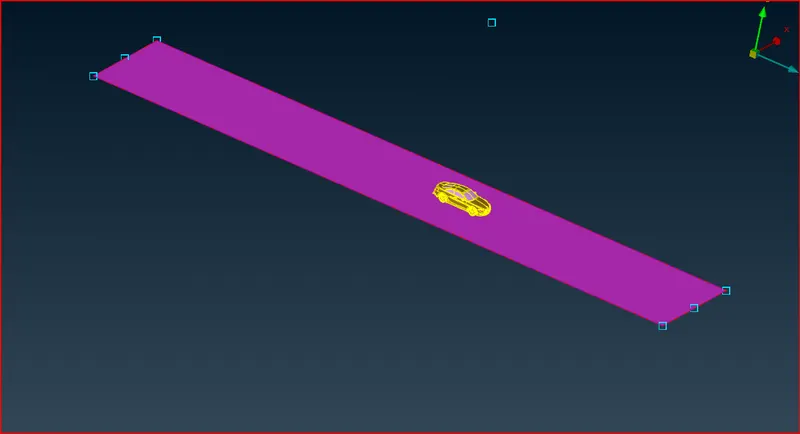
Now create a new surface and assign a pid as base surface tunnel.
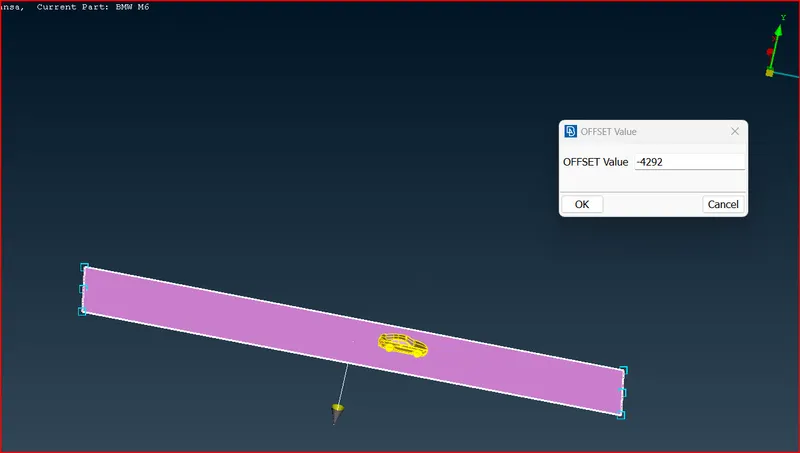
to create the top surface we can offset the below surface at a distace of 3x + height of car=3918+374=4292 units.
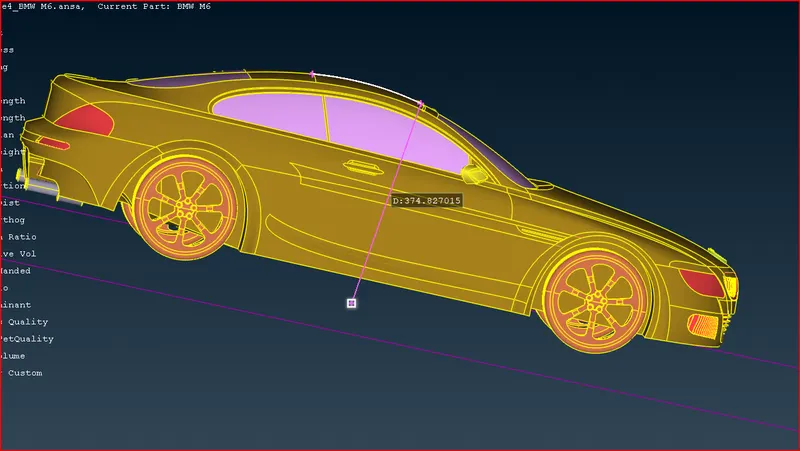
So delete the top point and offset the base surface.
Delete the curves and points created.
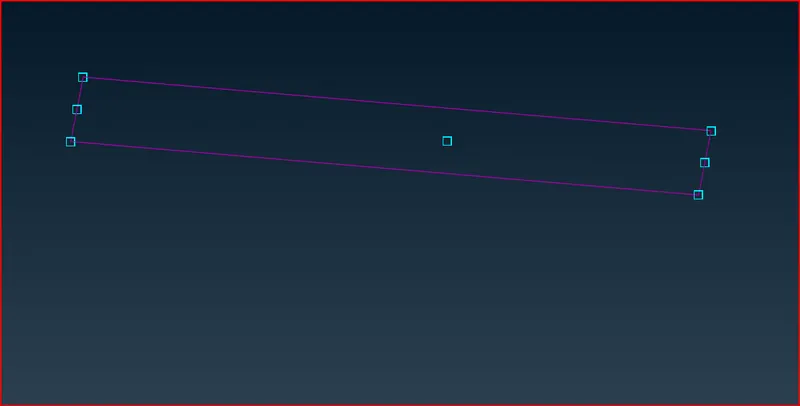
Create new surfaces
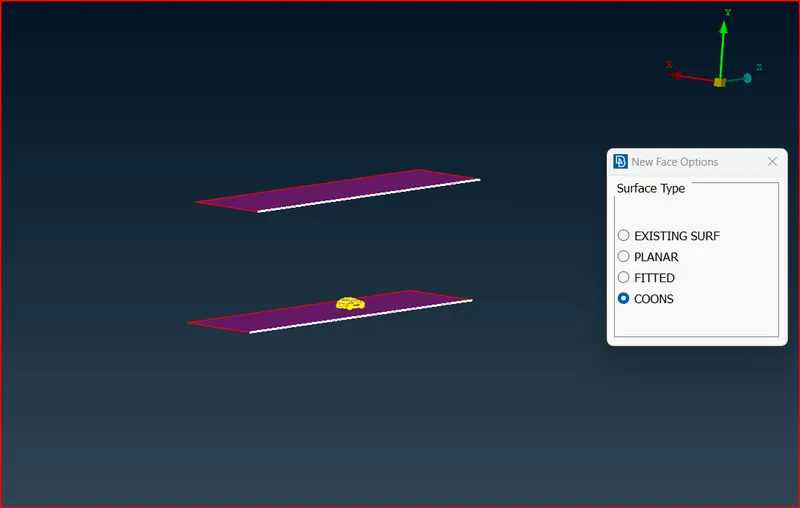
WInd tunnel created
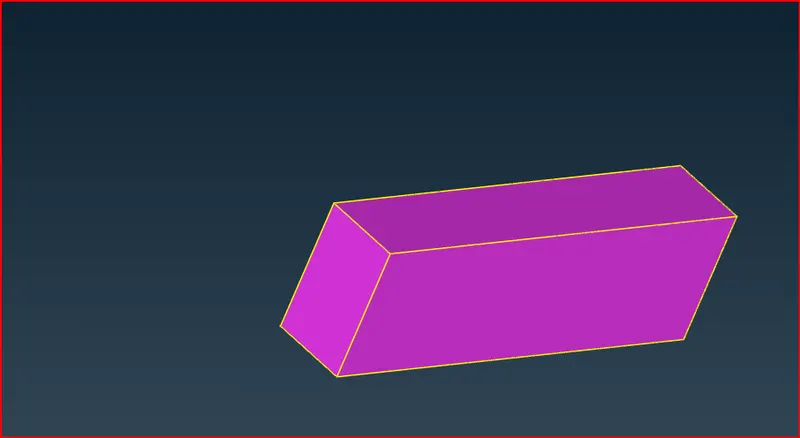
Assigned pids to the wind tunnel.
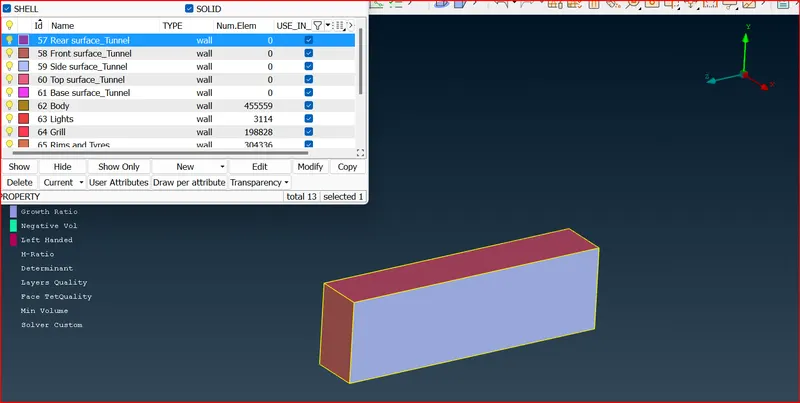
Now we can mesh our wind tunnel.
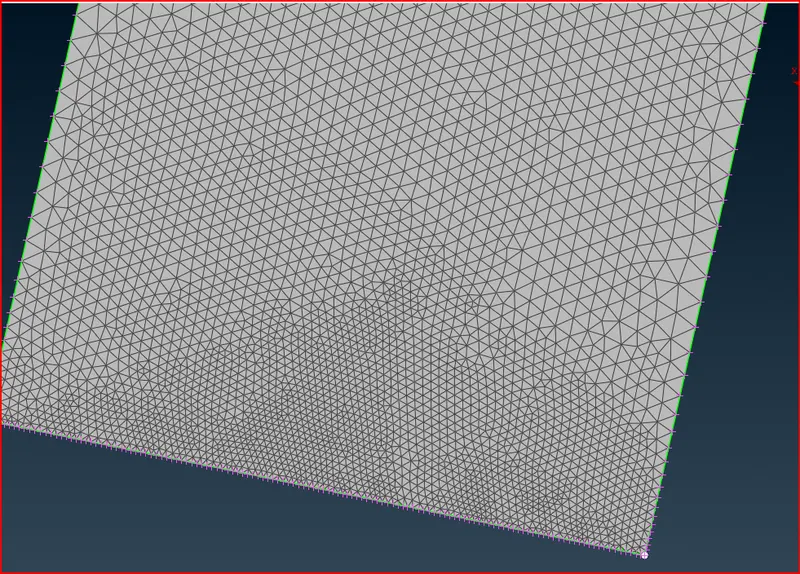
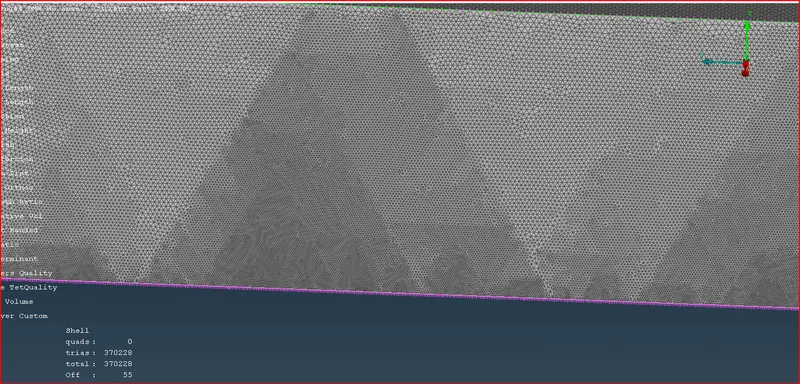
While meshing the wind tunnel mesh should be fine near the car and at far away place coarser mesh can be used.
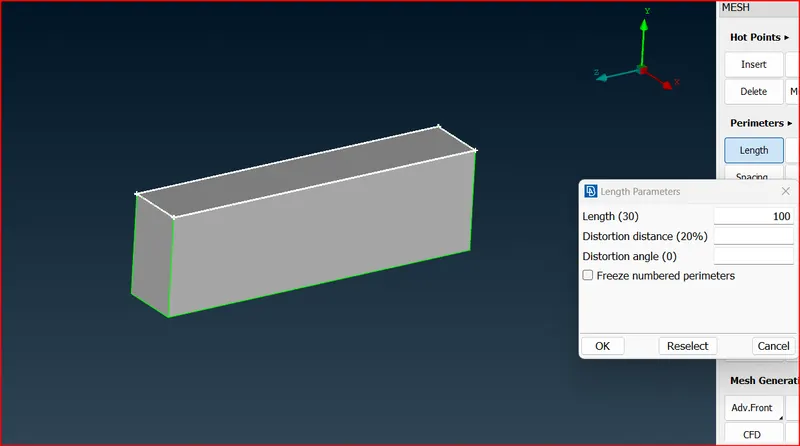
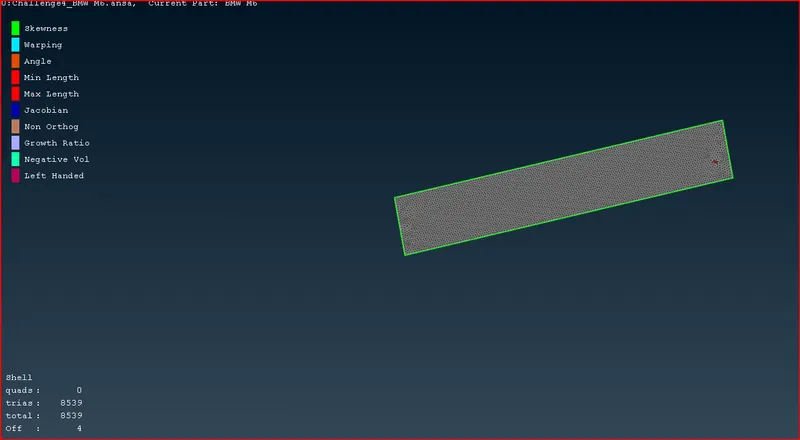
For bottom surface 20 mm
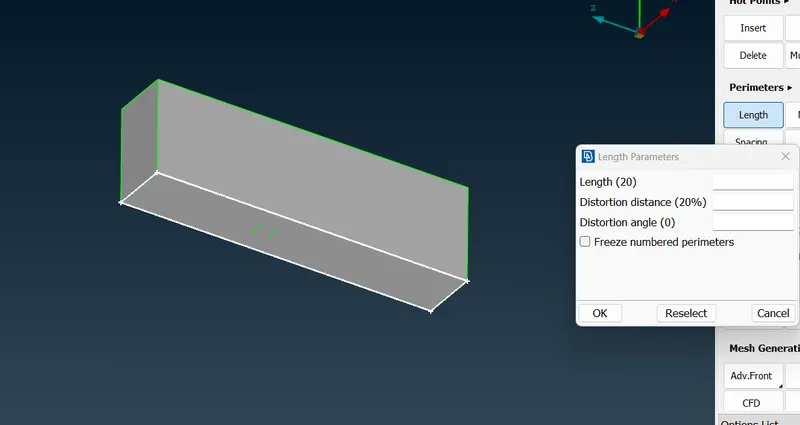
Since the top surface has large mesh length and bottom surface has small mesh length in order to mesh the vertical suface ensure that the mesh length varies smoothly from 20 mm at the bottom to 100 mm at the top.
Go to spacing>Slect biasing as geometric
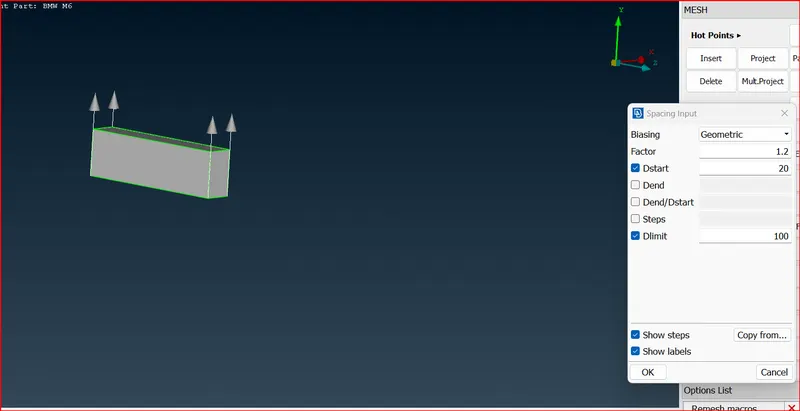
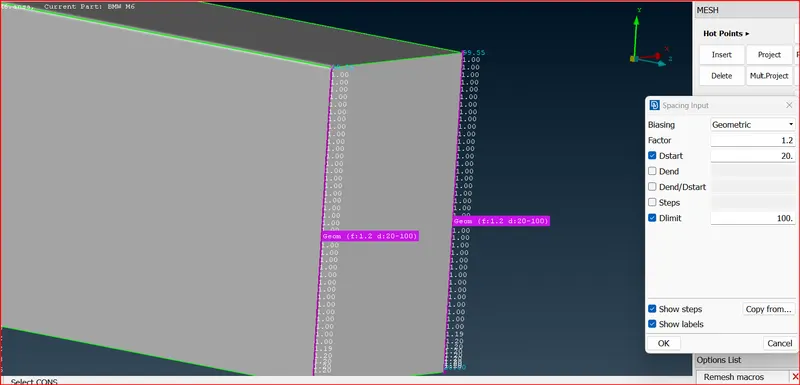
Now we can mesh the top and bottom surface of tunnel individually.
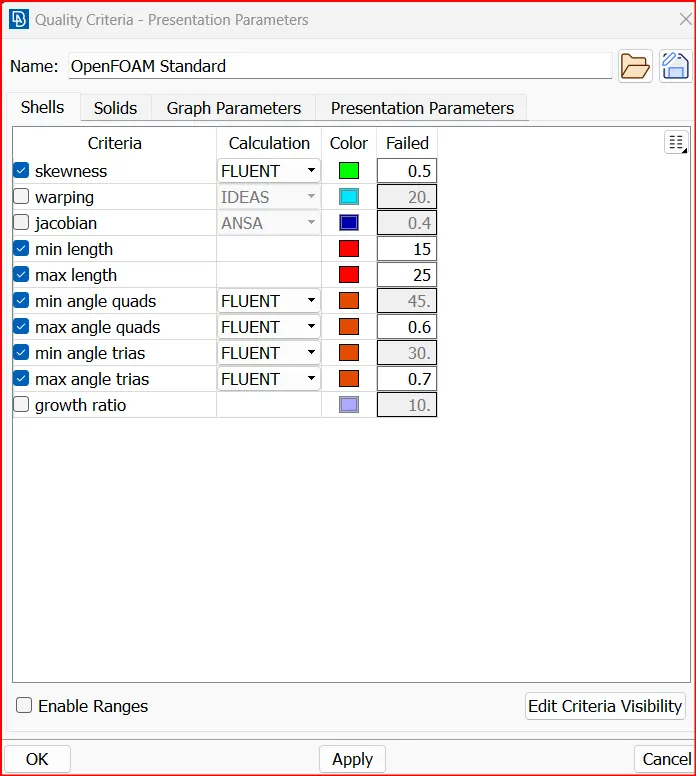
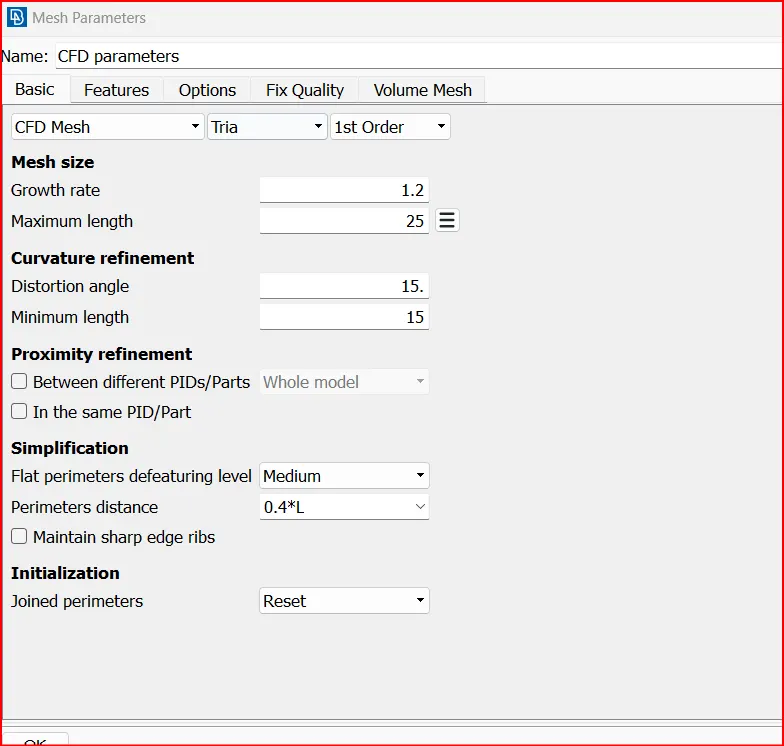
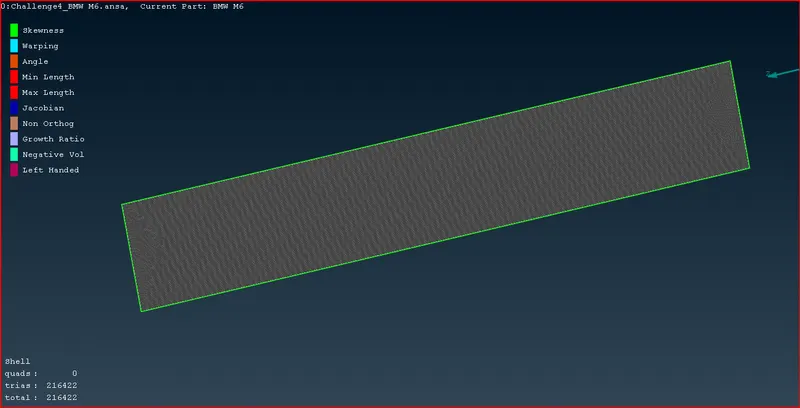
Meshing Bottom surface
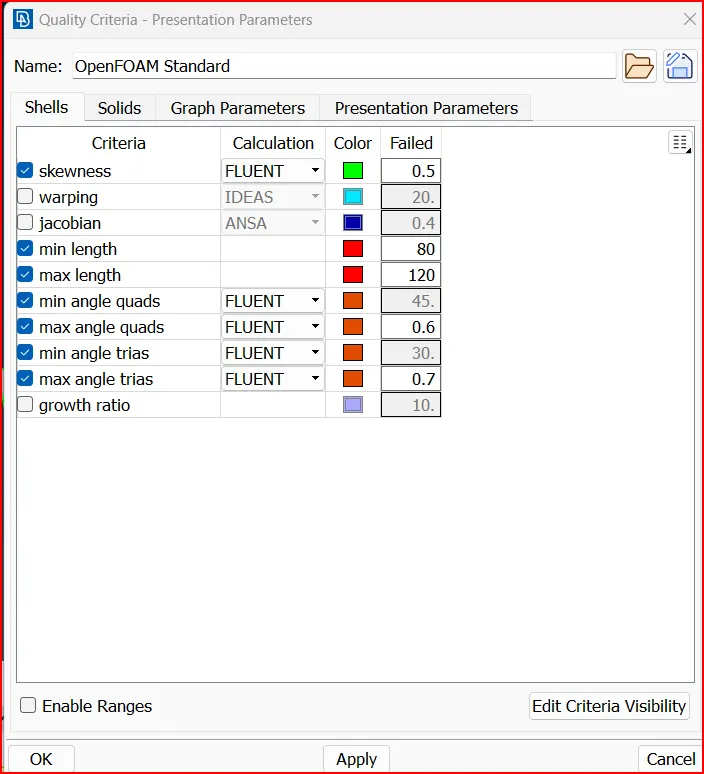
Front face of wind tunnel
Side walls of wind tunnel
Conclusion
Geometric clean up of the given model carried out by removing the single and triple cons.
Surface meshing has been done for each pids individually using the specific target mesh lengths and quality criteria.
wind tunnel has been designed as per the standards.
surface mesh of wind tunnel has been performed.