Week 4 Challenge : CFD Meshing for BMW car
CFD MESHING FOR BMW CAR
Aim :- To perform the surface meshing for given BMW Car model with appropraiate Target lengths for different PIDs.And to check geometrical errors.Also to create a wind tunnel for volumetric mesh.
Target lengths for different parts
1) Car body - 3mm
2) Lights - 4mm
3) Grills - 1mm
4) Tyres - 2mm
5) Optical rear view mirror - 2mm
6) Window - 2mm
7) Silencer - 3mm
8) Logo - 1mm
Theory :- ANSA is a computer aided engineering tool for Finite element analysis and CFD analysis widely used in the automotive industry. ANSA maintains the association between CAD geometry and FE mesh. ANSA stands for Automated Net-generation for Structural Analysis. It is used for Pre-Processing.
Surface mesh :- Surface mesh is a representation of a surface that consists of vertices,edges and faces.
CFD mesh :- CFD meshes are meshes with variable element length, depending on the local curvature of the underlying CAD surface, under tight user-controlled specifications. It generated the less possible elements taking into account all small details of the geometry. This algorithm is an advanced meshing algorithm tailor made to meet CFD specs or other application areas where a variable size mesh is required.
Volumetric meshes :- Volumetric meshes are polygonal representation of an interior volume of an object.
Procedure :-
1.Drag and open the downloaded ANSA file of the given BMW car model which is in '.ansa' format.
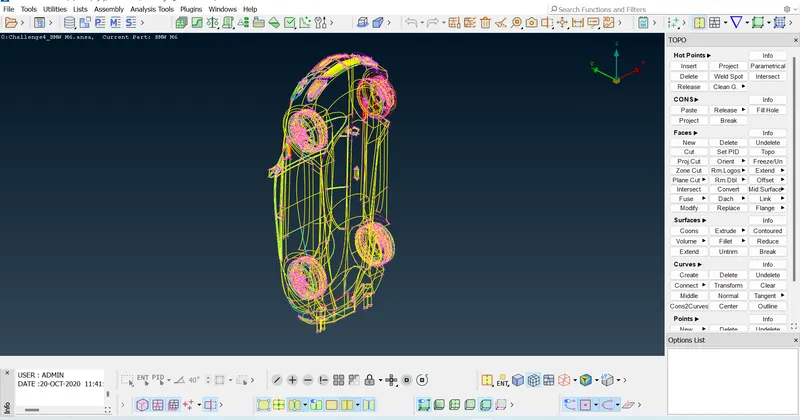
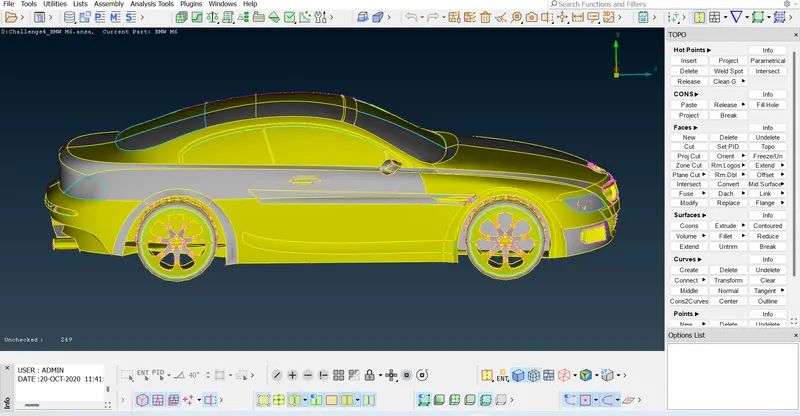
Turn on the shadow mode
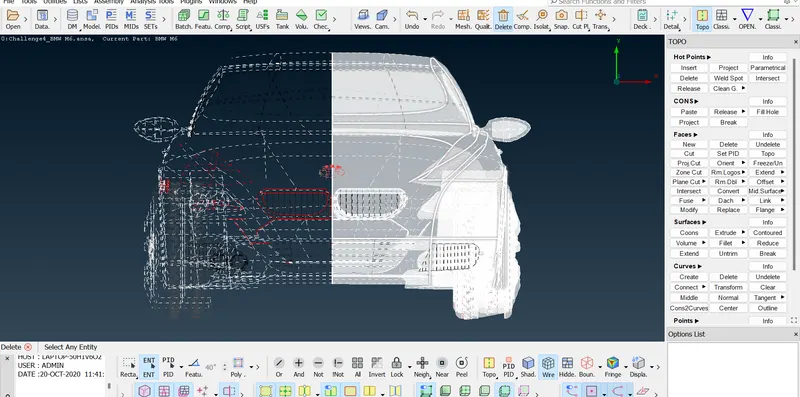
2) Delete one half of the model (Isolate the Logo part by releasing the CONS, make sure that we are not selecting the Logo part for deleting.
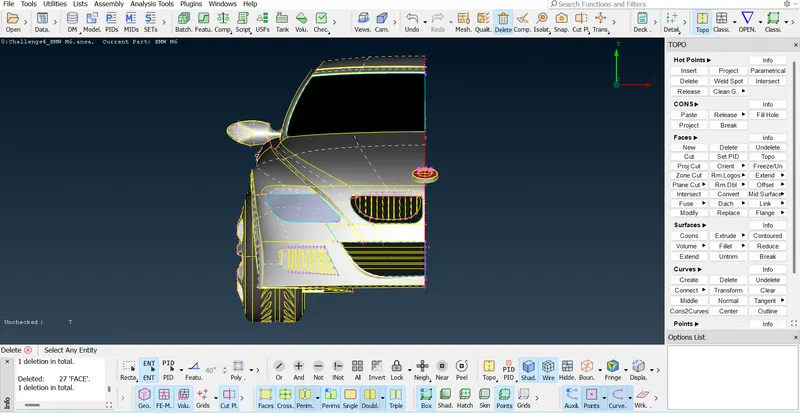
TOPOLOGY
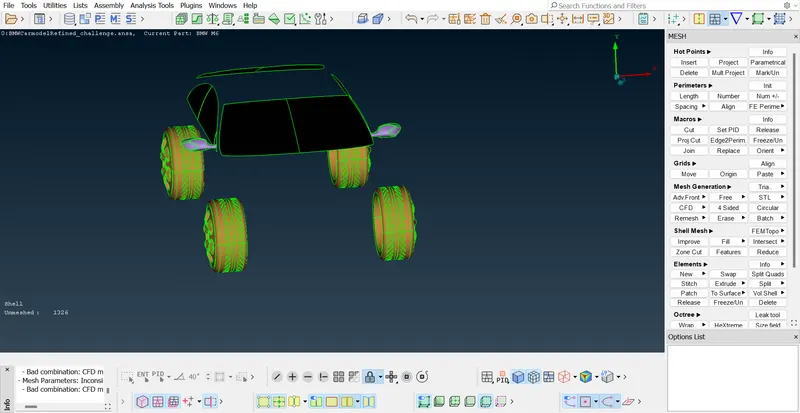
3) Let us start cleaning up one by one using FINE option. But we can't do this for entire model. So we have to go to classic meshing section and set perimeters length to 1mm after selecting the model.Then we get fine parts of the model.
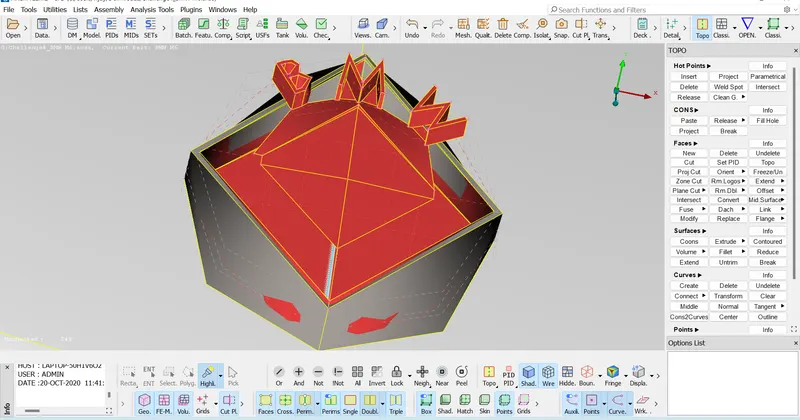
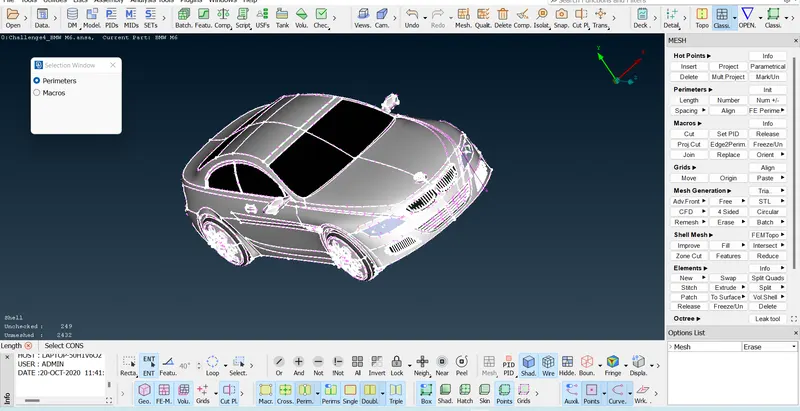
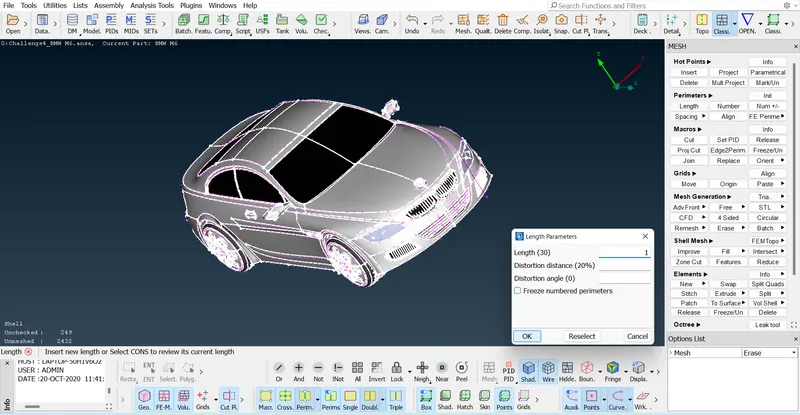
select the front grill part and observe and remove unwanted inner surfaces.
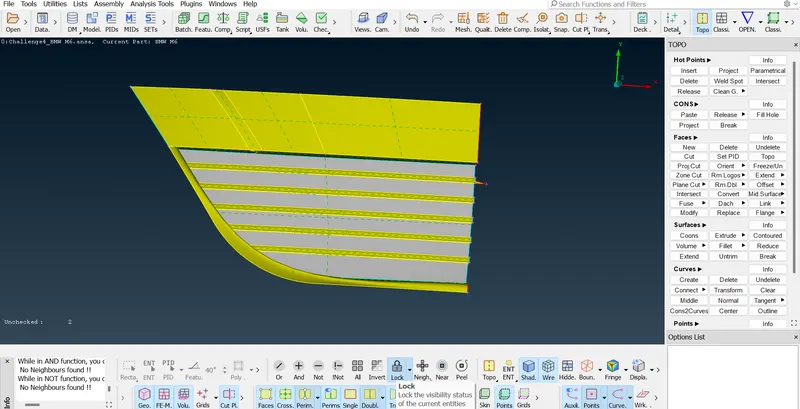
We can see there are some Triple CONS
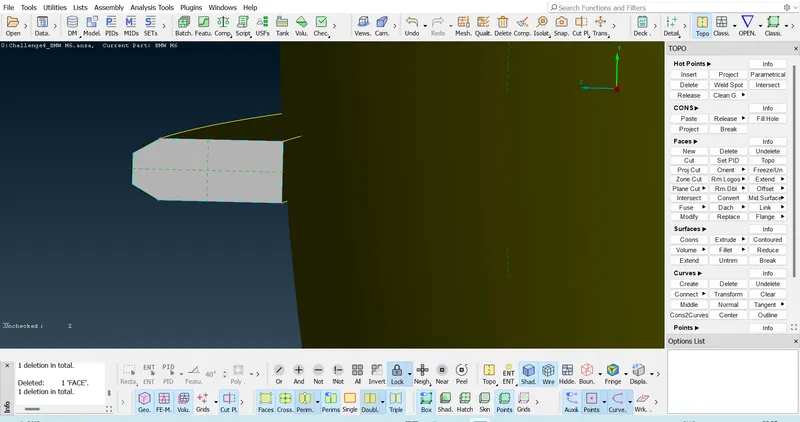
We can delete all those surfaces using Universal Delete option
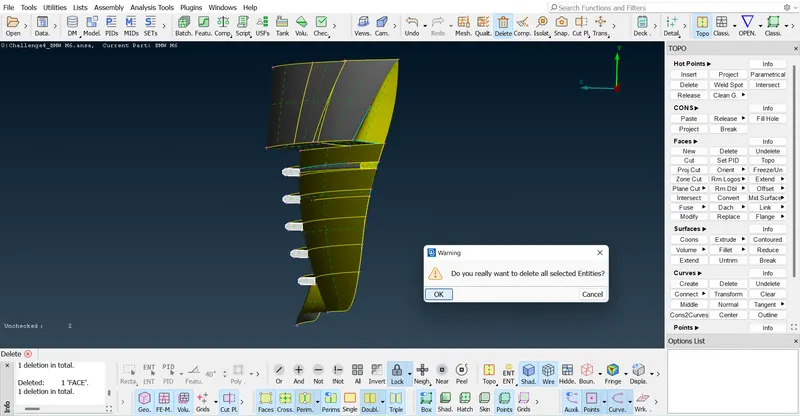
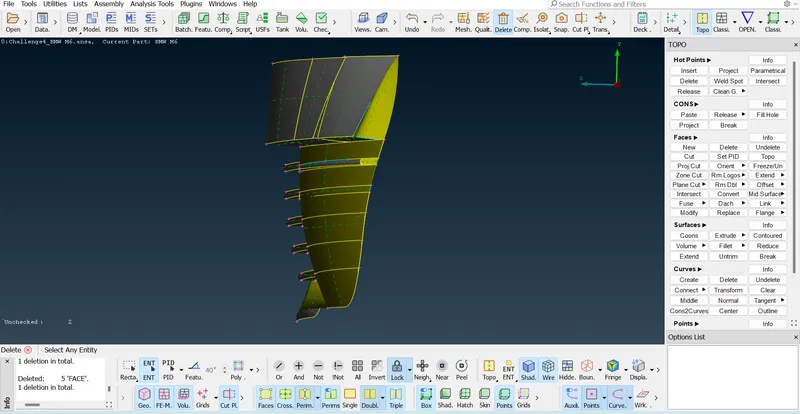
Project the CONS to the surface and then delete the surfaces.
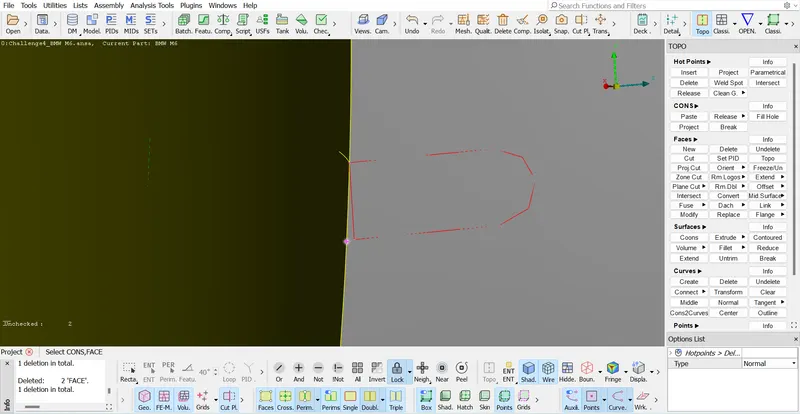
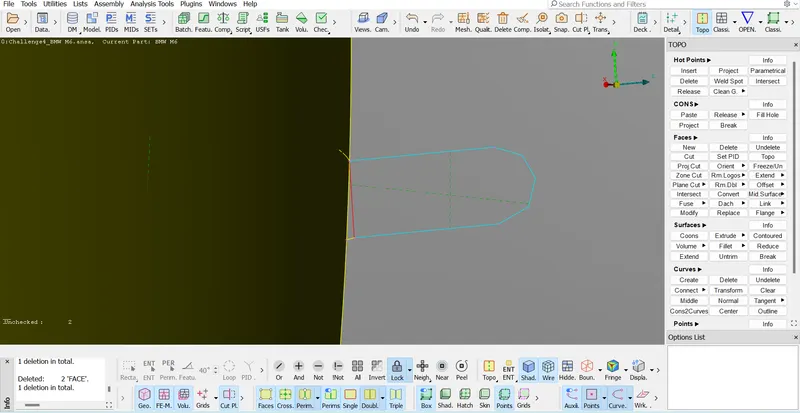
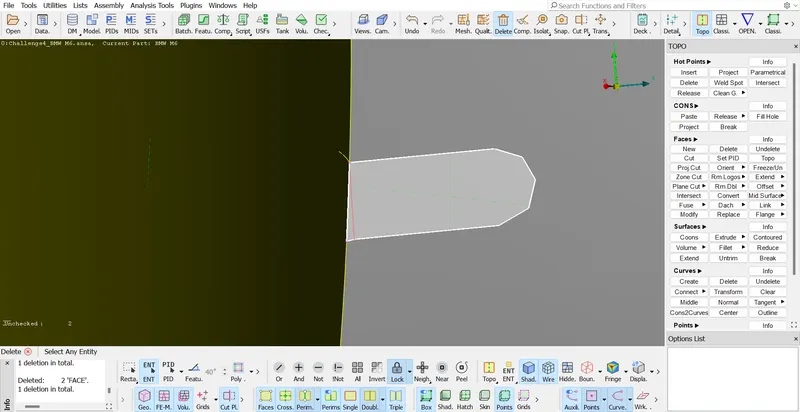
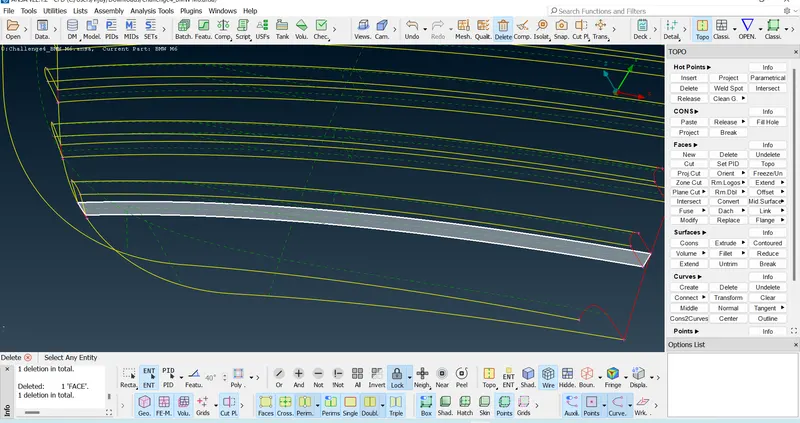
Delete the lower faces
Project the CONS to the surface
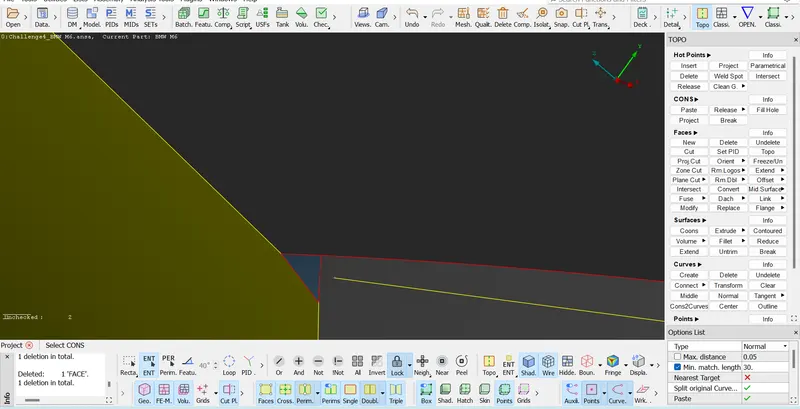
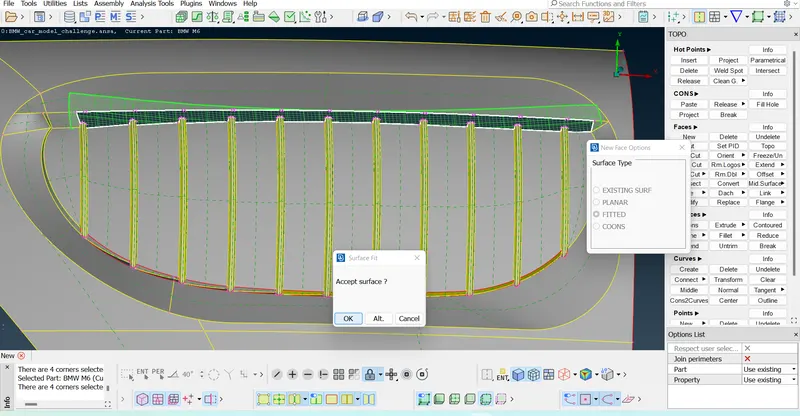
Cut the faces closer to make a closed surface.
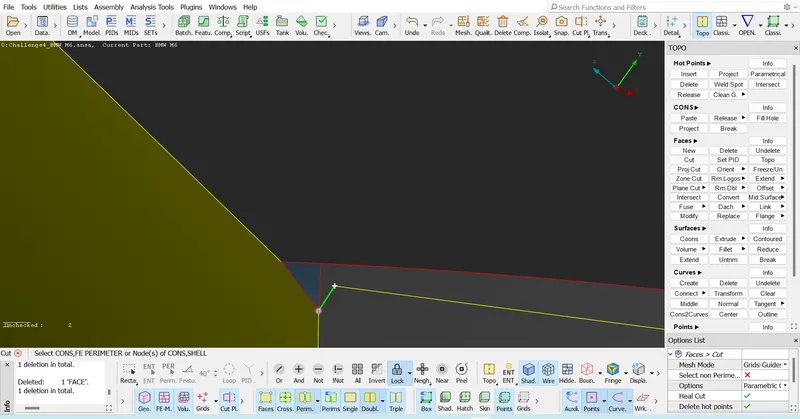
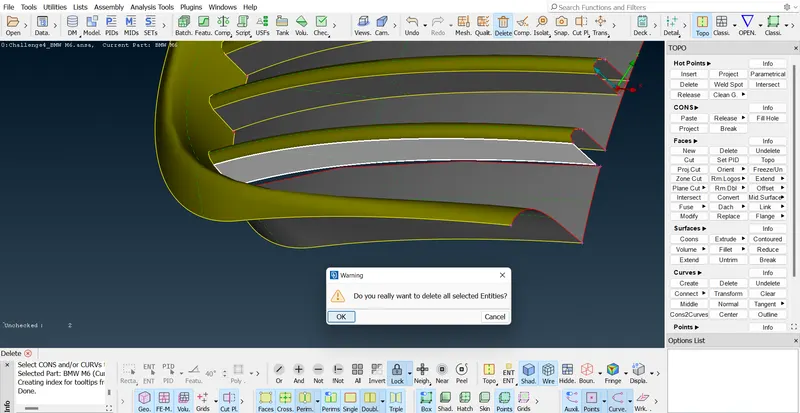
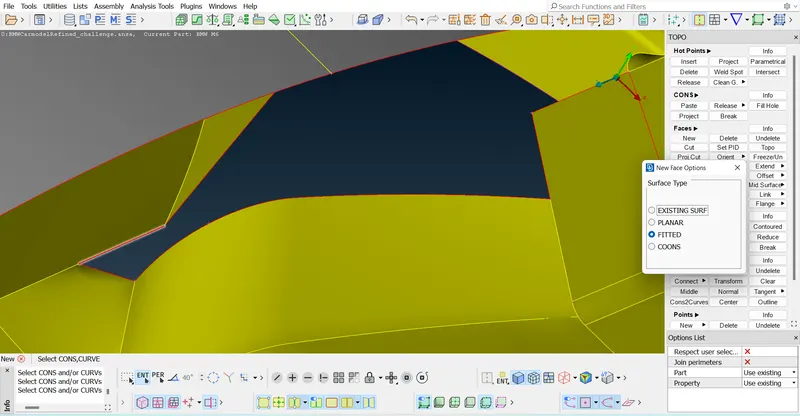
Delete the surface and then create a new surface.
Choose the New face method which suits best to the surface.
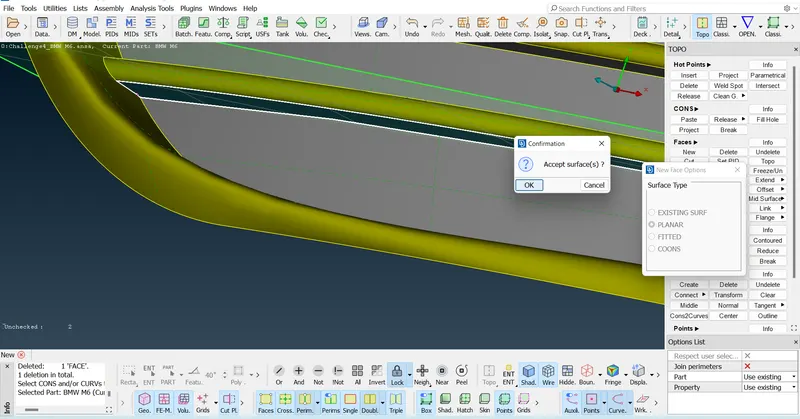
One of the Grill parts was ready.Make sure that there are no Triple CONS and single CONS inside the surface.Also there should not be any openings.
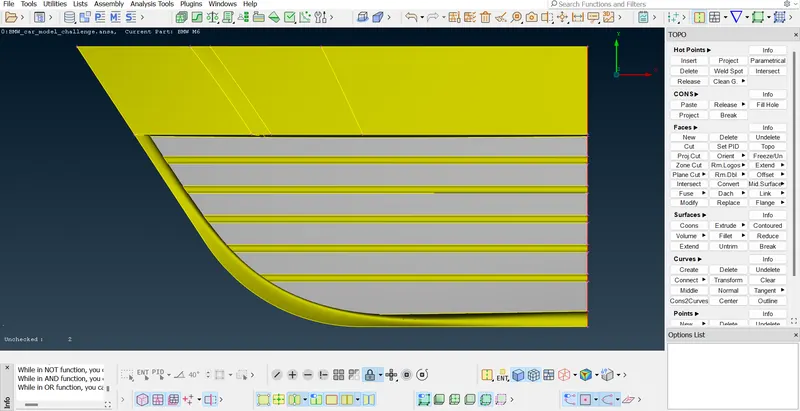
Geometry Cleaning of Optical rear view mirror.
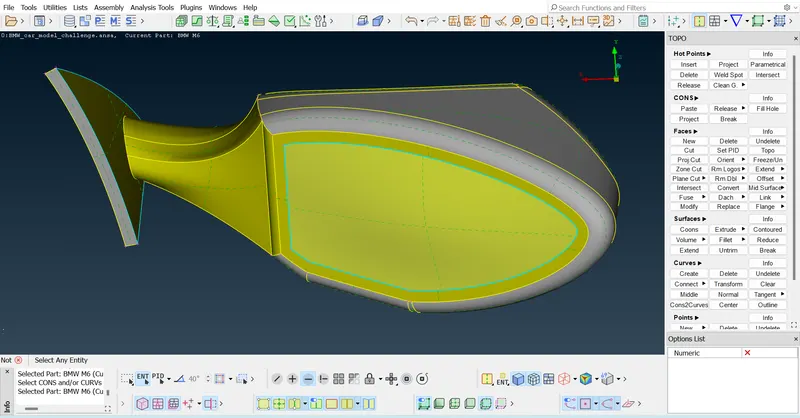
Projecting the circular CON to the surface.
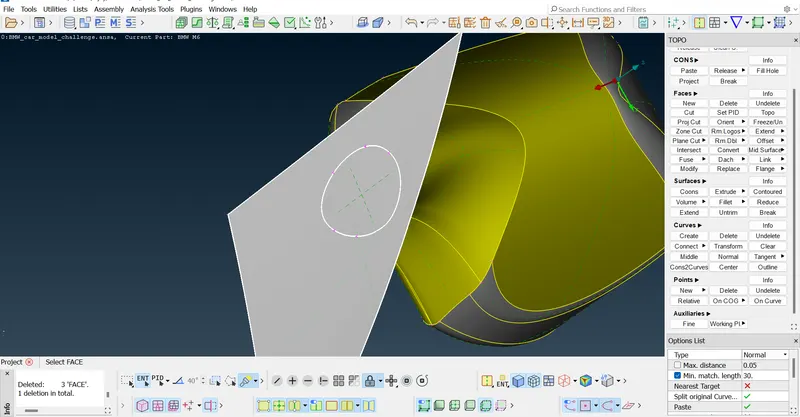
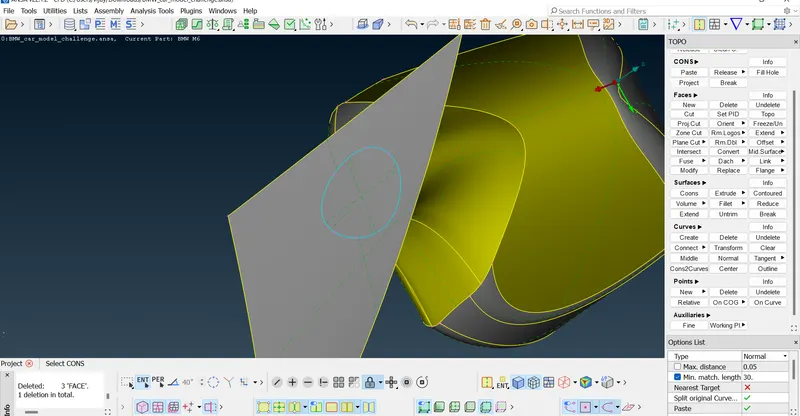
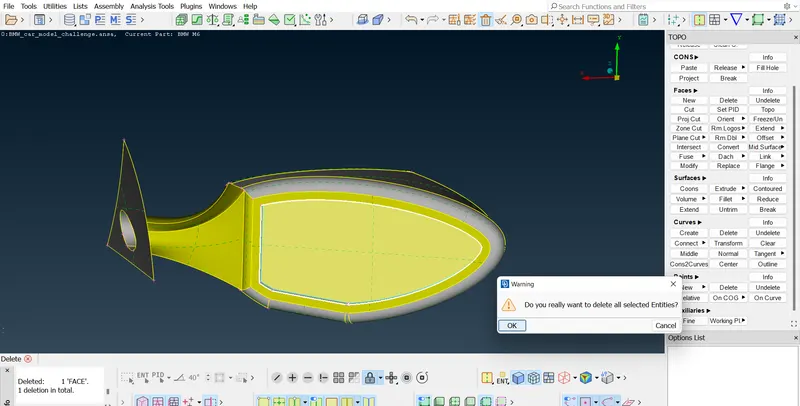
Deleting the unwanted entities
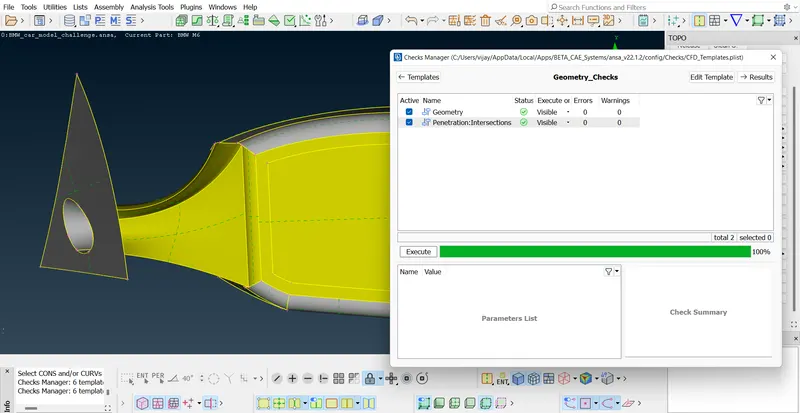
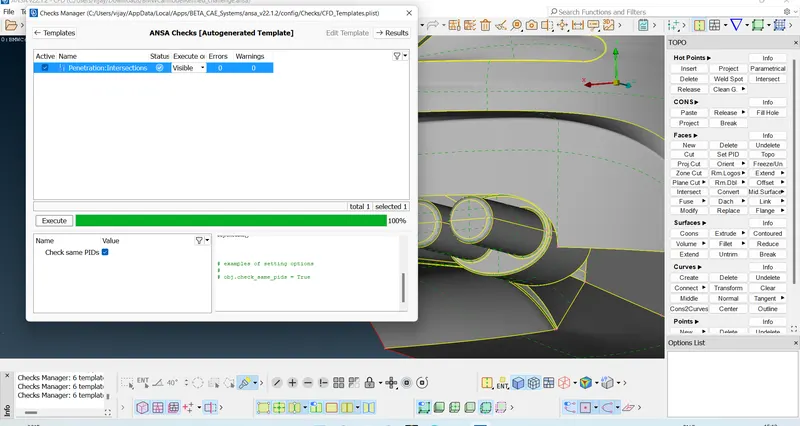
Checking for the errors and penetration intersections.
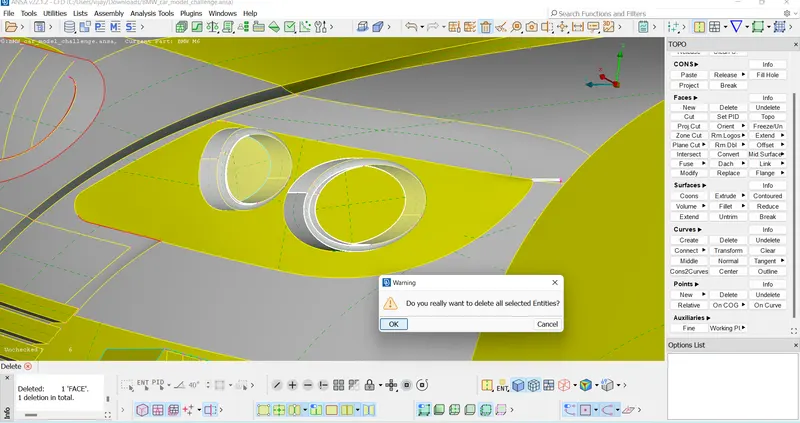
Delete the surfaces which are penetrating to the car body from interior of the Car.
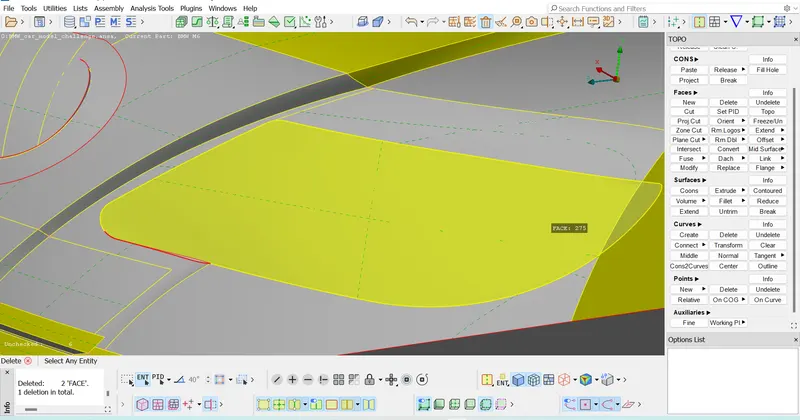
Paste two single CONS which are very closer.
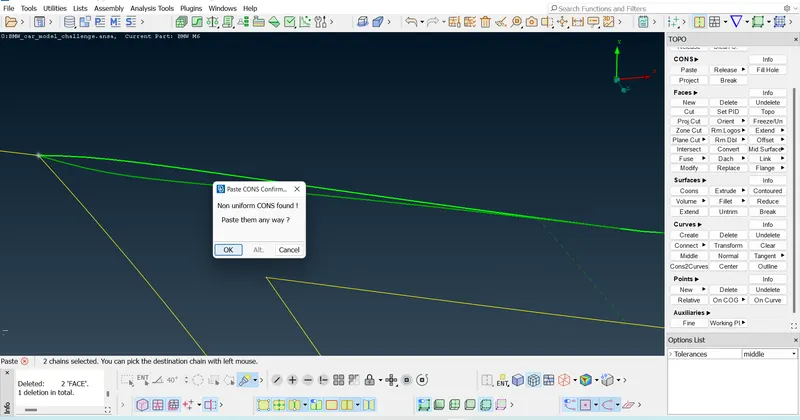
Now choose another grill part and complete the cleanup
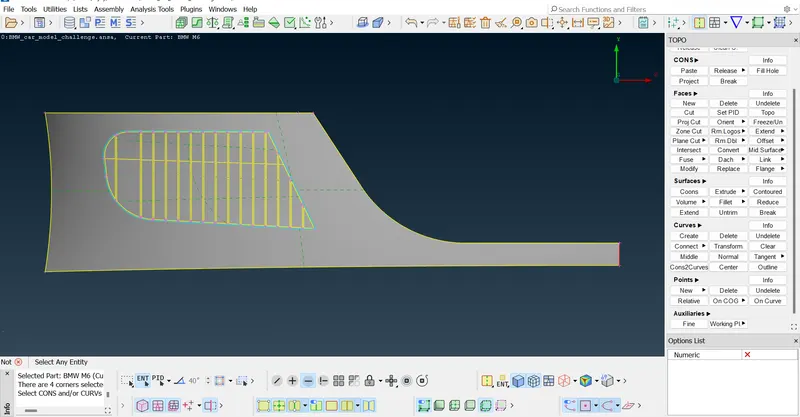
Delete the unwanted faces and close the surface.
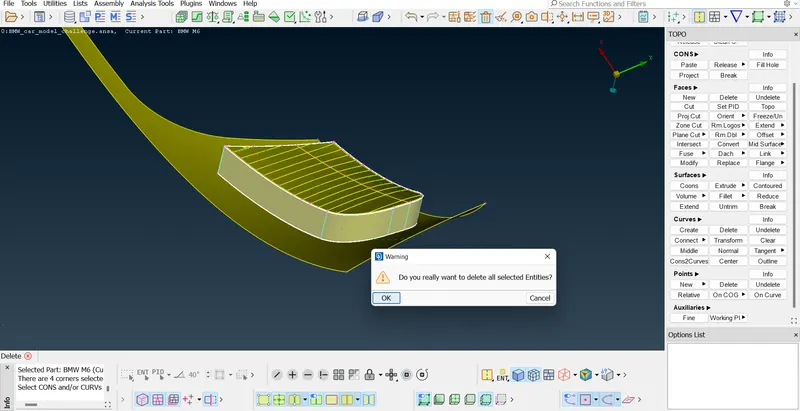
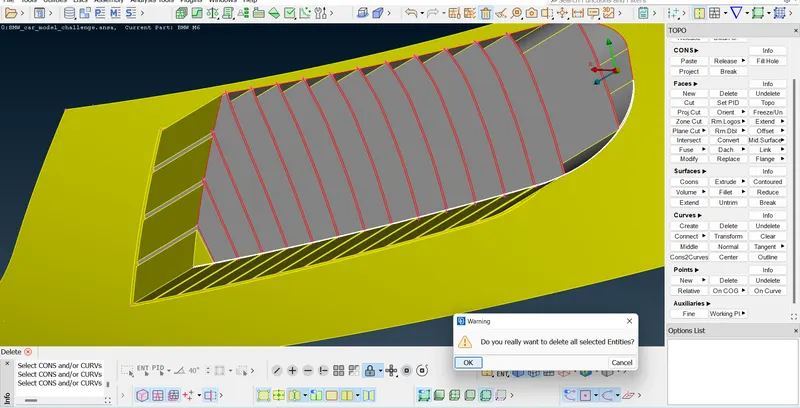
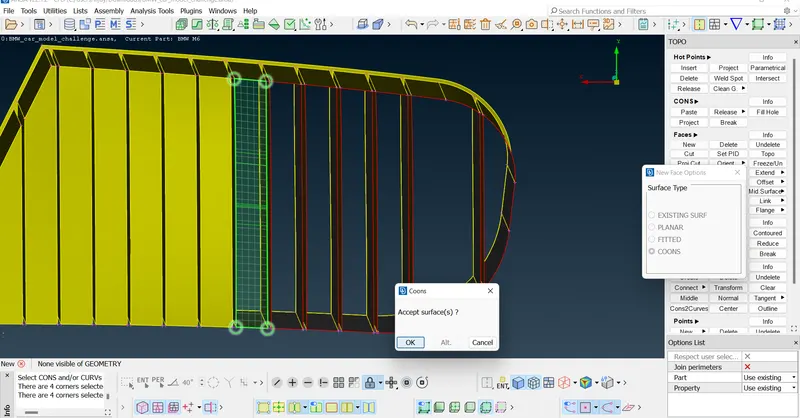
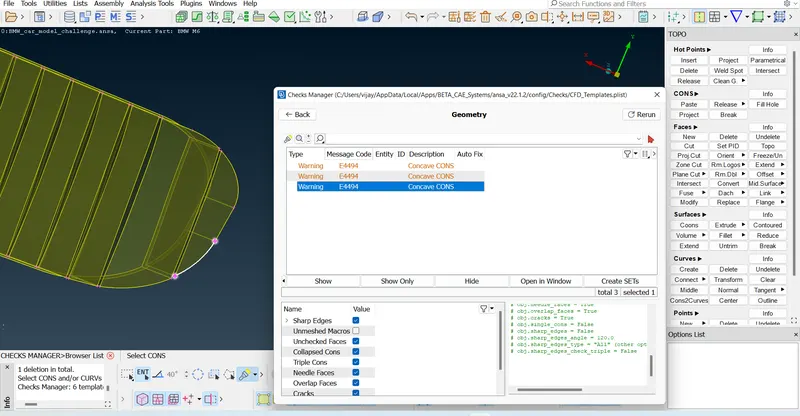
Clearing the Concave CONS
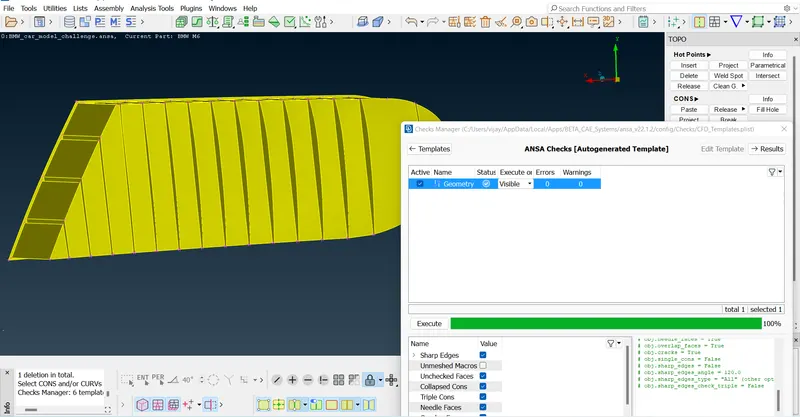
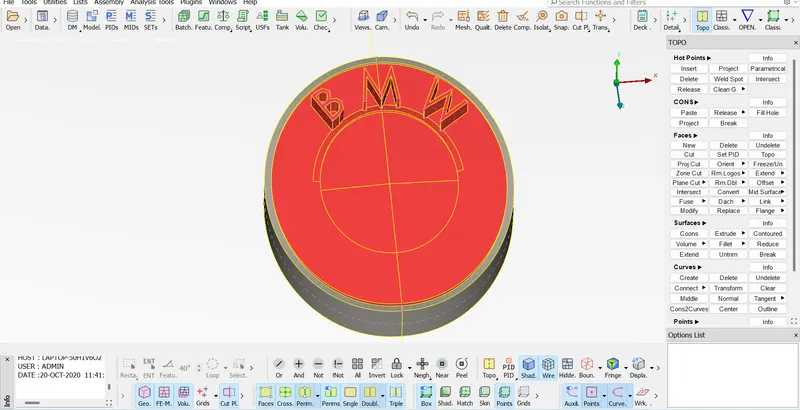
Geomerty Cleaning of the Logo part
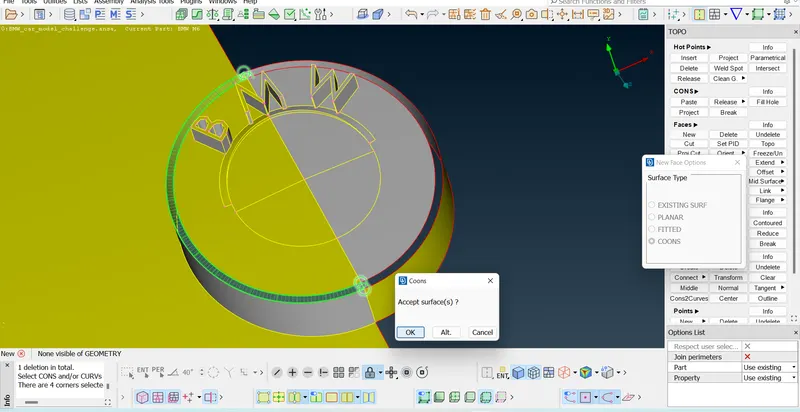
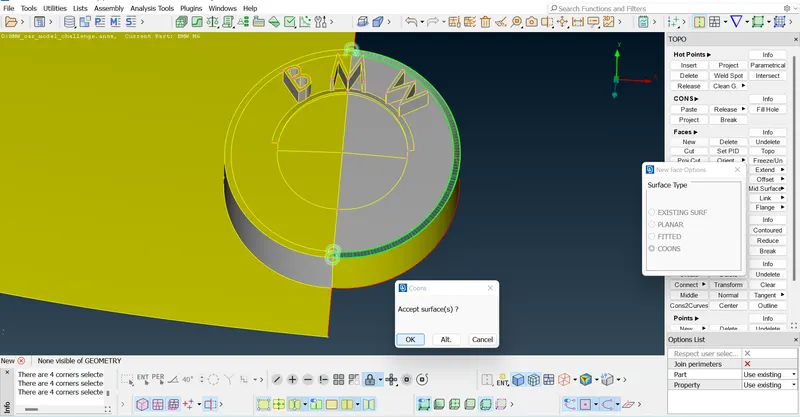
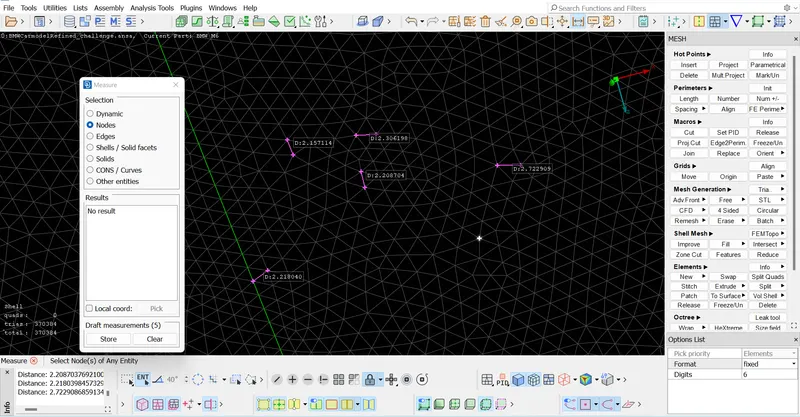
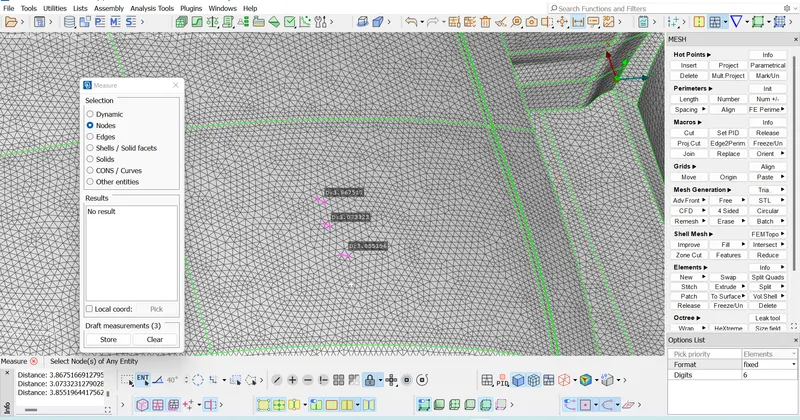
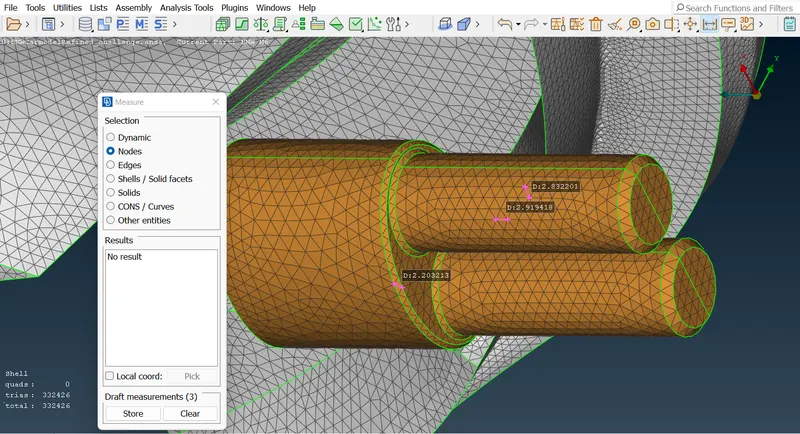
Measure the distance between the CONS and if it is too less, we have to merge those CONS onto a single CON by deleting the face.
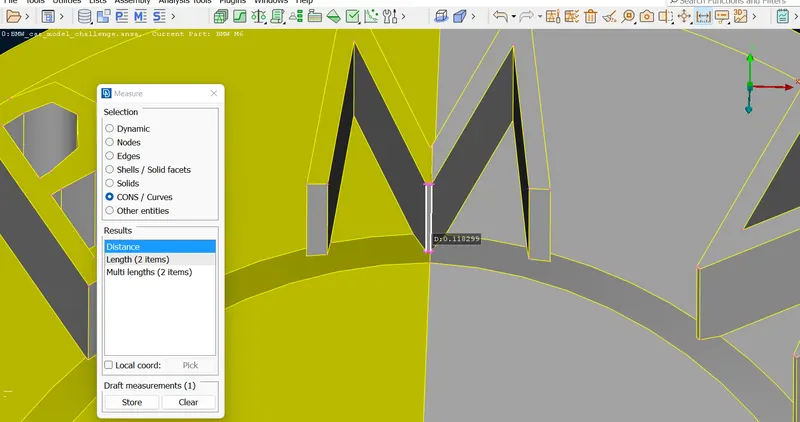
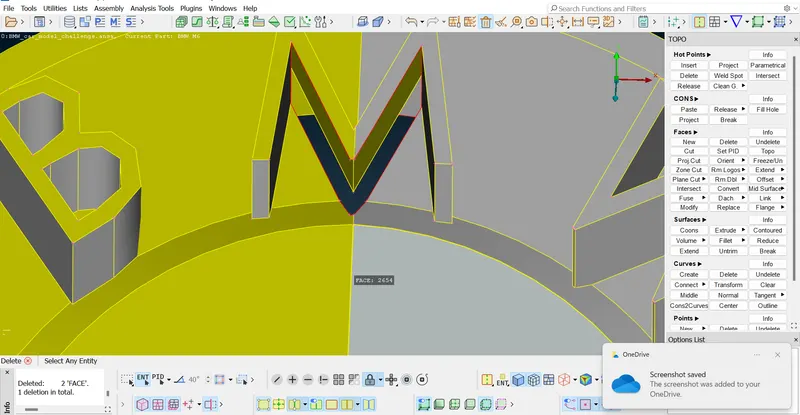
Repeat the process allover the logo.
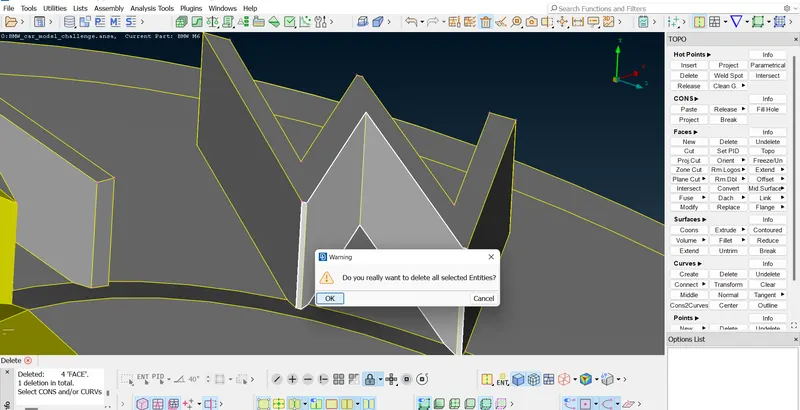
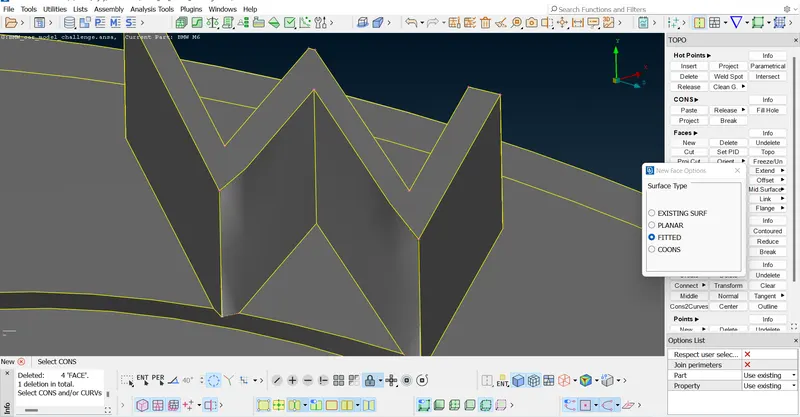
Geometry cleanup of Tyres
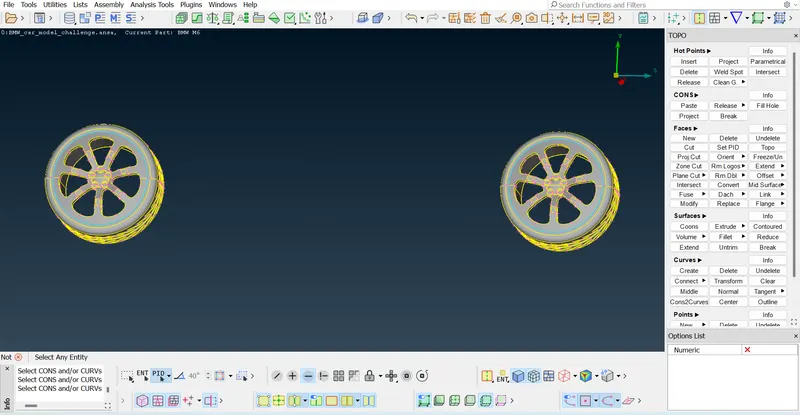
Deleting the overlapped faces
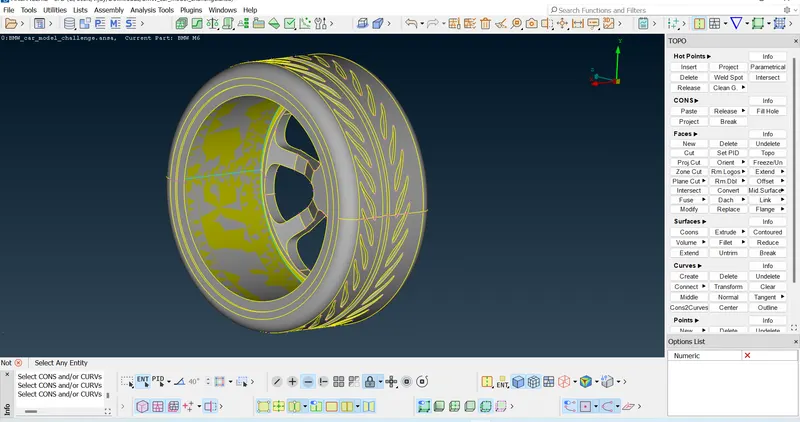
Filling the internal surfaces
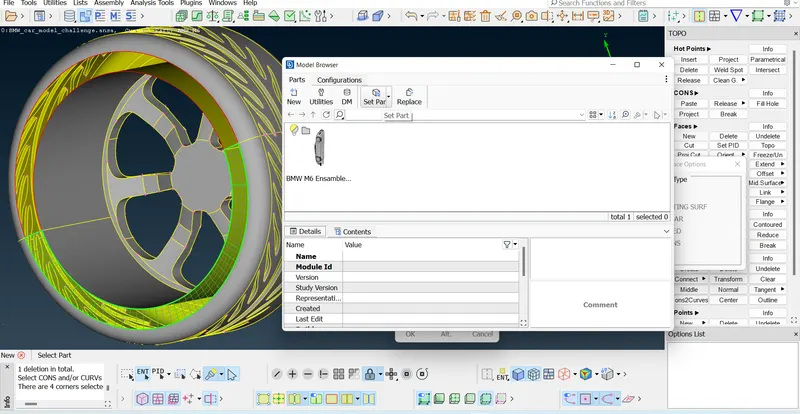
Finally the Tyres are ready,check for Triple CONS & single CONS
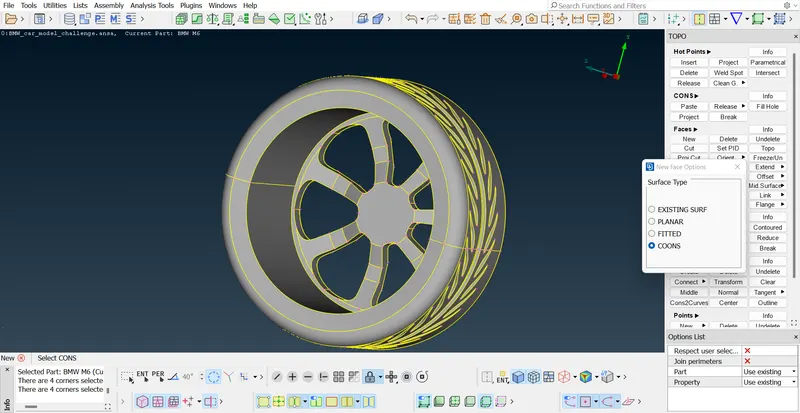
Clearing all Single CON errors
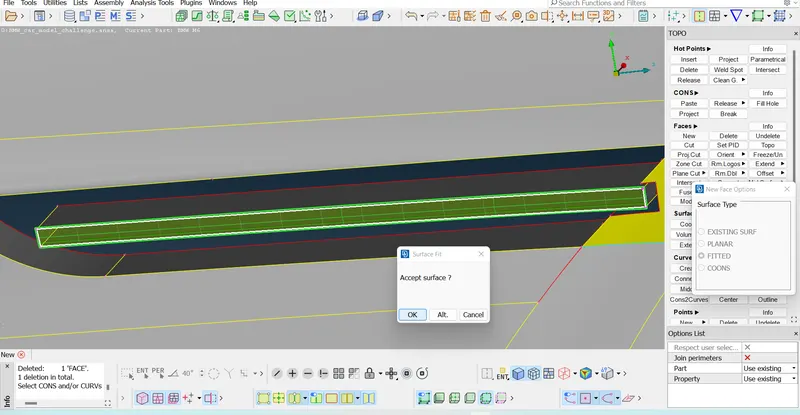
Geometry cleanup of 3rd Grill part
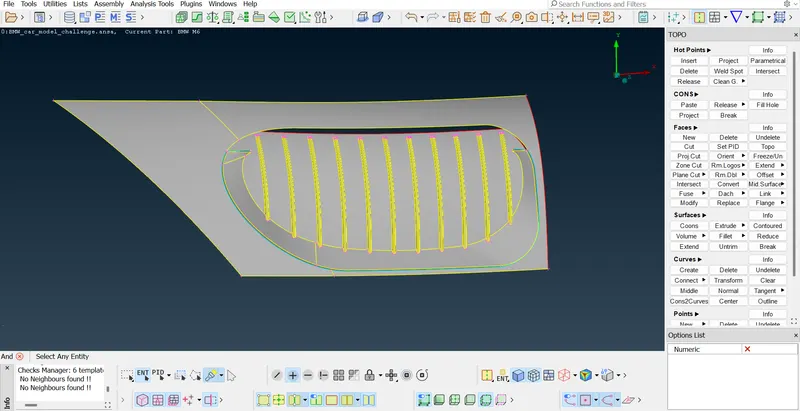
Projecting the CONS to the Top surface
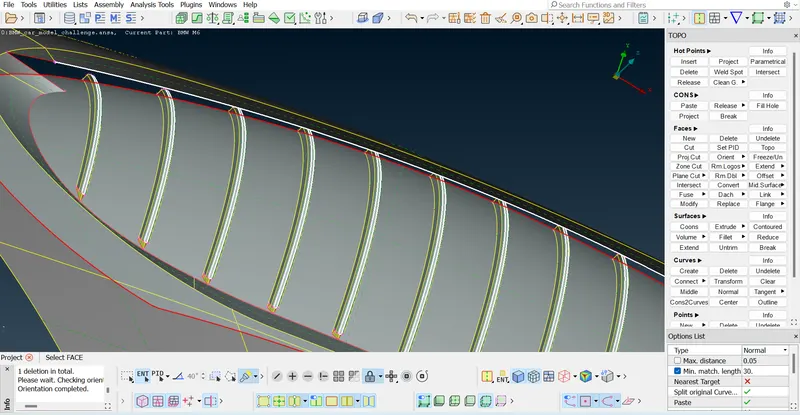
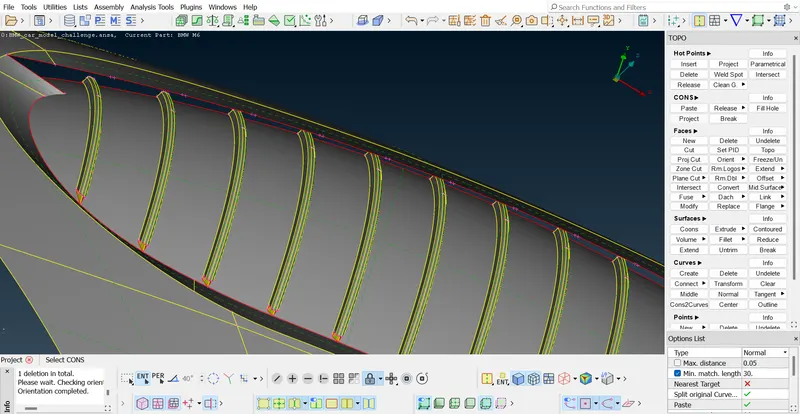
Project cut the CONS
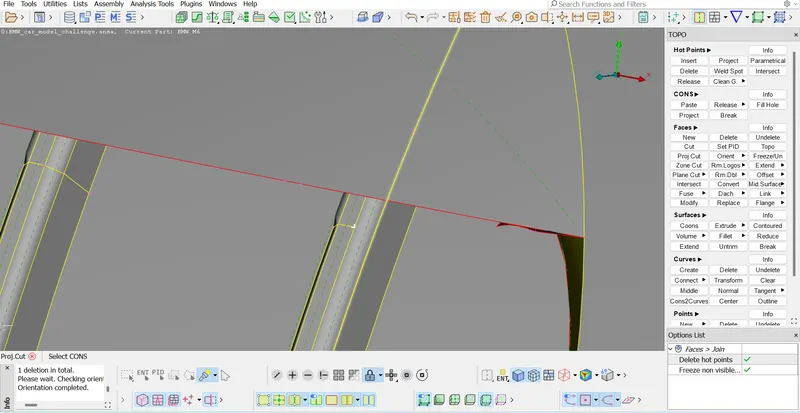
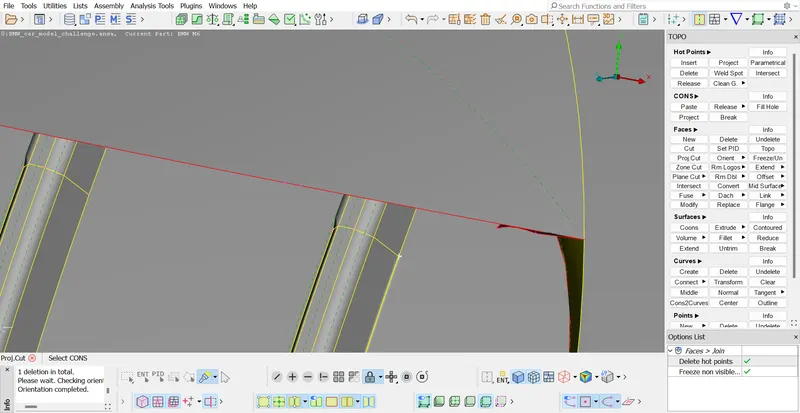
Closing the surfaces
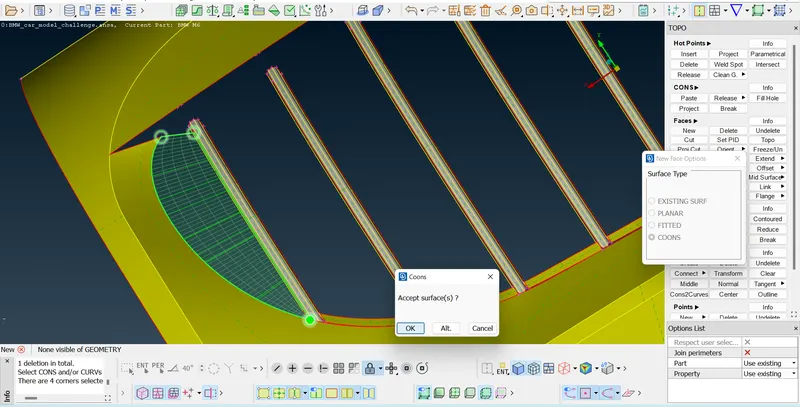
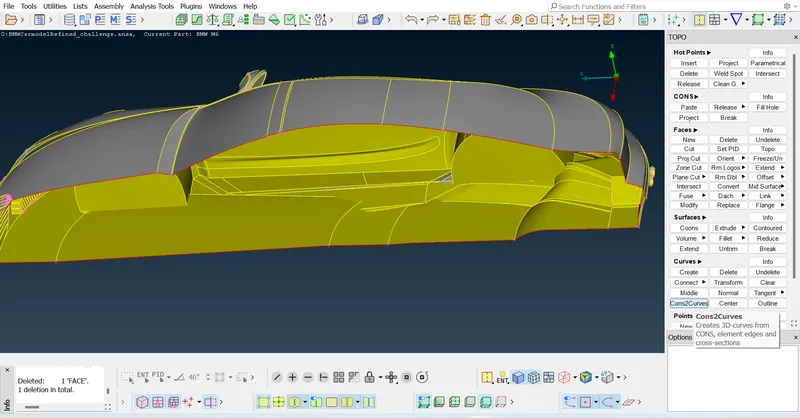
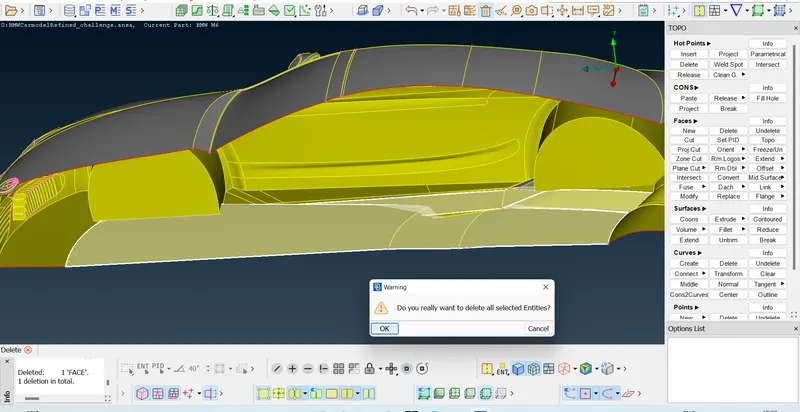
Using 'Cons2Curves' select the outer boundary CONS of car and then delete the unwanted base surface of the car.
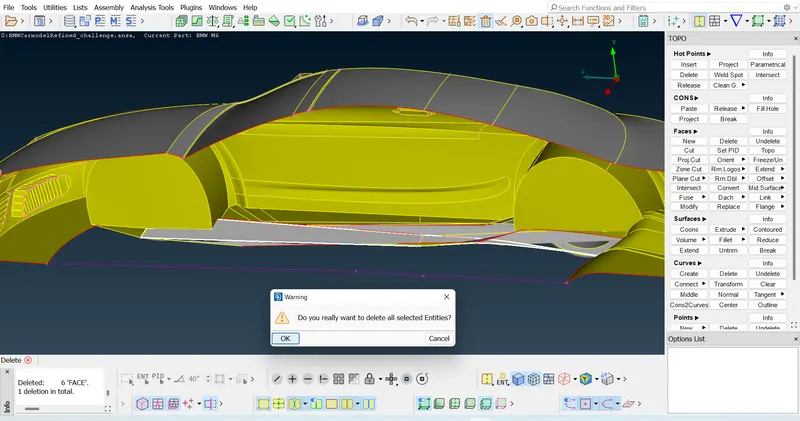
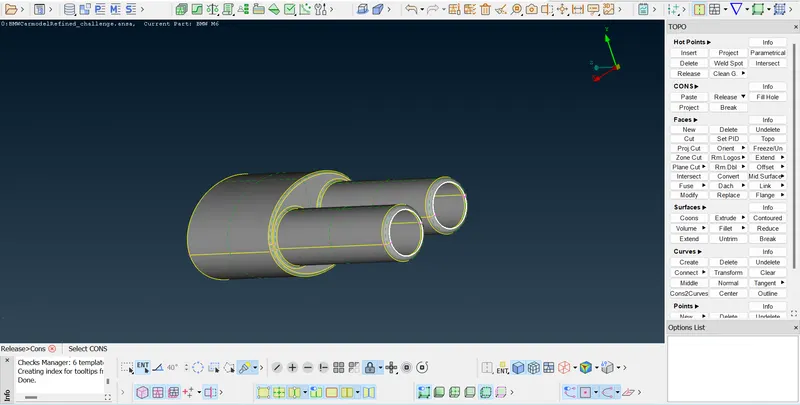
Select the internal surface of the silencer and release the CONS and then delete the internal surface and again use TOPO
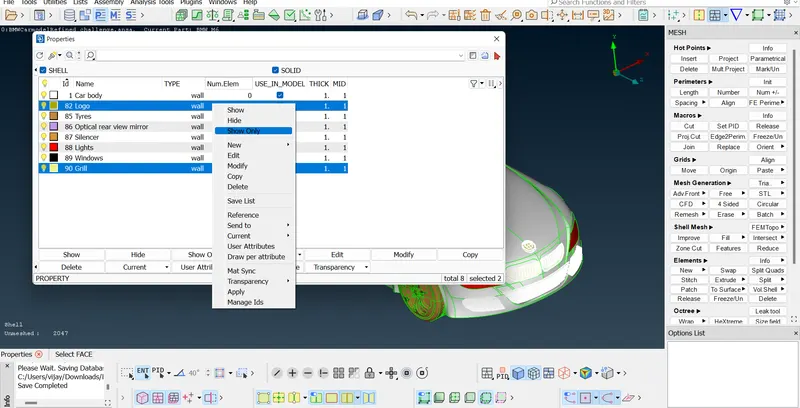
Assign all the PIDs
RESULTS :-
Meshing
LOGO & GRILLS - Target length (1mm)
Lock the view where only Logo & Grills are to be displayed.
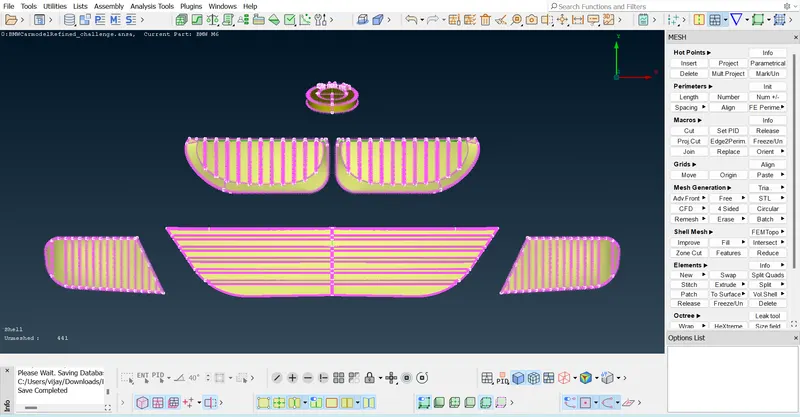
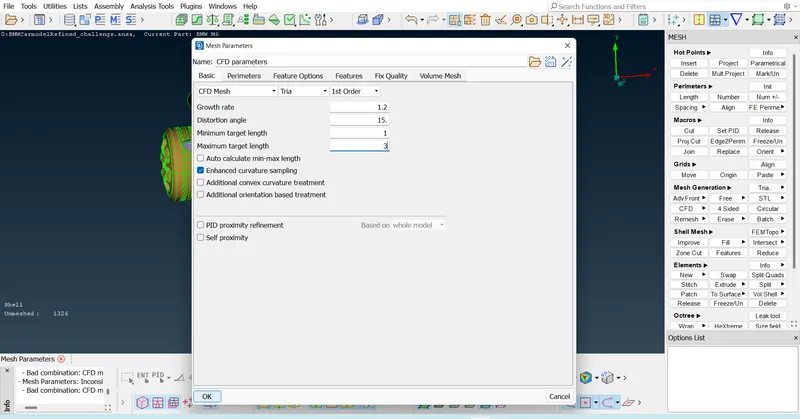
Go to Mesh parameters and quality criteria to set minimum target length and maximum target length i.e,(0.5 , 2 respectively)
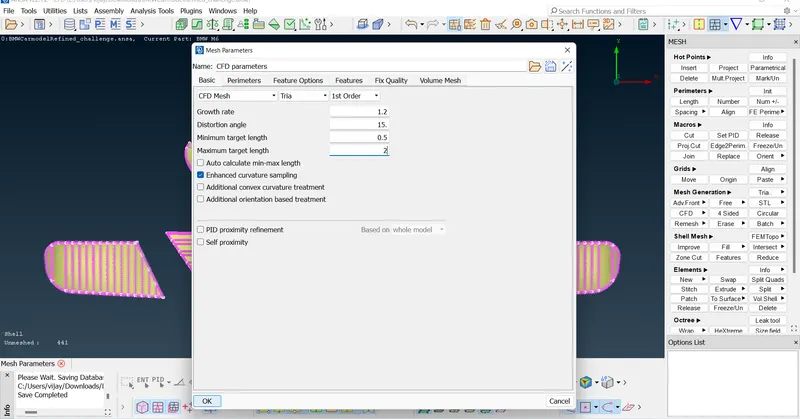
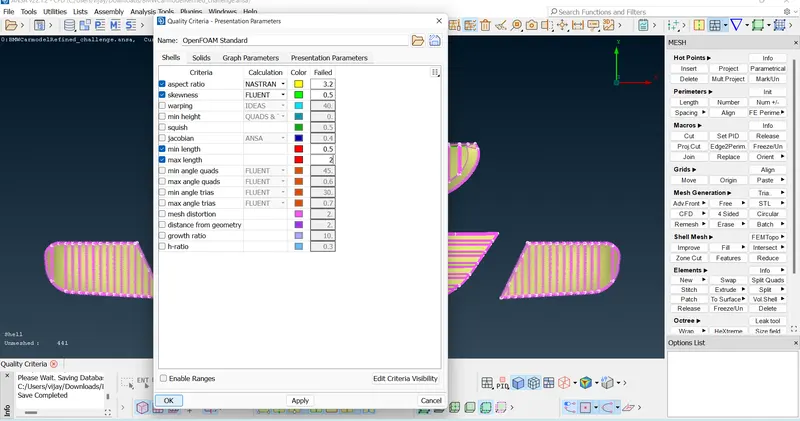
Now select the parameters and macros and give the length as 1 mm and do CFD mesh.
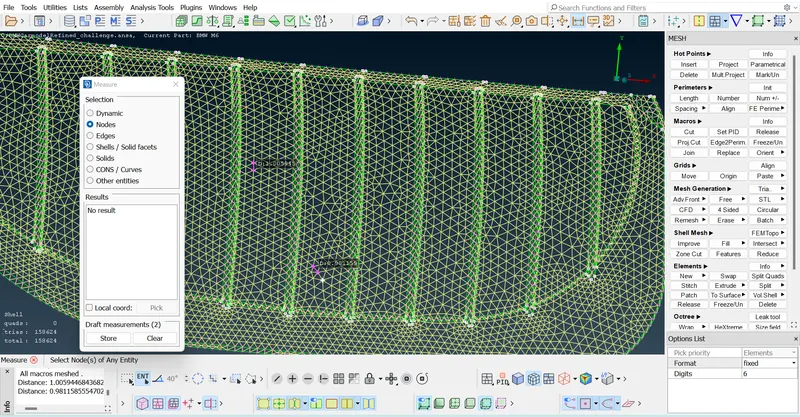
Optical rear view mirror,Windows & Tyres - Target length (2mm)
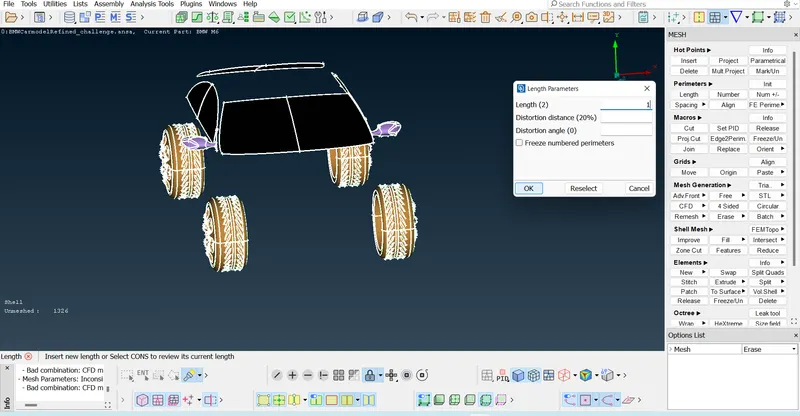
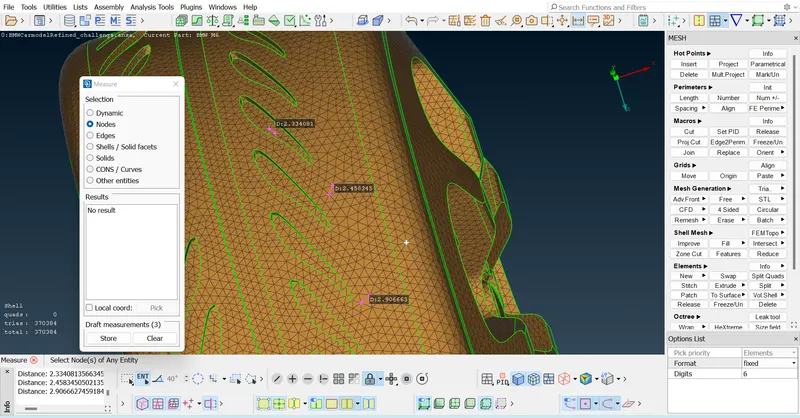
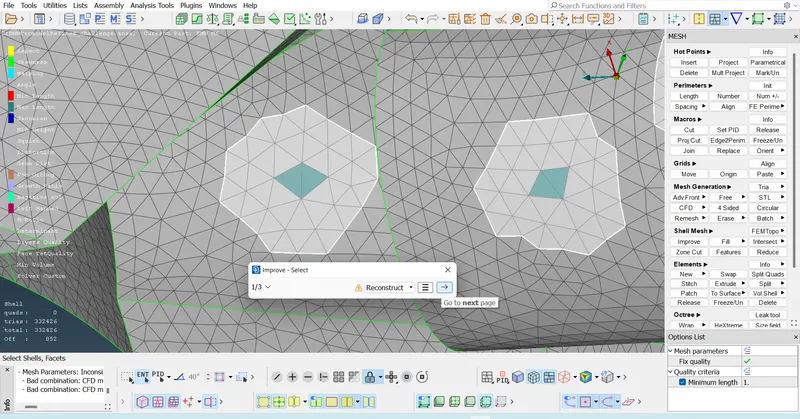
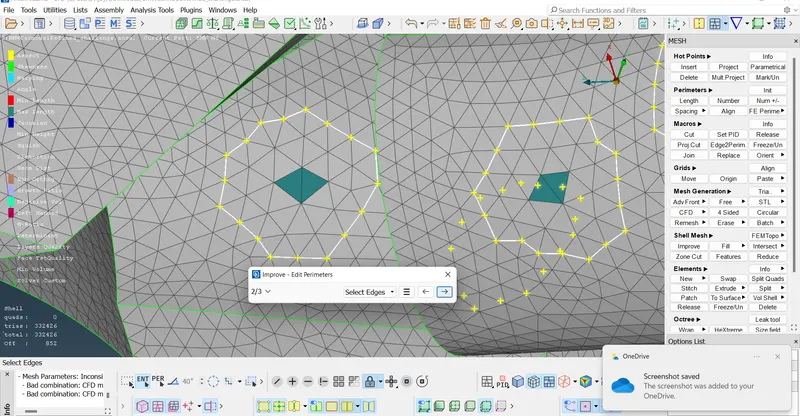
Check the Off elements and try to reduce them using Reshape/Reconstruct
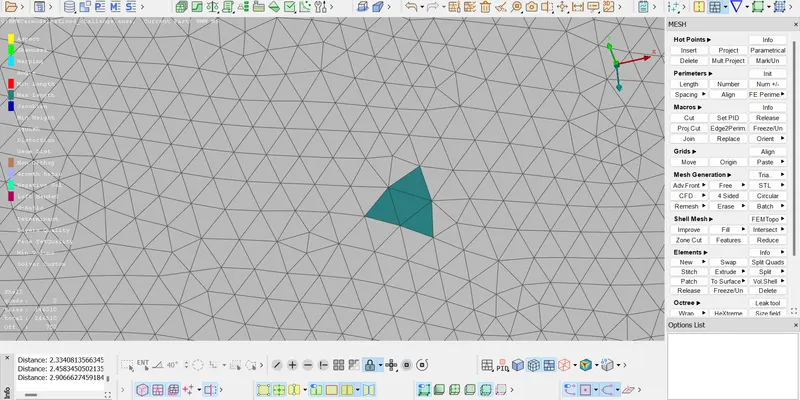
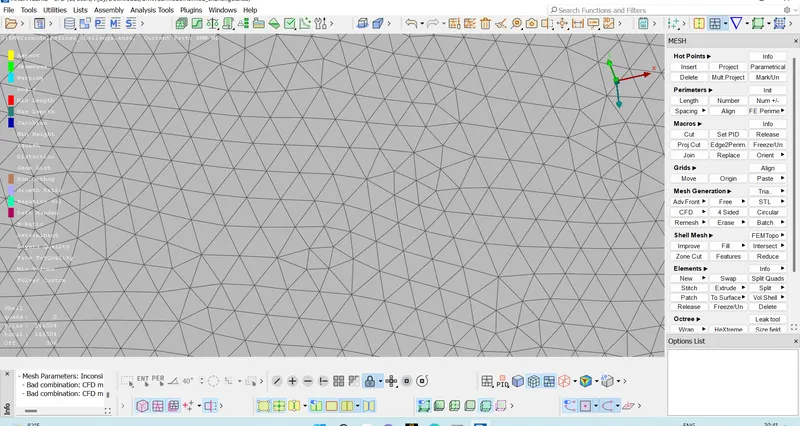
CAR BODY AND SILENCER :- Target length (3mm)
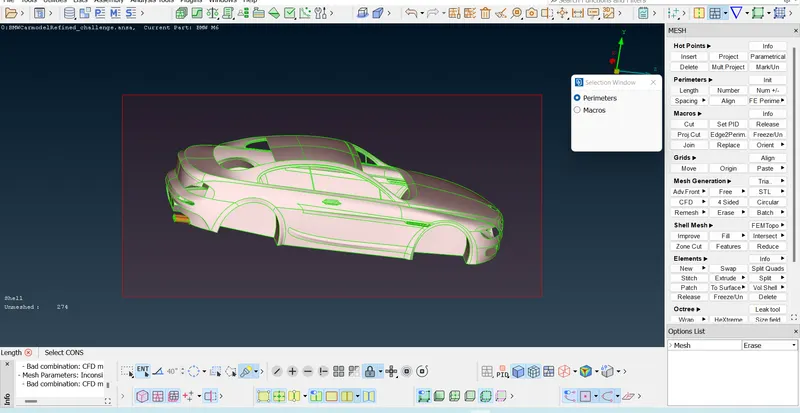
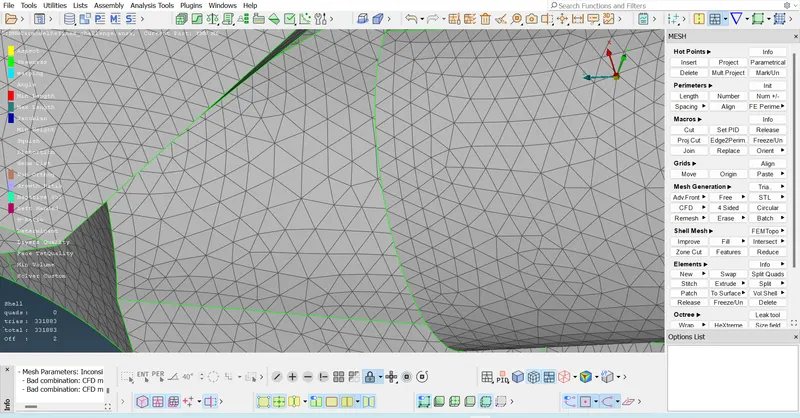
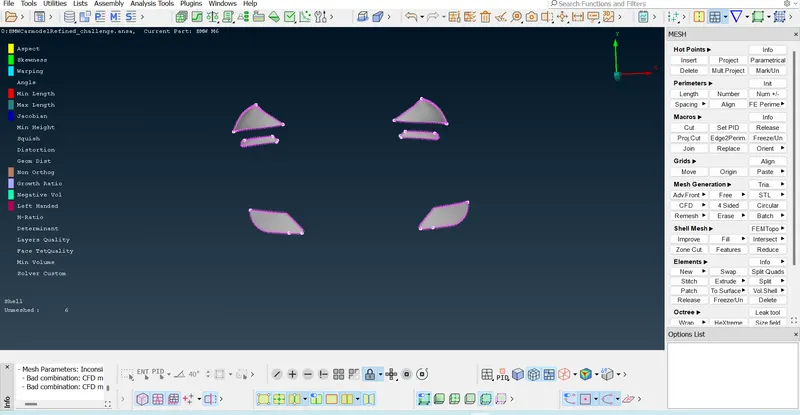
LIGHTS (Target length 4mm)
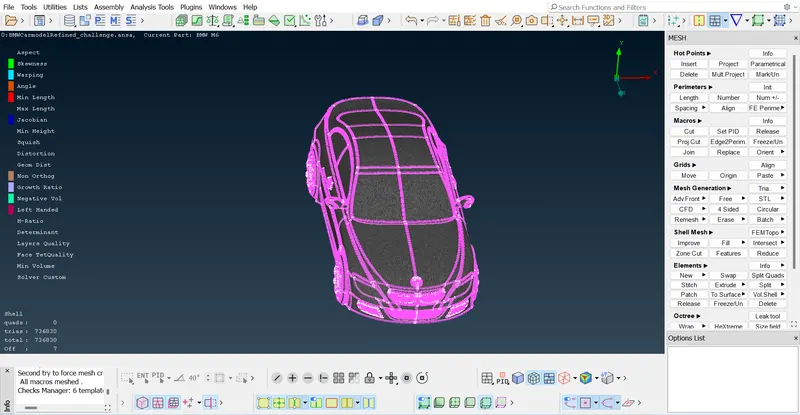
Final Surface meshing of the BMW car model,Off elements were reduced to 7, Trias = 736830
Creating WindTunnel as enclosure to BMW car model.
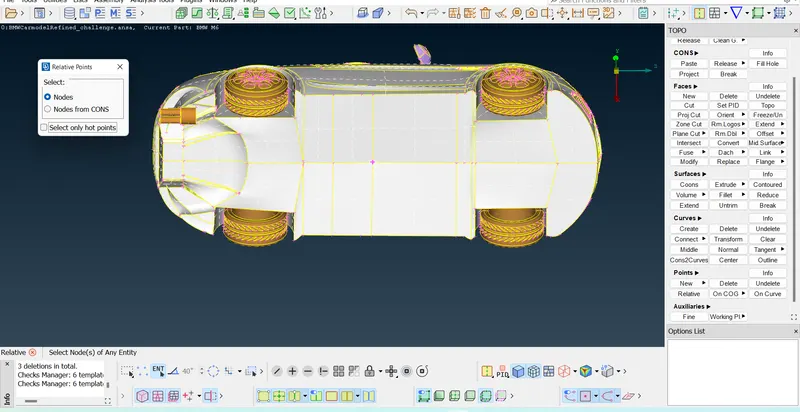
Measure the length of the Car, The enclosure at the front surface must be 4 times the length of the car,back surace - 6 times, side surface - 1time the length.The top surface is to be 3 times the height of the car.Choose any random point at the base of the car and start making relative points to it.
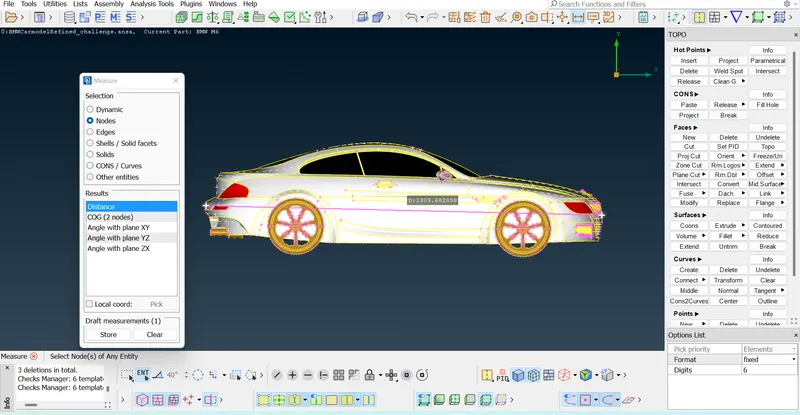
Select a random point at the lower surface of the car to get a Relative point.
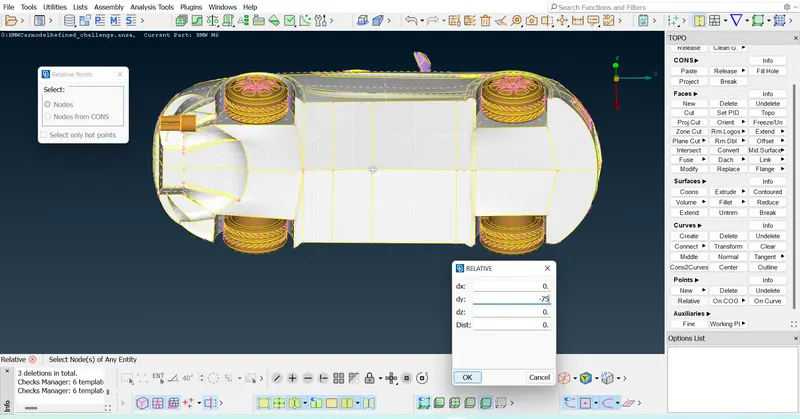
Give a distance of 75mm downwards to that point. dy = -75
From this point we get the vertices of Wind Tunnel.
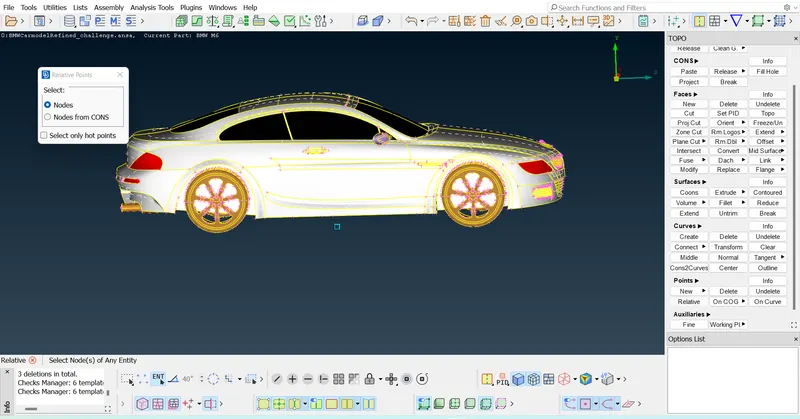
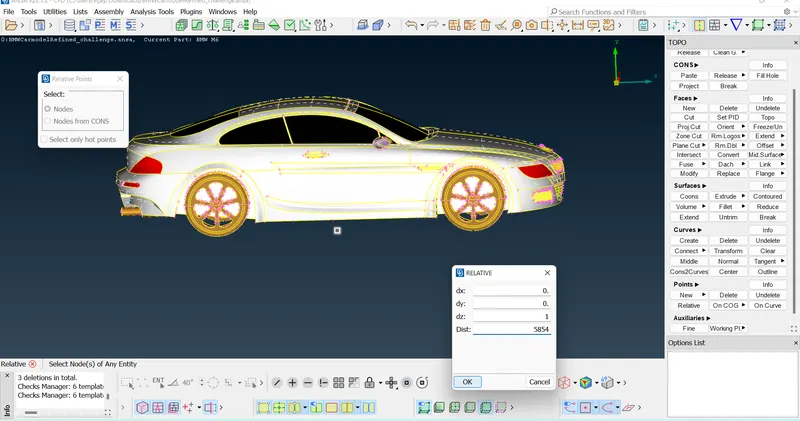
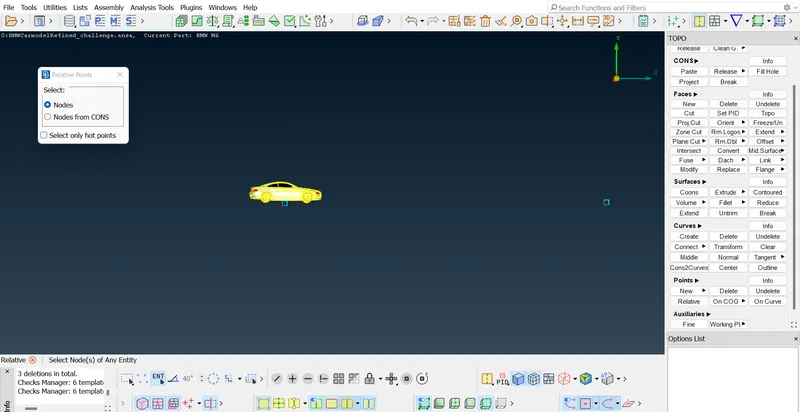
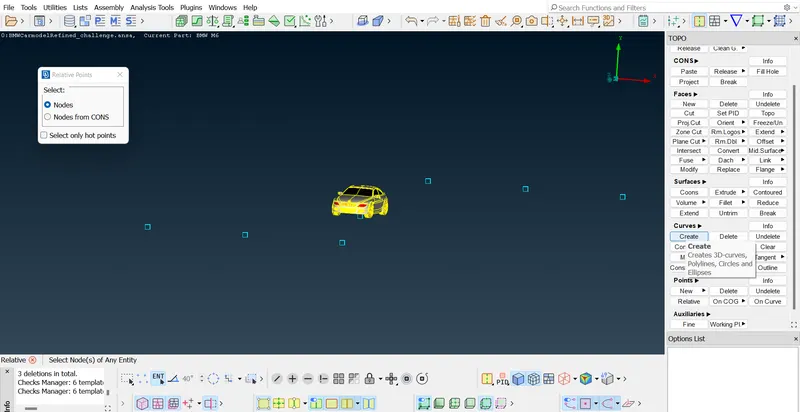
Creating the base surface by joining relative points.
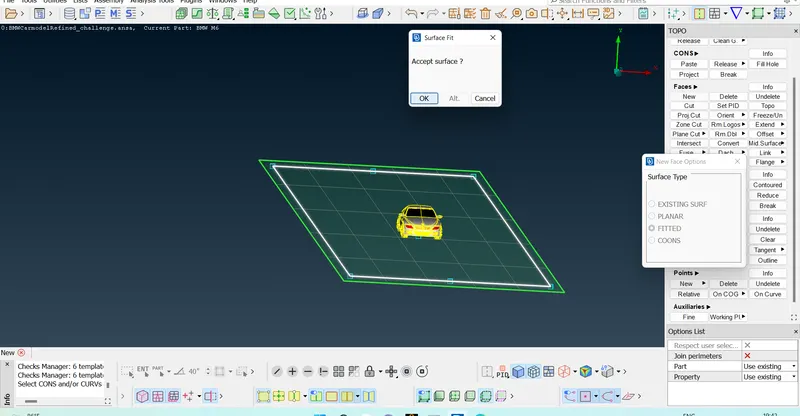
Now assign the PID as base surface of the Tunnel.
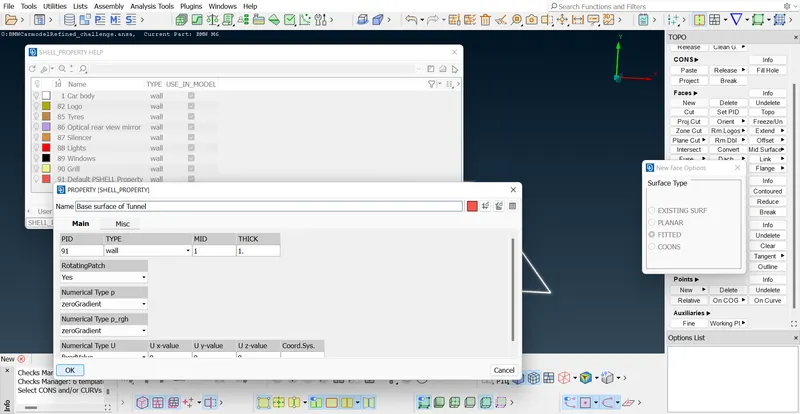
Now project the base to the top and create the top surface.
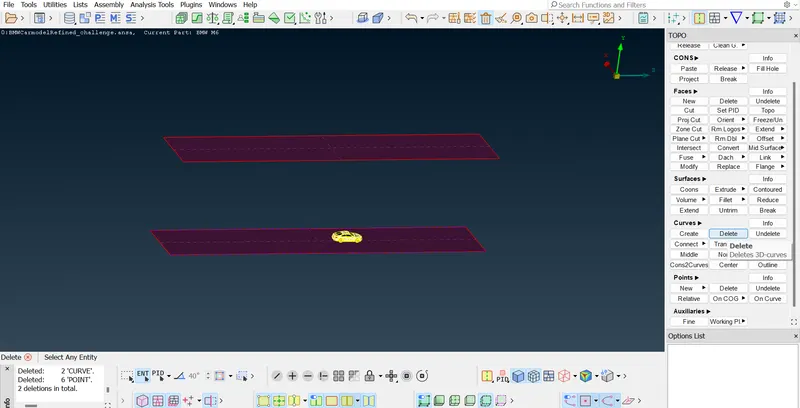
Also use New Face method and close the remaining surfaces and assign the respective PIDs
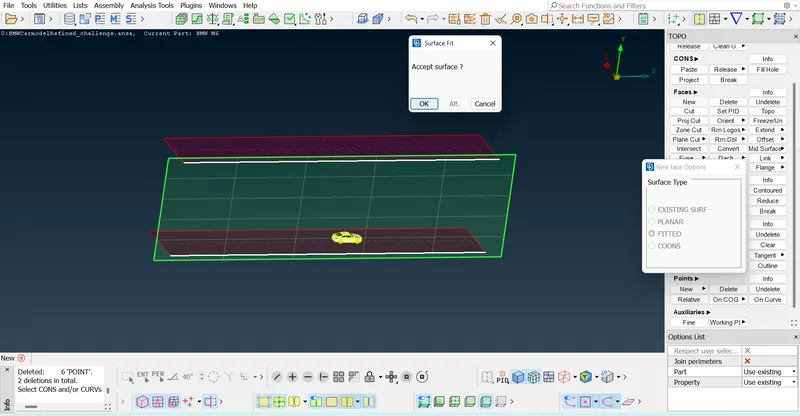
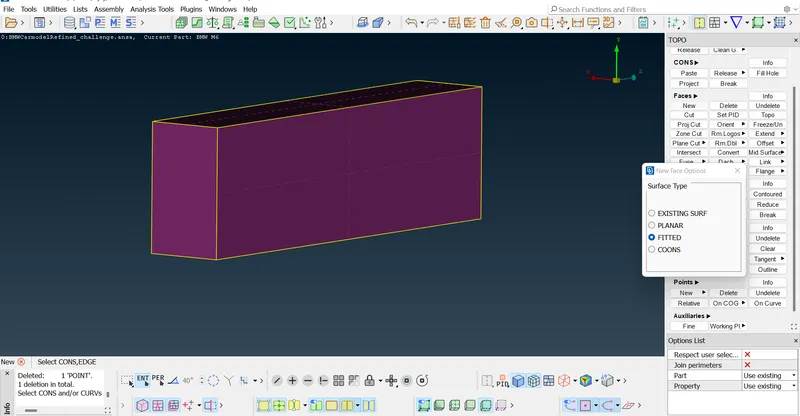
Surface Meshing of Wind Tunnel :-
Top surface can be meshed with a target lengh of 100mm but the base surface is to be meshed with a less target length(say 20mm) as it is the more wanted region where the volumetric mesh is to be studied perfectly,so the side surfaces are to be meshed with varying mesh length 20 - 100 mm from base to top.
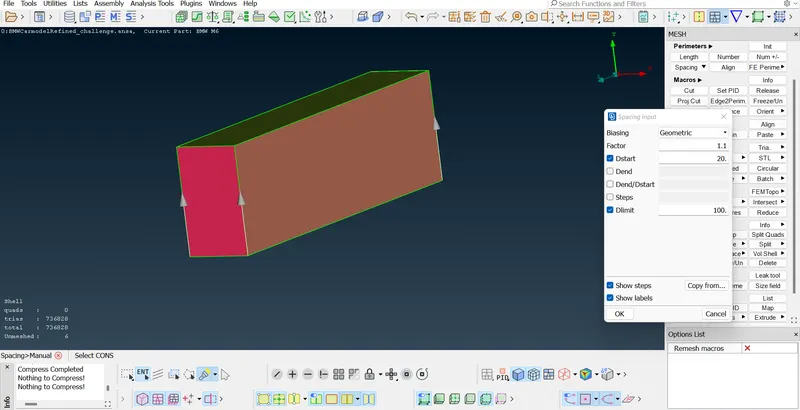
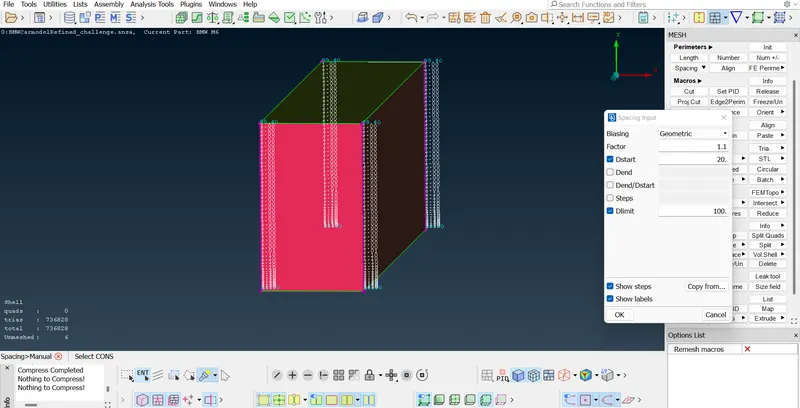
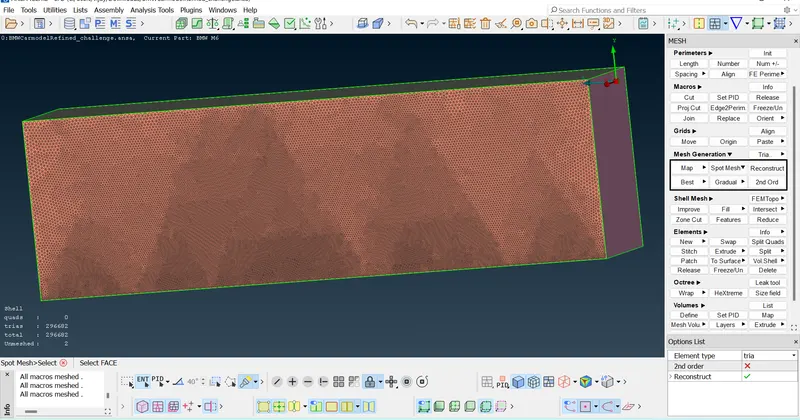
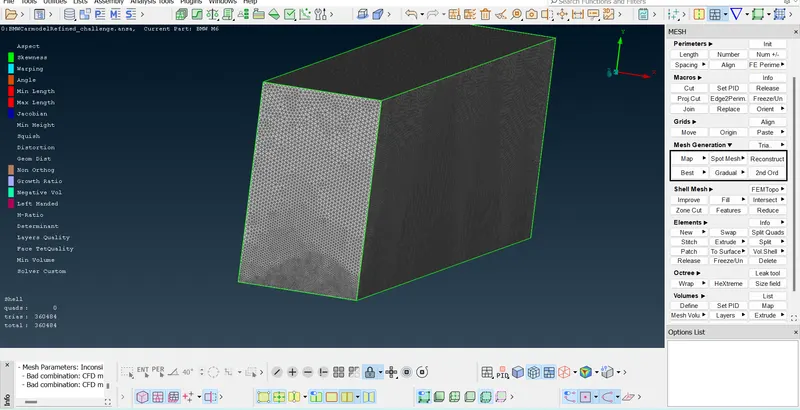
We are not proceeding for Volumetric mesh as it may take lot of time.
All the parts are Surface meshed with the given target lengths.And the unmeshed parts are zero.
Learning Outcomes from this project :-
Functions used :-
In TOPO Section
Insert - This function creates or projects Hot Points by hovering positions on CONS or 3d curves or 1d FE elements.
Project(HotPoints) - This function defines a new Hot Point on a CONS, a Node on a 3D-curve or a Weld Spot on a Face, as the projection of an existing Node, 3D-point, Hot Point, Weld Spot etc. on each of these entities.
Parametrical - This function defines a new Node or Hot Point parametrically on a 3D-curve segment or a CONS segment. The input parameter value may vary from 0 to 1, describing the percent of the length of the 3D-curve or CONS. Alternatively, it can be an exact value of distance with a prefix (~).
Delete - This function deletes Hot Points lying on a CONS segment. After deletion, the adjacent CONS segments sharing the Hot Point become one.
Intersect - This function defines nodes or Hot Points at the intersection point of two 3D-curves, CONS or Working Planes. It also defines a Weld Spot at the intersection point of a CONS or 3D-curve with a Face
Release - This function releases Hot Points that lie on the limit of two or more faces. When a Hot Point is released, the adjacent CONS of the faces' limits are also released and become single CONS (marked in red). As a result, the local topology changes.
Paste - This function pastes (joins together) two or more CONS segments that lie close to each other, and which usually are boundaries of different Faces. A new topological condition is created and these Faces become neighboring.
FillHole - This function pastes (joins together) two or more CONS segments that lie close to each other, and which usually are boundaries of different Faces. A new topological condition is created and these Faces become neighboring.
Project (CONS) - This function projects, as CONS or 3D Curves, a number of selected 3D-curves, CONS, element edges, line elements or Hexa Box edges on a number of selected Faces, WPLANEs and CROSS_SECTIONs, in a user controlled direction. The selection of the CONS or 3D-curves can be assisted by the 'Corner Angle', 'PID Neighbs' for line elements or 'Path'.
Under Faces
New - This function defines a new surface by selecting its boundary curves and creates a corresponding face that covers the new surface. The calculated surface appears as a net.
Delete - This function deletes selected Faces. As the Face is deleted the neighboring topological conditions change. If the picked Face to be deleted serves as a parent Face to other linked Faces, then extra confirmation is required for the deletion, and an option to convert all linked Faces to geometry is given.
Undelete - This function recovers a Face that was previously deleted, provided that the COMPRESS command was not used since the Face was deleted. As the Faces>Undelete function is activated, all deleted Faces still in the database become highlighted and can be selected for recovery.
Cut - This function cuts (splits) an existing Face or joins faces if inverse operation is applied (right mouse button).
It does not require the existence of Hot Points since it can be applied directly on an arbitrary position of a CONS.
Set PID - This function assigns selected Faces, Shells or Groups of entities to an existing or new PID.
Topo - This function automatically creates topological conditions between selected adjacent CONS.
Proj.Cut - This function automatically creates topological conditions between selected adjacent CONS.
Freeze - This function locks / unlocks the selected Faces and their boundary CONS segments. In this way, the Faces' condition is "function locked" and no participation to functions that might alter their topology or meshing (if any) is permitted! If any function tries to alter the Face, or a Face's component is selected to participate to another function, a relative message appears in the text window.
Under Curves
Create - This function streamlines legacy functionality for Planar and 3-D curves, including primitive planar shapes (circles and ellipses, rectangles) and adds corner fillet, trim and offset capabilities. Support may be derived from geometric and element entities (e.g., Faces, CONS, Curves, Nodes, Elements, Working Planes e.t.c).
Delete - This function deletes the selected 3D-curve(s) or Cross-section segments.
Cons2Curves - This function defines 3D-curves from existing CONS, shell/solid edges, Line Elements end Cross-sections.
Fine - This function increases or decreases the presentation resolution of a selected 3D-curve or CONS segment.
In Classical meshing section
Perimeters - Length -
This function defines the element length on selected perimeter segments or macro areas. The element length may be explicitly declared or may be declared as a factor to be multiplied by the existing element length.
Mesh Generation - CFD
This function is recommended after the user has applied the Perimeters>Spacing(Auto CFD) on the selected perimeters.
This algorithm meshes with variable element length, depending on the local curvature of the underlying CAD surface, under tight user-controlled specifications. It generated the less possible elements taking into account all small details of the geometry. This algorithm is an advanced meshing algorithm tailor made to meet CFD specs or other application areas where a variable size mesh is required.
Mesh Generation - Spot
This function automatically meshes Macro and FE shell mesh areas using a special meshing method for Macro-Areas that have 'weld spot' nodes on their surface.
The Spot Mesh algorithm gives better results than the free meshing method and creates the optimum number of shell elements, taking into account the element type already selected and the defined meshing parameters.
Conclusion :-
- ANSA File of BMW Car model with Wind Tunnel - https://drive.google.com/file/d/1v1YsnmpbhJPw_nrIUIMZdkYb8HAfuKxa/view?usp=sharing
- Total Trias - 1097312, Off elements - 8, Unmeshed parts - 0.
- Wherever there are two different mesh sizes occur with great difference in the target lengths , those faces should be allowed for variable mesh of target lengths.Else the meshing will disappear.
- Always try to make planar faces such that no Convex/Concave CONS occur.
- Delete the unwanted hotpoints in the model since they produce more number of faces.
- Compress the PIDs whichever created multiple times.