Week 4 Challenge : CFD Meshing for BMW car
AIM:
Perform meshing with the given Target length and element Quality criteria for BMW car.
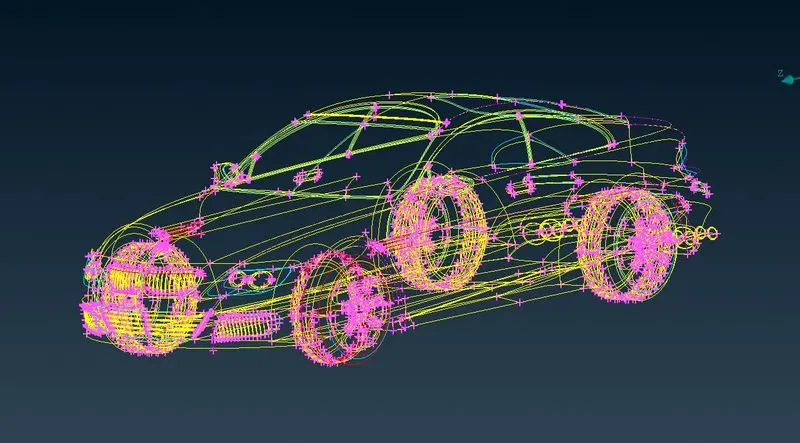
Given geometry:
In wireframe
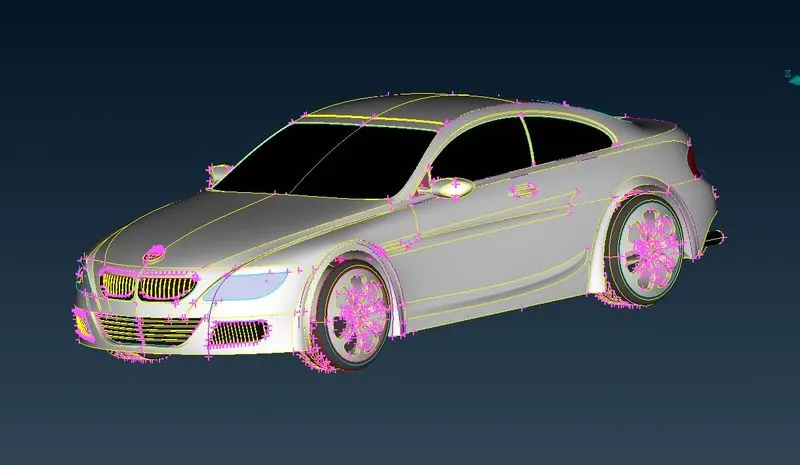
Given geometry in Shadow mode
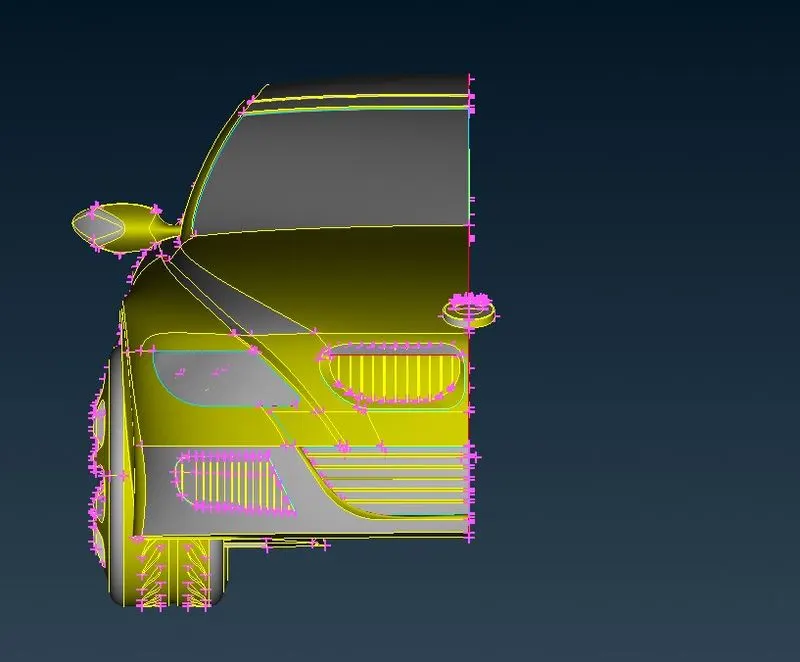
First, we are going to delete half of the car then work on the geometry after meshing we can do symmetry to the other side.
Now we are going to clean the geometry part by part.
Grill
The ribs in the grill consumes some volumes and also there is an extra surface on back side of grill. we can delete those surfaces and volumes on the ribs
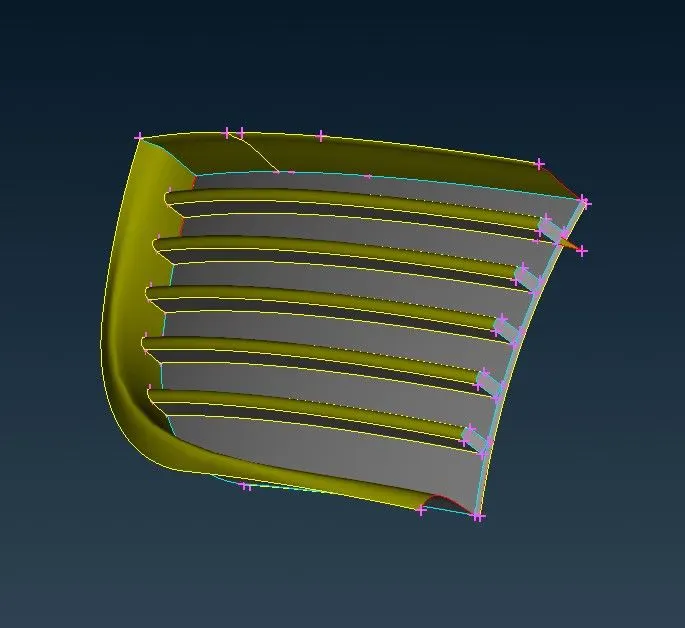
After deleting the rib surface there is a distorted edges of face, we need to rectify this
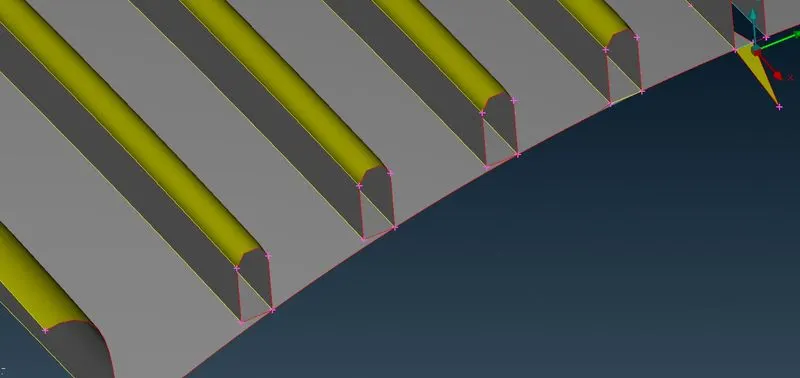
and also the ribs are not attached to the surface, so that we project the rib cons to the corresponding surface
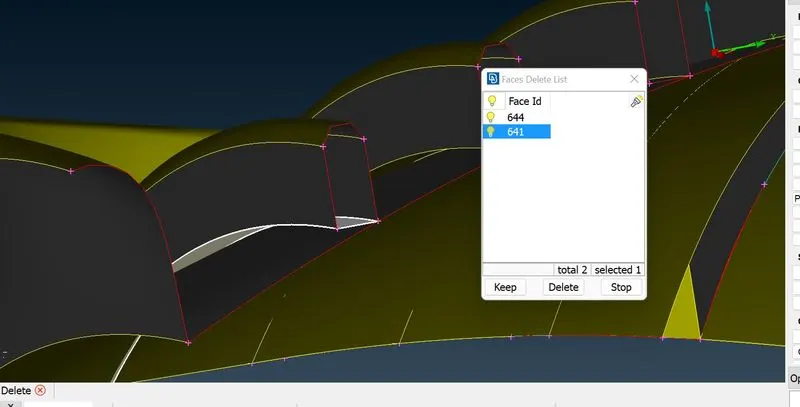
now we can delete the unattached surfaces and create the new faces.
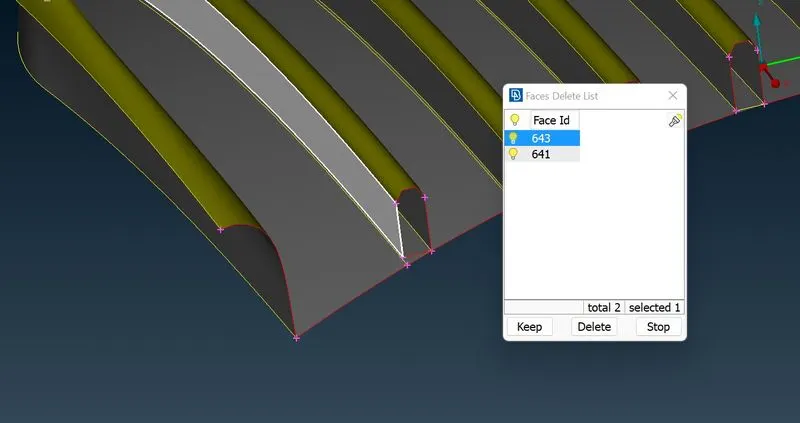
Also we can project the vertical cons on the vertical surface so that we can delete the outer surface
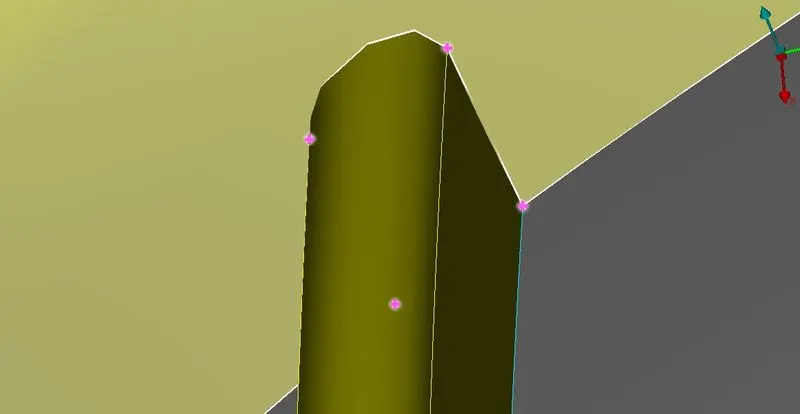
By deleting the outer surface, we can reduce the ribs volume.
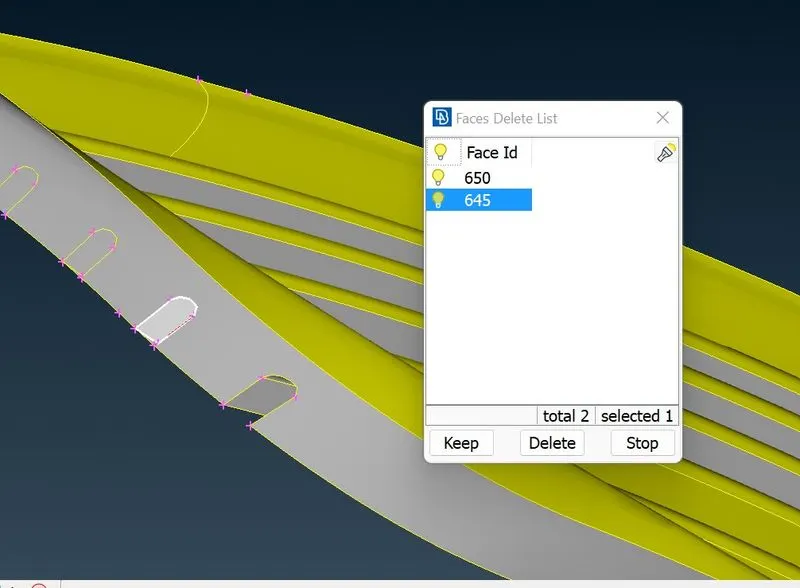
Now the ribs looks uniform and the volumes are reduced.
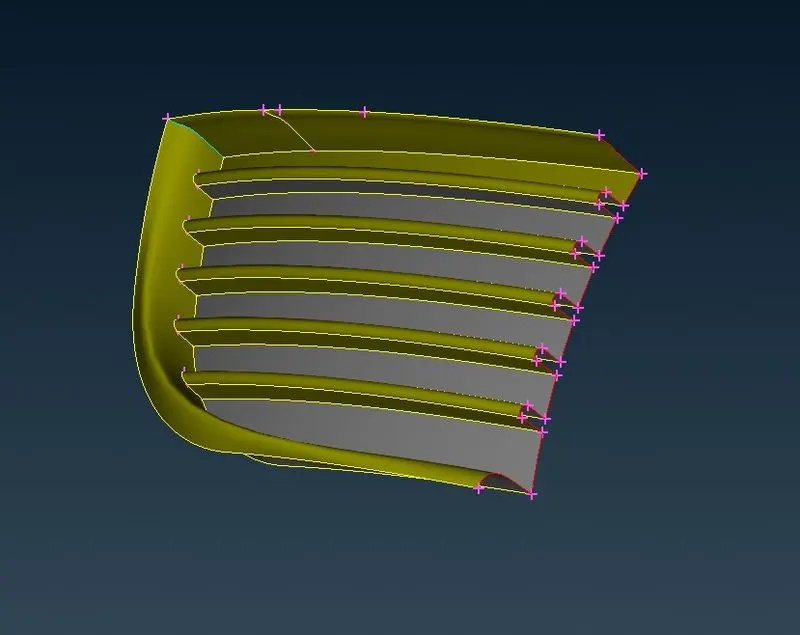
Grill 2
Lets take this grill, we can see some triple cons on the front, we have to delete this
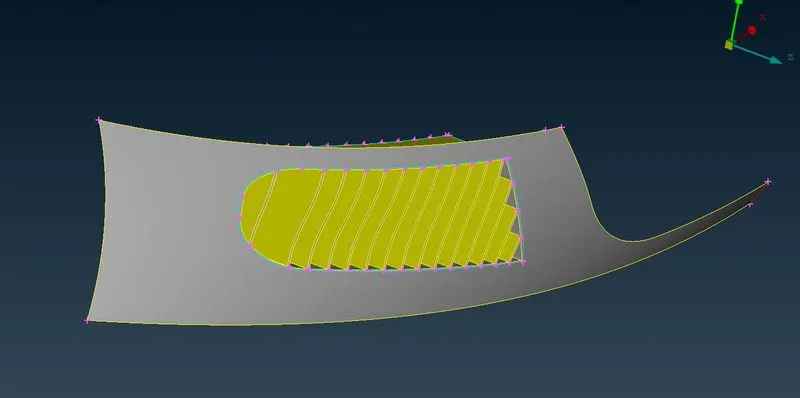
Take look on the inside view of grill, here also there is a triple cons and the volume thickness formed
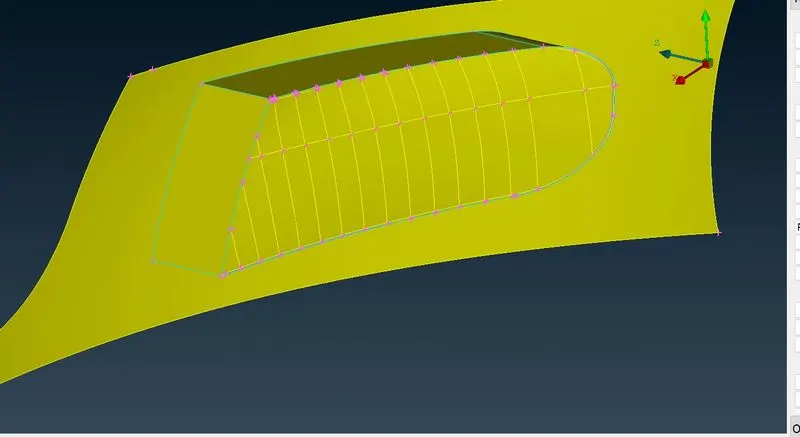
By deleting the outer surface of grill we can see the distorted edges, we need to fix this, for that
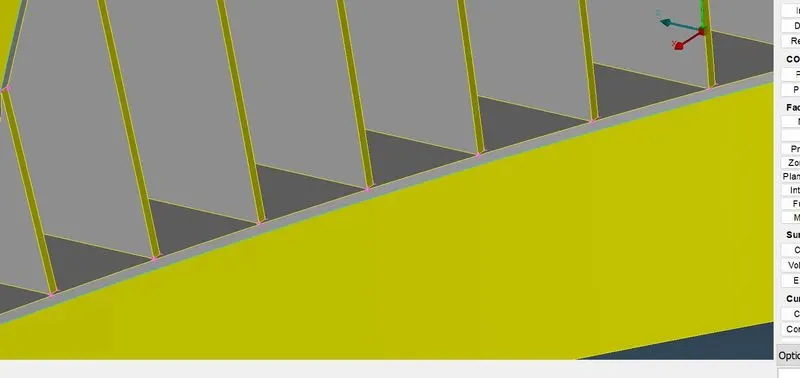
we will create a new surface inside the grill and will do intersect
First assigning PID to the grill
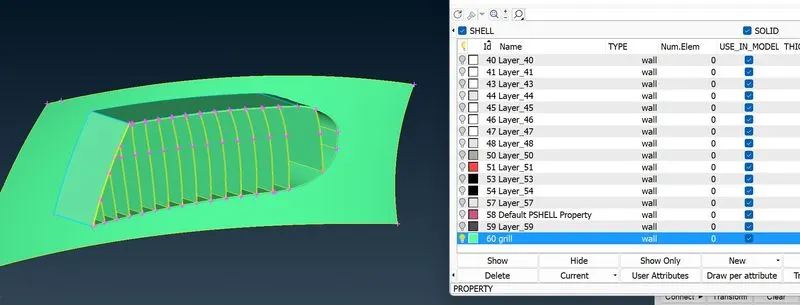
No we can cut on the outer surface and create a new surface
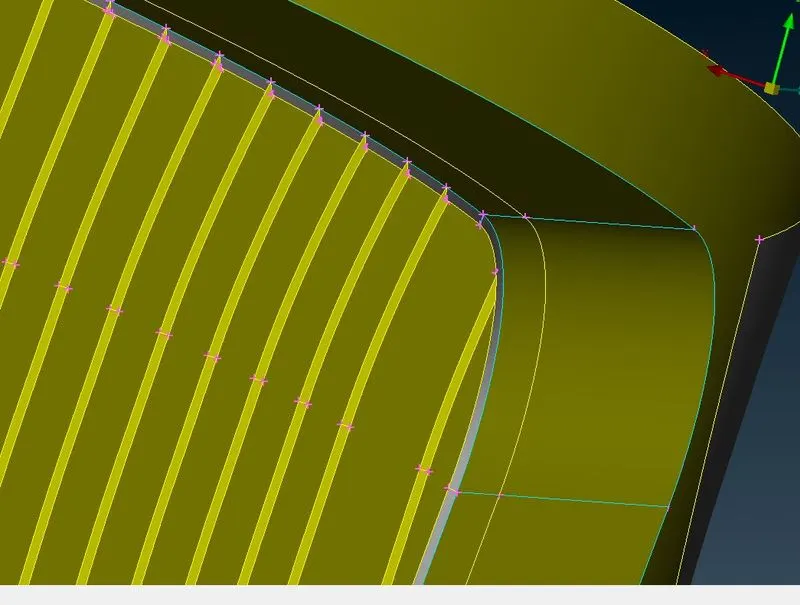
Set PID for new surface and do intersect between the two PID
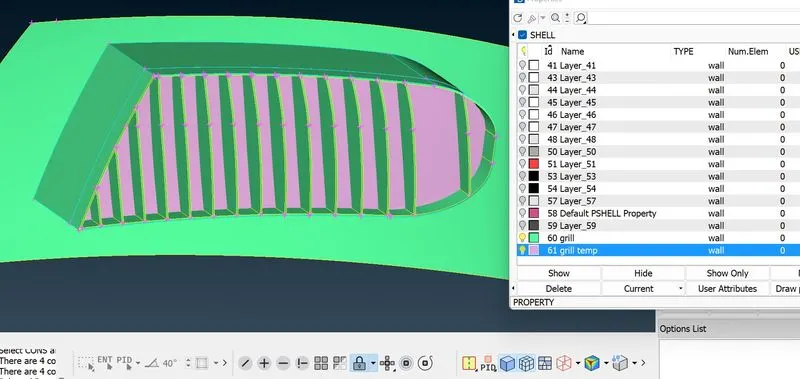
While intersecting we can delete the unwanted surfaces
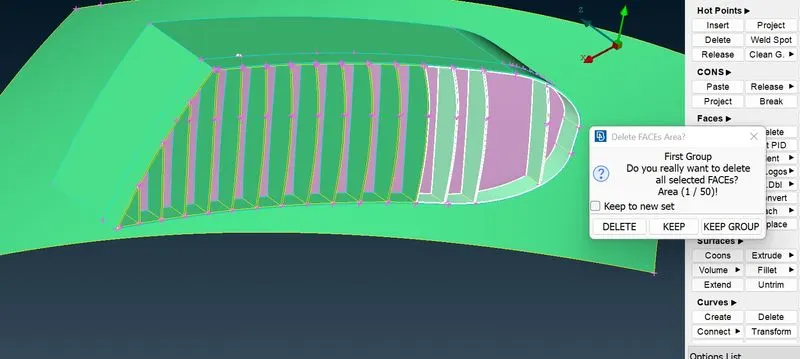
Now we cleaned all the triple cons and didtorted surfaces
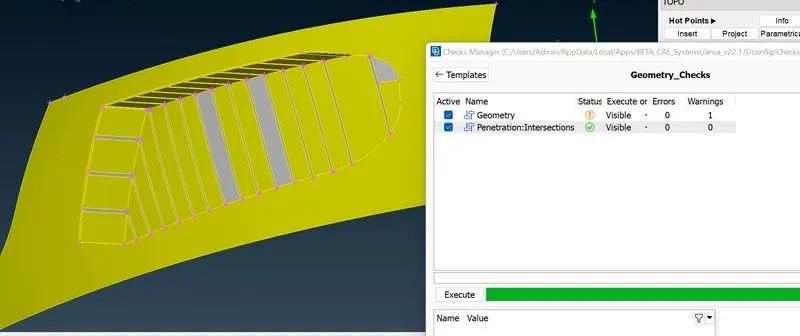
Grill 3
Now lets move on to the kidney grill, here there is a triple cons and single con. we can delte the triple con from rear.
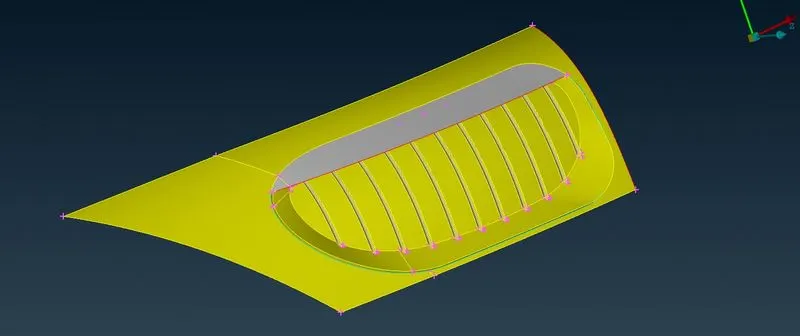
IN rear side also there is a red cons and triple con
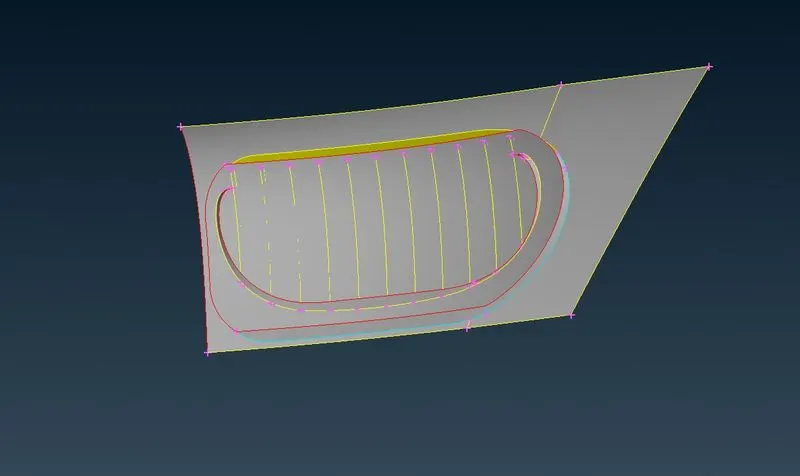
Here there is one single large surface messed up the grill, we can delete this.
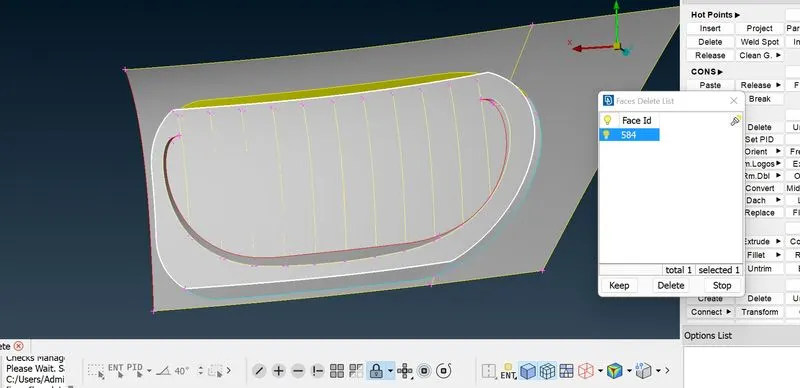
There is a overlapped surface which causes triple cons, we have to delete it.
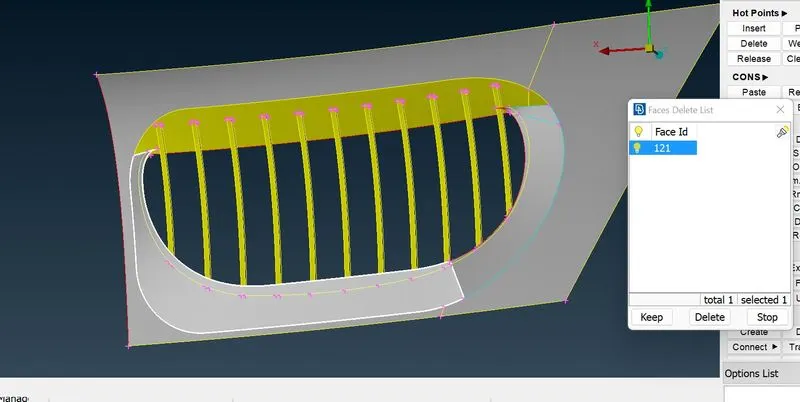
Here we can see the distorted grill edges and also it consumes some volume, so can delete the surface
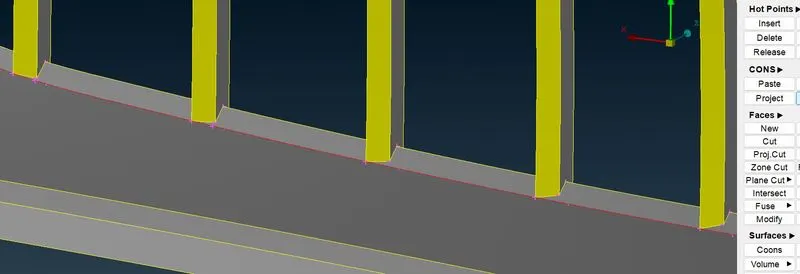
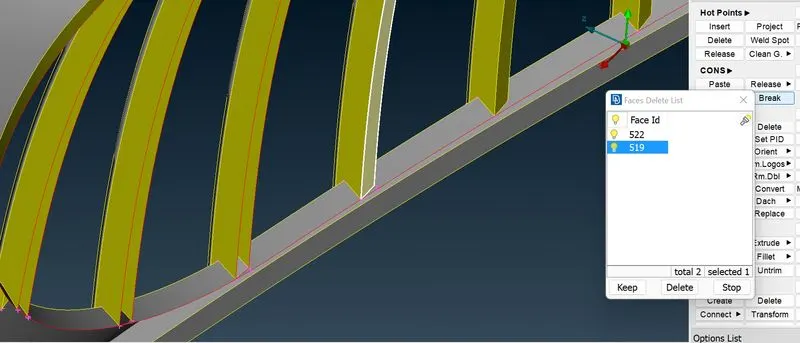
We can fix the distortion by the surface cut and delete the isolated surface
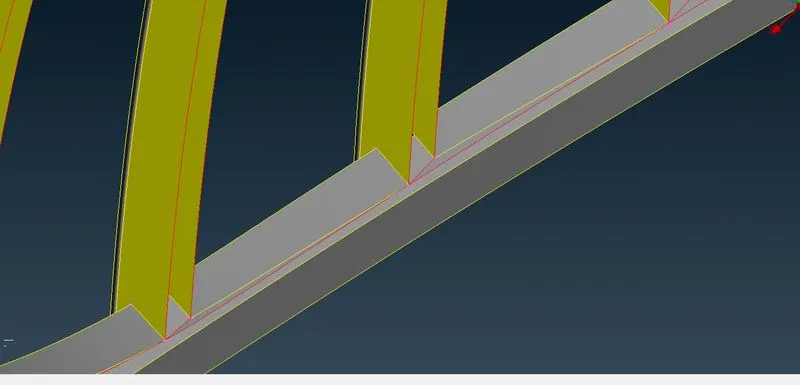
Next we are going to fix that red con
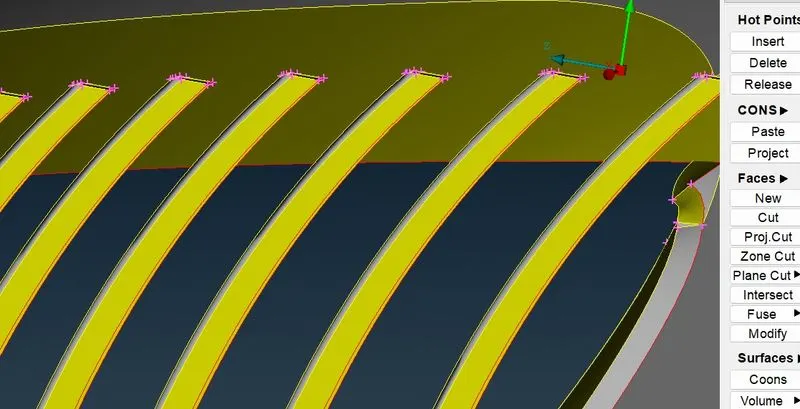
For that we isolate the grill from the surrounding surface.
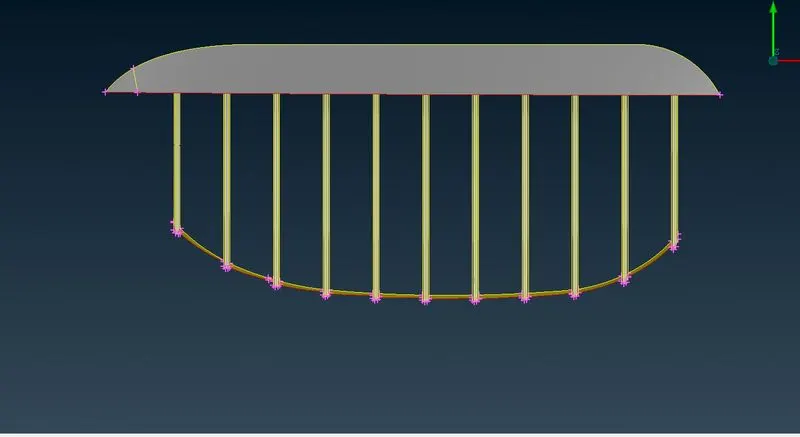
Here we are going to join the grill with that horizontal surface. but here we need to reduce the grill height, for that we gonna used Plane cut option.
For plane cut we need three hot points to create.
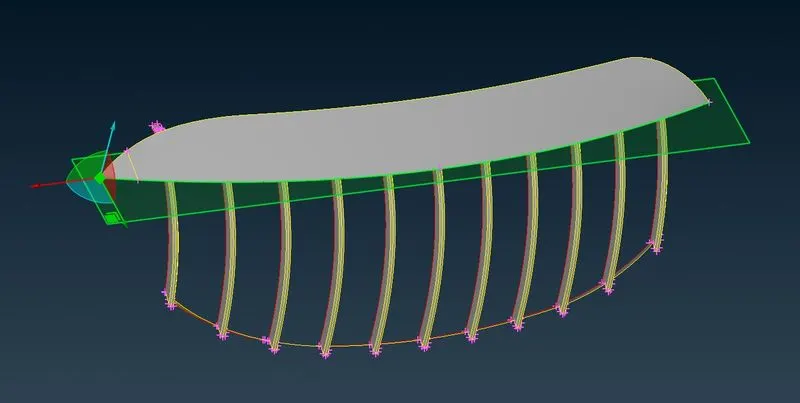
Here we can see the cut on the grill, now we can easily delete the grill part.
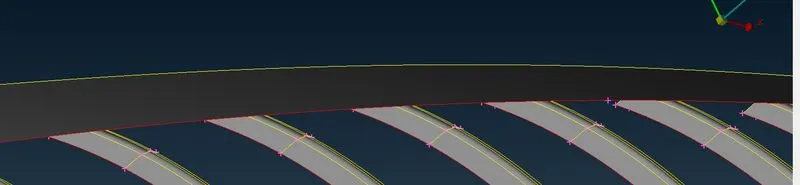
Isolating the cutted portion and delete .
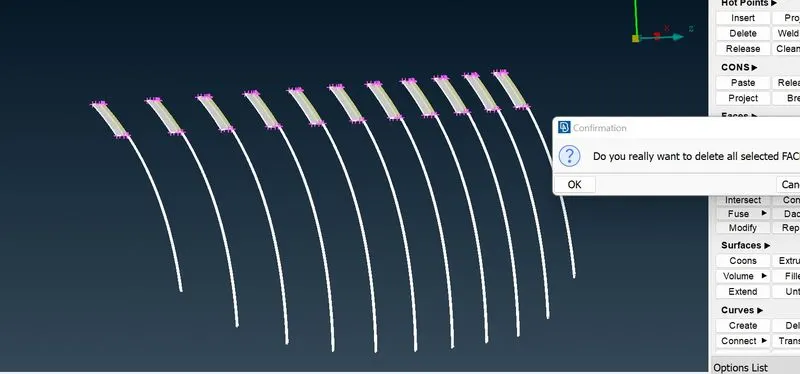
Now we can create a surface to fix that red cons.
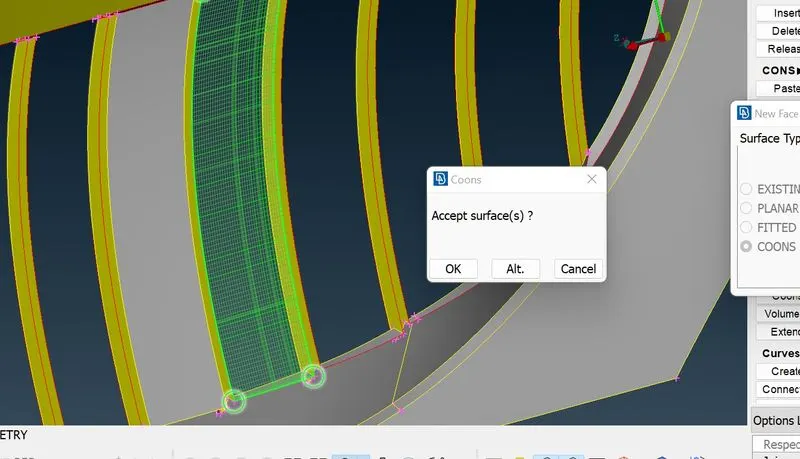
At the both end there is a surface intersecting each other, we need to fix it then fill the new surface
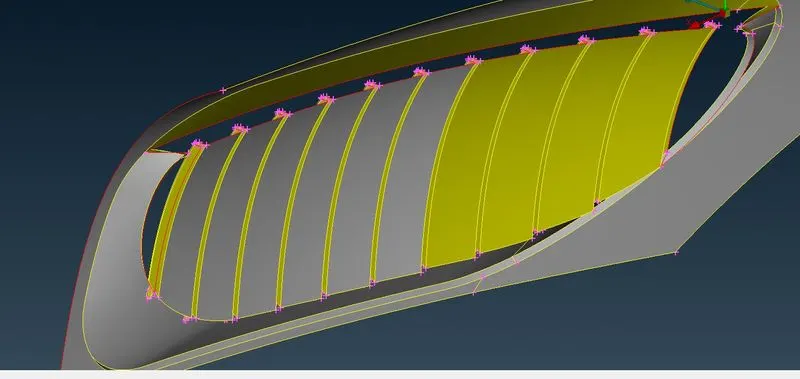
Now it looks better, but there is a red con
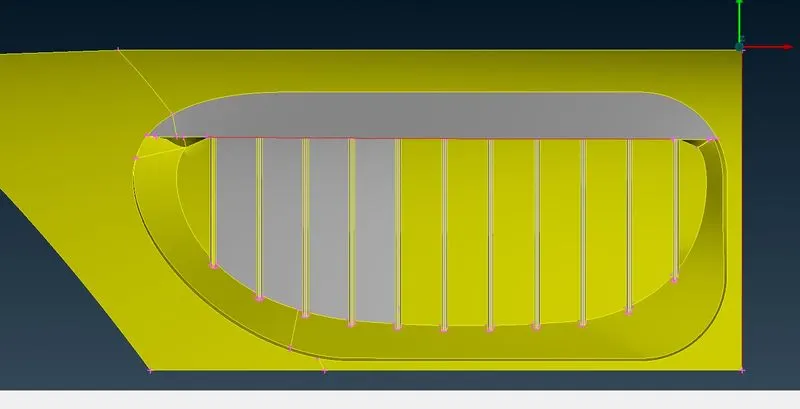
For that we have to join the surface to fix that red con
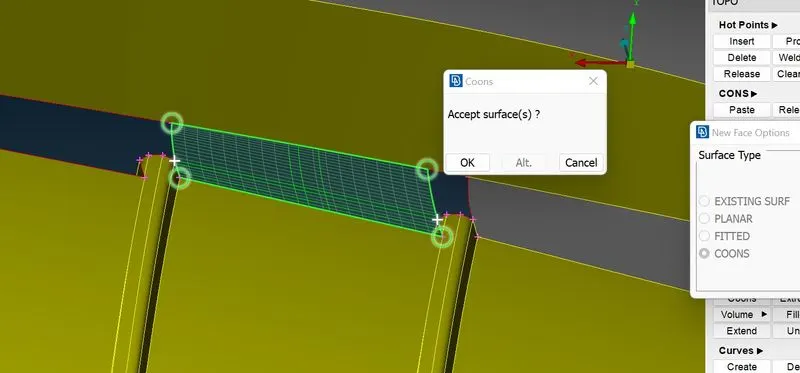
Now it looks clear.
Lights
Here in headlamp there is a triple con let see behind the light surface.
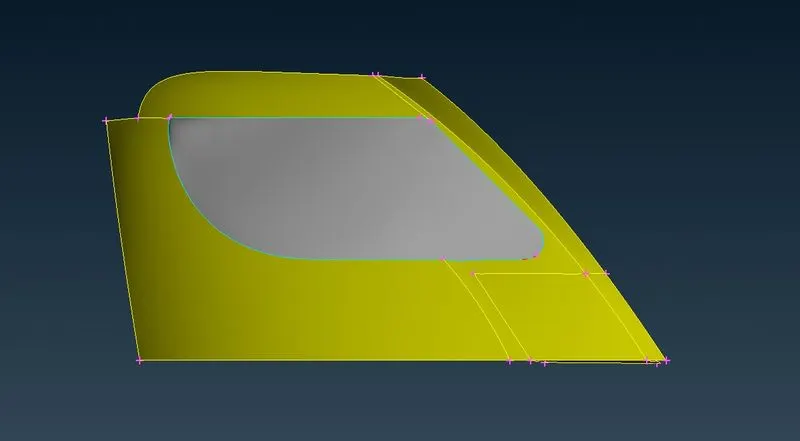
Here the volume consumes at the inside, so we can delete it because we dont want that thickness
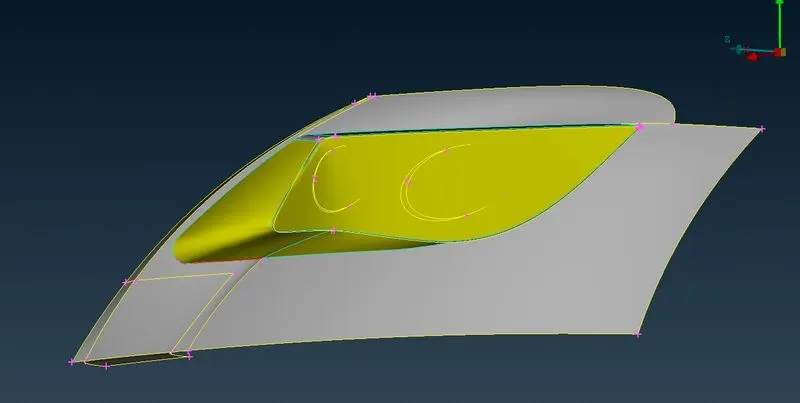
We just cover the light surface and delete everything inside the surface
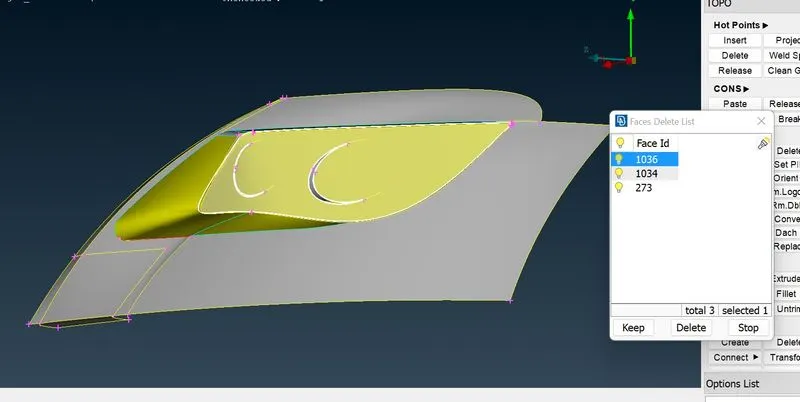
Now we cleared the triple cons, but there is small red con at the edge
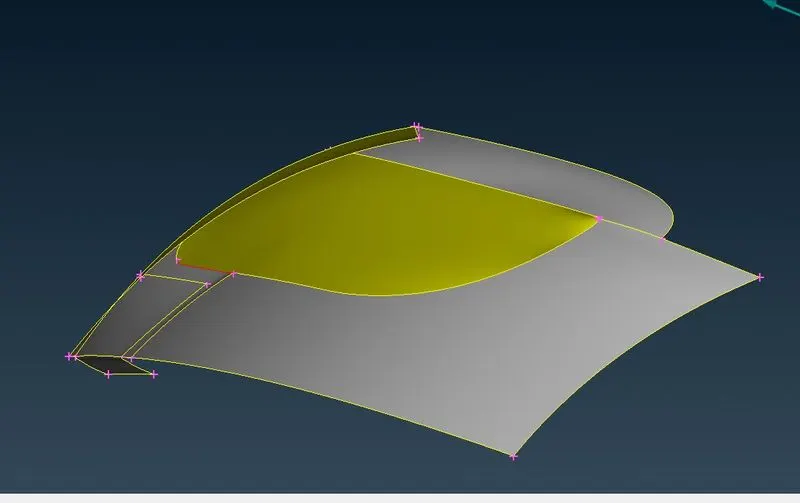
That was a small surface gap we can fill that gap to clear the red con.
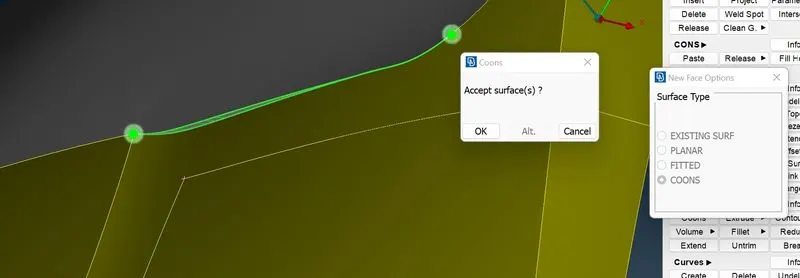
Now we cleared the head lamp.
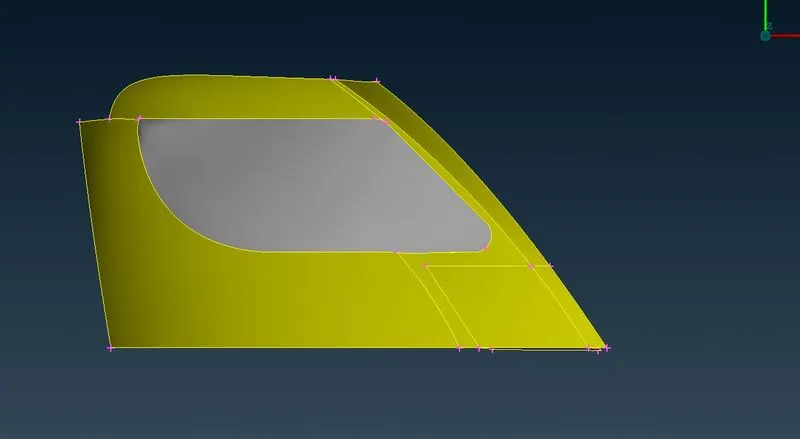
Taillamp
Here also there is a triple cons around the lamp, lets take a look from inside.
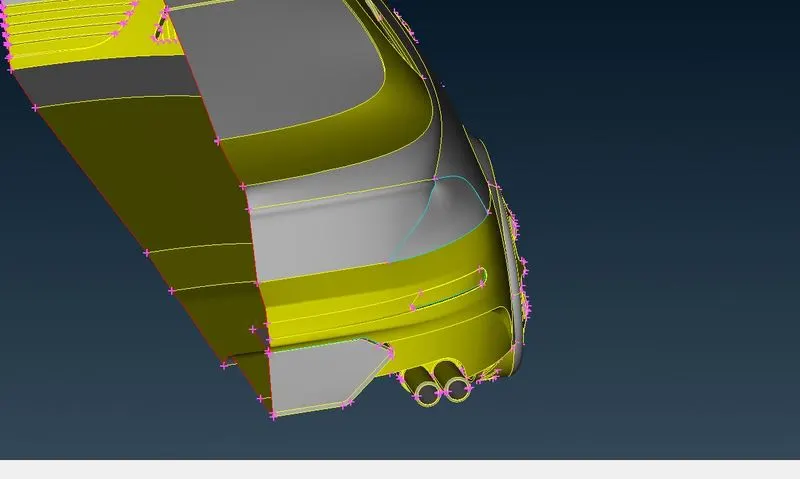
Here there is a unwanted volume thickness which leads to triple con, we can delete this thickness.
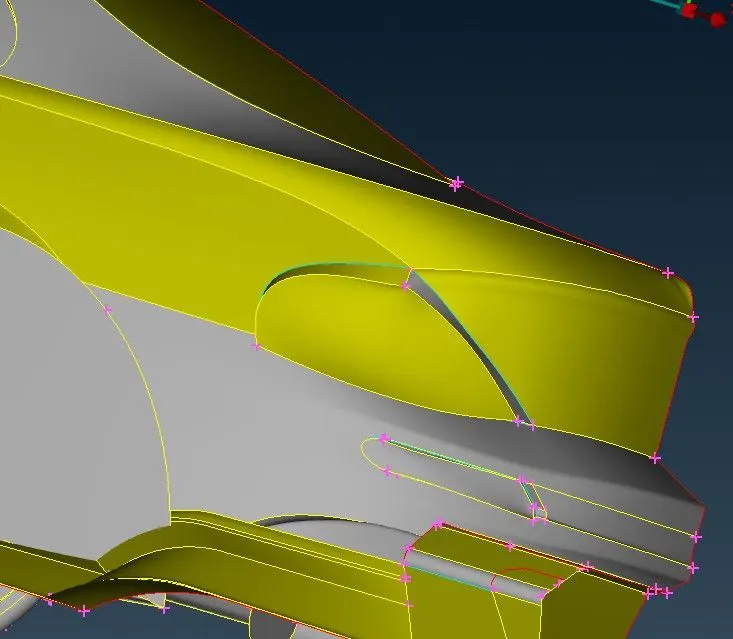
Now we cleared the triple con and volume thickness.
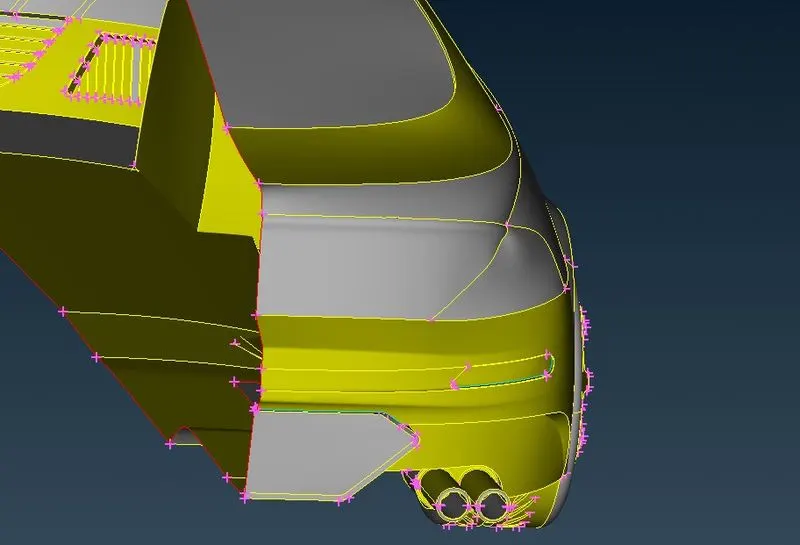
In fog lamp there is a triple con we can delete that surface from inside
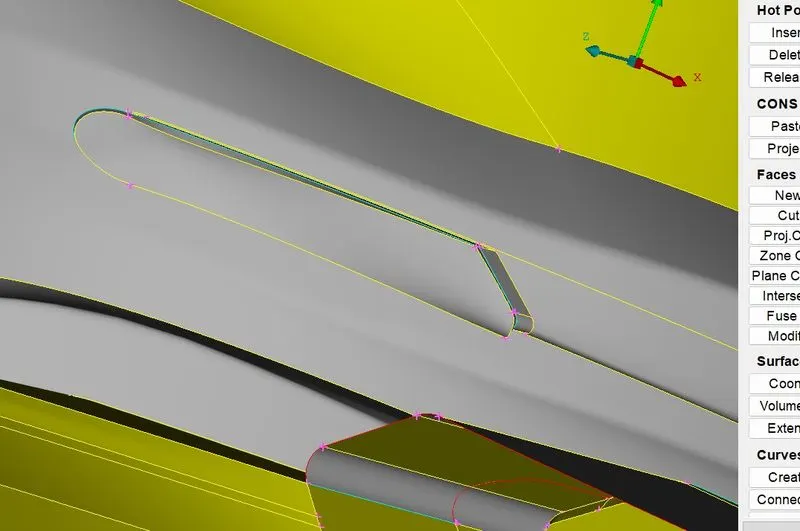
Now the fog lamp also cleared.
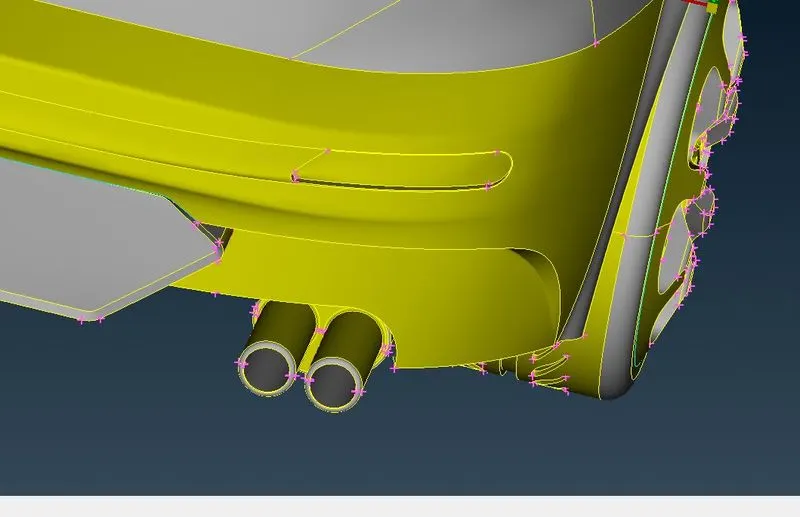
Logo
Lets check the logo,
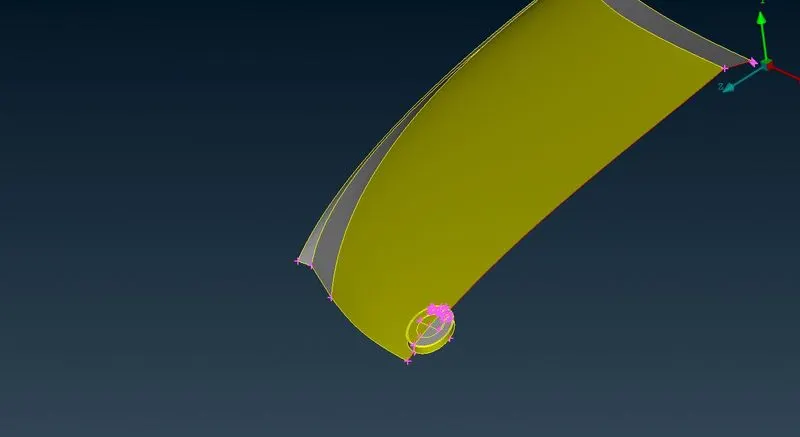
There is a closed surface at the bottom, we need a single volume of whole car for the external aerodynamics, so we can delete the closed surface.
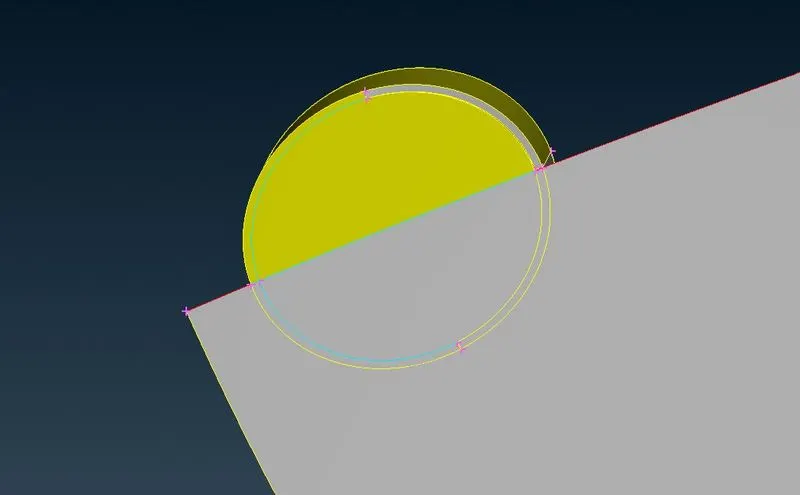
After deleting the bottom surface of the logo we need to delete hood surface too
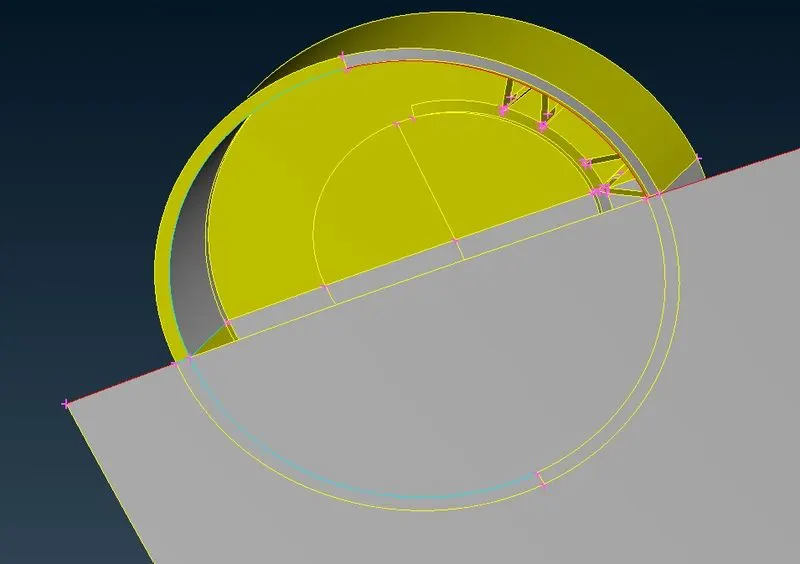
Also we need to delete the inside surface which causes the triple con
When i hit the topo there was a small triple con appears on letter M.
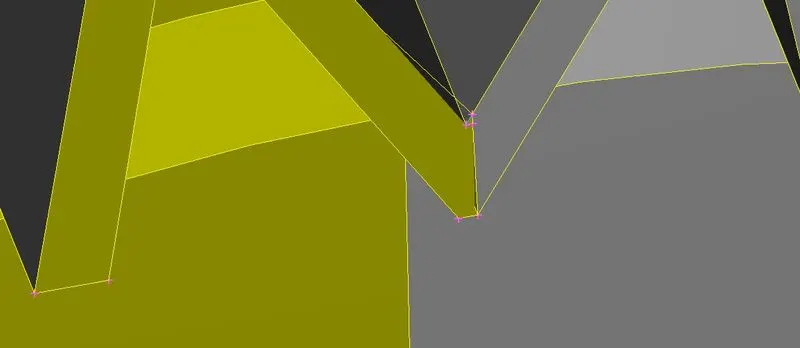
So that a i have deleted the surrounding surface and then i have created a new surface
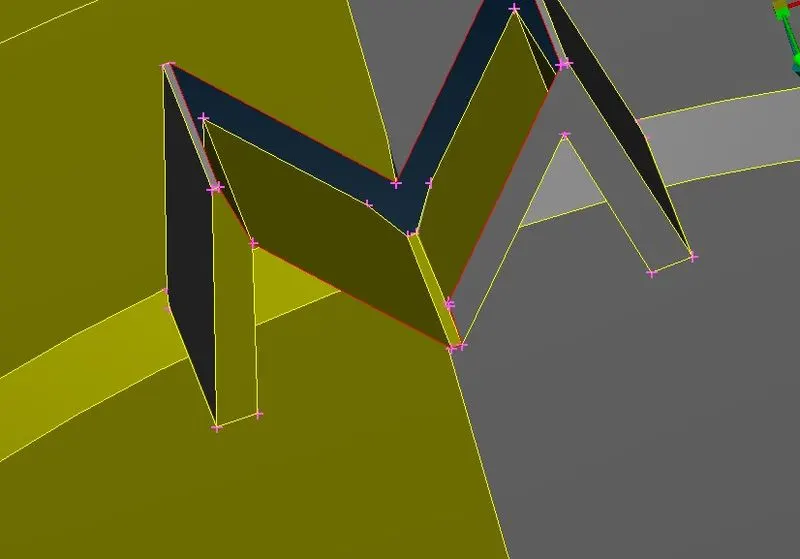
Finally we got a proper letter M
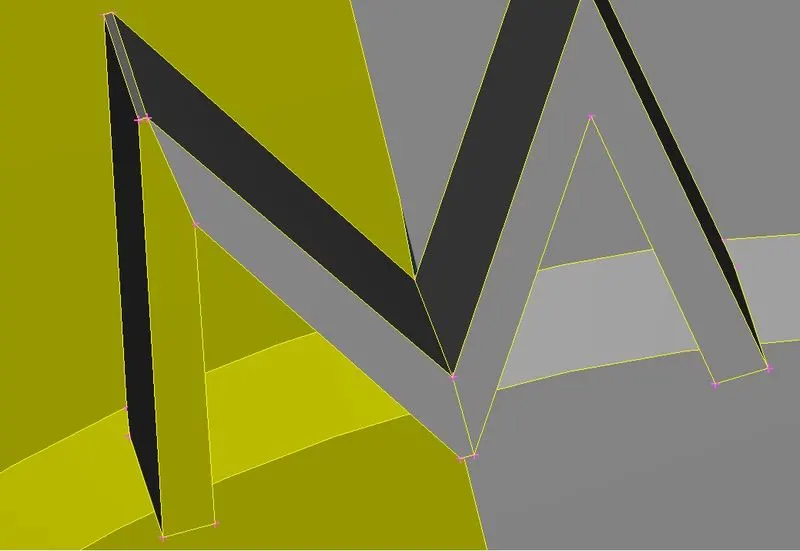
Turn indicator
There are some triple cons and single cons around the indicator
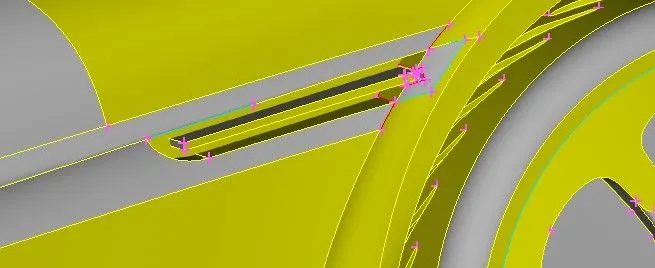
Lets isolate the indicator part and take a look inside view, there is one big surface intersecting with other neighbouring surface, we can delete it.
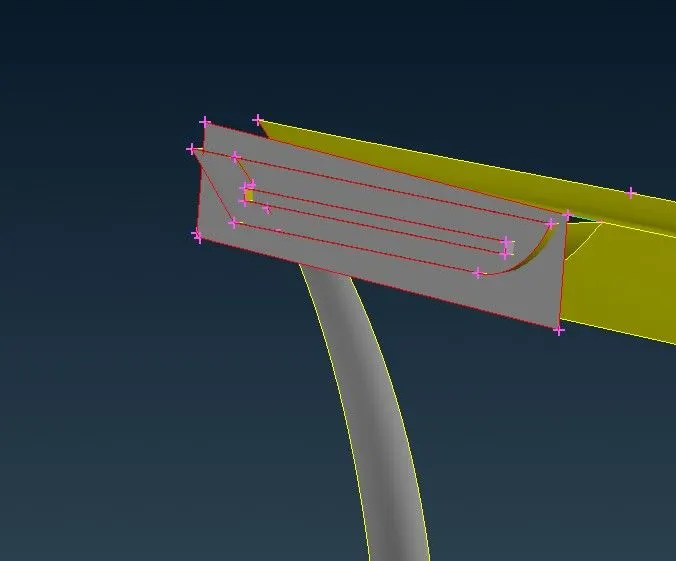
After deleting the surface, we can see that the cracked surface, so we have to work on it.
Here i trying to extend the surface by using extend option for that we need a surface with red cons
and adjacent surface
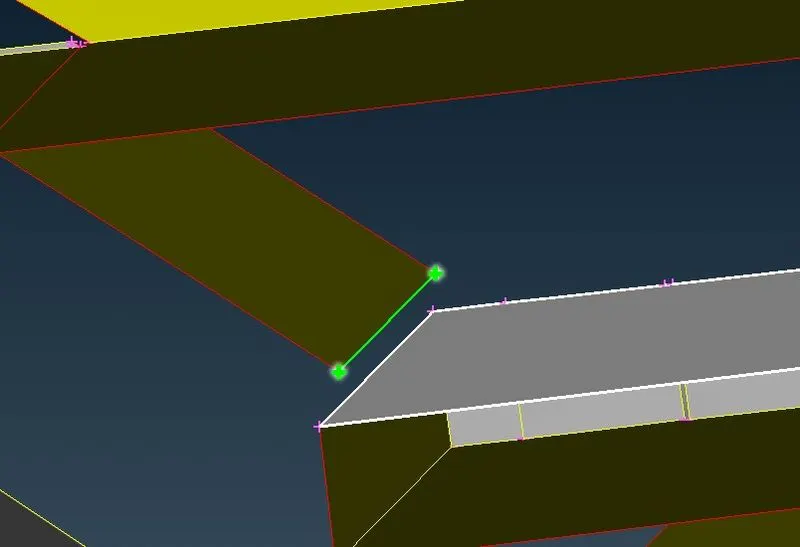
Using project cut we can delete the extra surface on the adjacent face
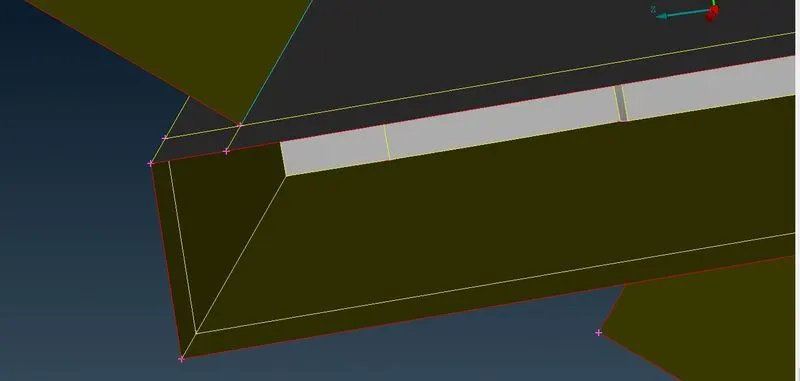
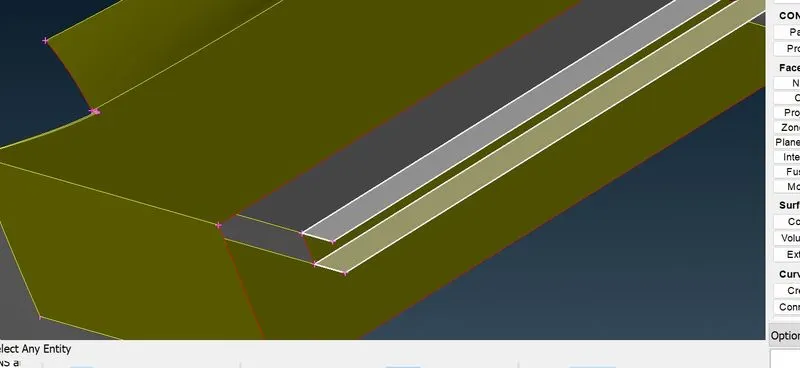
Now we can delete those surfaces, we dont need this.
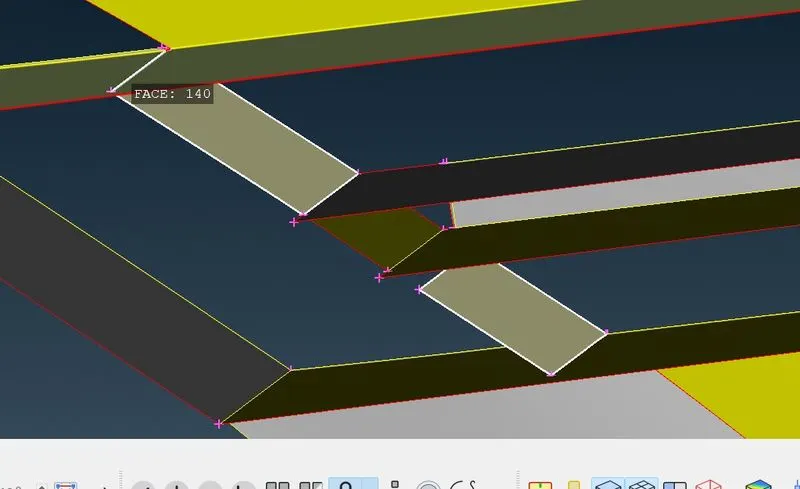
Here we are deleting some unwanted surfaces.
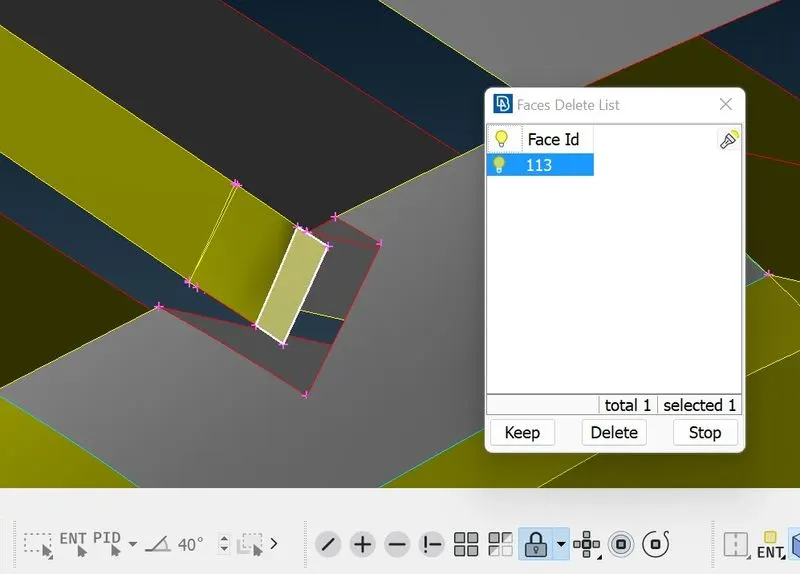
Now we can just create a surface to remove the single cons
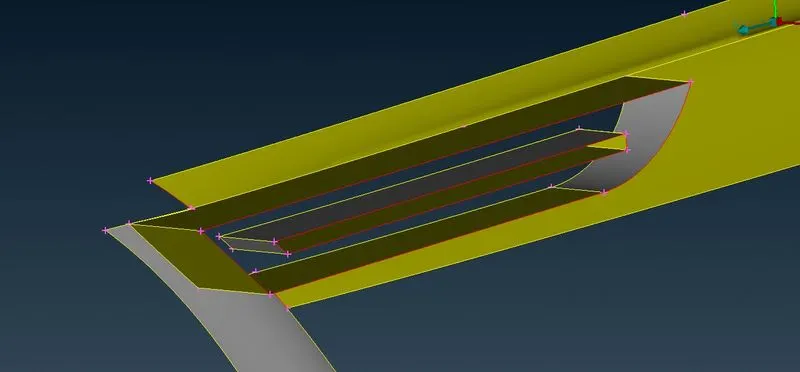
Like this we can fill the surface
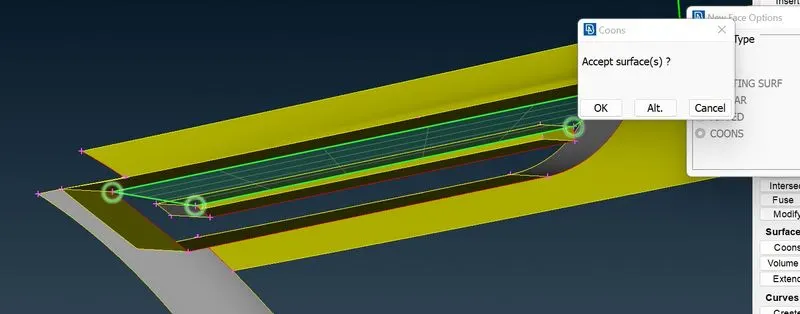
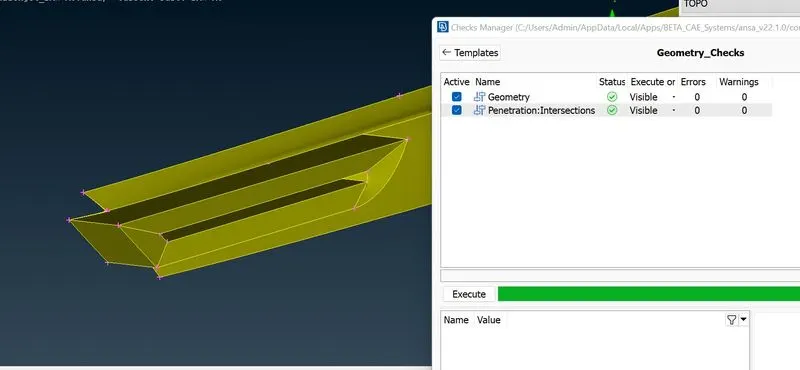
Finally we got a shape and cleared the geometry.
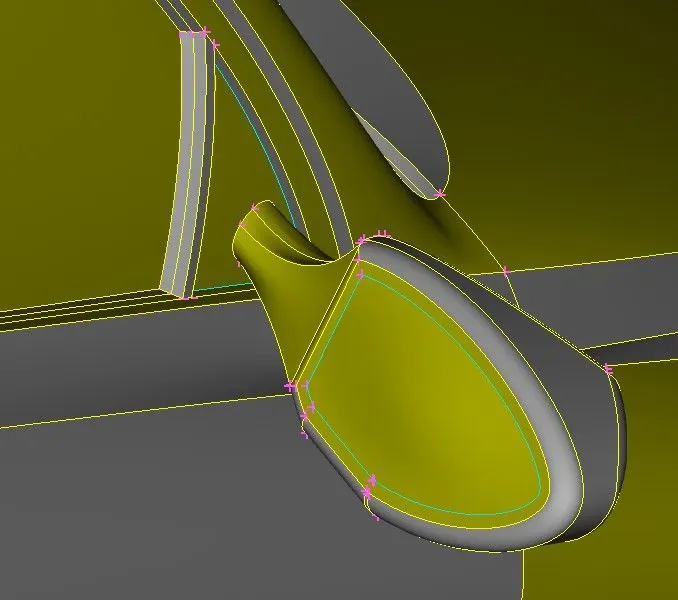
Optical Rear view mirror
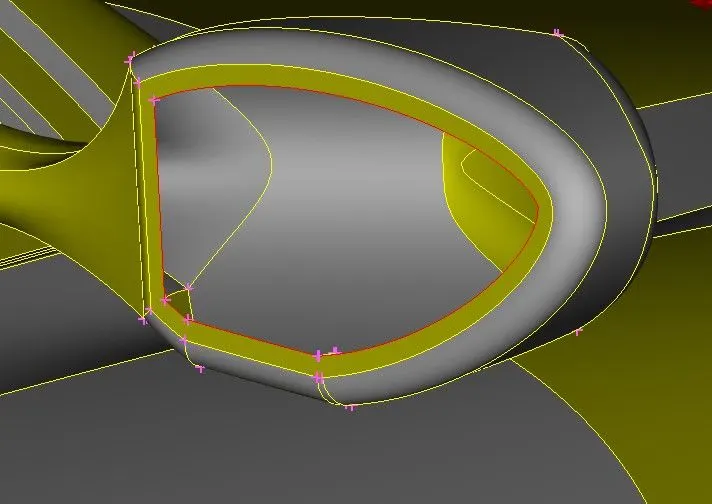
In rear view mirror there is a triple con so we need delete that extra surface.
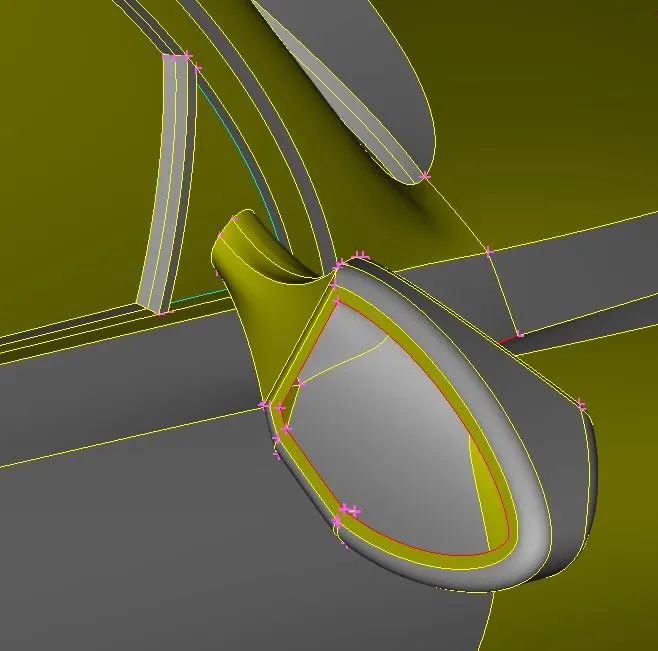
After deleting the surface red cons appear
Meanwhile we are going to delete the triple con surface in window.
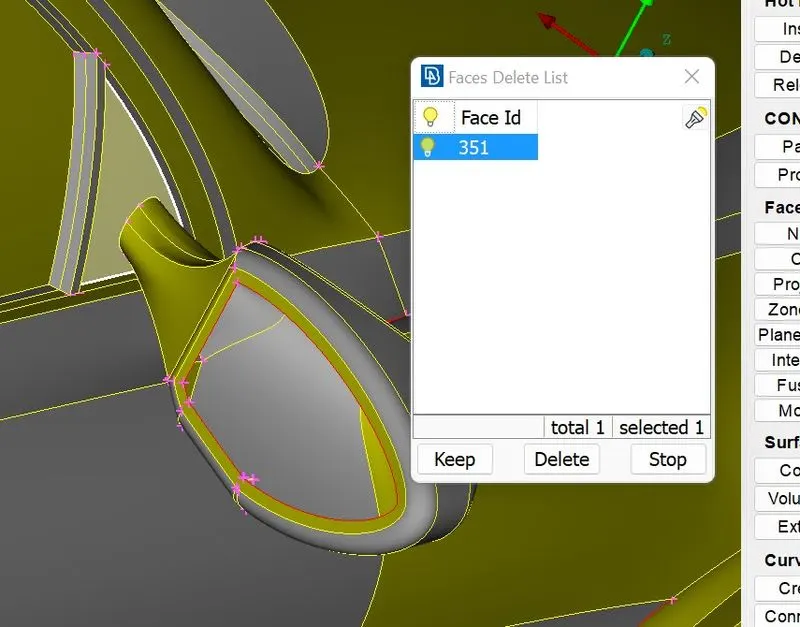
According to our requirement we dont need a any volumes so that we need to delete that inner surface which is window
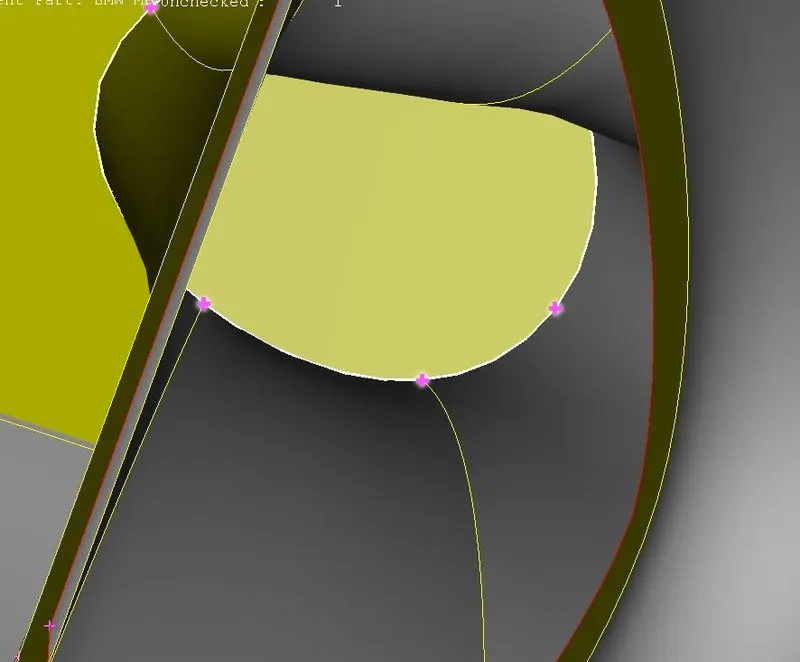
There is an another surface of window to delete for clear the volume
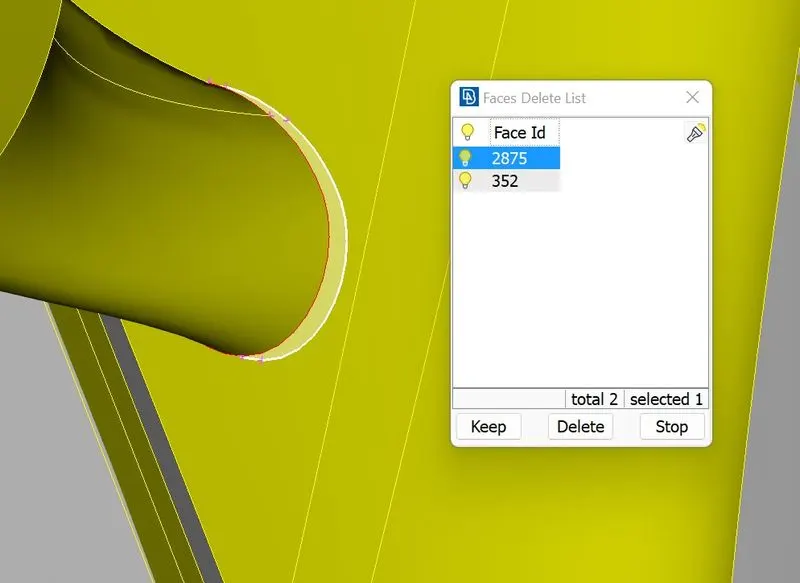
Now we cleared a volume, but we have to attach the surface between window and mirror
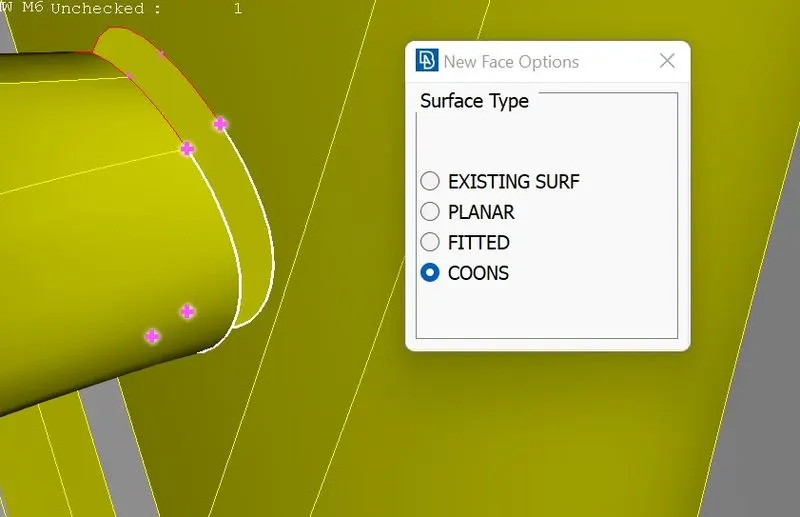
After that we can create a new surface to clear the single con.
Windows ans Windshield
In front winshield we can see the triple con
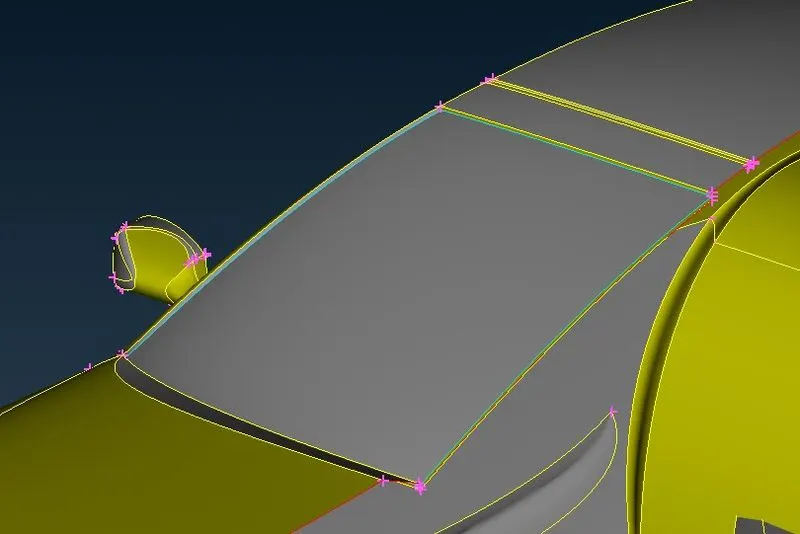
Now we cleared the triple con.
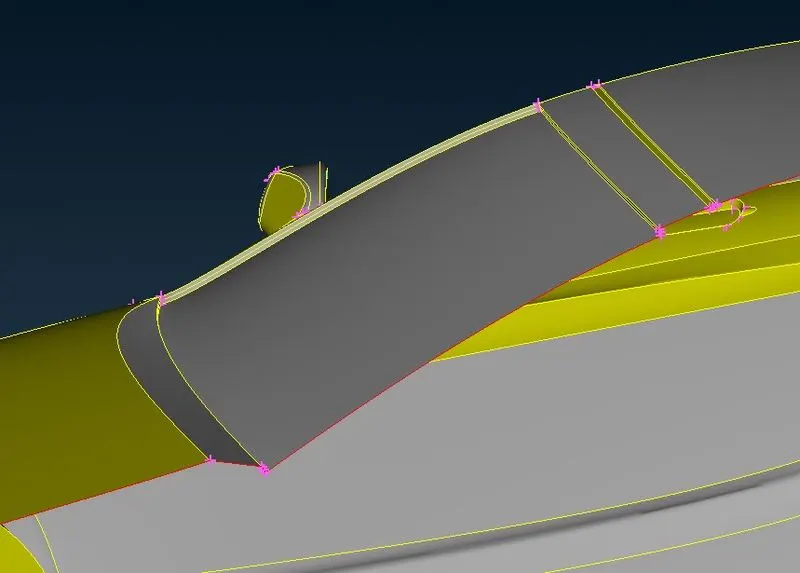
Also thre is a triple con on rear winshield too, we can delete that surafce.
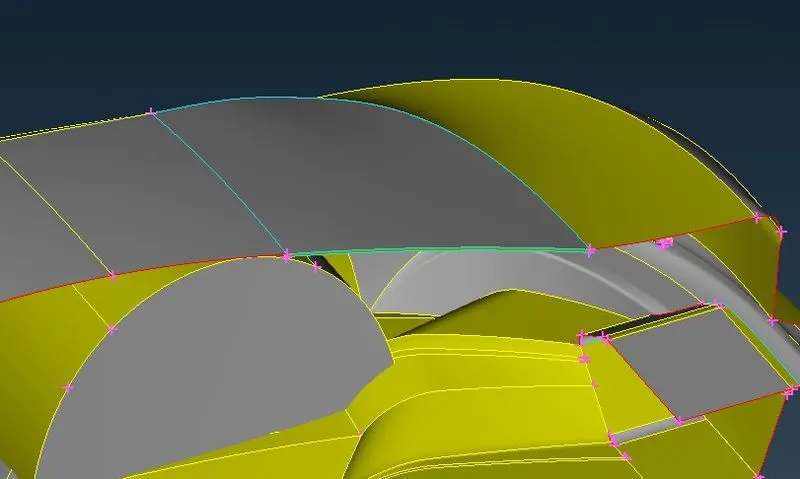
In windows we cleared the triple cons by deleting the surface.
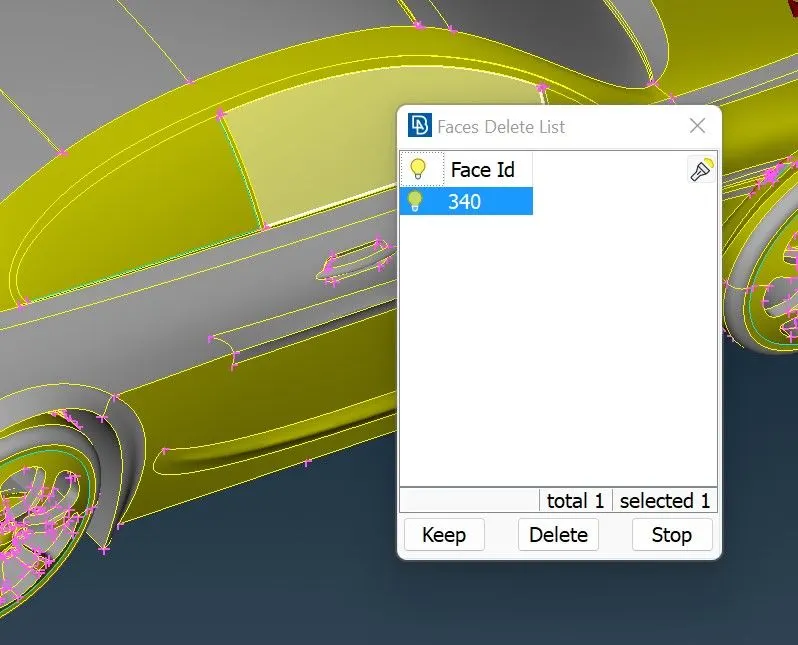
Tyres
There is a triple con around the rim, lets hide the rim surface and will take a look.
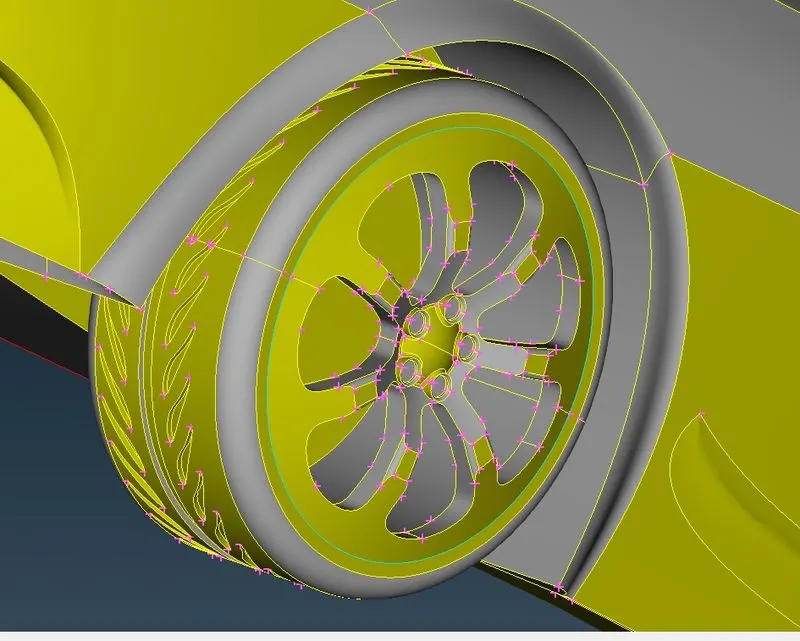
Tere is an extra surface which causes triple con, we can delete that surface.
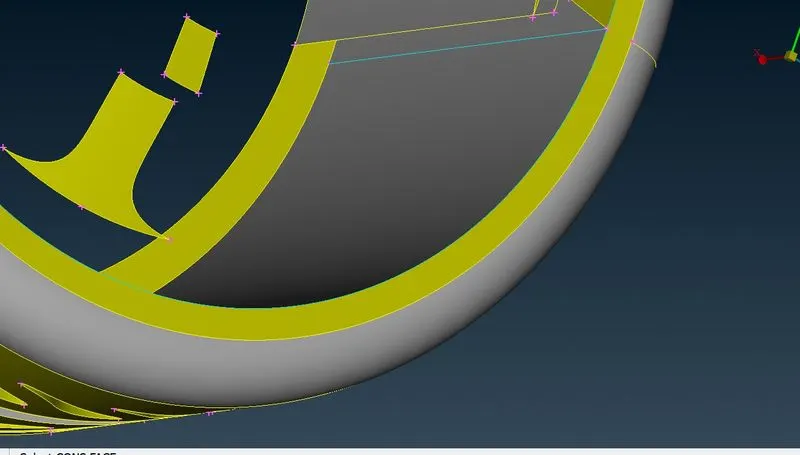
After clear the triple con there is a missing surface in tyre we have to fill this.
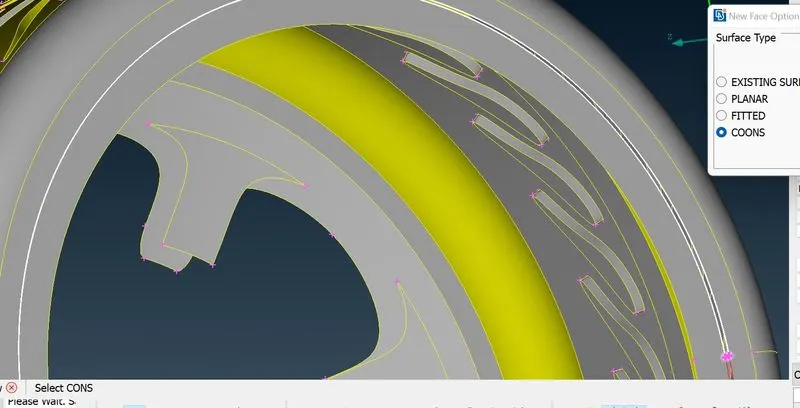
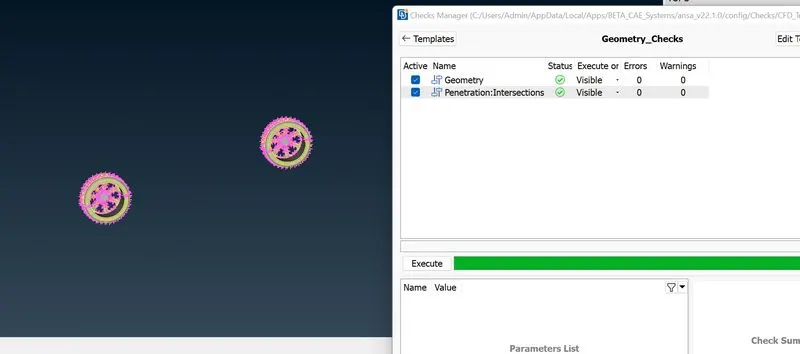
Now we cleared the both tyres and rims.
Floor
Floor looks messy there more overlapped surface
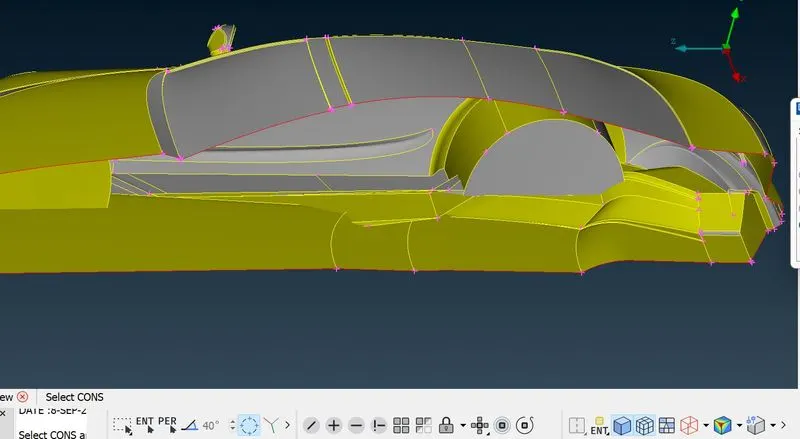
Also there are surfaces intersecting with wheels inside the wheel arches.
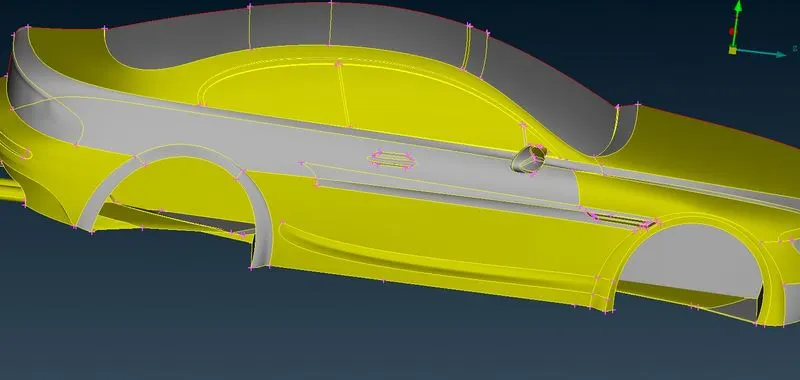
Now we trace the surface boundary by using Cons2curve in curves

Here i have deleted the floor surface and also deleted the intersecting surface inside the wheel arches.
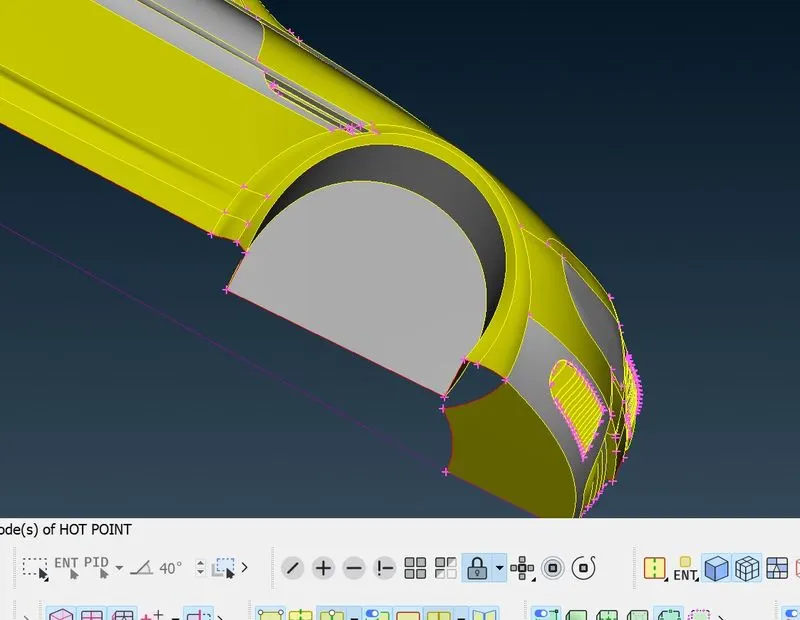
Here we are recreating the floor surface.
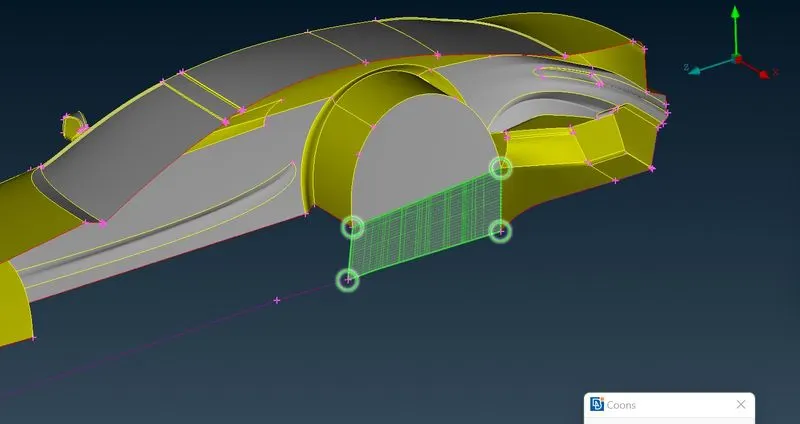
Final shape of the floor. we can delete that curves.
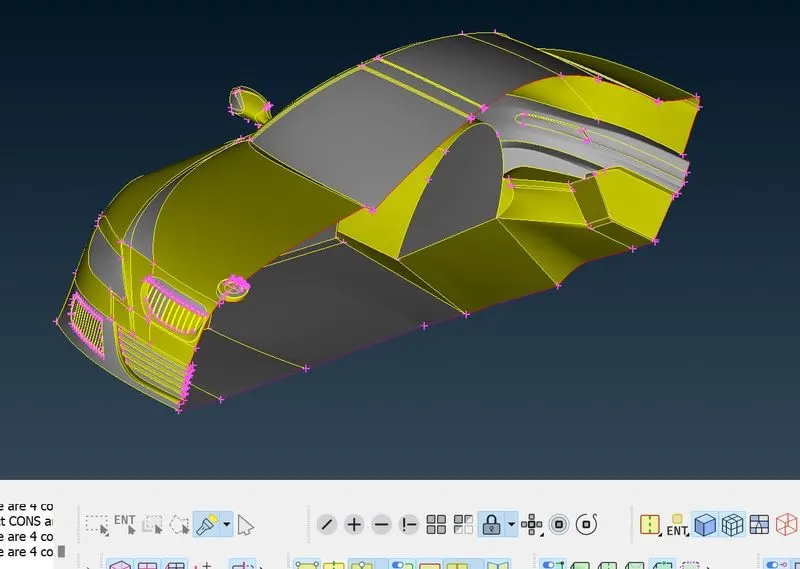
Meshing
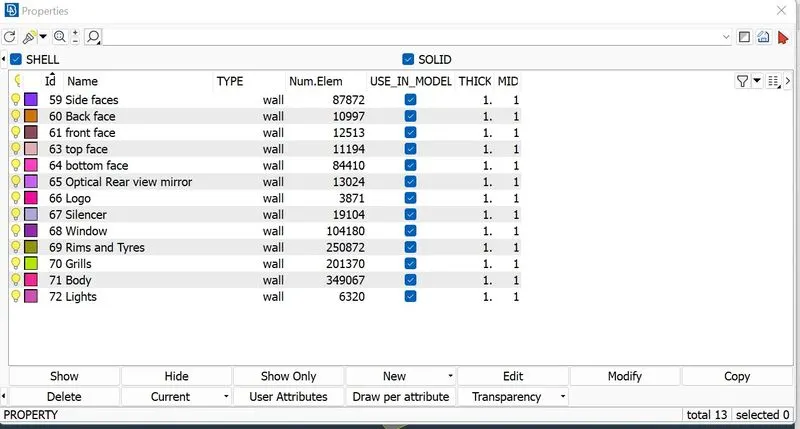
Before meshing we have to assign PID as given requirement
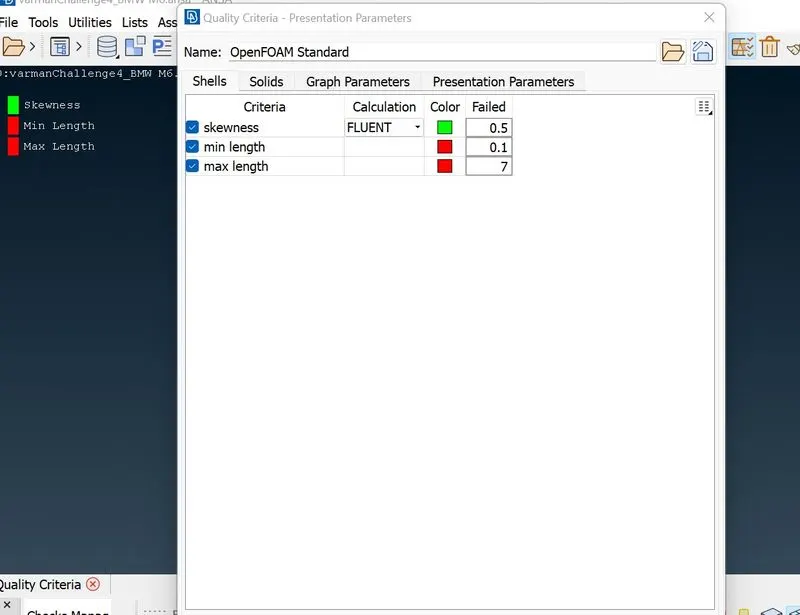
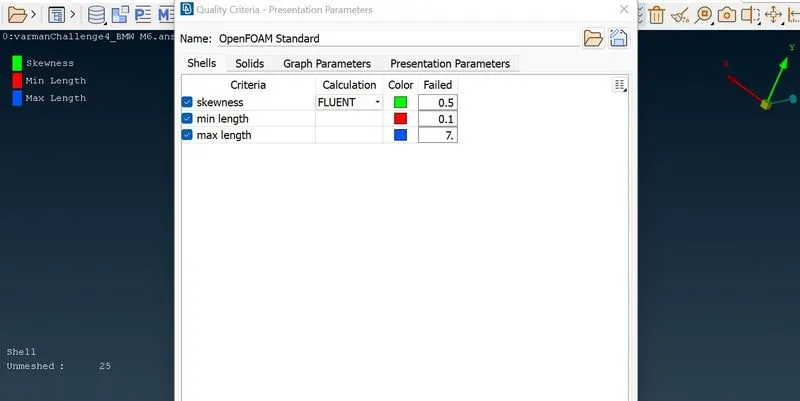
In this project as per the given requirement we have to follow quality criteria.
The quality of the mesh is easily evaluated using the numerous available quality criteria. Violating elements are isolated and colored according to criteria type or value and automatically corrected.Moreover, automated mesh information reportsandquality statisticsareprovided. In this project we focus on skewness.
Skewness is difference between the shape of the cell and shape of equilateral cell of equivalent volume, highly skewed cells can decrease accuracy.
Specified maximum and minimum length are for whole geometry
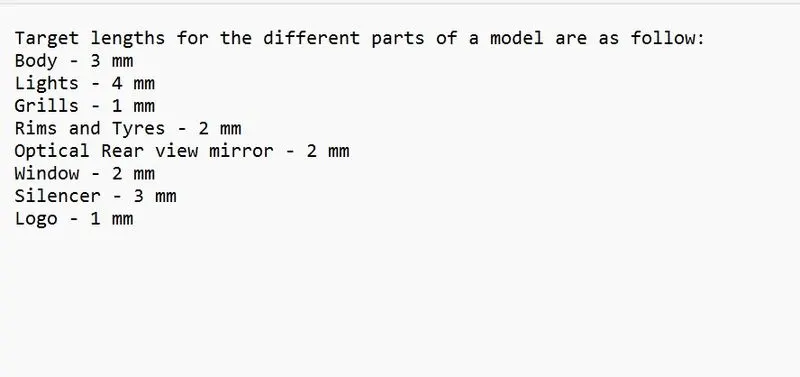
Given target lengths
Body
Target length for Body is 3 mm
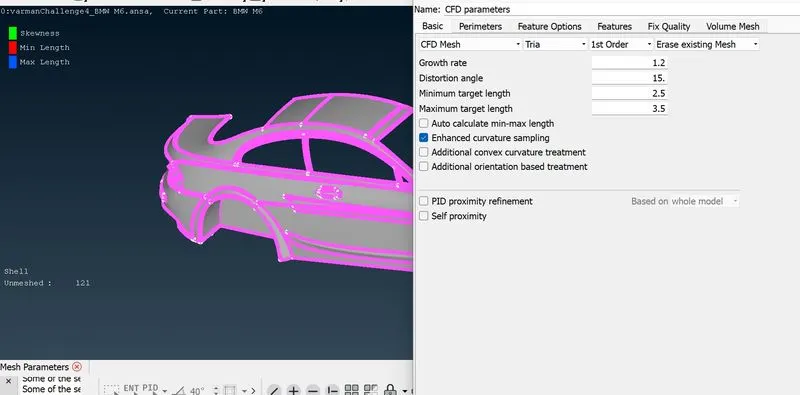
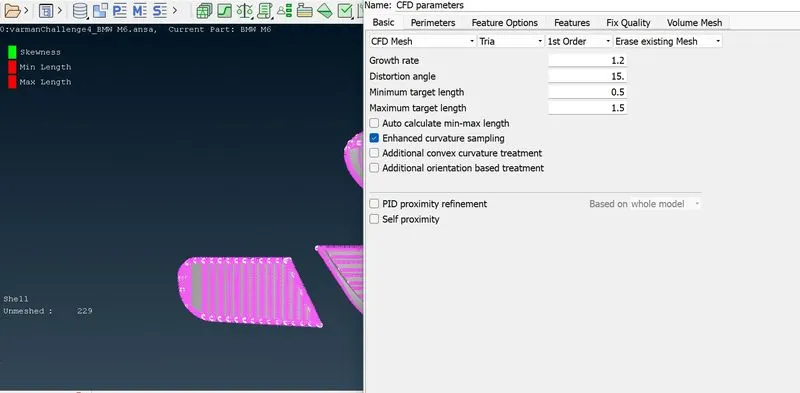
In mesh parameter we have to specify the minimum and maximum target length and we are going to do CFD mesh with Tria elements.
Quality criteria.
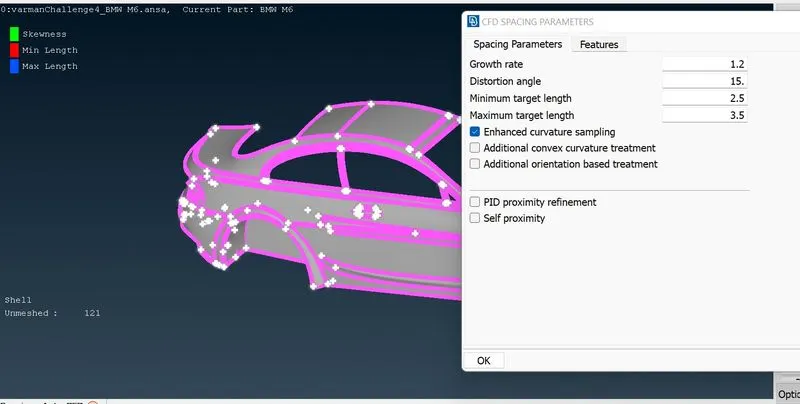
By doing spacing we will get more accurate results within the given range of target length.
Now we have generated CFD mesh but we are getting 454 off elements, but we can improve this..
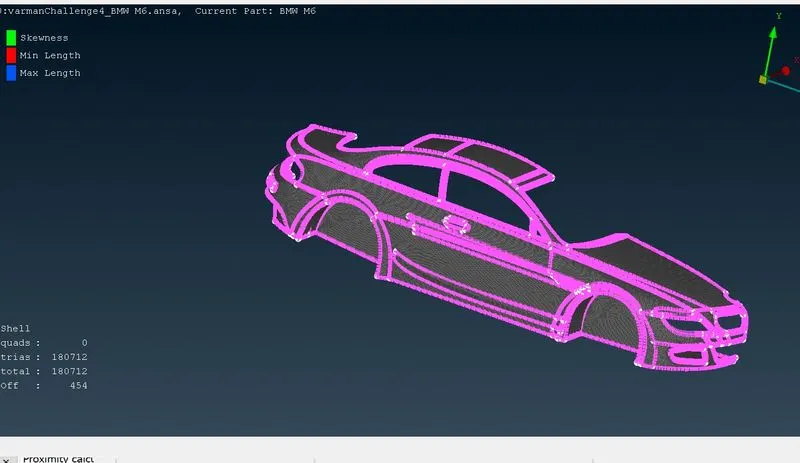
Here we reconstructed mesh grids to reduce the off elements. we reduced into 35
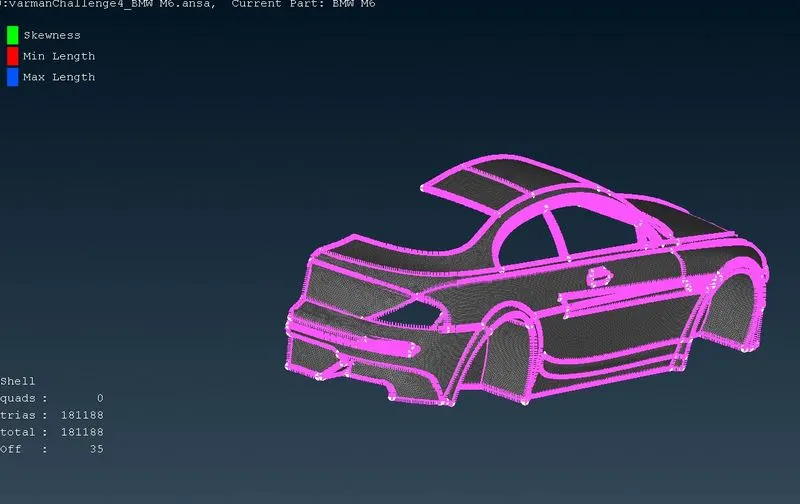
After reshape the grid we cleared all the off elements.
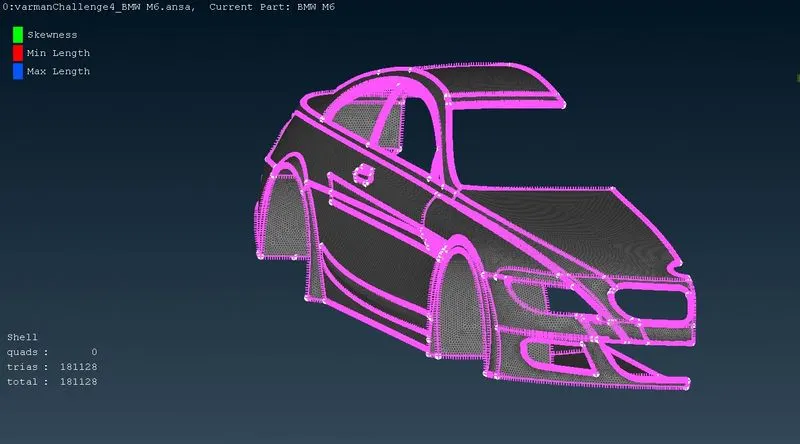
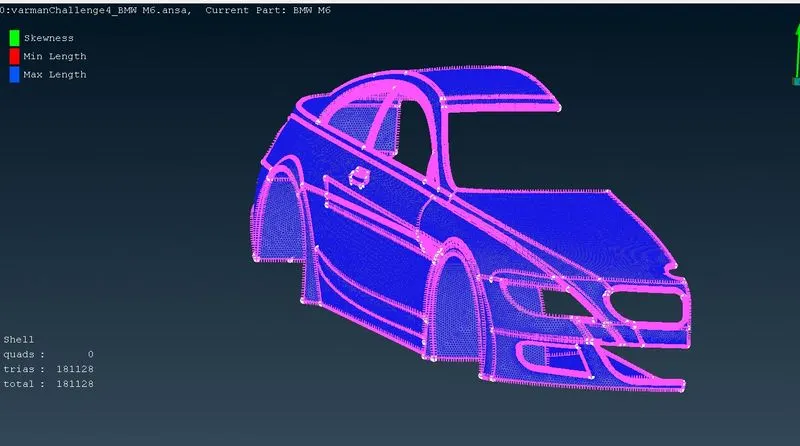
Here we freeze all the mesh grids, beacause there is a chance of erasing nearby the surface due to different target length.
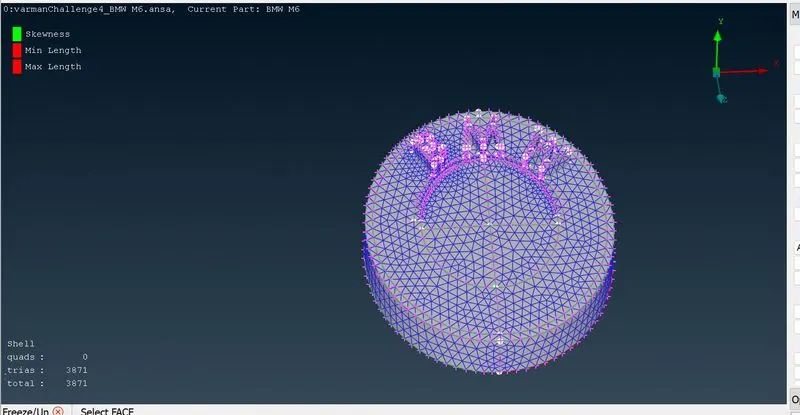
Logo
Target length for logo is 1mm.
As we gave the target length range in mesh parameters here we go for spacing with that range for accurate results.
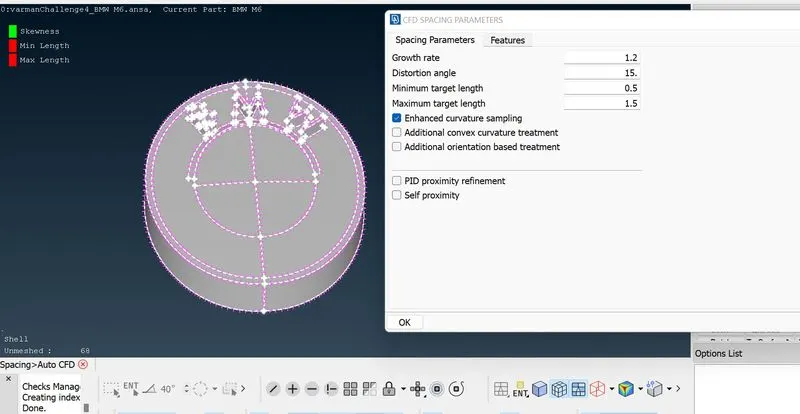
After mesh generation we got 99 off elements
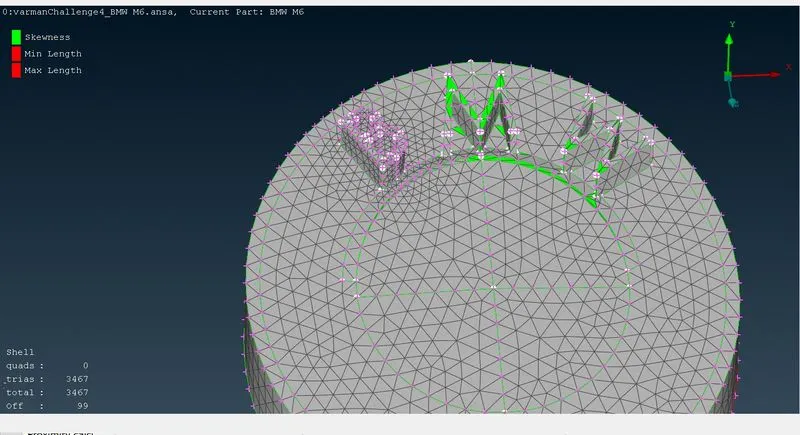
Here we reconstruct the grids
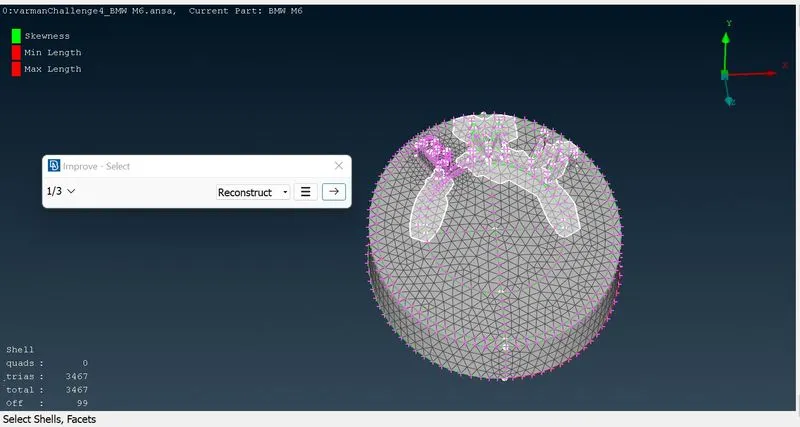
Cleared all off elements.
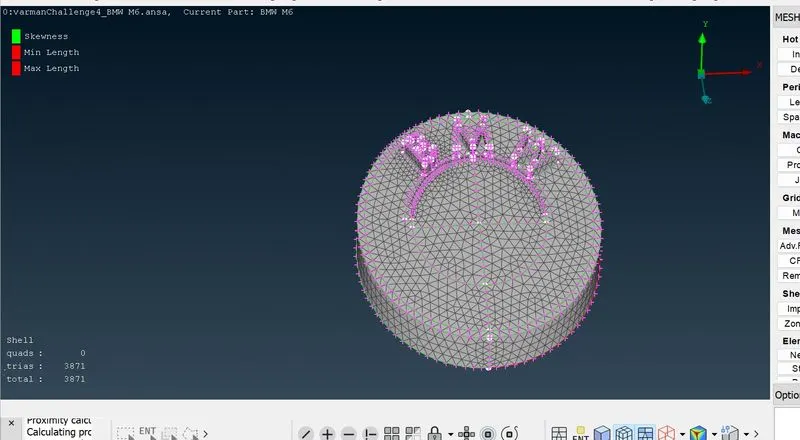
Freeze the mesh grids.
Grills
Target length: 1mm
Next we go for grills
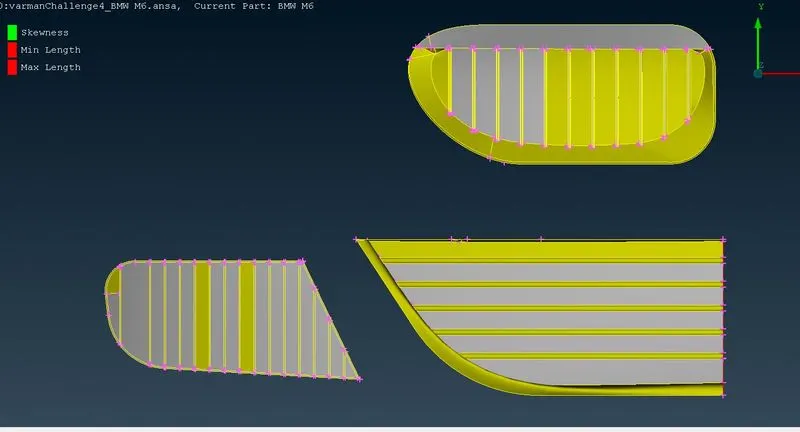
Specify the target length range in mesh parameters always check whether we are using tria elements.
Spacing
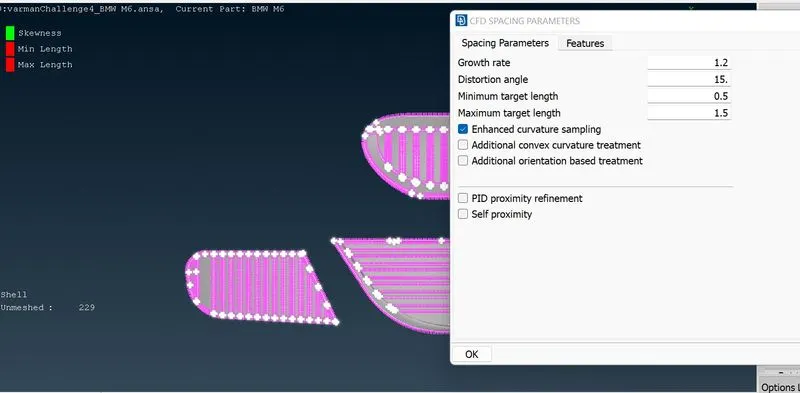
There are 179 off elements.
T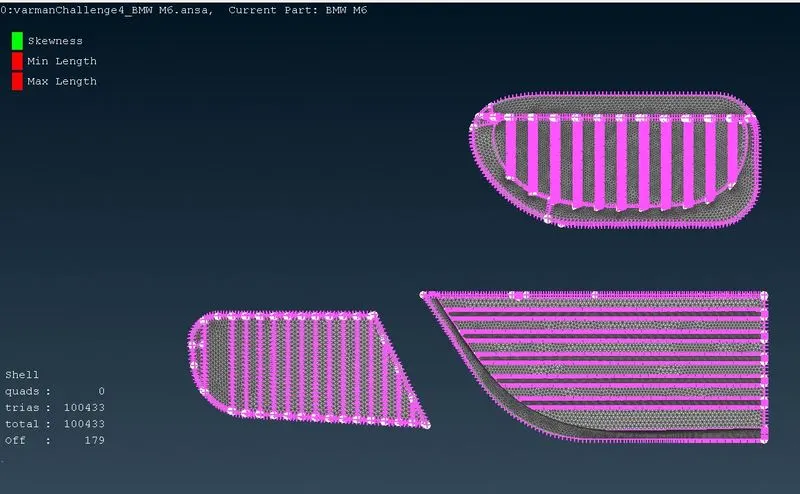
After reconstruct we improved our mesh
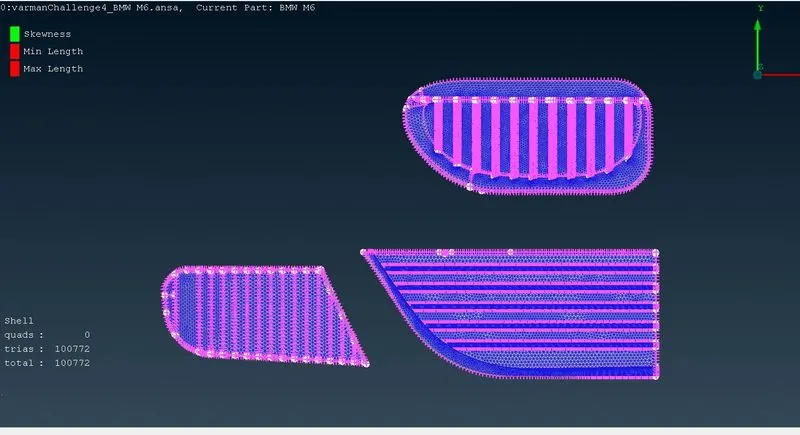
Rims and Tyres
Target length: 2mm
Mesh parameters
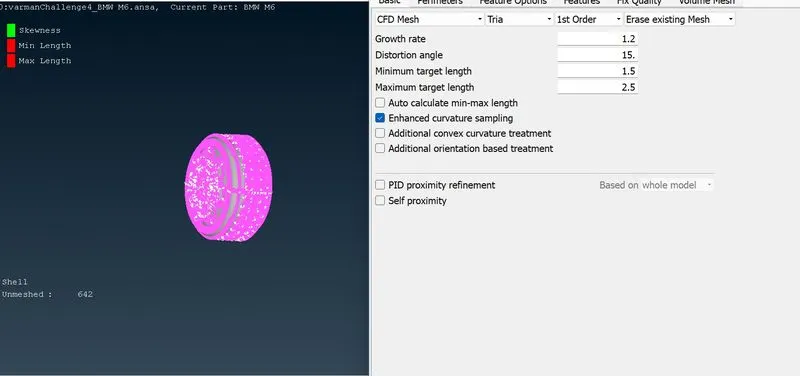
There are 202 off elements we can reconstruct the grids.
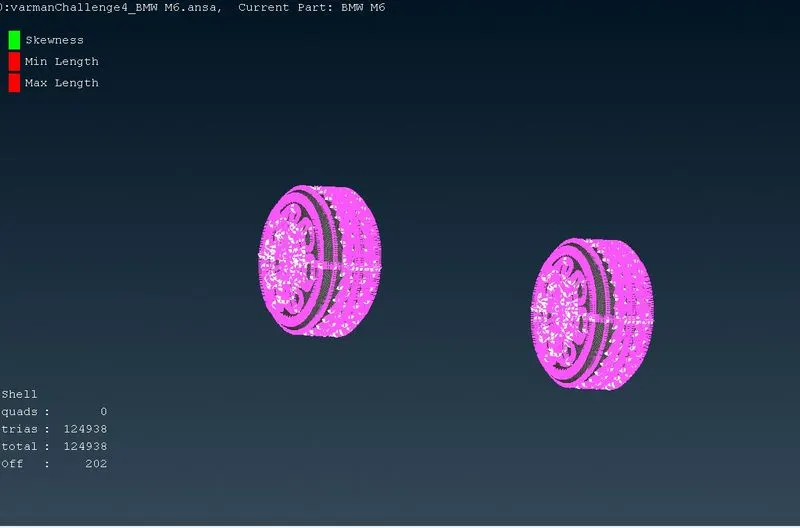
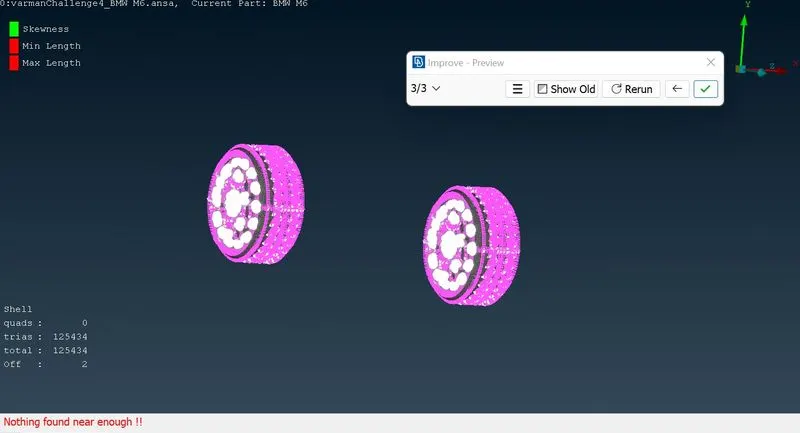
Here we cleared the off elements.
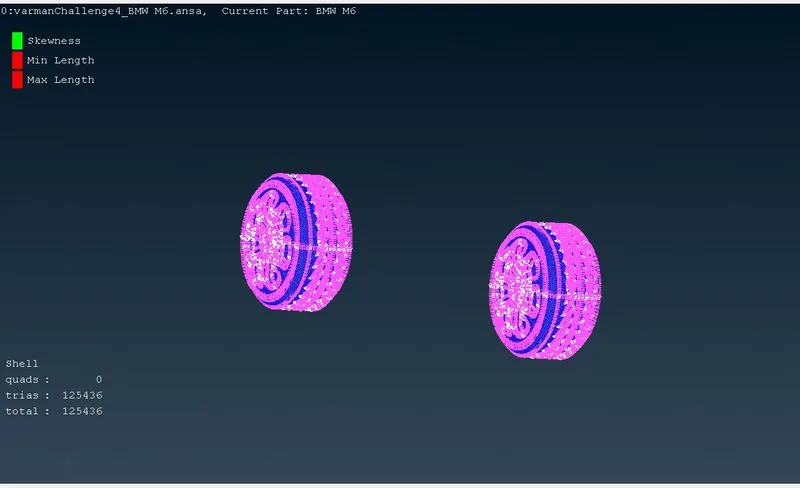
Optical Rear view mirror
Now we go for rear view mirror.
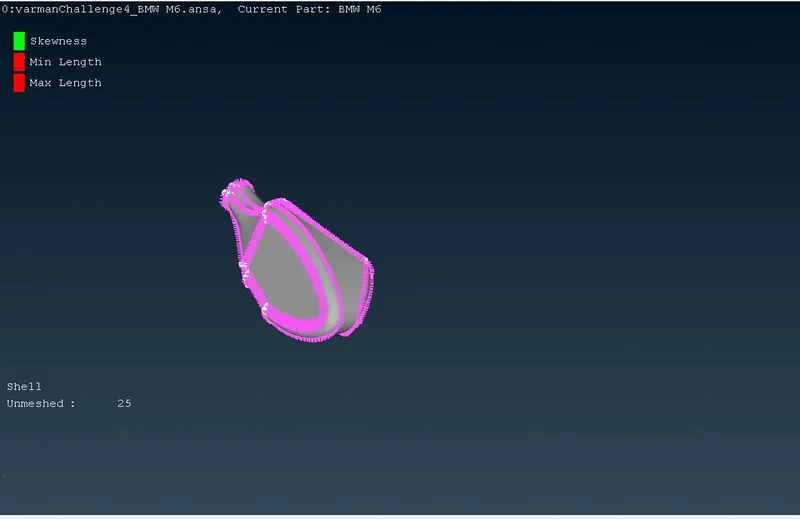
Mesh parametres
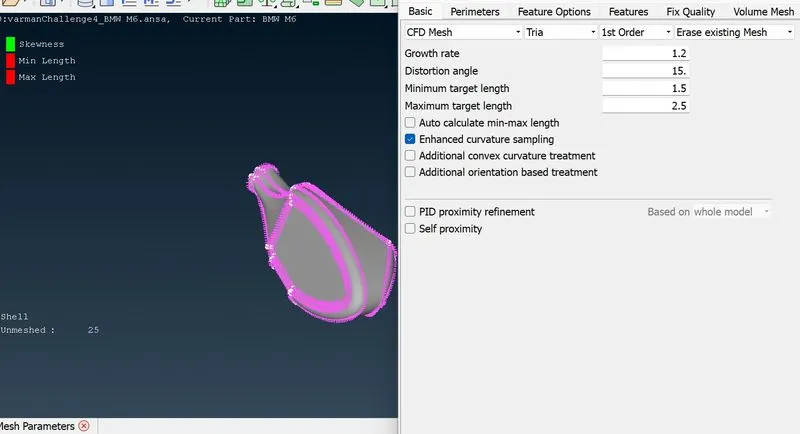
Here we got 5 off elements, lets try to improve with reconstruct and reshape
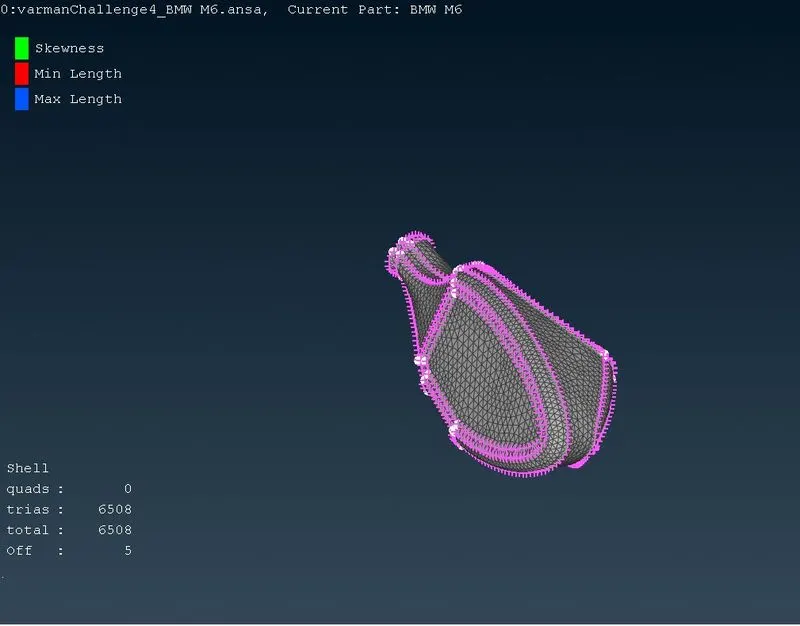
Still there is 1 off elements, letry to fix this mannually
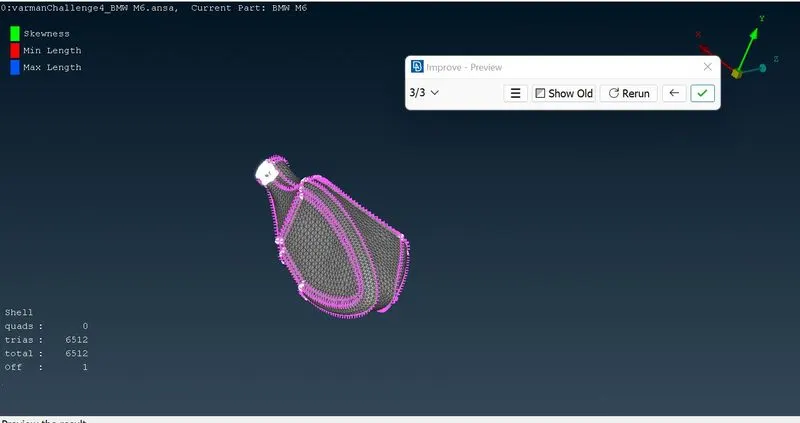
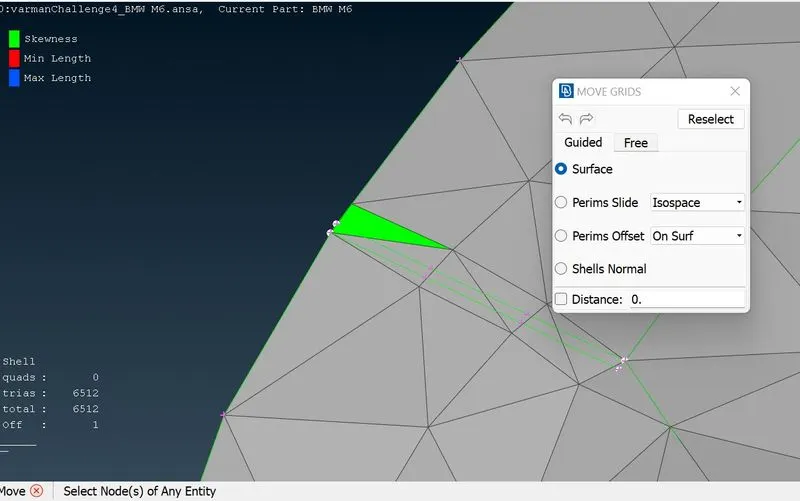
We can adjust the grids skewed element by moving the nodal points.
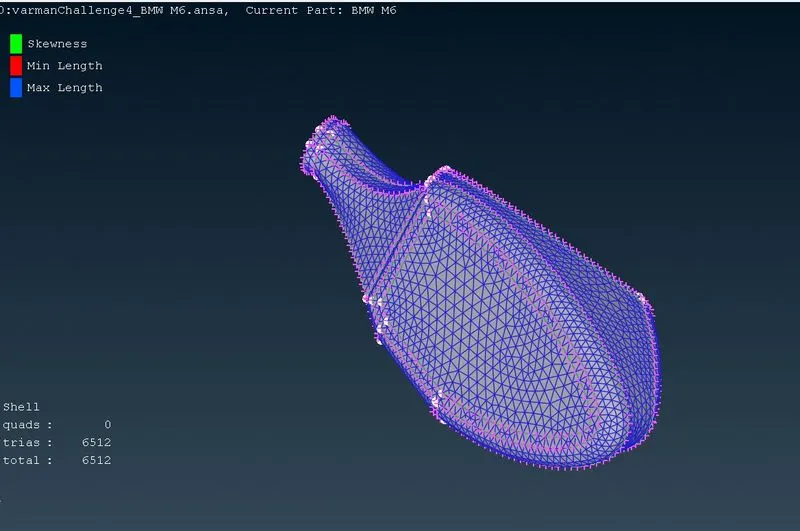
Now we cleared all the off elements.
Window
Target length : 2mm
Next we move on to the window
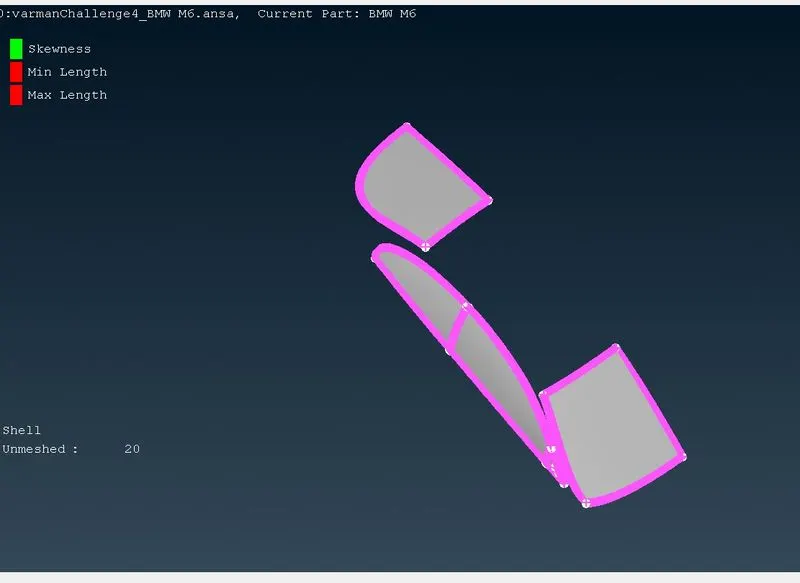
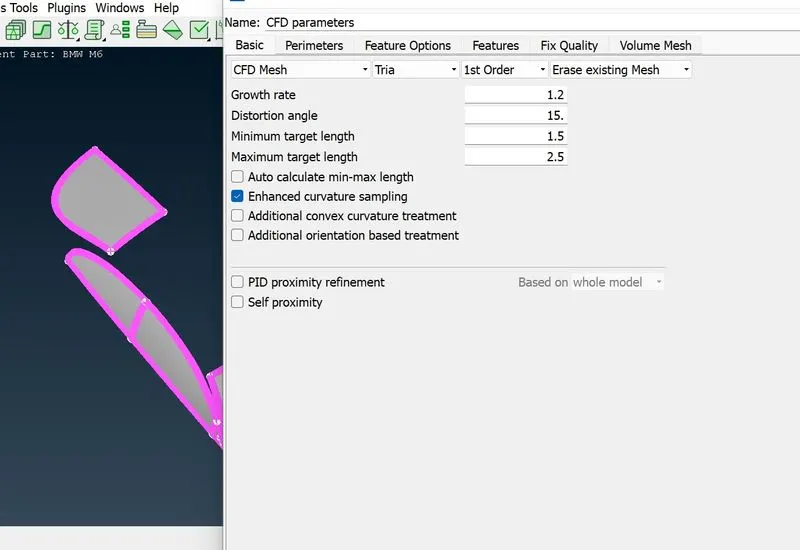
Mesh parameter
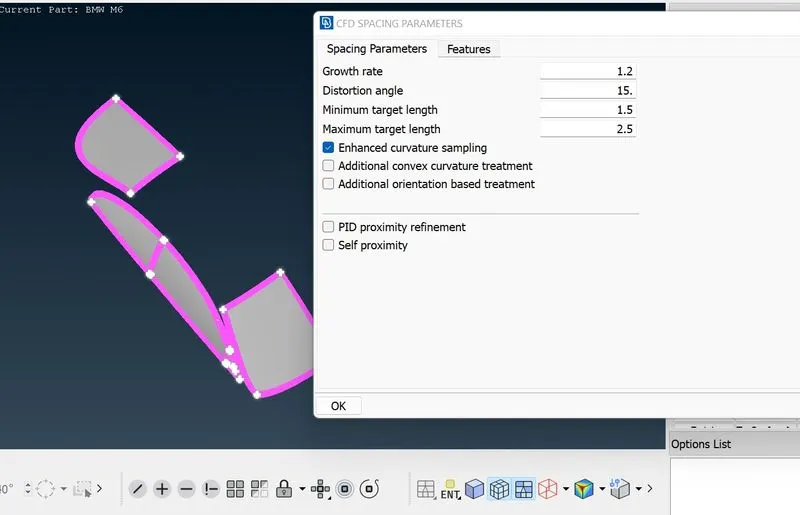
Spacing
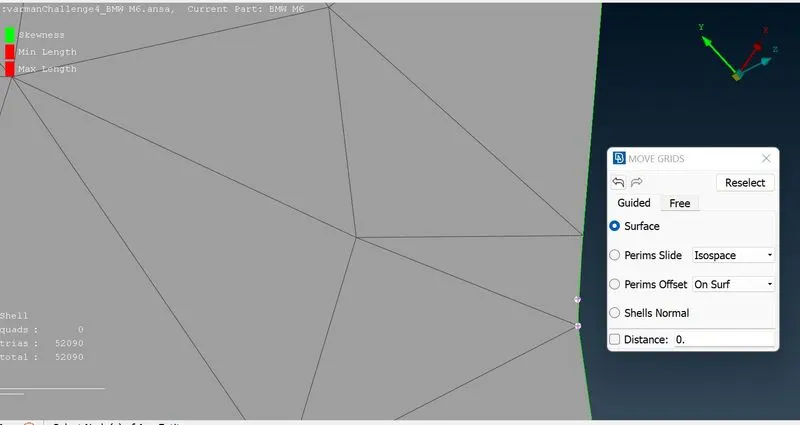
Mesh generation but we got one off elements, we can fix this manually
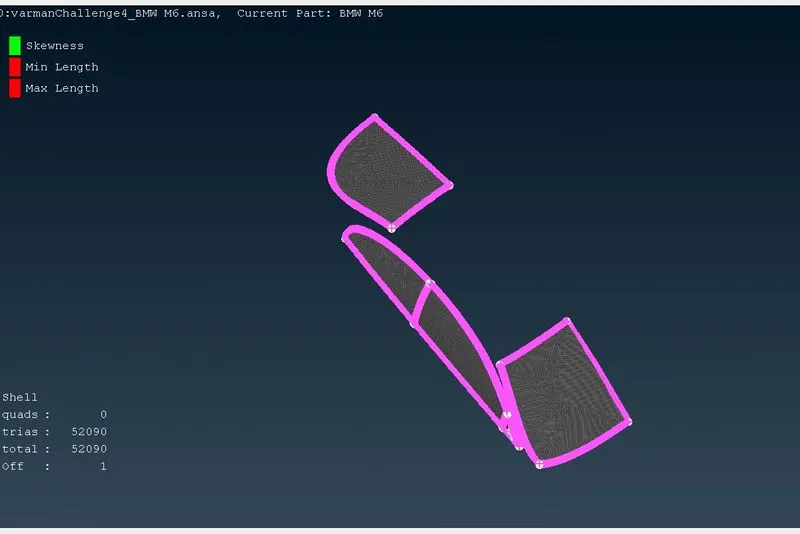
Here it is one skewed element, we can move nodal point with hepl of move option we can fix this
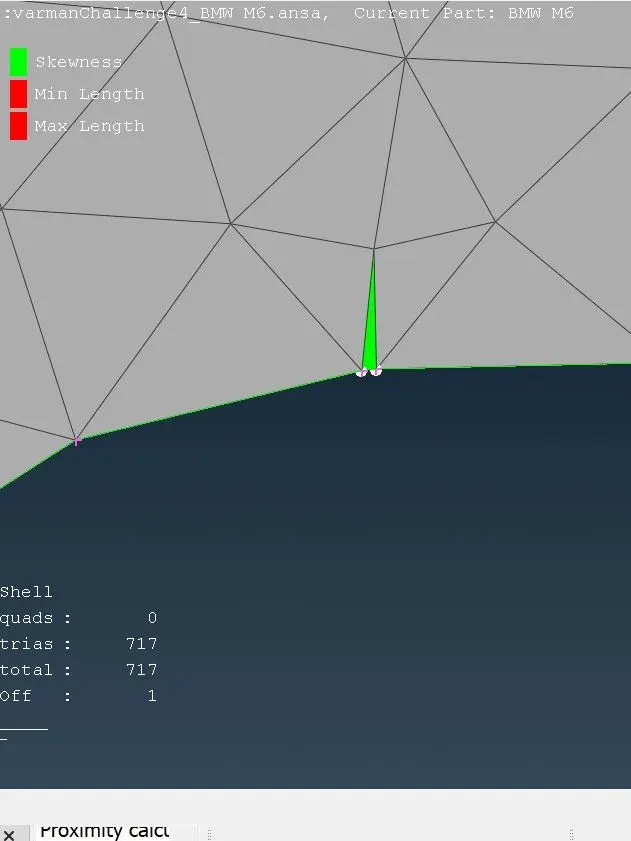
Now we fix that skewed element
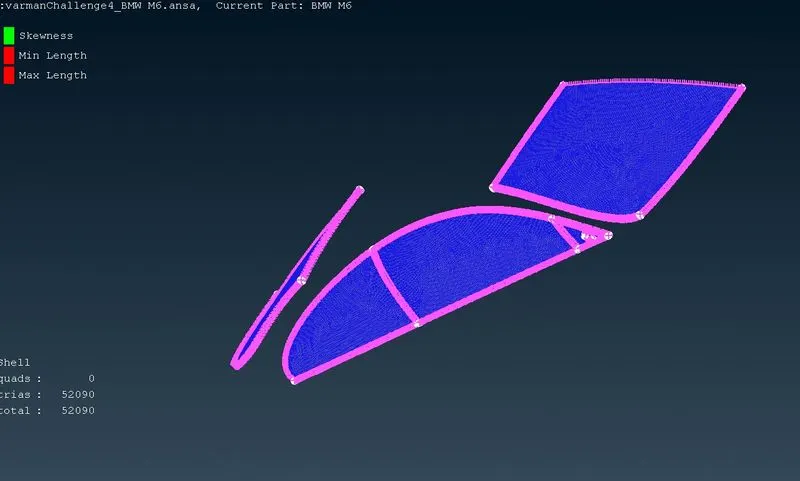
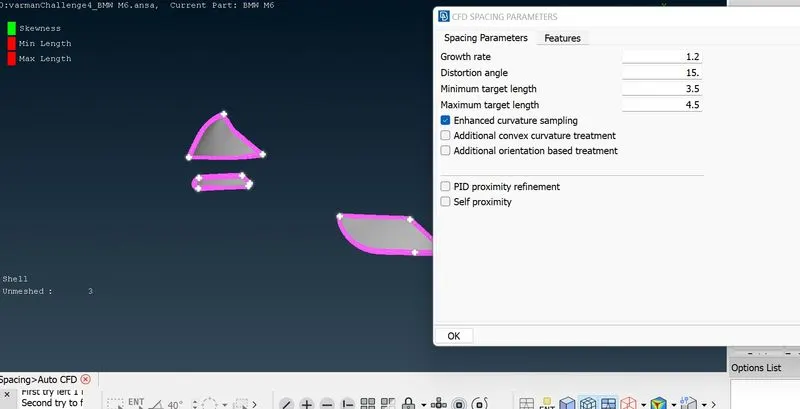
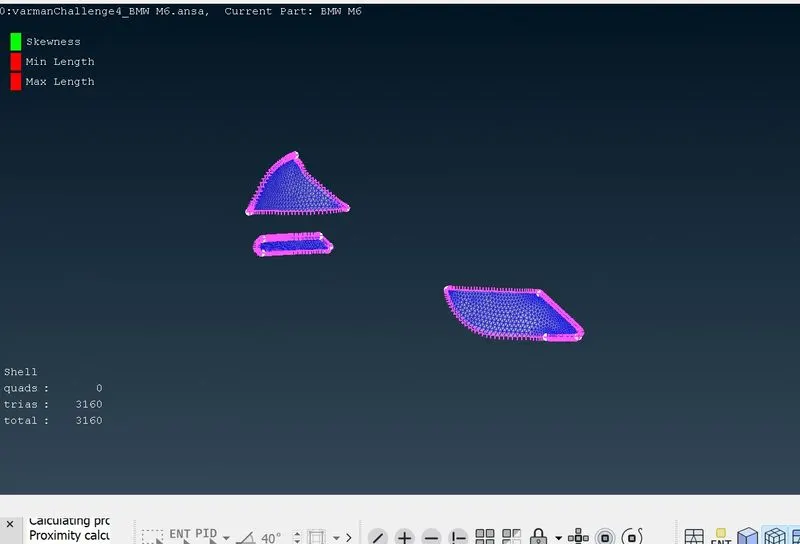
Lights
Meshing for lights
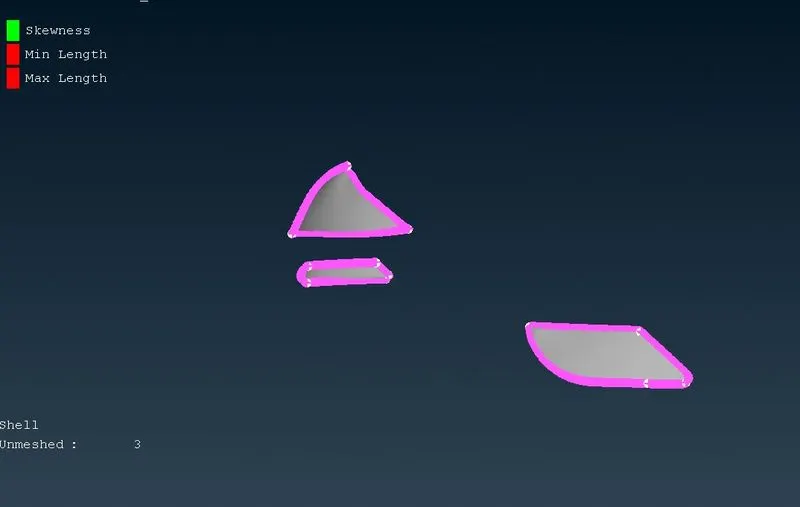
Mesh parameter
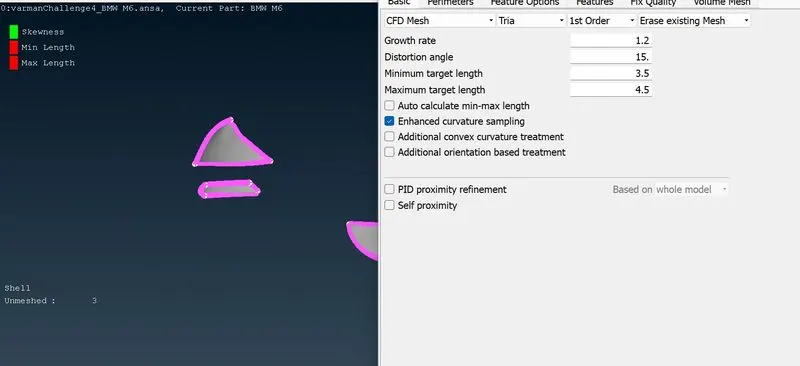
Spacing
Silencer
Target length: 3mm
Range is specified in mesh parameters
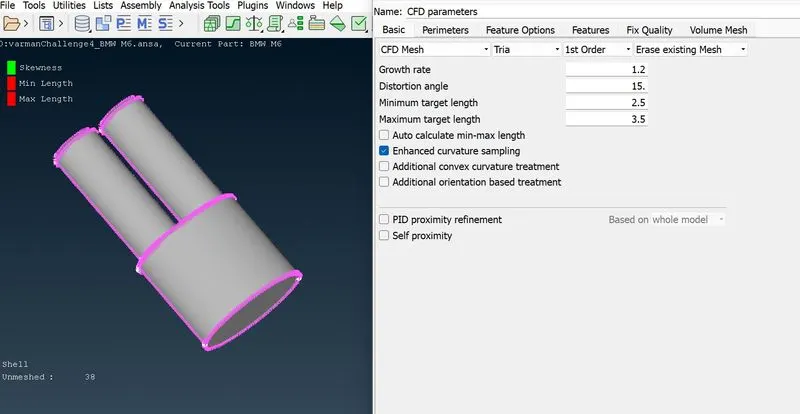
Spacing
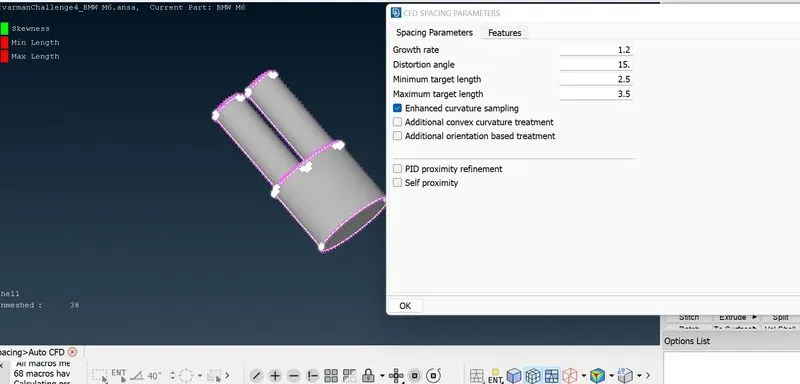
Mesh generation and there 41 off elements
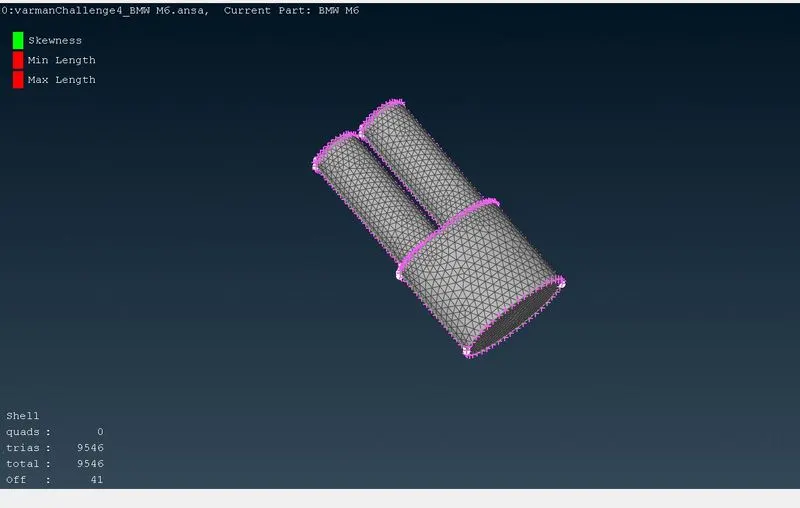
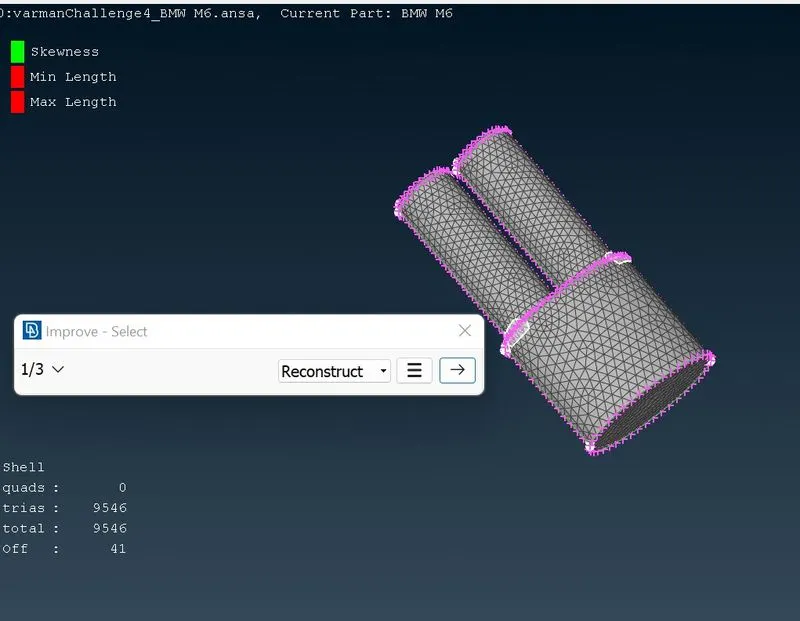
Lets try to improve the surfce with reconstruct and reshape
Finally we cleared all the off elements.
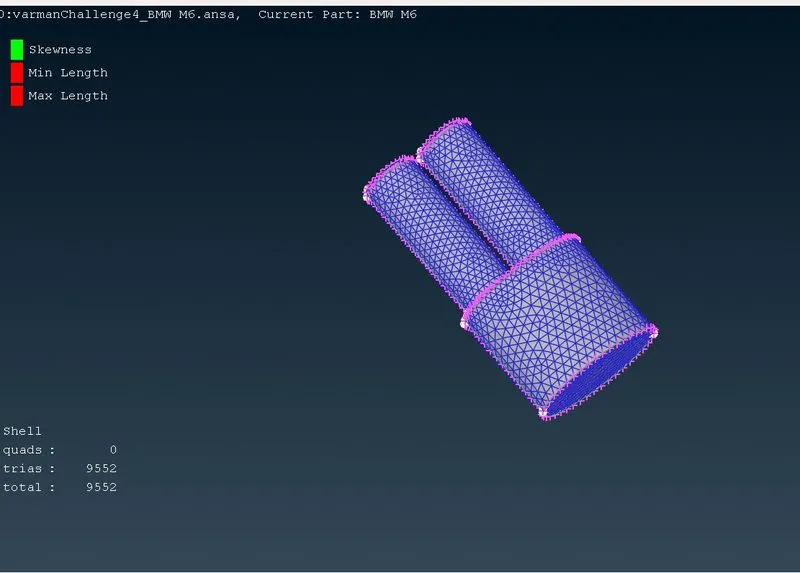
Now we did meshing for all PIDs as per the given requirement, lets do all to see the geometry.
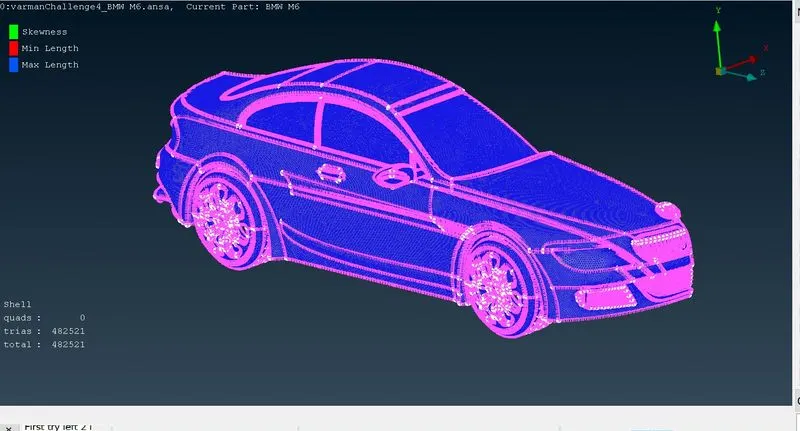
Now we are going to unfreeze the full geometry and do the mirror to get another half of the car, so that we can see the full car.
Here i unfreeze the geometry and hide the logo.
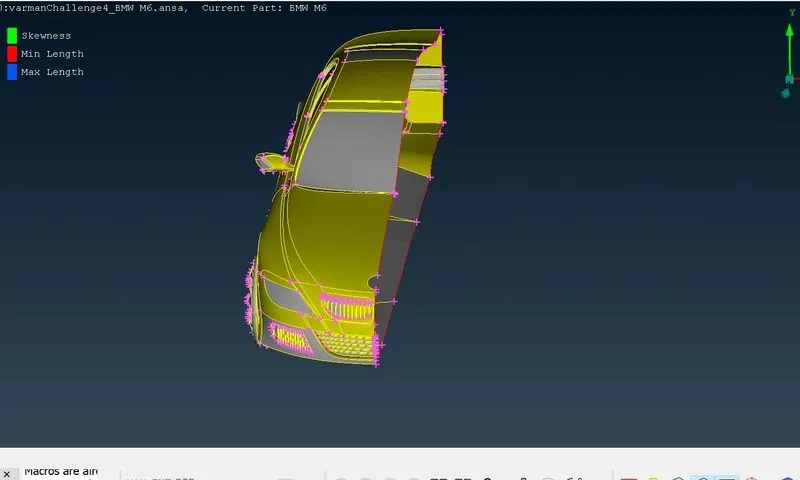
Now we are going to mirror the geometry for that we go for Tranform.
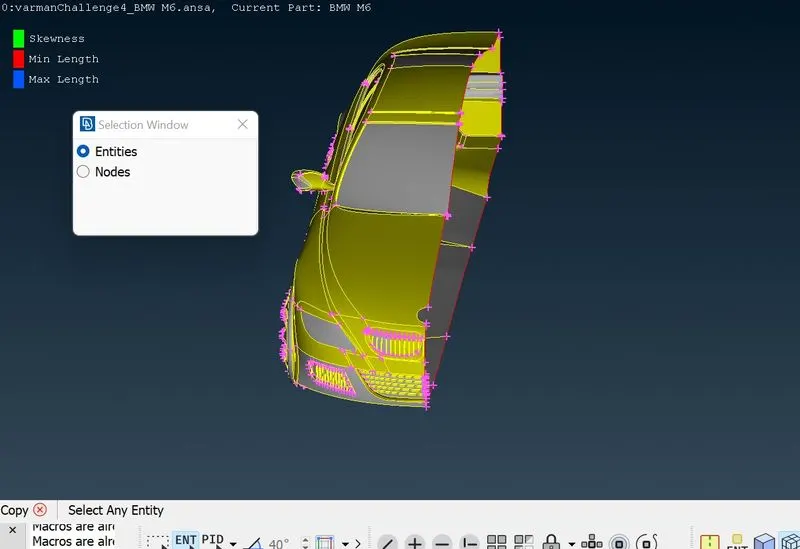
In transform we need to choose the entitiy to be mirrored nd do the symmetry with the reference of three points
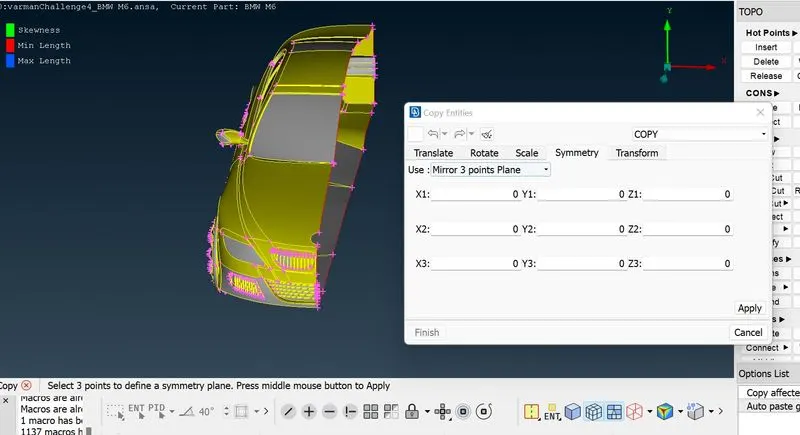
Now we got the coordinates basedonthe three reference points.
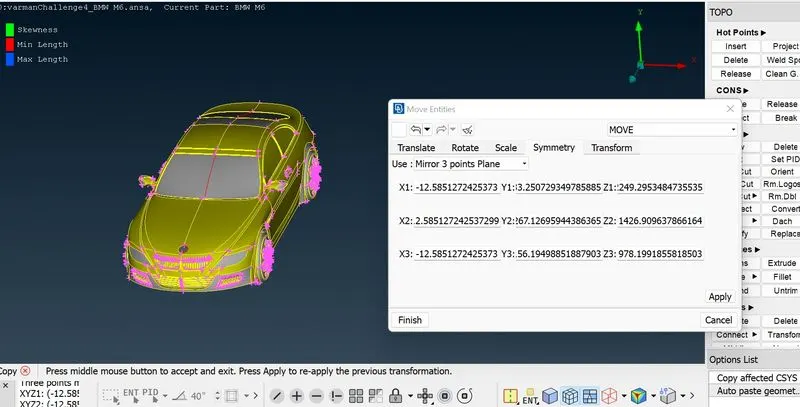
then we got the full geometry, but still there are some red cons on the front and rear windshield area
lets do the topo
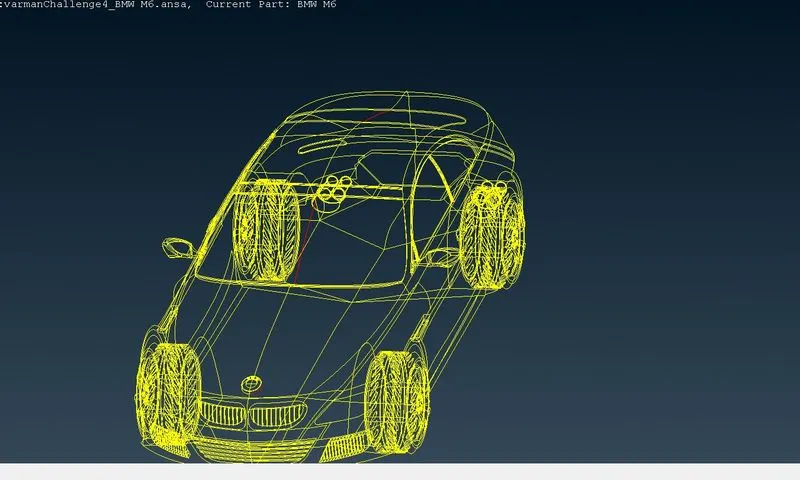
After hitting the topo there is one single con on the front winshield, we can fill this gap.
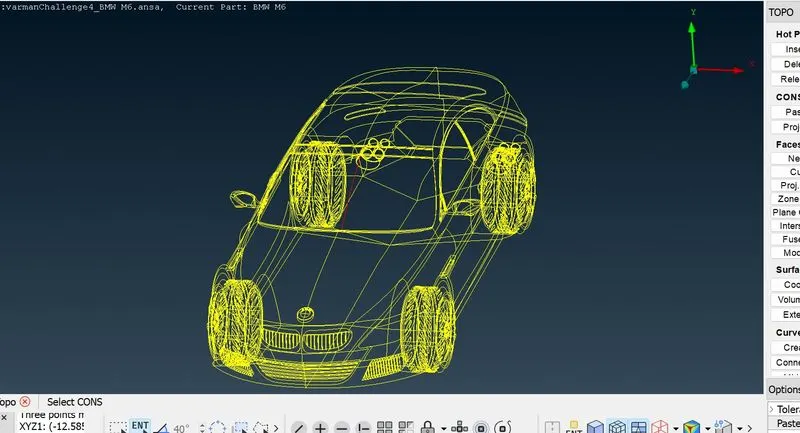
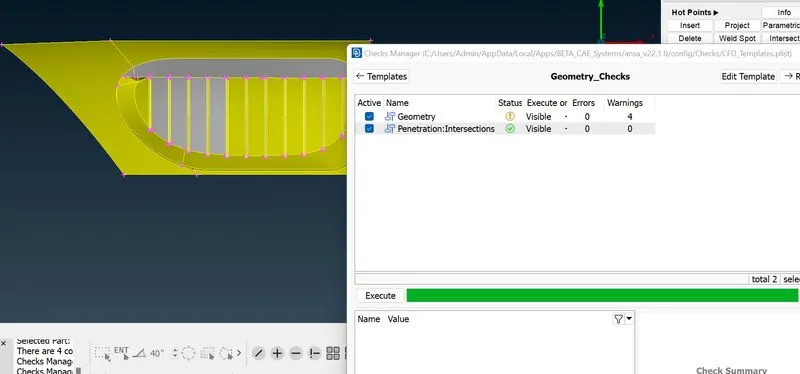
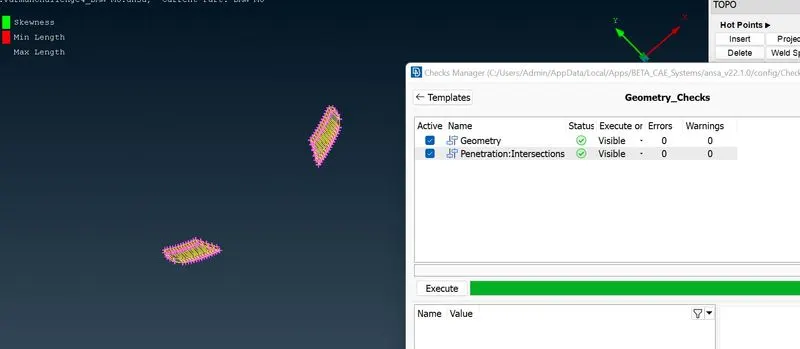
Now lets go for geometry check up
here i found one intersection error in grill
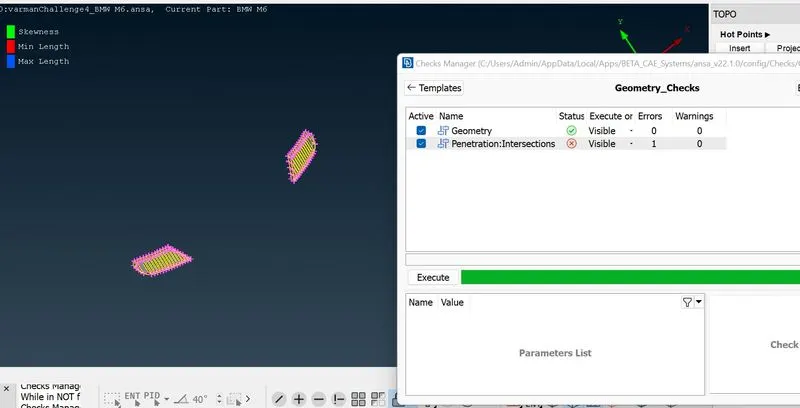
Here is one small surface intersects, lets delete both surface and creates a single surface
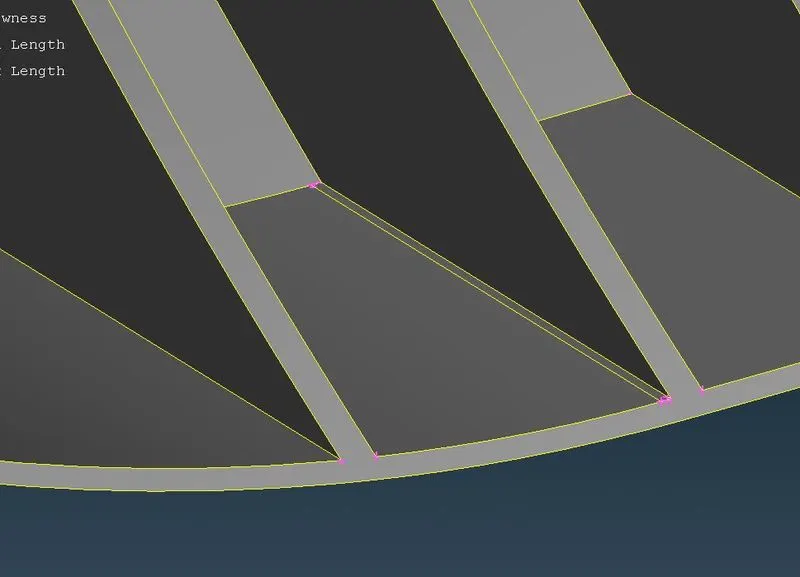
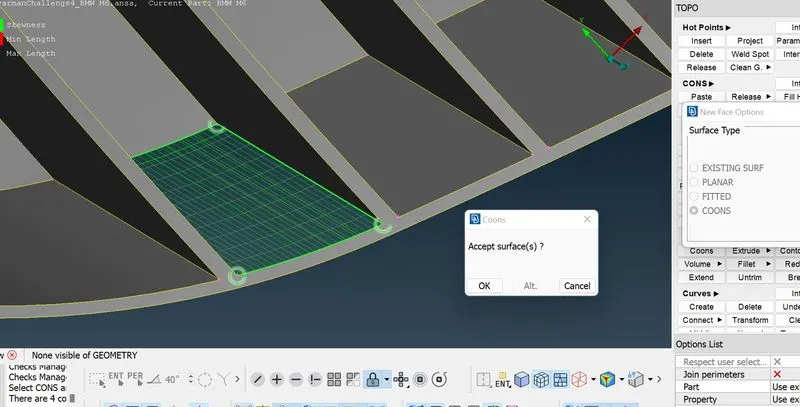
Now we cleared that intersecting errors.
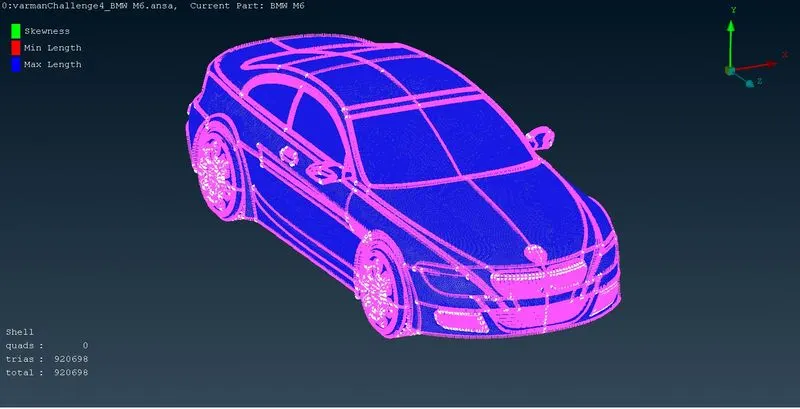
Finally here is my full geometry.
surface mesh to Wind tunnel surfaces
There are some set of rules to create a wind tunnel setup.
Here it is
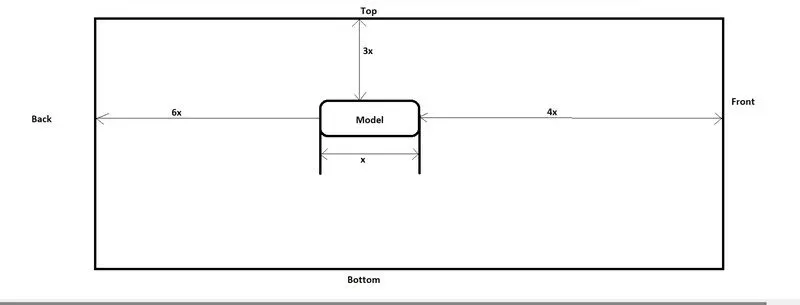
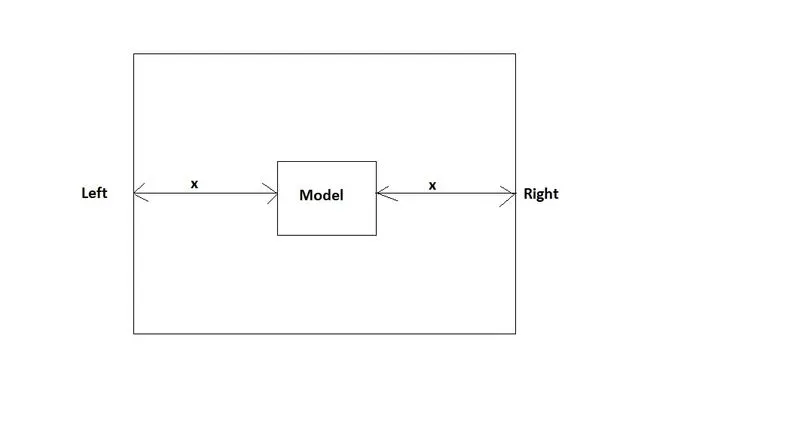
so now we have to measure 'X' which means the length of the Car.
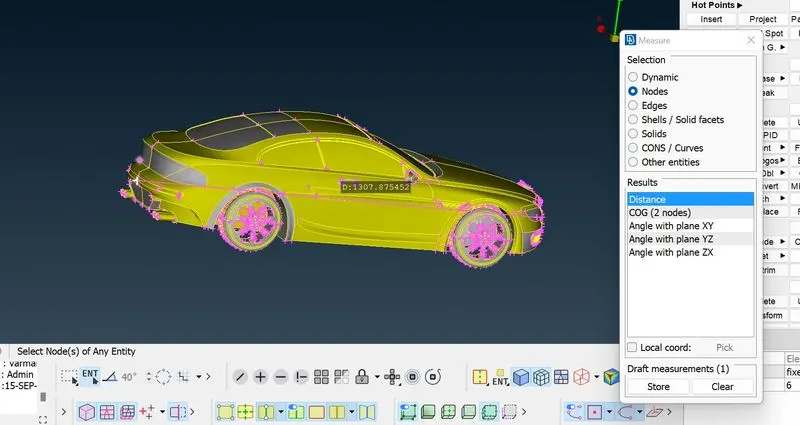
therefore, X=1307.8
X/2=654
Now we can create a base point at 654 by using relative in points.
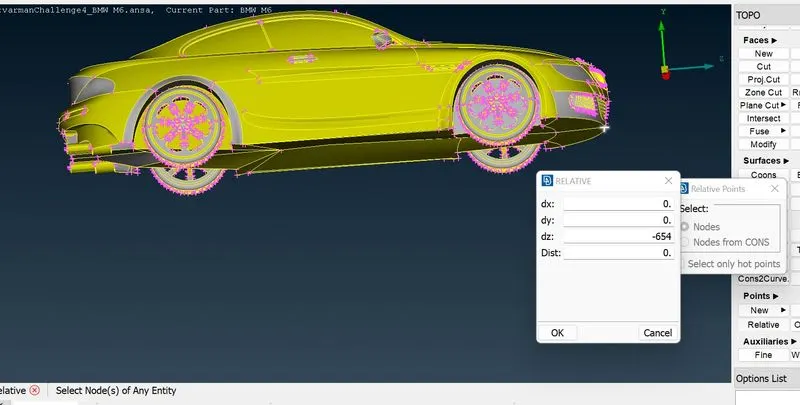
Next i have created a point at bottom which should not be intersect with tyres. so here i gave 300mm
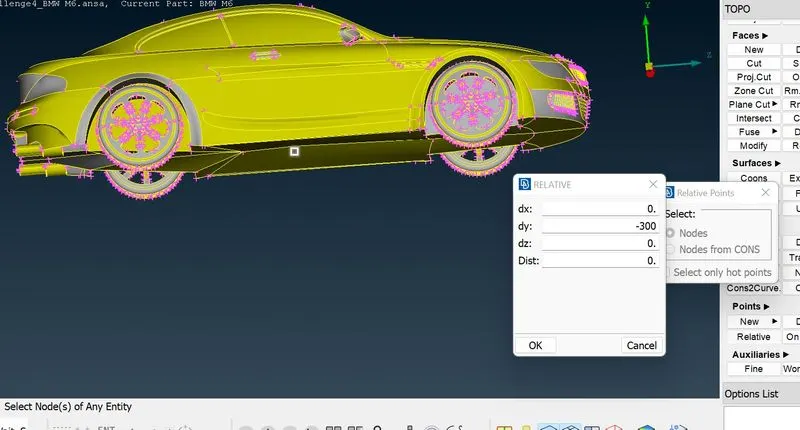
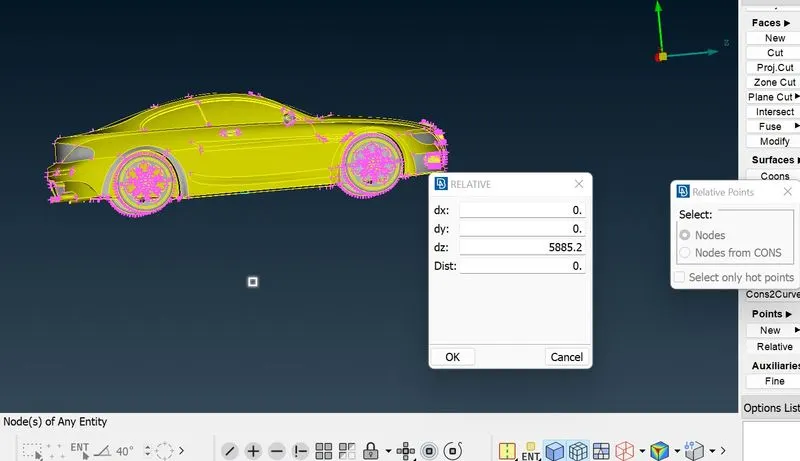
Next we created a point at front which is (4*x)+x/2
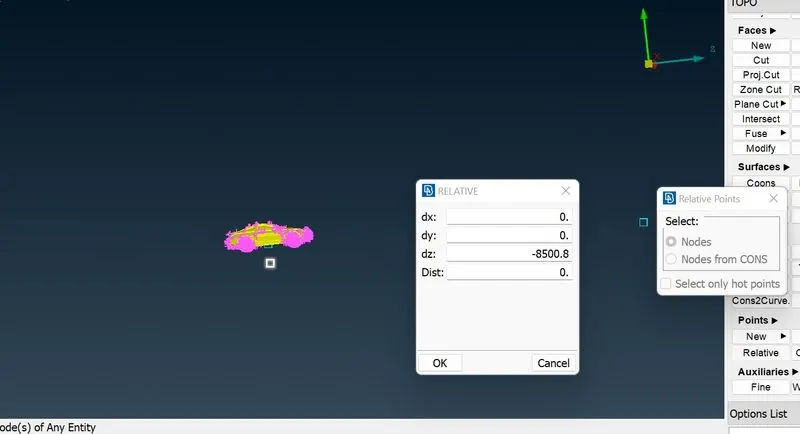
Next one for back surface which is 6x
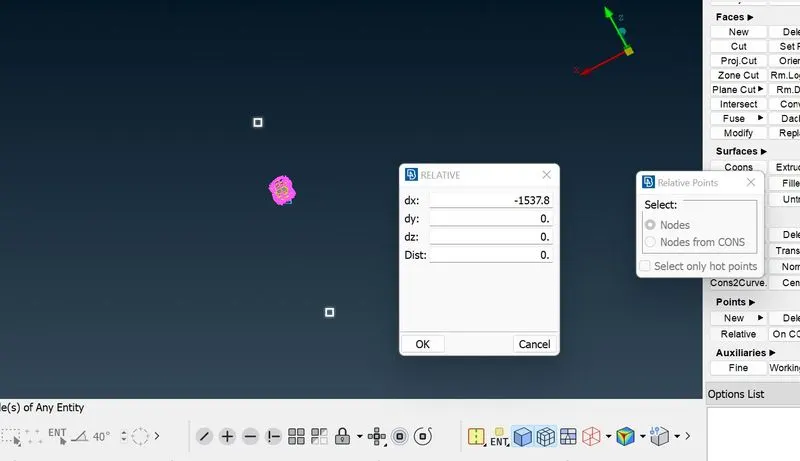
Here i created a point on the sides.
Now we have a base points on all four sides.
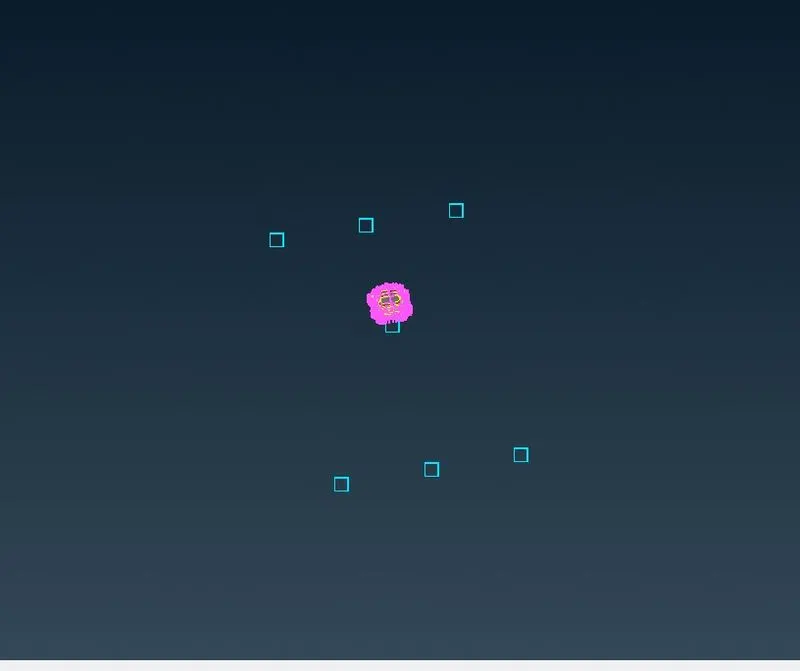
Now we can create a curves by using the point reference.
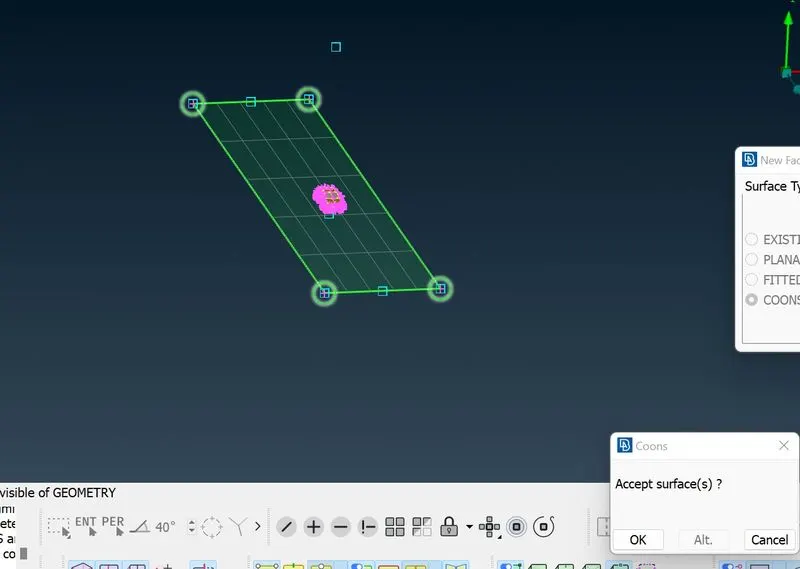
Now we are doing offset the bottom surface
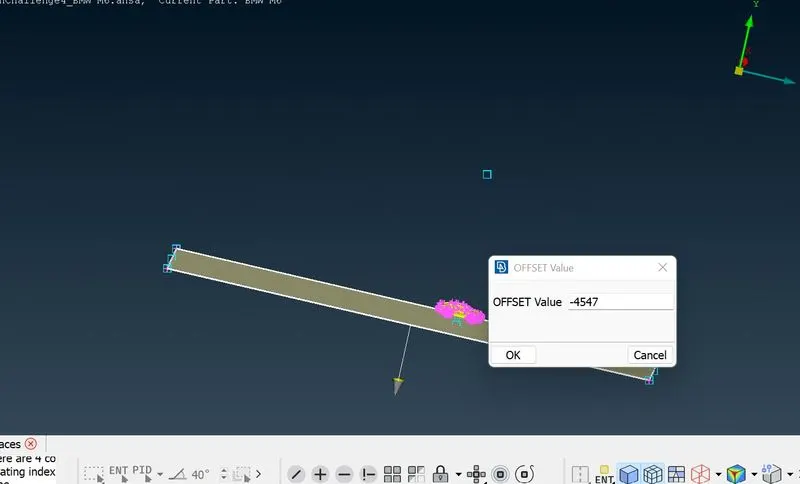
Here i created top surface
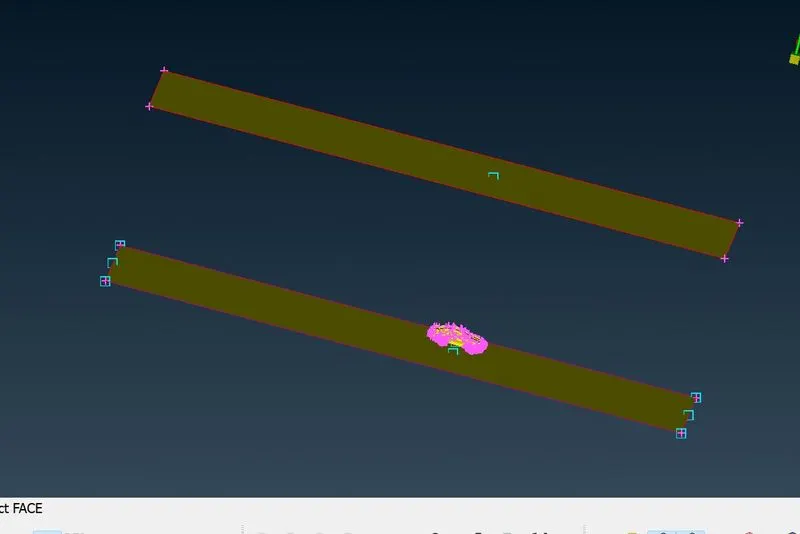
Now we can create front and back surface.
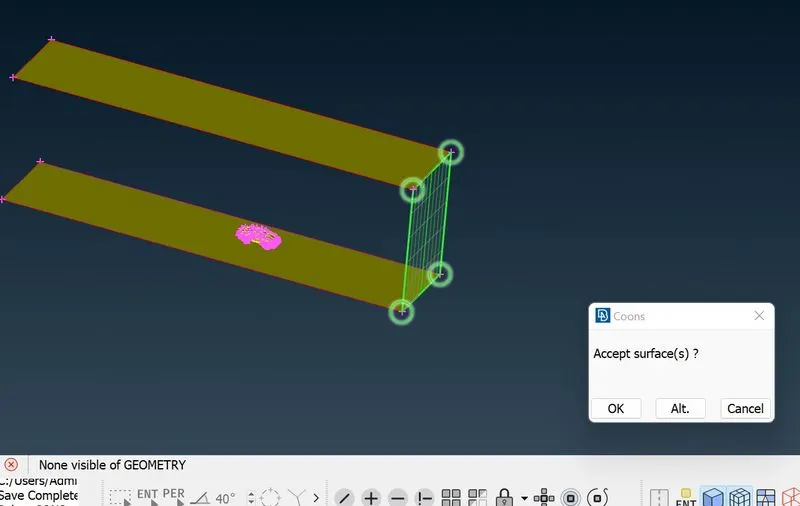
Then we can also create sides faces.
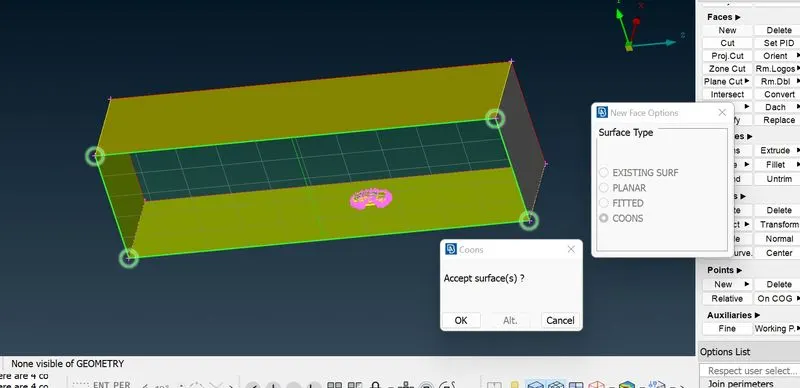
Now we go for meshing on the wind tunnel surface.
My target length is 30
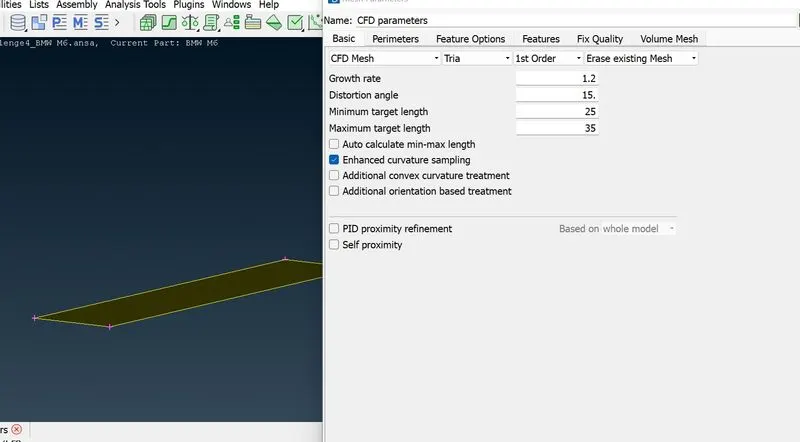
Spacing
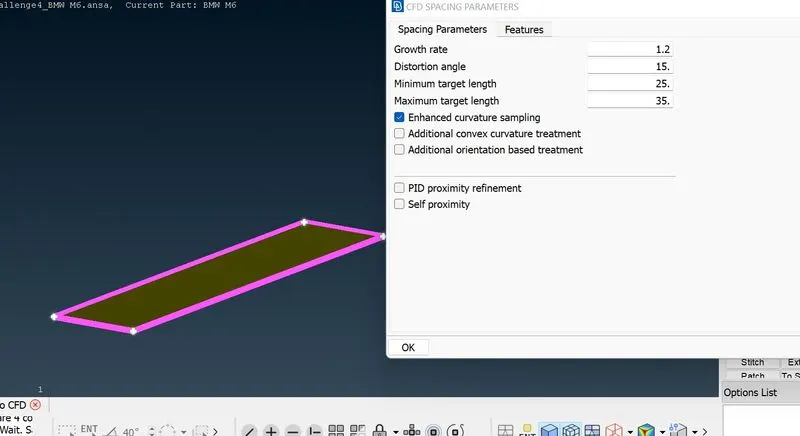
Meshed surface.
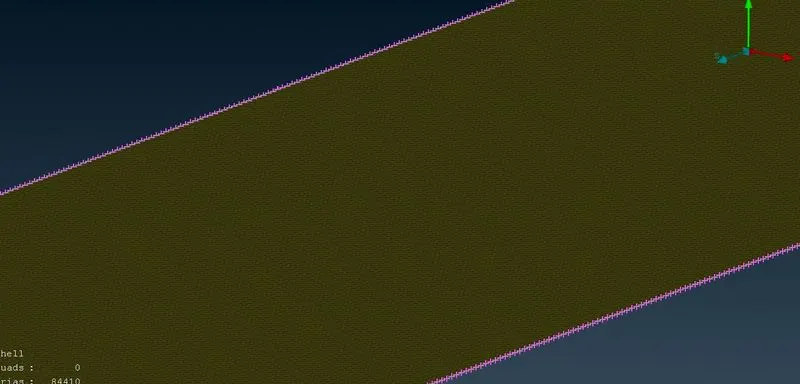
Next we move on to top surface, here my target length is 100mm
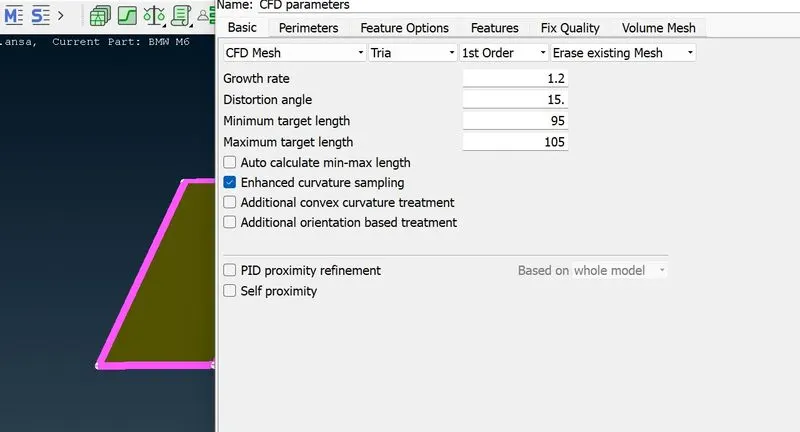
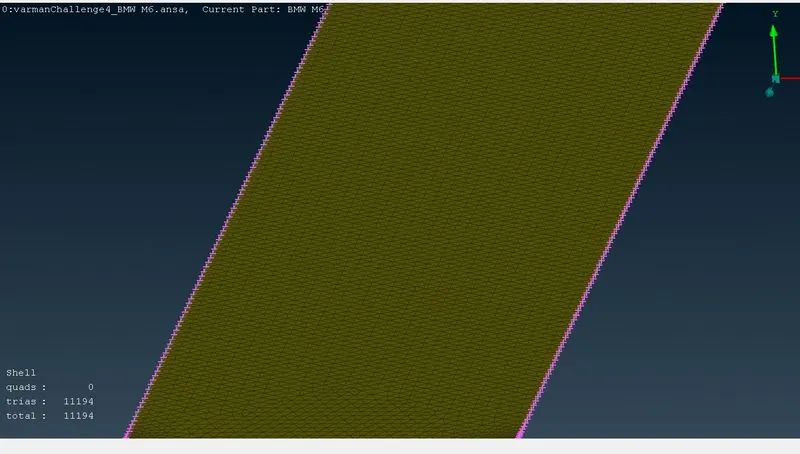
Here the top surface meshed for 100mm length
For remaining four surface we need that the mesh will gradually increase from 30 to 100
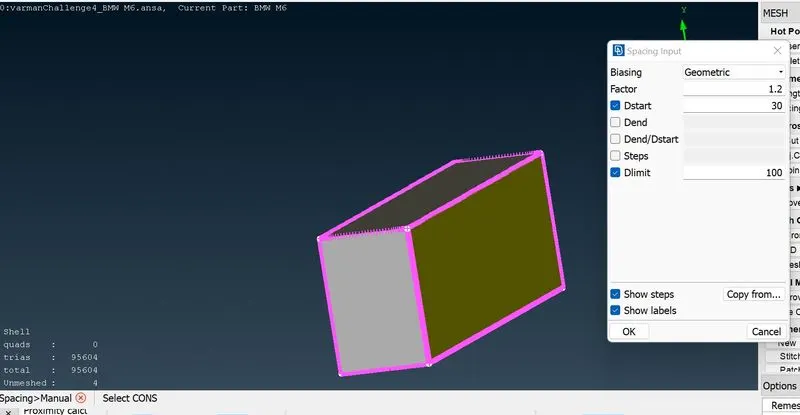
for that we can do spacing mannually, we have to specify the from 30 to 100mm in spacing input.
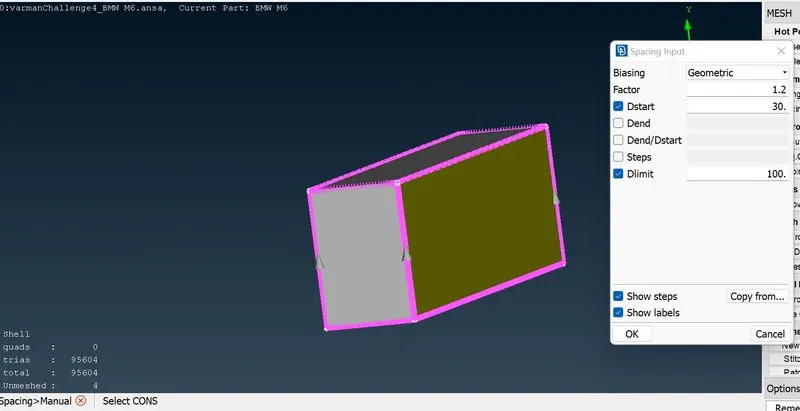
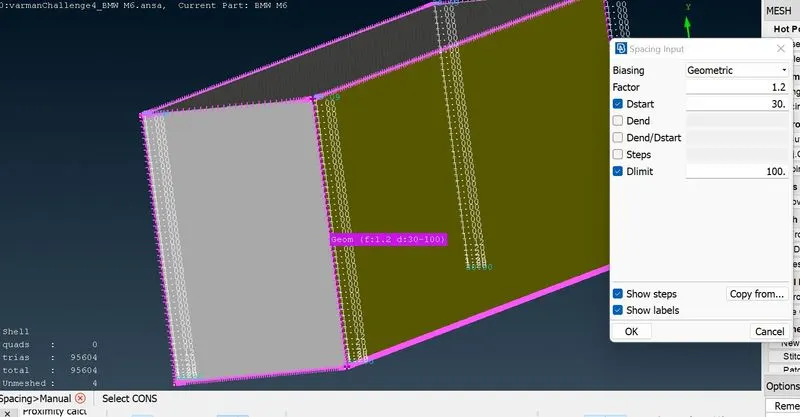
Final mesh
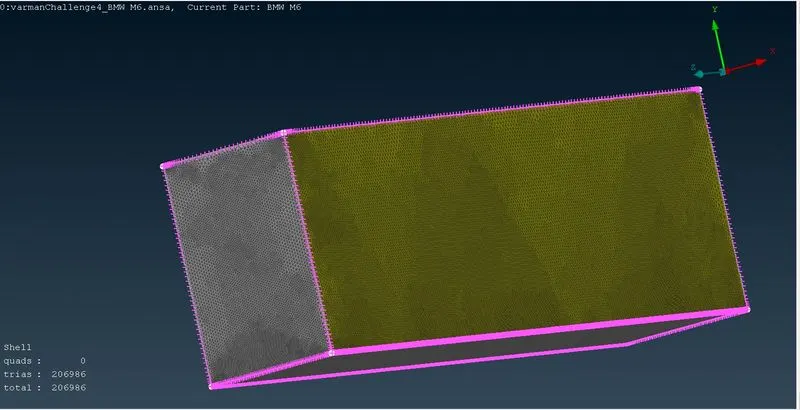
Final model
https://drive.google.com/file/d/1cIZS437SSvhMTwEzBohGi0gb2uABPAfc/view?usp=sharing