Week - 4 - 2D meshing for Plastic components
2D meshing for Plastic components
Aim
The main aim of this challenge is to check the geometry of the Bottle cap model and fix the errors in the geometry. Following that a mid-surface is created for the entire model and then the model is meshed as per the given parameters.
Procedure
1.Geometry Cleanup
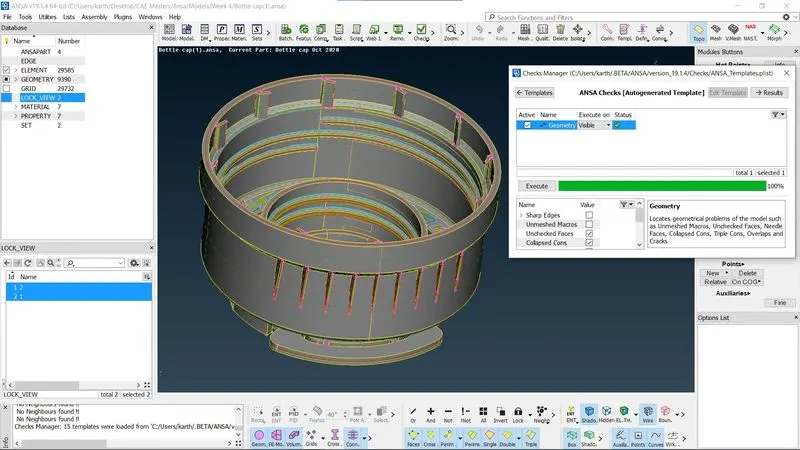
The Bottle cap model is loaded into the ANSA GUI using the “File > Open” command then the models is observed in different views using the functions keys. Following that the model is checked for geometry errors using “Check’s Manager > Geometry” command, in case of geometry errors such as missing cons or missing surfaces that can be corrected using “Hot Points > Insert” command in TOPO module
2.Topology
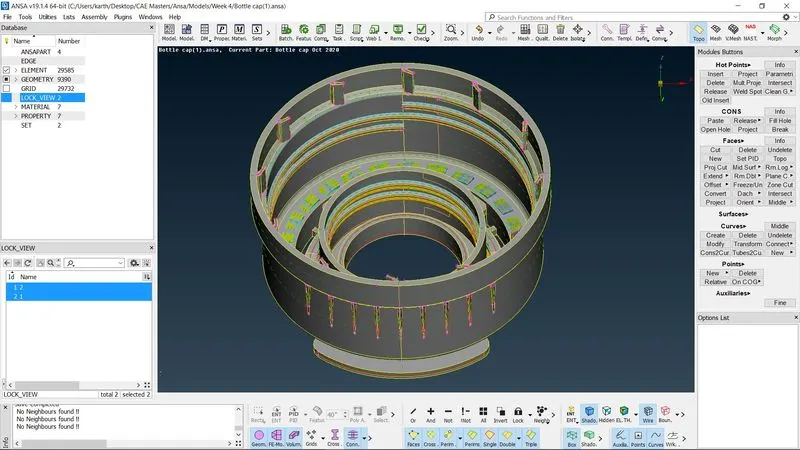
After the model’s geometry is corrected for all errors, the topology is performed for broken faces using “Faces>Topo” command in the topology module.
3.Mid-surface
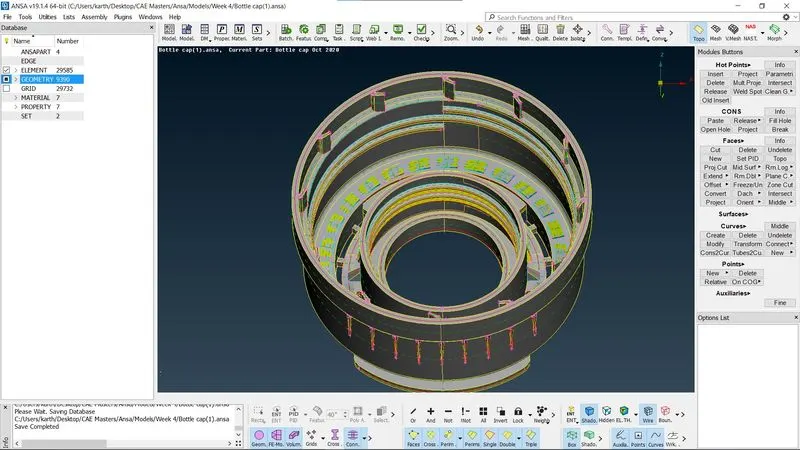
Once the model’s topology is complete the mid surface is created as per the models faces using the “Faces>offset>Visible” or “Faces> Middle> Single> Select” command. The thickness off the mid-surface is assigned as same as the face’s inner geometry.
For mid-surface the “Faces> Middle> Multi> Select” command is used for surfaces that are similar and repeated more than one time.
4.Generating a fine geometry
The geometry of the Bottle cap model is found to have lot of curved edges so that the geometry along with the mid-surface’s curved resolution is changed using the “Auxiliaries >Fine” command for whole model as much as possible.
5.Material and Property Assignment
The Property and material for the mid-surface is applied as same as the models’ other faces corresponding to their material properties. Therefore, the model is ready for meshing. The module is switched to meshing.
6.Mesh Length
Before beginning the meshing process the model is checked for the length between the two hot points since the require length is 5mm so using “Perimeter> Length>Perimeter” command it is set to 1 mm. for the entire model.
7.Quality Criteria
The assigned quality criteria are set for the mesh as per given below:
|
S.No |
Quality Criteria |
Value |
|
1 |
Target/Average length |
1 |
|
2 |
Minimum Length |
0.5 |
|
3 |
Maximum Length |
3 |
|
4 |
Aspect |
3 |
|
5 |
Warpage |
15 |
|
6 |
Skewness |
45 |
|
7 |
Jacobian |
0.7 |
|
8 |
Minimum Quad Angle |
45 |
|
9 |
Maximum Quad Angle |
135 |
|
10 |
Minimum Tria Angle |
30 |
|
11 |
Maximum Tria Angle |
120 |
|
10 |
Tria Percentage |
15 |
After assigning the above quality criteria the model is checked for any errors if any is corrected using the above-mentioned methods again and again until the model is appropriate for meshing.
8.Meshing
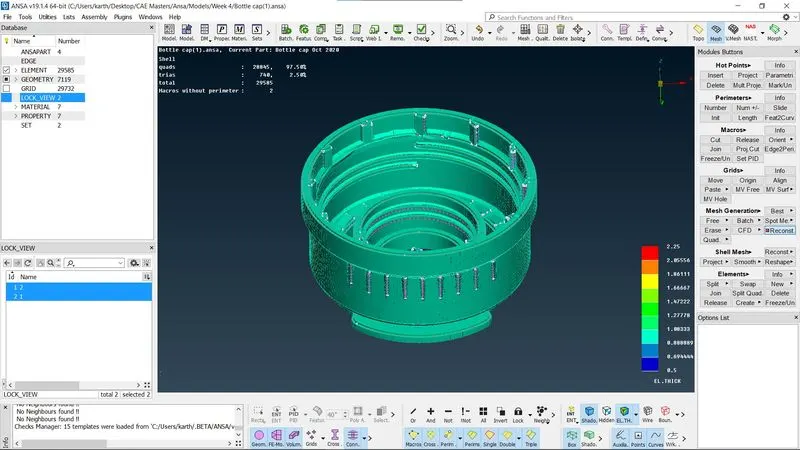
Now in the mesh module using the “Mesh> Best Mesh> Select” command the selected part of the geometry is meshed as per the requirements with quad elements as well as trias. Once the meshing of the entire model is done the locations withs trias are identified and it is reconstructed.
9.Swap
In the mesh the opposite tiras are swapped using the “Elements > swap” command and the trias are split using the “Elements >Split” command. in case of nearby trias they are joined using the “Elements>Join” command.
11.Reconstruction of Mesh
After using Swap, Split and Join commands on the mesh it is reconstructed using the “Shell Mesh>Reconstruct” command and Smooth.
12.Quality and geometry check
Once again, the quality and geometry of the model is checked using the checks manager in Geometry and quality criteria as per the given instructions.
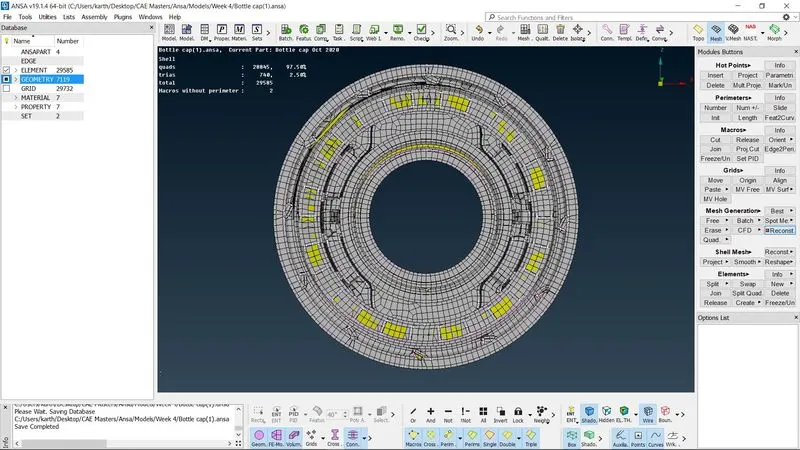
The model is reshaped and reconstructed as many times as possible up until the triangle percentage is less than 15% and opposite trias are reduced and rotating elements are reduced.
Learning outcomes
The Bottle cap model has a lot of curved parts so the trias cannot be fully reduced. In this challenge I learned how to create mid surface using Middle command in faces and creating curves to generate faces along with that I learned to check the geometry for errors and fix it and how to generate faces for missing locations and performing topology on the model. Along with this the mid-surface creation and assigning property, material and thickness for plastic components is learned from this challenge.
In this challenge meshing and mesh quality check and reconstruction along with smoothing, reshaping the mesh is learned.
Conclusion
Thus, the 2D meshing of plastic components done for a Bottle cap model by creating a geometry with fine topology along with mid-surfacing is preformed on the model. After completing this the model geometry checks the model is meshed as quads elements. The trias are swapped and reconstructed. Finally, the model is drawn as solid. This concludes this challenge.