Week 3 - 2D meshing for sheet metal
Week 3- 2D meshing for sheet metal
Aim:
Take the mid surface for the given Hood model for all the components after checking the geometrical errors and mesh the mid surface with the given element Quality criteria.
Procedure:
- Orient the face using Faces> Orient.
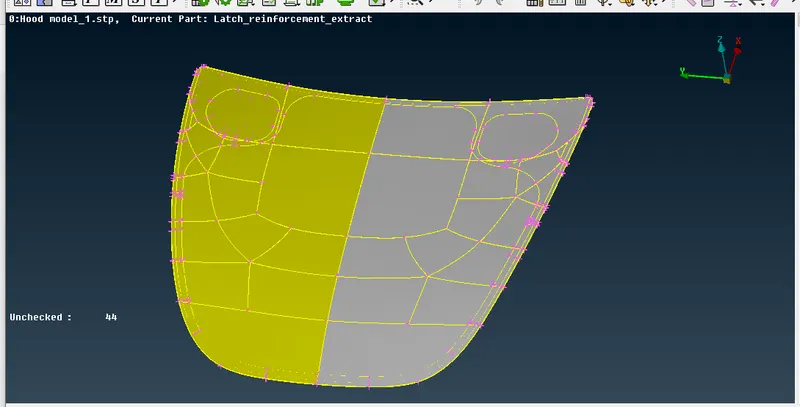
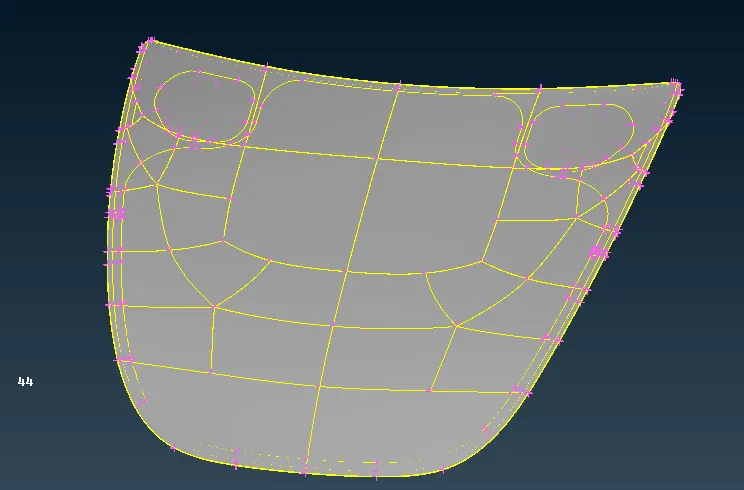
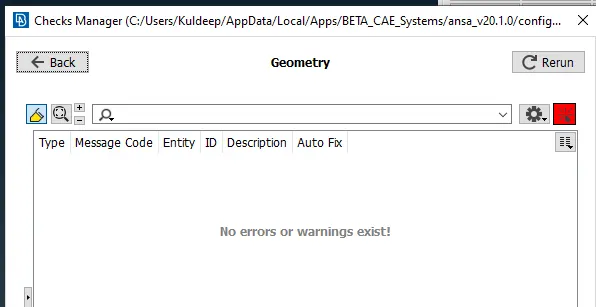
- Check all the geometry errors and fix them by Checks Manager select all > fix.
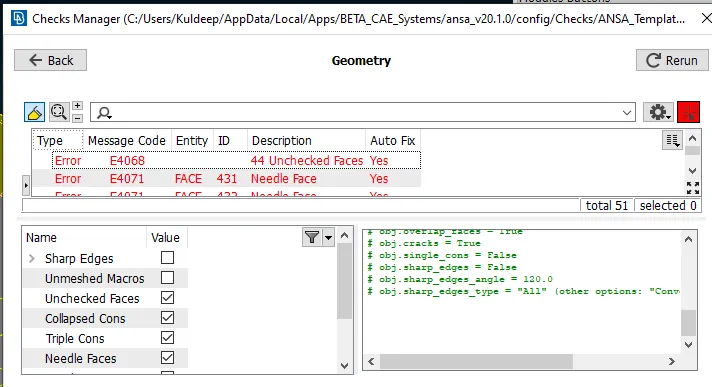
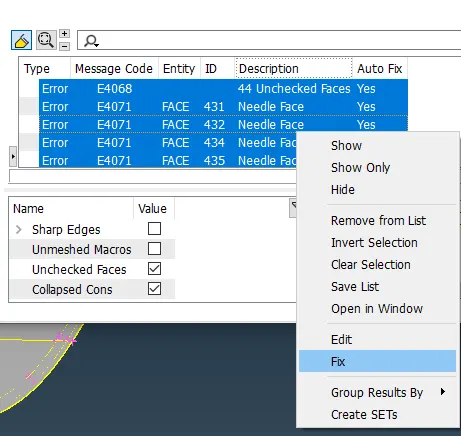
- Here we found no errors remaining.
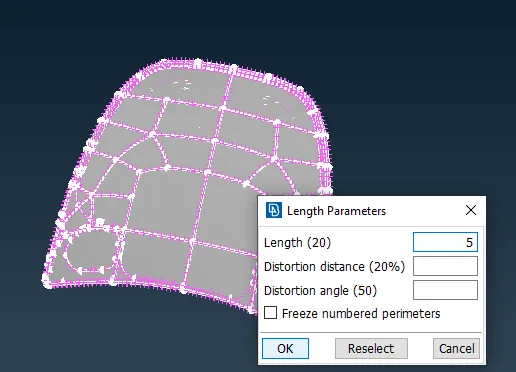
- Set length parameters both perimeters and macros as 5mm for batter resolution.
MID-SURFACING:
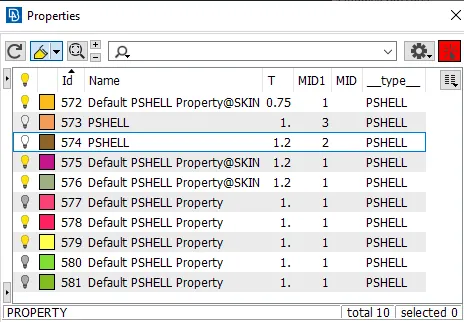
- Using Faces > offset we have taken the gray face of each (5) part of the hood.
- For that, we make visible all 5 parts one by one and took manual offset and automatic mid-surfacing.
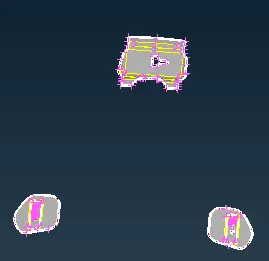
- For the inner and outer parts, we did automatic mid-surfacing> skin.
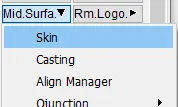
- In this PID and thickness will be set automatically.

- In manual method after taking offset and giving the distance we have to set PID and thickness.


Inner Part Mid surface
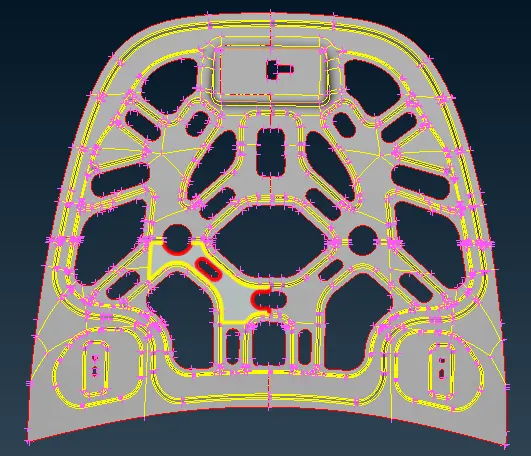
Outer Part Mid surface
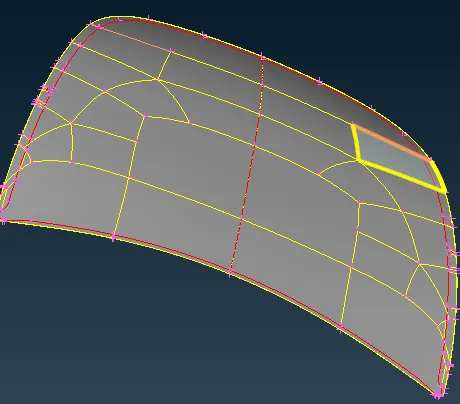
Both Hing Mid surface
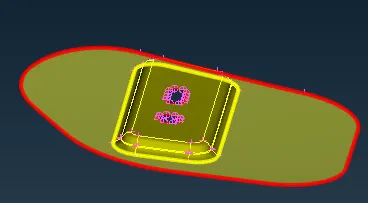
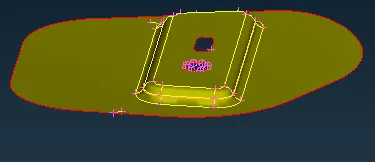
Latch Mid surface
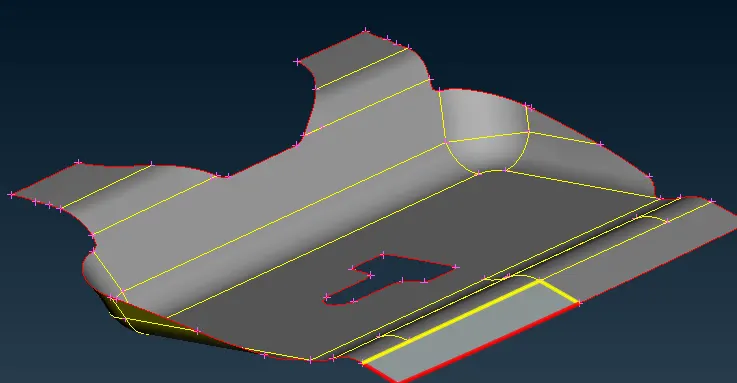
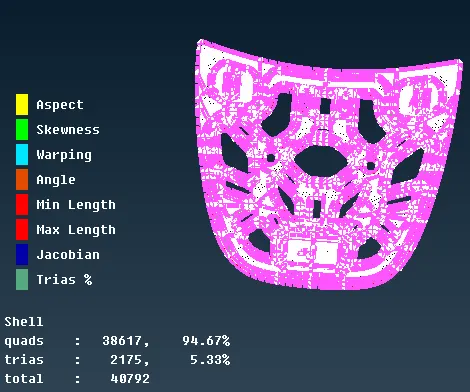
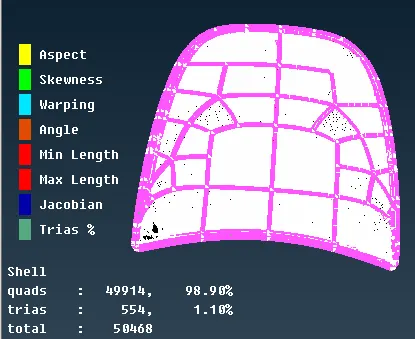
Meshing
- Meshing also has to be done individually for each part.
- First of all set the quality criteria and Mesh Parameters
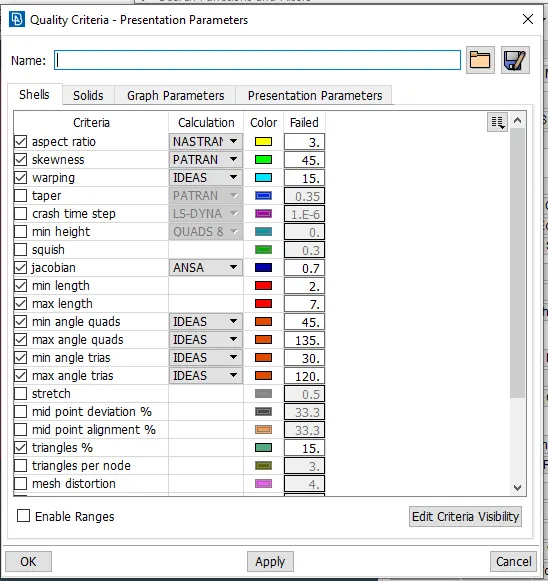
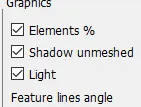
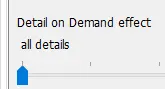
Mesh Parameters
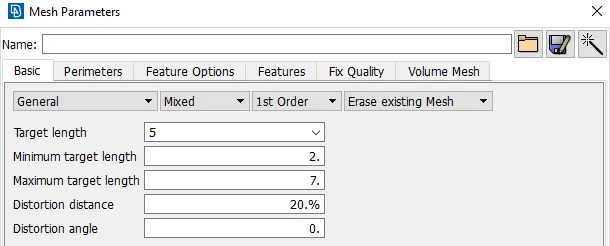
- Here we decide the type of mesh and type of element
- general type of mesh and mixed element type
- To see all the quality parameters we have to go into hidden mode

- Select the Best mesh option.
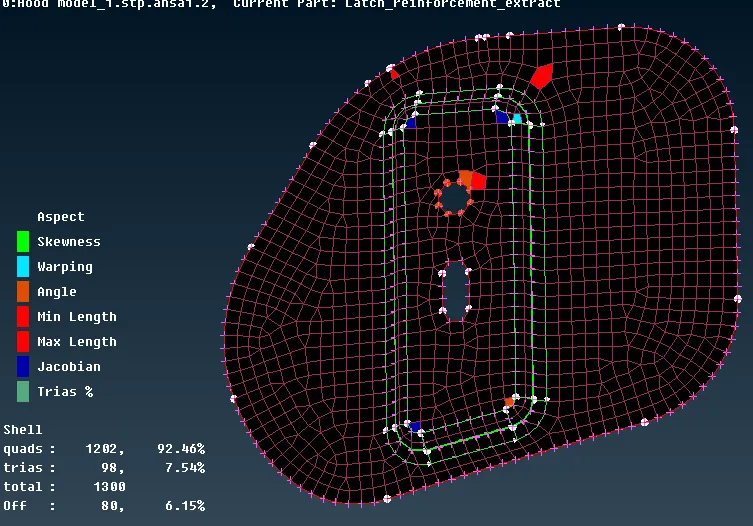
- After this failure, we have to use mesh improvement tools.
- Mesh does not affect the cad geometry as it is independent.
- Shell mesh < reconstruct < split < smooth
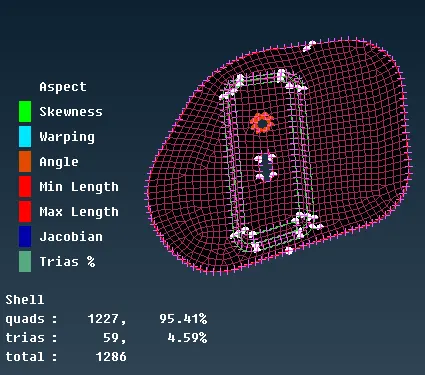
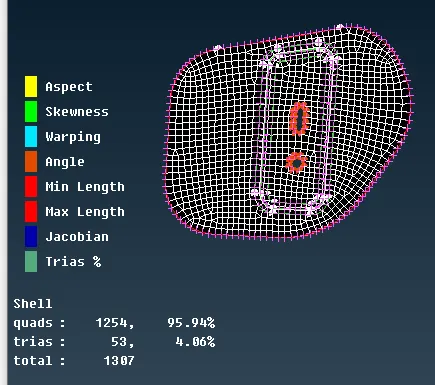
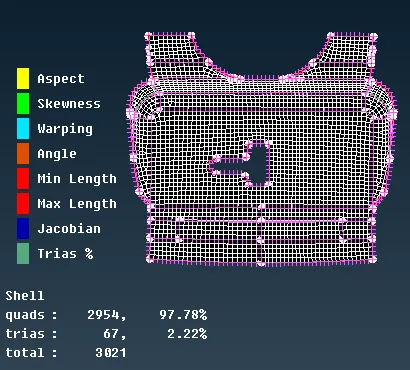
- Project Cut - To get the batter mesh part by part by splitting the surfaces into small areas
- We can select the desired mash area by window selection without selecting both the sides
- Go to PID mode > macro option
- Switch off the parameters and switch on the bounce to check the crakes.
- We use Rm.Dbl to identify similar faces and then make a cut (which afterwards joined again) to do mesh in half of the area and then copy > transform it to the other face to save time and efforts.
Learning:
During this, we have learned -
- to perform geometry clean-up and topo.
- auto and manual mid-surfacing.
- best way to perform meshing.
- many ways to resolve the meshing shell errors.
Conclusion:
Thus we have successfully completed the mid-surfacing and meshing of a car hood part as per the given quality criteria and mesh parameters.