Week 3 - 2D meshing for sheet metal
AIM: To perform a geometry clean up on the given model, generate mid surface for all its components and mesh the mid surface accordingly which meets the following criteria-
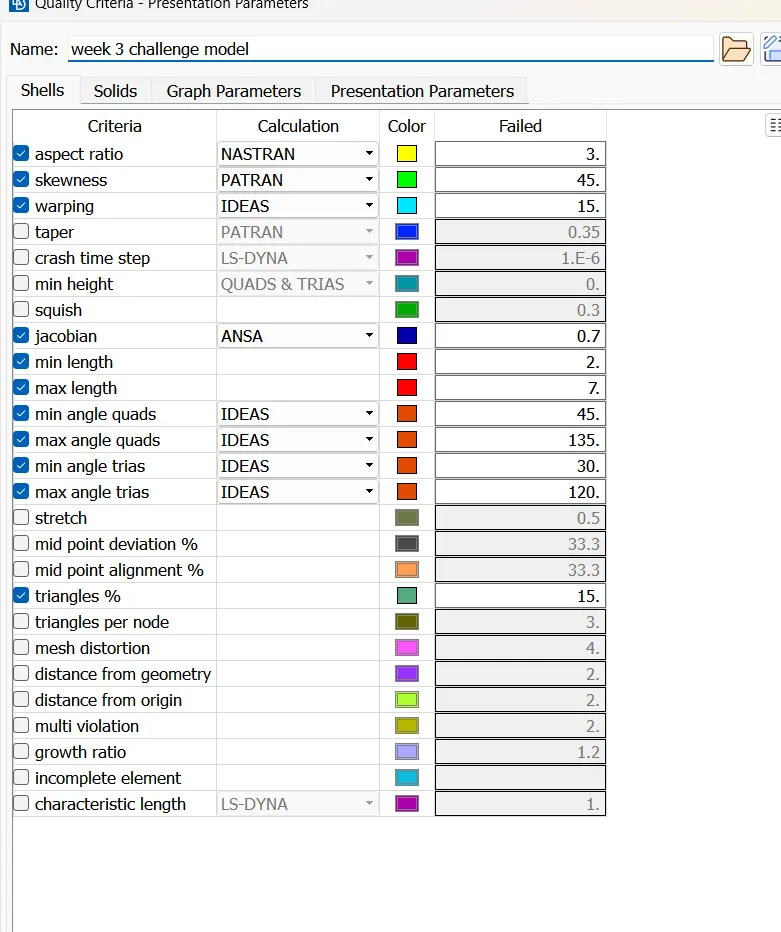
- Target/Average length= 5
- Minimum length= 2
- Maximum lenth= 7
- Aspect= 3
- warpage= 15
- Skewness= 45
- Jacobian= 0.7
- Minimum Quad Angle= 45
- Maximum Quad Angle= 135
- Minimum Tria Angle= 30
- Maximum Tria Angle= 120
- Tria Percentage= 15
PROCEDURE:
1. Open ANSA Pre-processor. Import the geometry. The file is recognised by ANSA with a ".stb.ansa" extension.
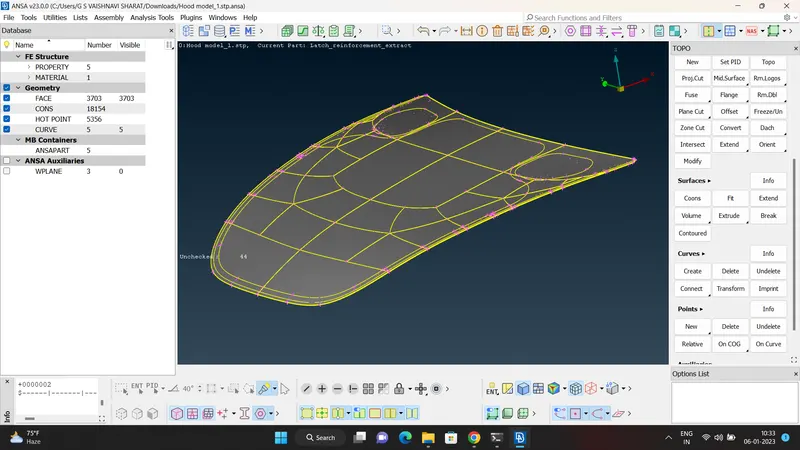
2. Under the lists tab go to properties or directly click on the "P" icon in the upper left corner. Identify the number of components and the property that corresponds to respective component and rename accordingly. The geometry has been identified as the bonnet of a car with the following components- Inner Bonnet, Outer Bonnet, Left Hinge, Right Hinge and Latch.
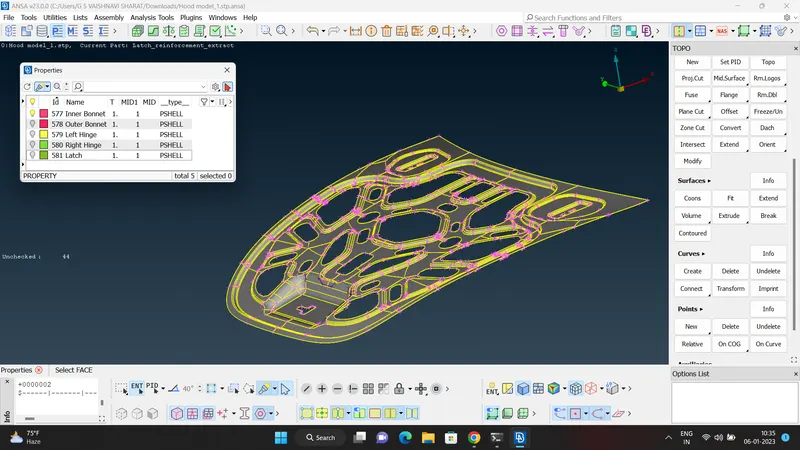
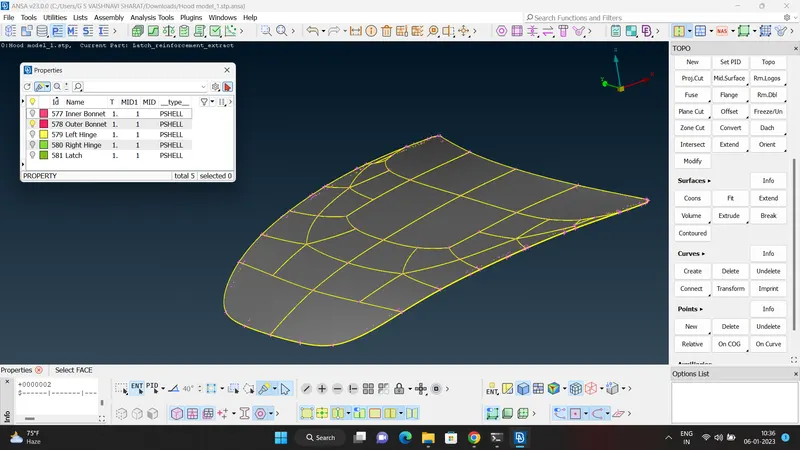
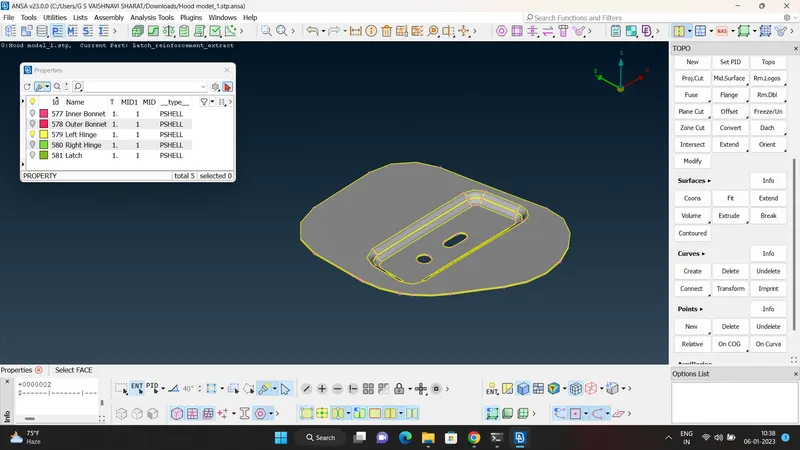
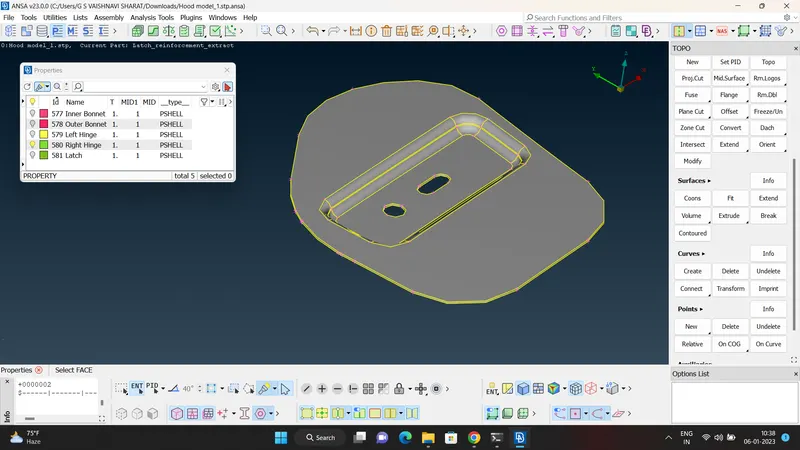
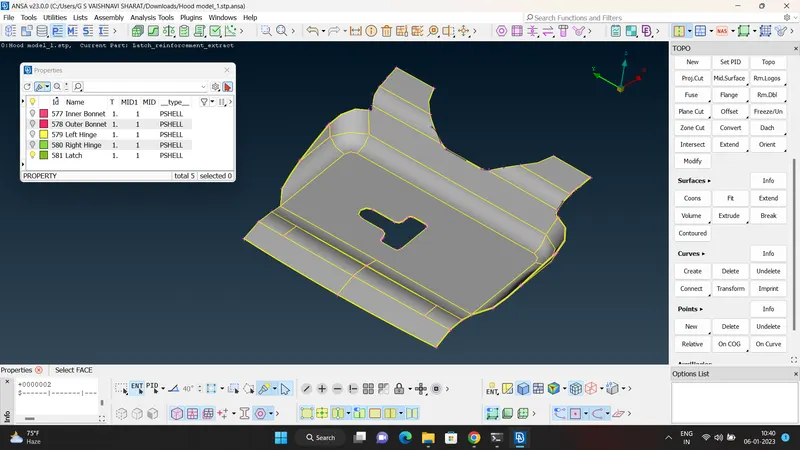
3. Go to Tools--->Checks--->Geometry. Run a geometry check on the model by isolating the hinges and the latch as they are the more simple parts. Geometry is found to have no errors.
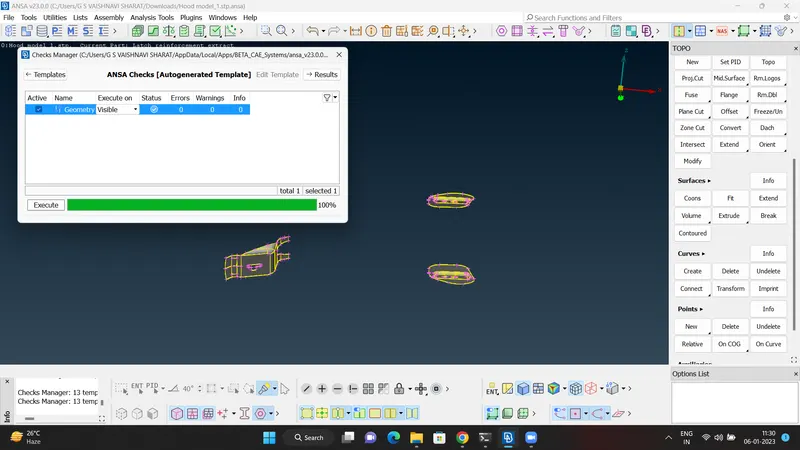
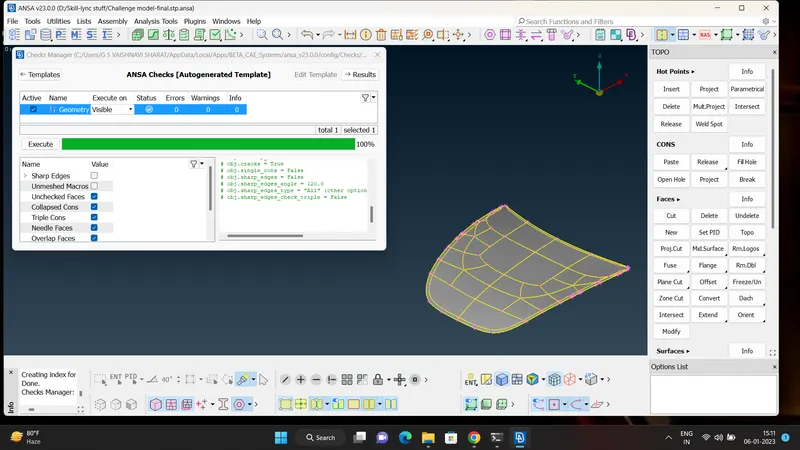
4. Repeat the same step on the inner and outer bonnet. Outer bonnet is found to have no geometry errors. 51 errors in total are found only on the inner bonnet. All are identified as needle face errors. Select all and right click on fix.
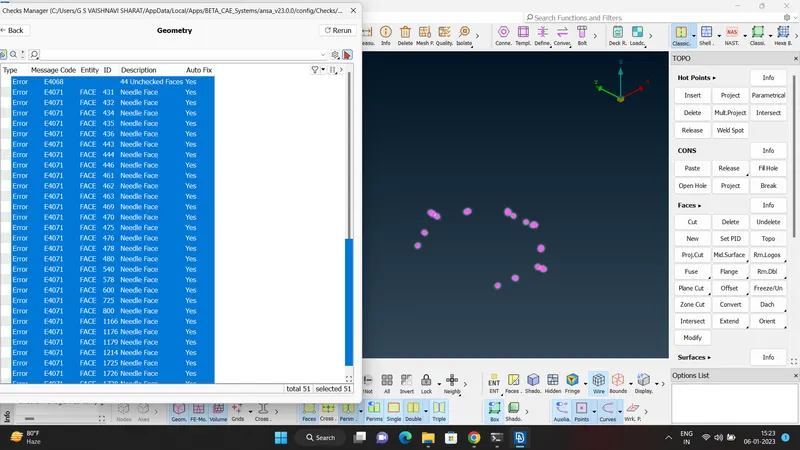
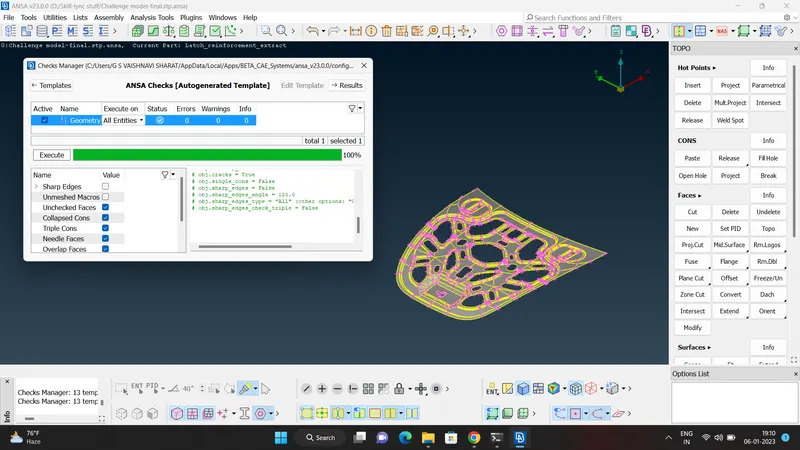
5. After all geometry errors have been checked and fixed, proceed to the midsurface generation using skin command. Keep only one component visible while working to ensure proper surface selection.
6. Measure the thickness of the component in multiple areas to get a understanding of the geometry.
7. Go to TOPO-->Surfaces-->Midsurface-->Skin. Uncheck "delete orig. faces" and change "skin property" to "ask always" in the options tab. Select the component. In the edit areas check for the colour differentiation. Top surface should be green, Bottom surface-red and thickness should be blue. If it is all ok then slect the surface to offset. The value will be automatically set to half the thickness. Click on "OFFSET". The properties tab will appear automatically. Right click on the list area and select "new". Rename the "PSHELL" to the midsurface-component and enter. The midsurface for that component will be generated and the thickness of the parent geometry will be automatically assigned to it.
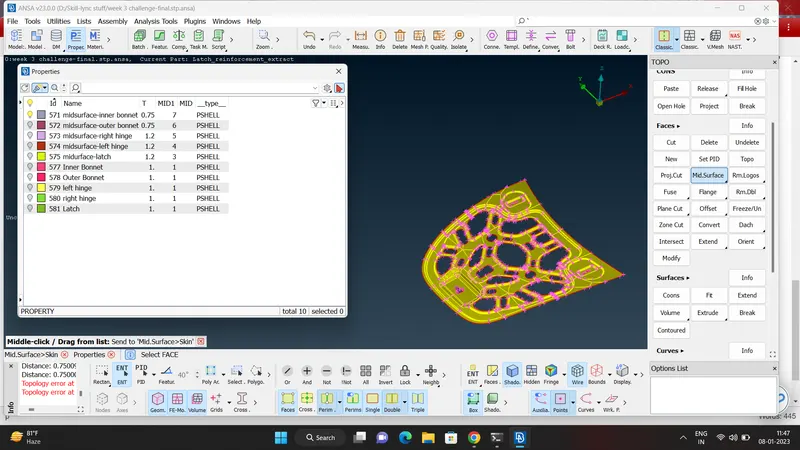
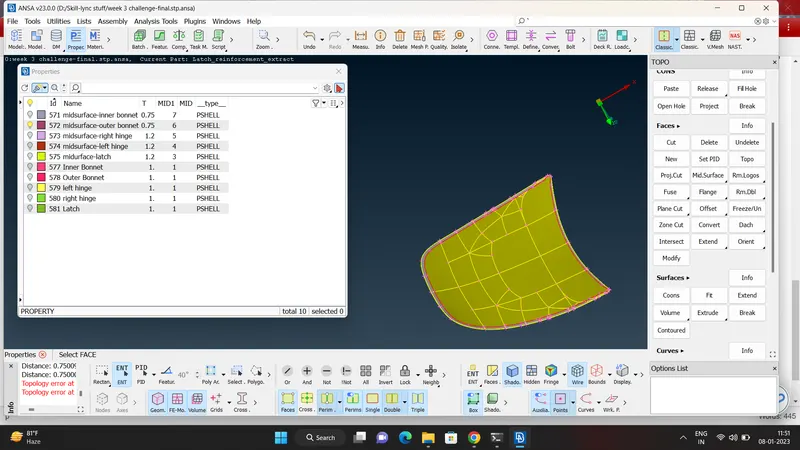
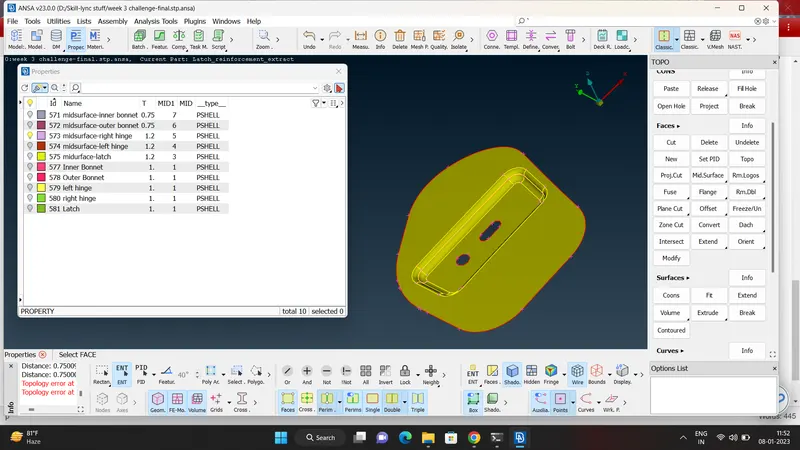
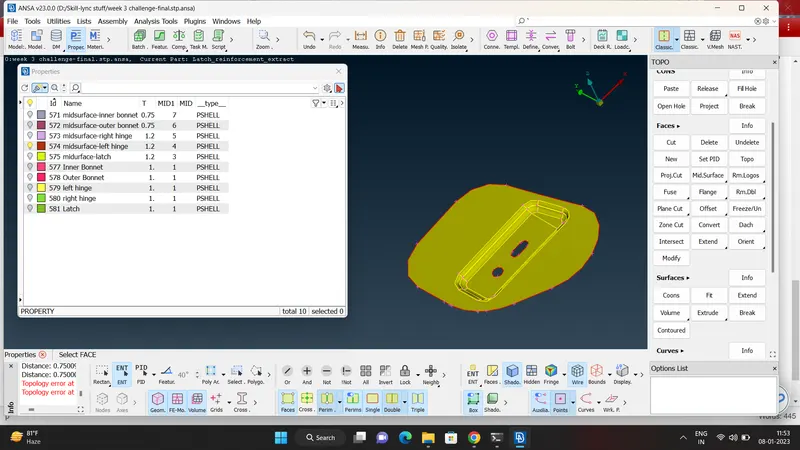
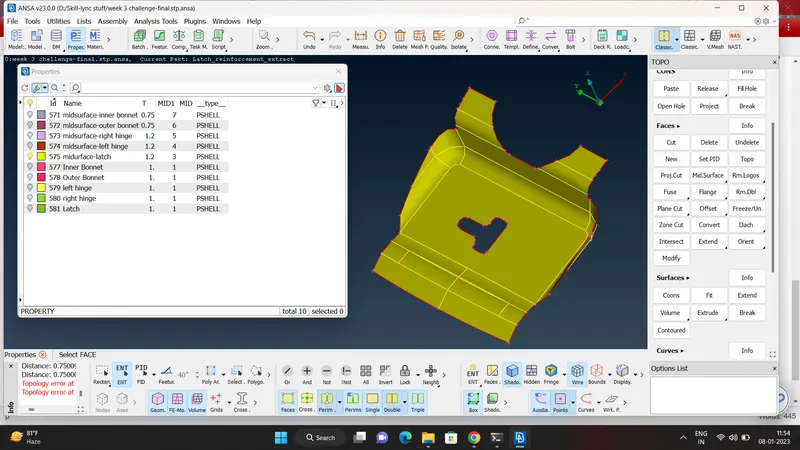
8. After generating the mid surface and before meshing, The hot points on the perimeters should be adjusted at the target length. Go to Classic Mesh-->Perimeters-->Length.
Left click and drag on the component to select the perimeter and enter length as 5. Repeat the same for all components.
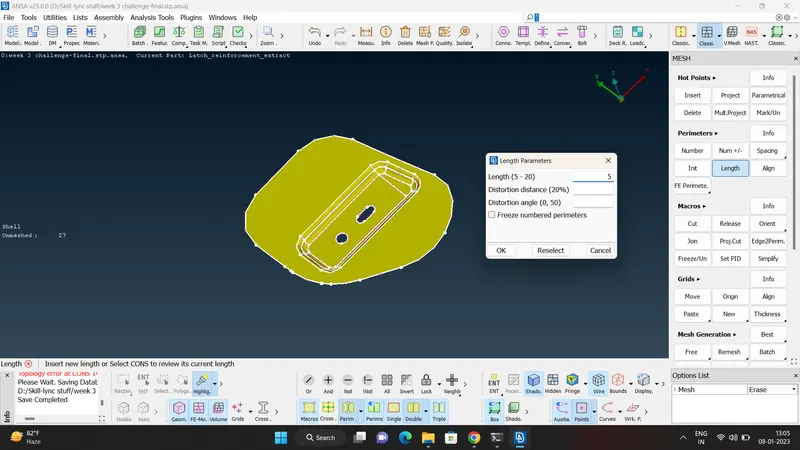
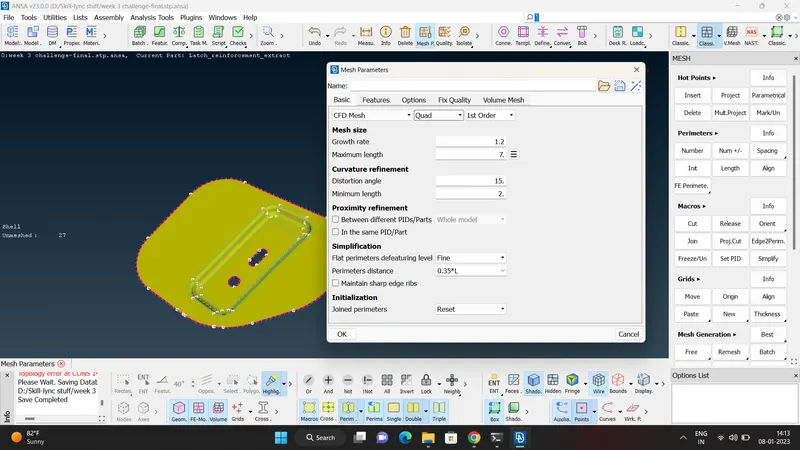
9. Define the mesh parameters i.e., minimum length (2) and target length (5) in the mesh parameters tab. click on OK.
10. Press F11 to open the Quality Criteria window. Check the boxes for the required parameters and give values according to the question. Save the quality criteria and mesh parameters data to avoid entering multiple times.
11. Clean up the geometry further by using a combination of Classic Mesh-->Macros-->Cut; Hotpoints-->Insert.
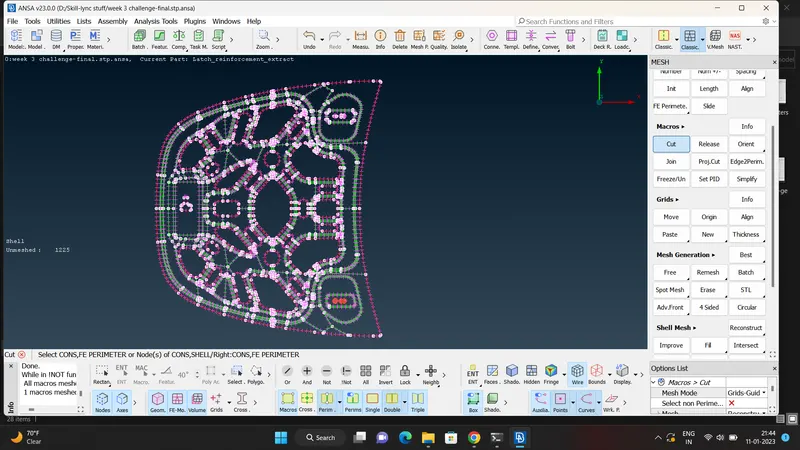
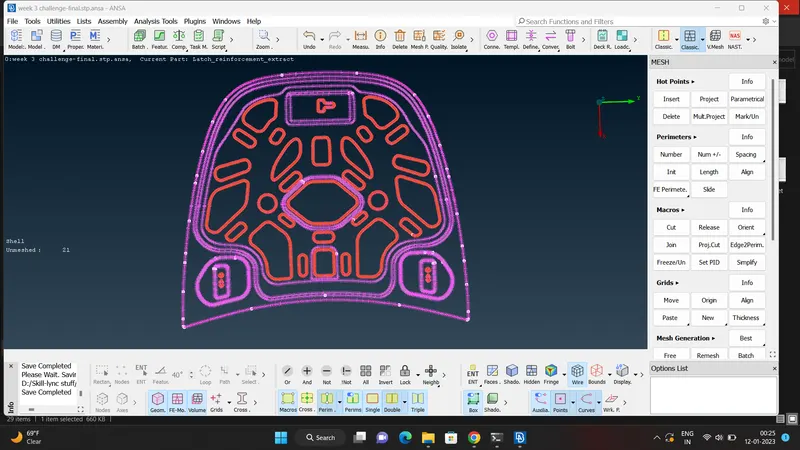
Image above represents the Inner Bonnet of the hood model before and after clean up respectively.
12. To proceed with the meshing, Go to Classic Mesh-->Mesh Generation-->Best.
A basic meshing will be done.
13. Go to Classic Mesh-->Shell Mesh-->Reconstruct.
Select the component by using the Macro Area selection and define the edges. A fine mesh is obtained.
14. Go to Tools-->Checks-->Mesh-->Mesh Quality
Execute on visible component and fix errors accordingly. Enable the hidden icon to check for quality while working on the component simultaneously.
15. Use a combination of Refine, Reconstruct, Split, Smooth to achieve a good mesh flow and a good element quality.
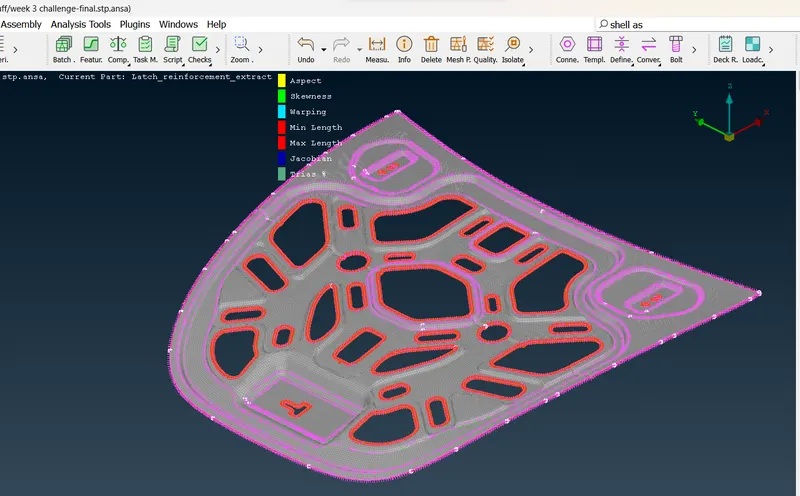
Inner bonnet after meshing
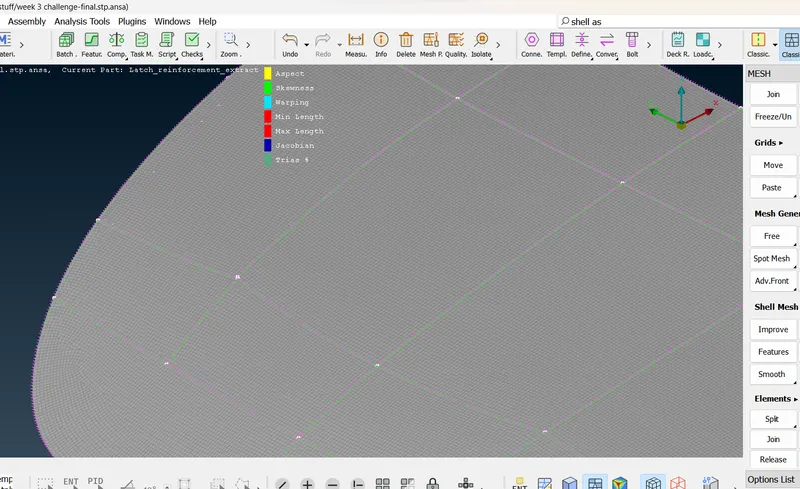
Outer Bonnet after Meshing
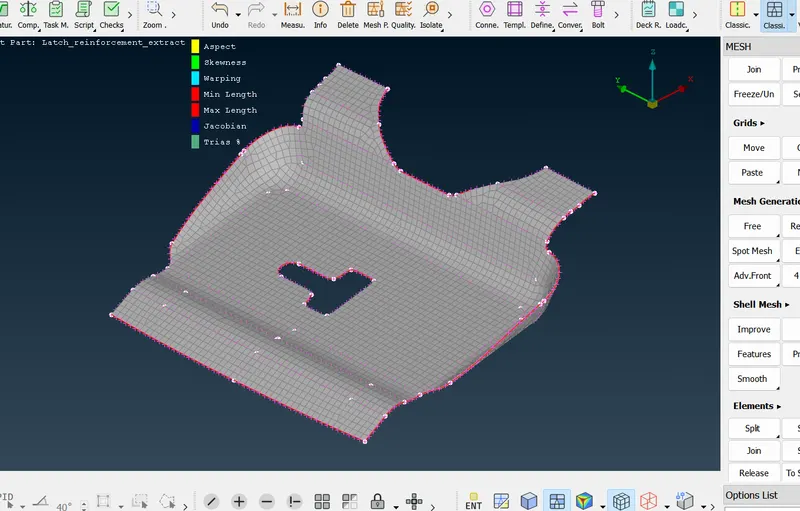
Latch after meshing
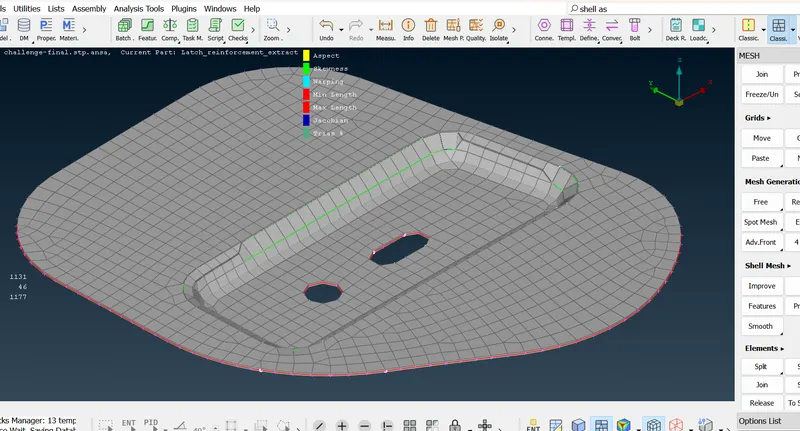
Left Hinge after Meshing
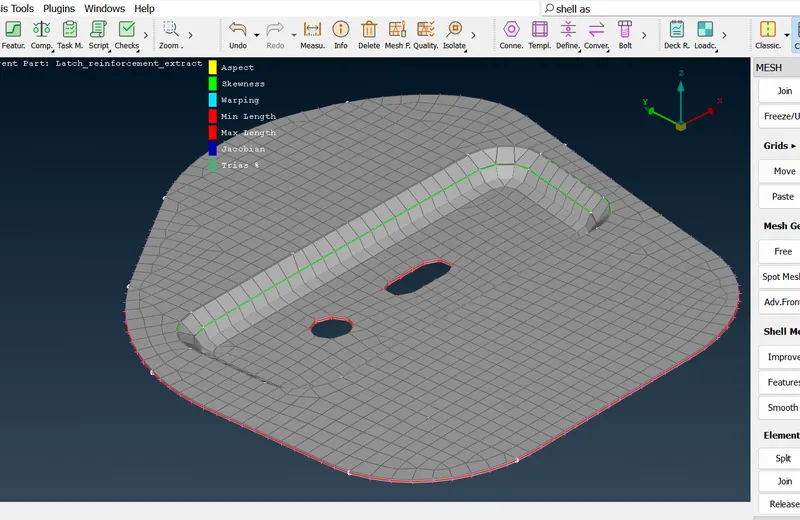
Right Hinge after Meshing
16. After meshing the midsurfaces of all components, enable view for only the midsurfaces check for any shortcomings.
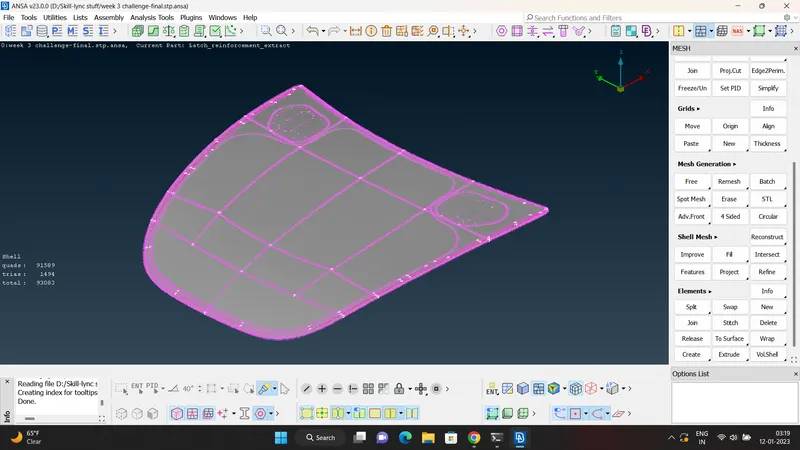
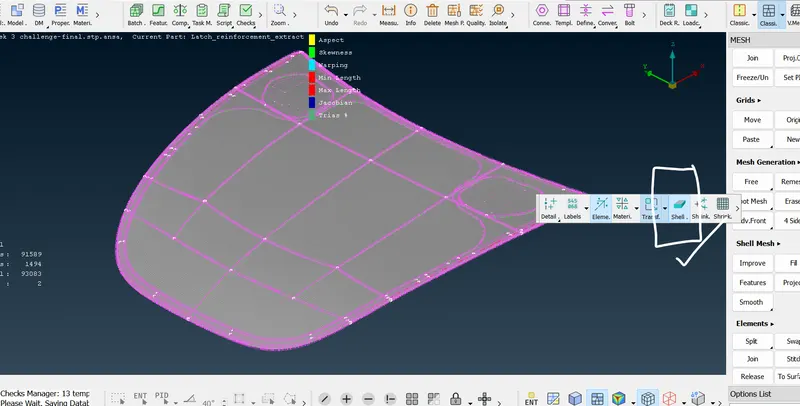
17. If everything is good, proceed to enable "view shell as solid" under "Presentation Parameters".
18. Save the module.