Week 2 Challenge : Surface meshing on a Pressure valve
Aims:
To clean up the given pressure valve model without any error shown in the geometry check and explain the produce taken for clean up.
3D model:
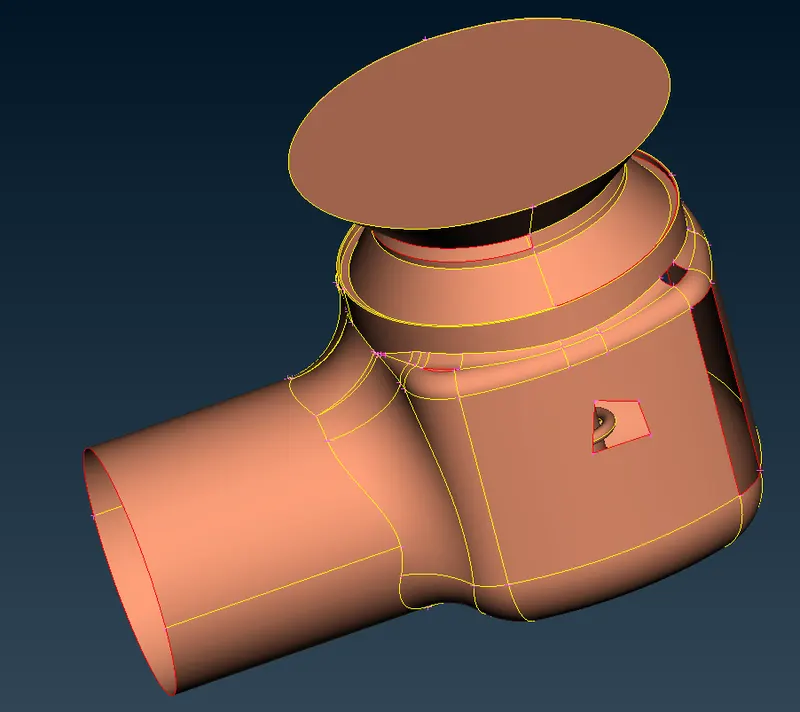
Procedure For Geometry Cleanup:
Upload the given model in ANSA and follow the steps mentions below:
1. Geometry check:
Once uploading the model it's a crucial step to check quality and error. By selecting Check Manager > Geometry > Execute
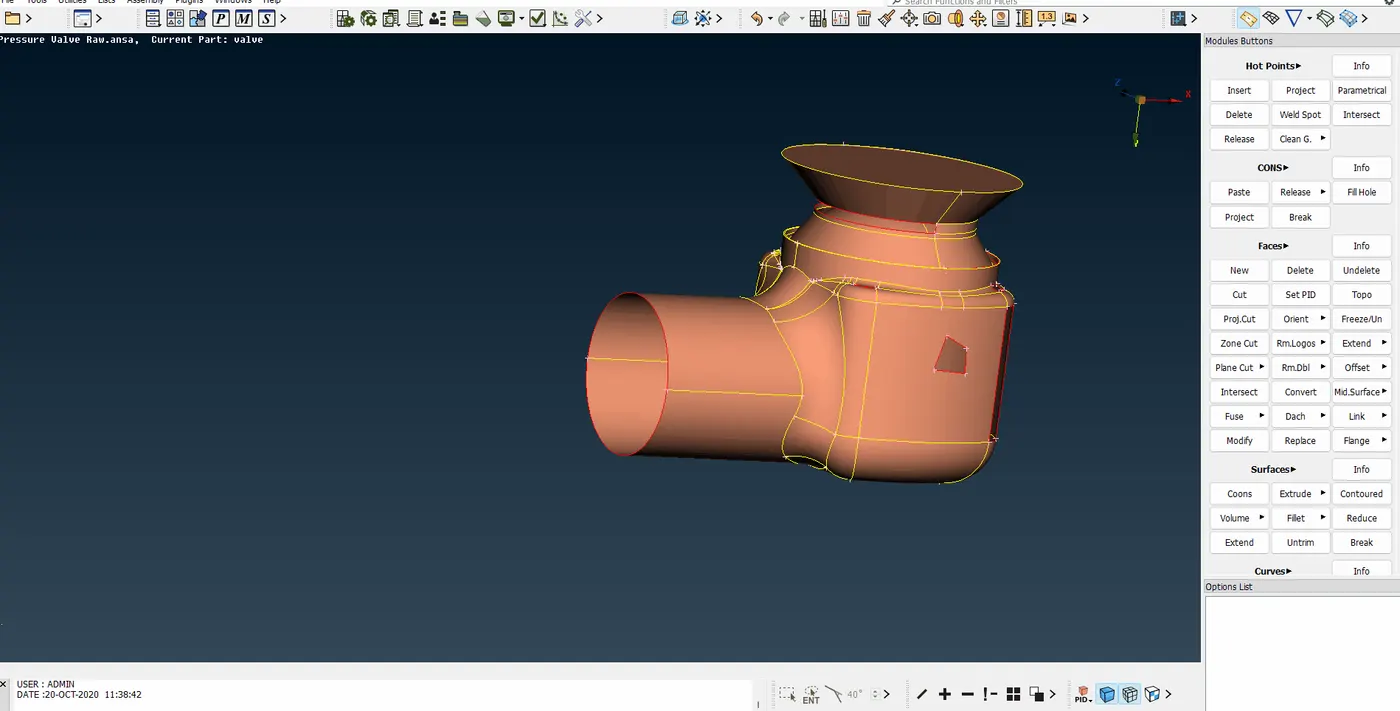
2. Create faces using Loop:
After the geometry check, we can notice single cons highlighted in red lines, which means the surface is not completed or has open edges where geometry should be closed. For solving this, we use FACES>NEW at Group of functions followed by LOOP at the selection assistant and click any single cons.
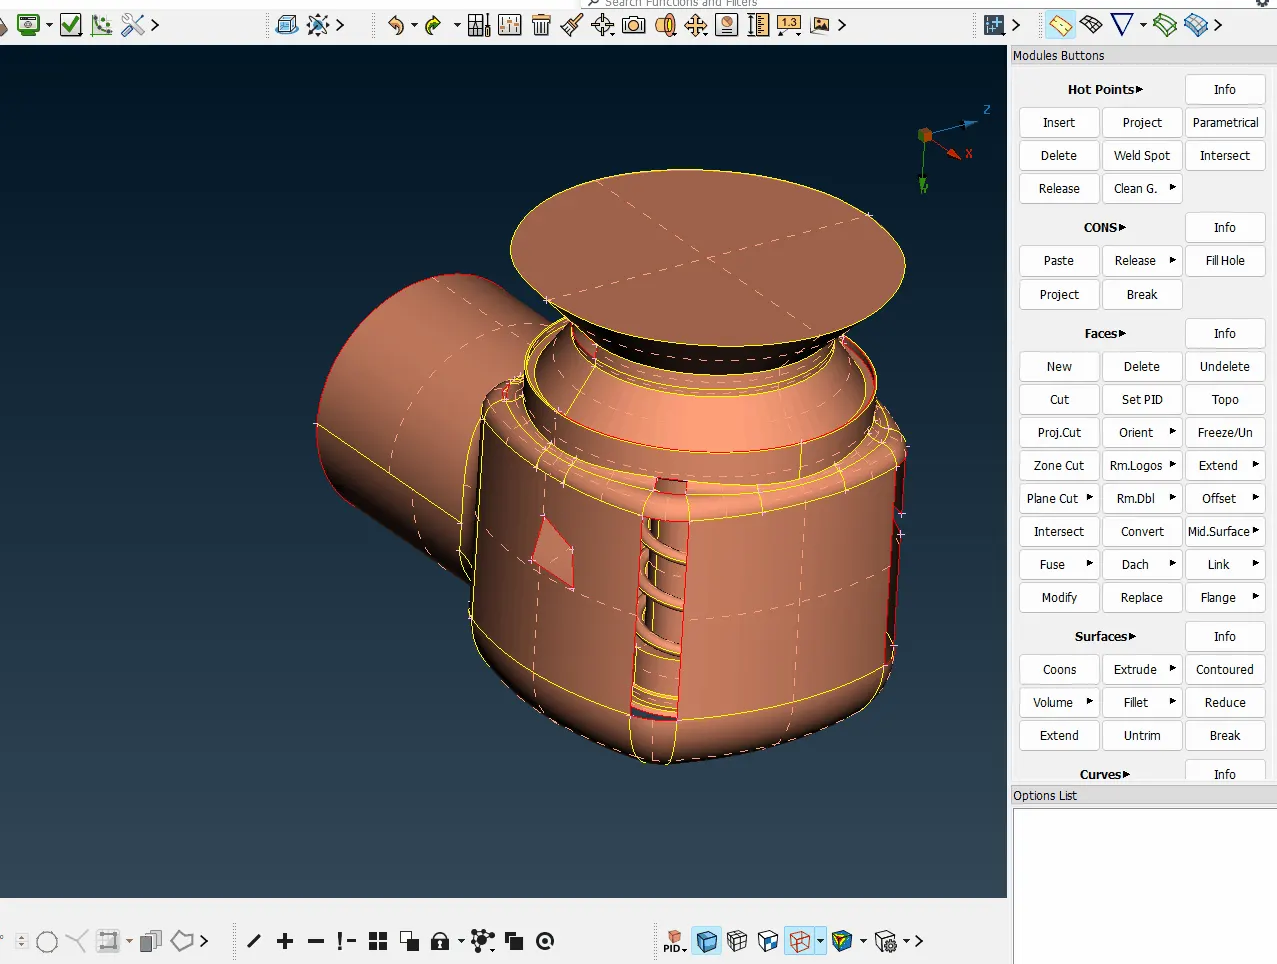
3. Alternative create faces using Fill hole:
Using FACES>Fill Hole options at Group of function we can easily fill holes at the inlet, outlet and any semi-circled hole in the geometry.
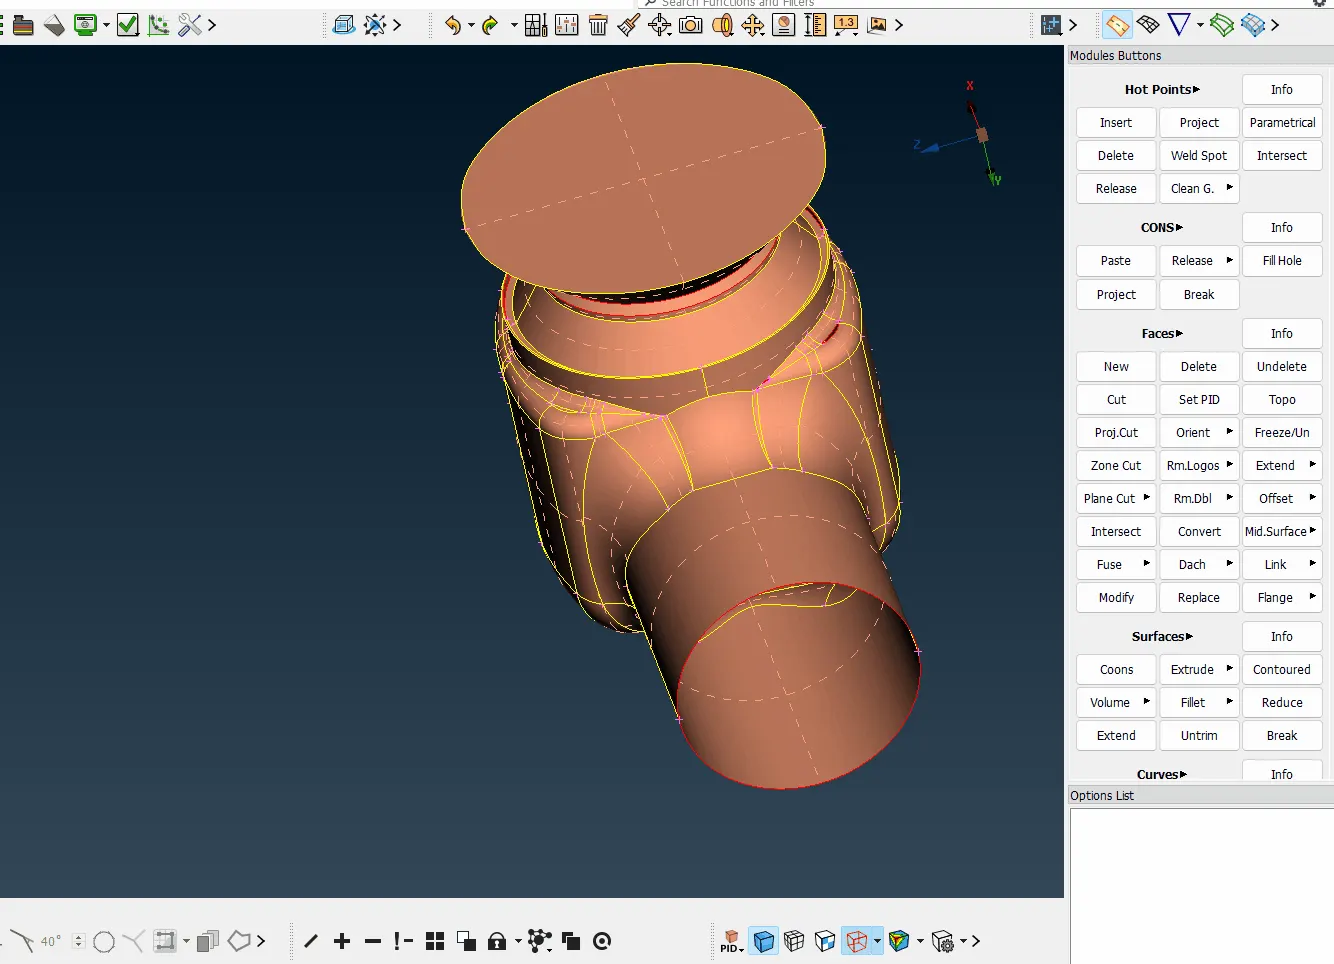
4. Create faces in Complicated holes using Coons:
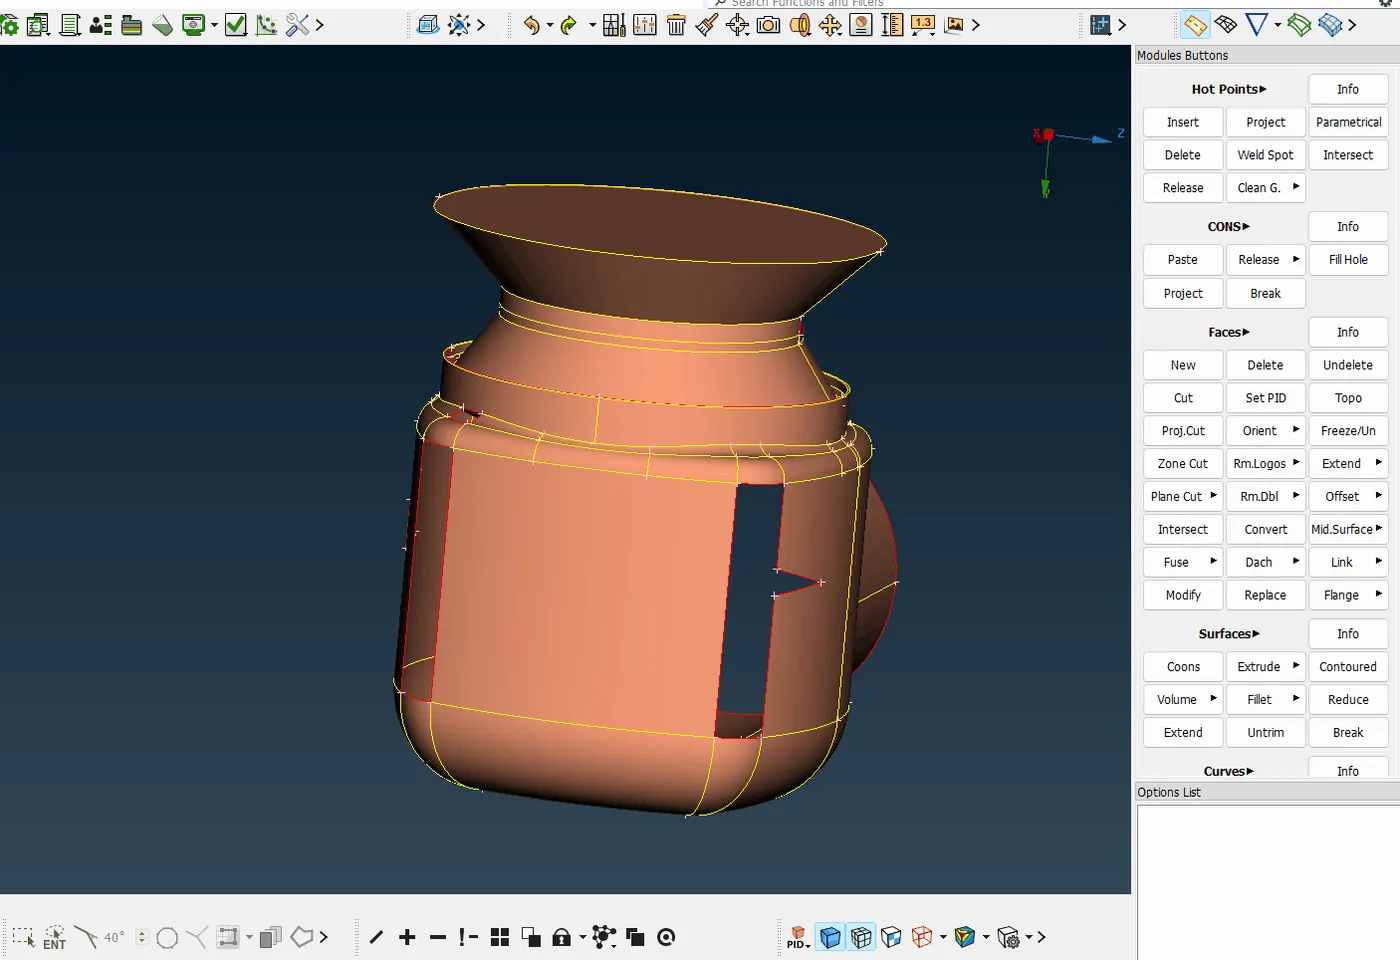
Some holes are not perfectly rectangle or square, if we can use FACE>NEW>COONS to create faces which could end in the wrong faces design as the example shown below
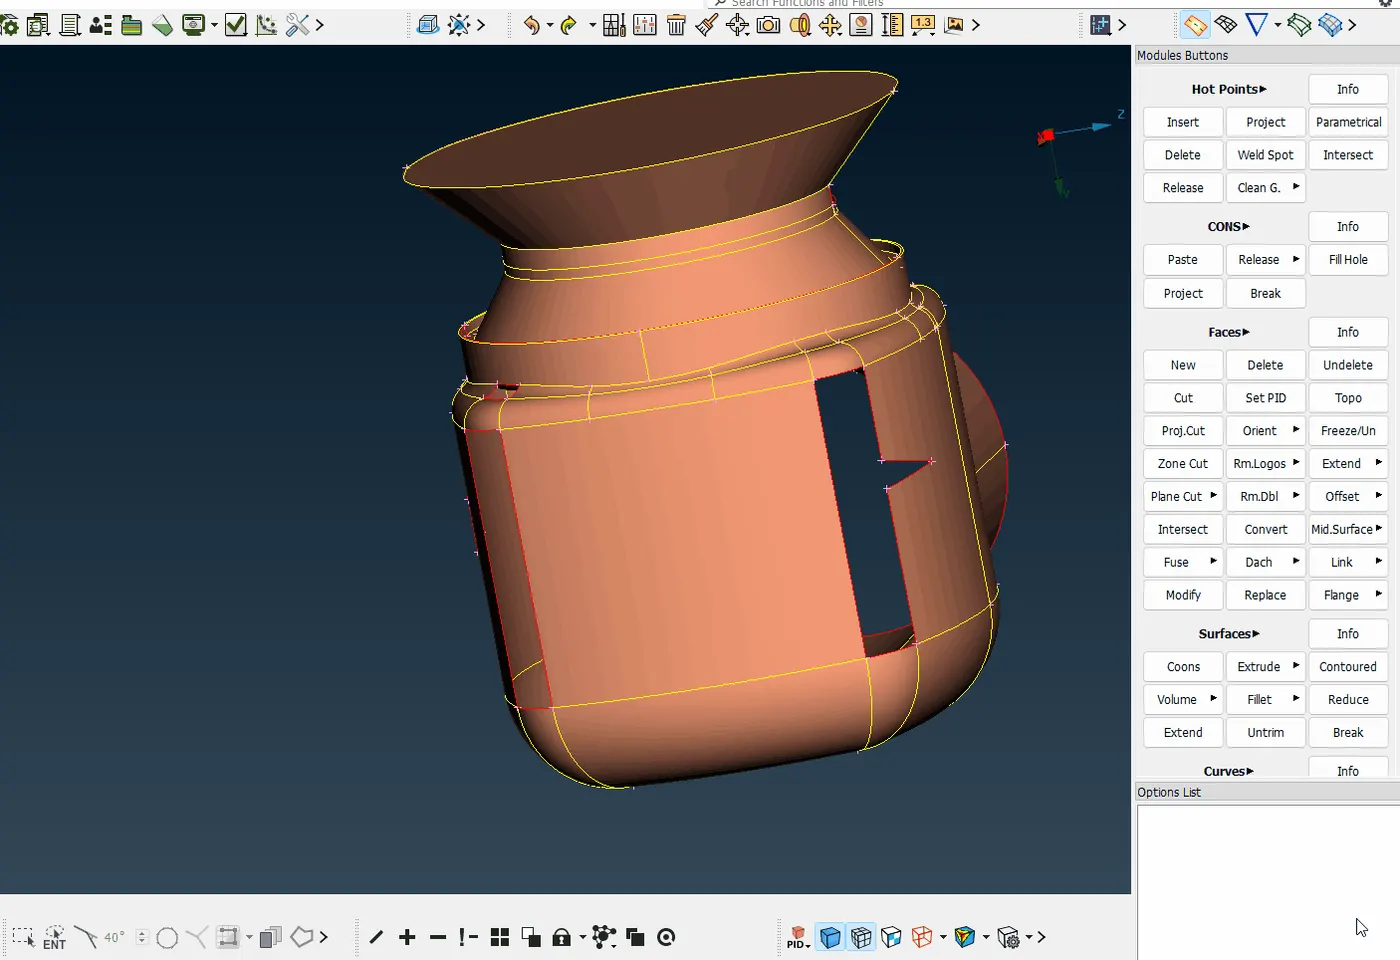
So we create a face in triangular/ V gap edges first, then use FACE>NEW> Select LOOP > select single cons and middle mouse button as shown below
5. Check Geometry quality again:
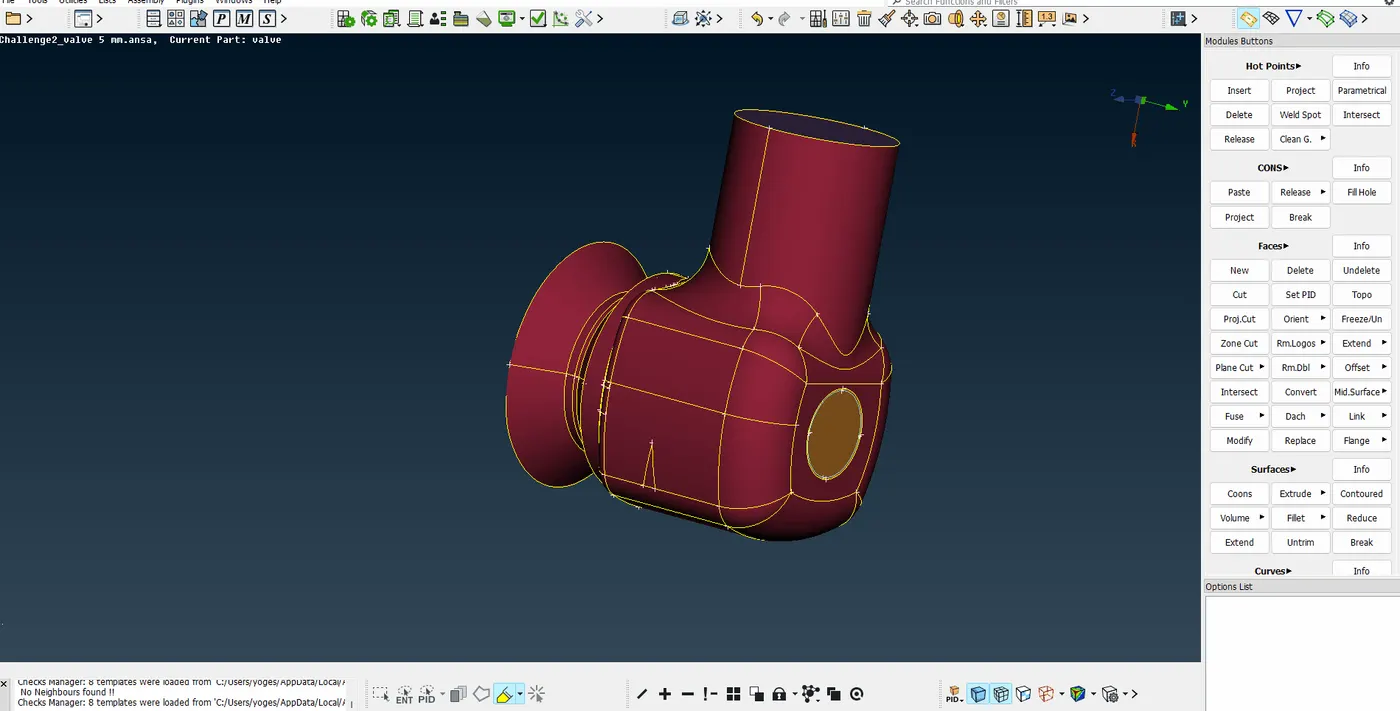
After following all the steps mentioned above to improve quality geometry by creating faces it's important to quality check in the final to validate our model without any single con error and the only error we get is the triple con error at the bottom of the model this happen due to creating faces at the bottom for airtight model on double cons for volumetric mesh
Assigning PID:
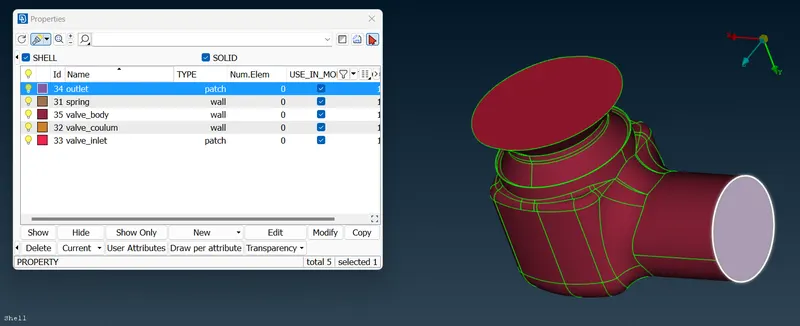
It's important to assign Property ID (PID) for the model before meshing because it helps the user to organize various components of the model and to have better control over the meshing process.
For the given Pressure valve we classify model components as
INLET
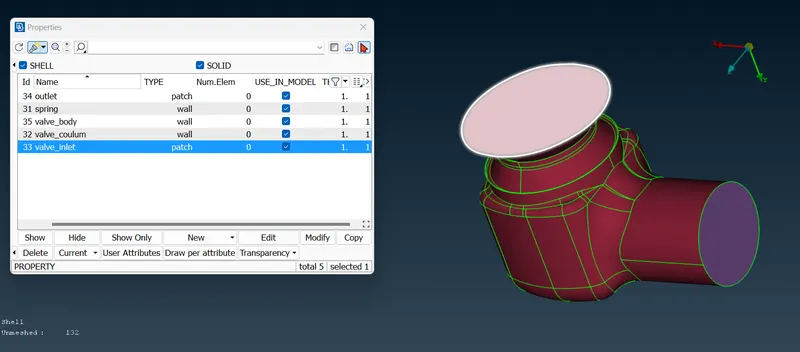
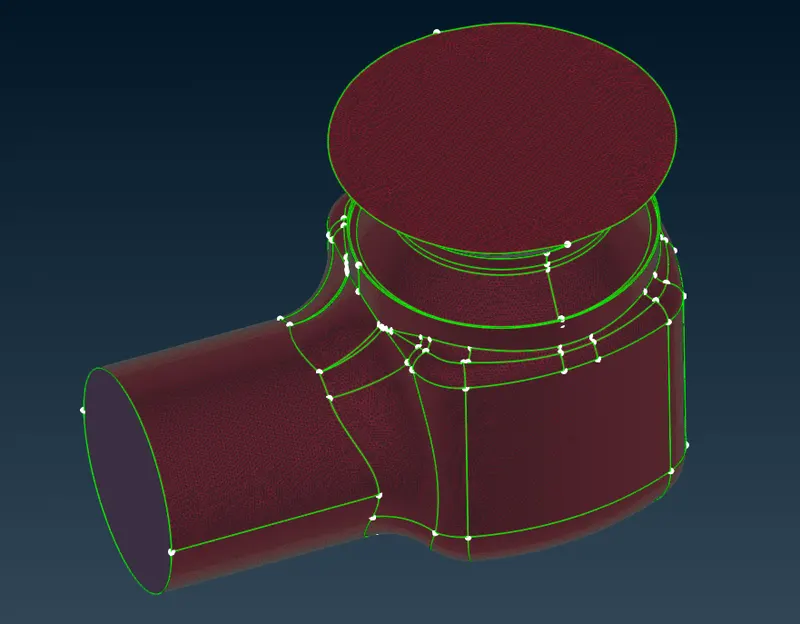
VALVE BODY
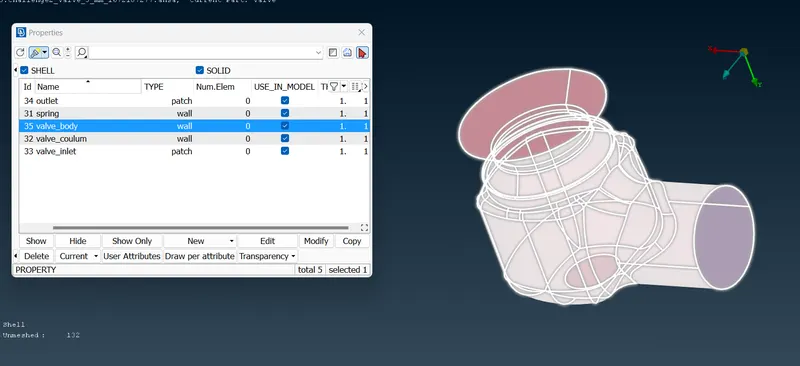
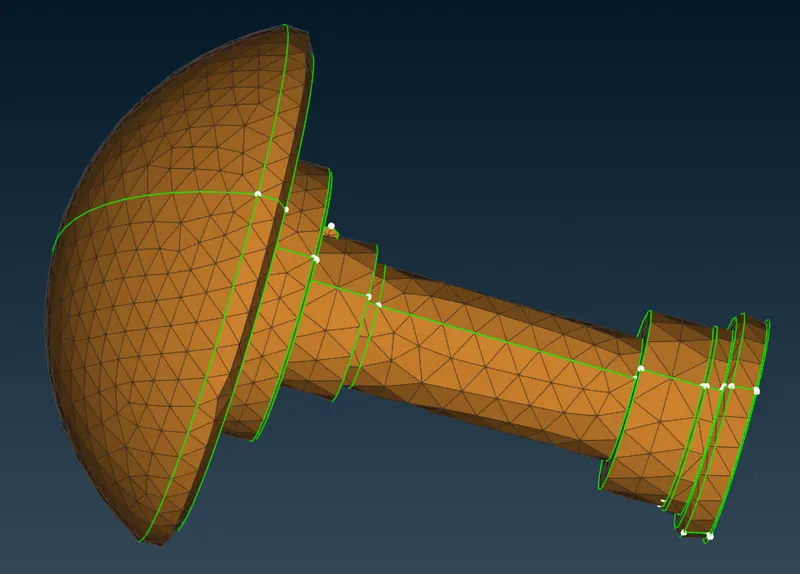
VALVE COLUMN
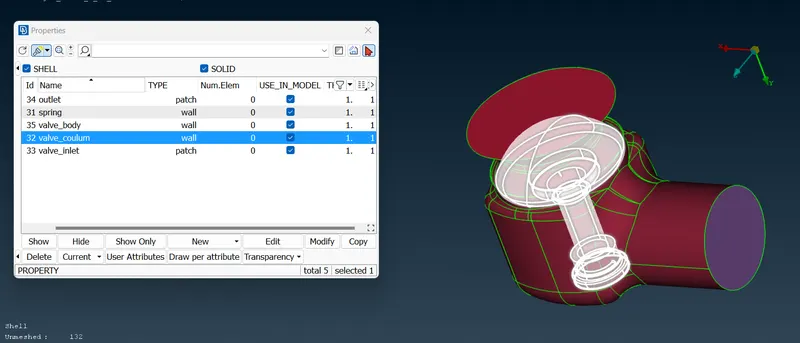
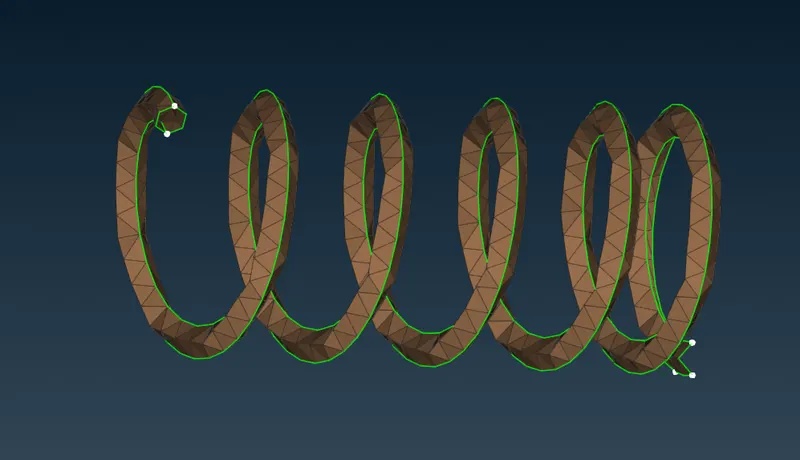
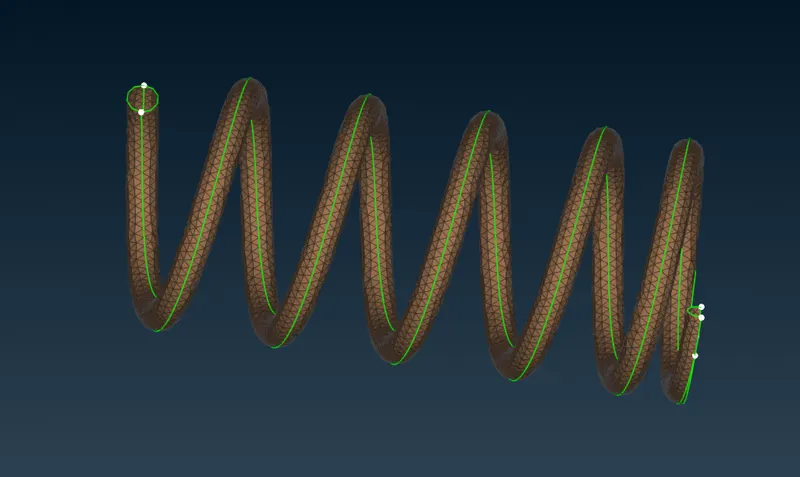
SPRING
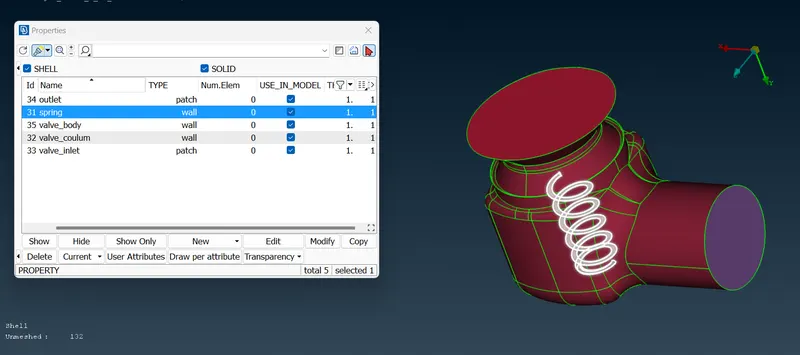
OUTLET
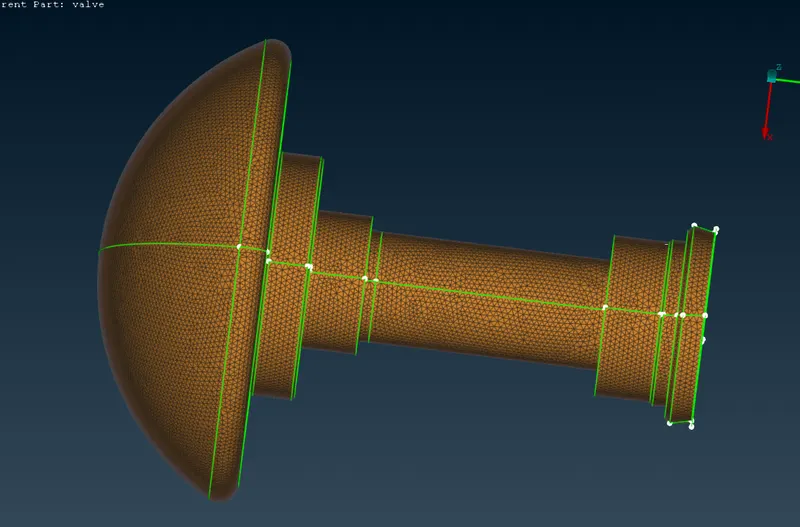
MESHING: Meshing is the process of dividing a continuous geometry into discrete sets of smaller, simpler elements called 'mesh elements'.
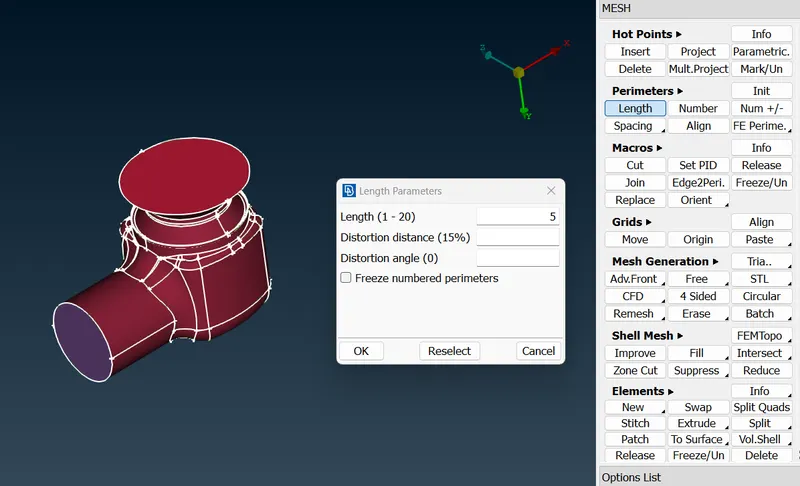
Since we using Targated length of 5mm, Input 5mm in perimeter length
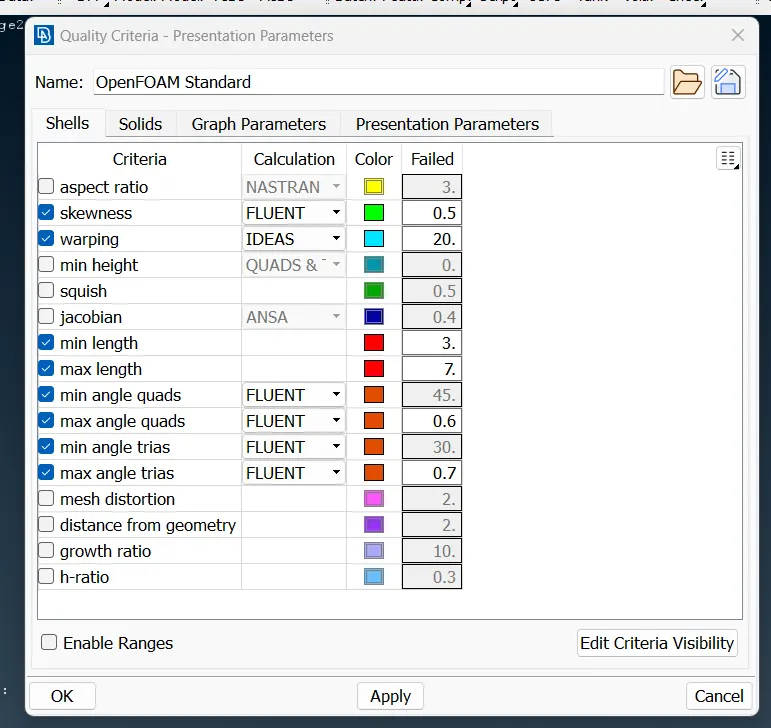
For a Target length of 5mm, we need to set parameters for a Maximum length of 7mm and a Minimum Length of 3mm in quality criteria.
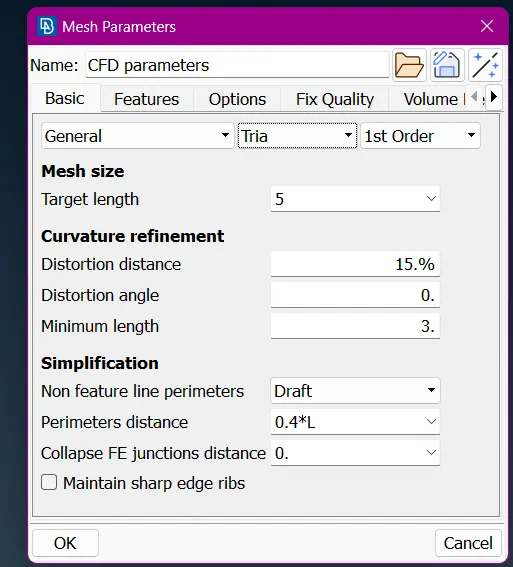
Setting Mesh parameters with a Target length of 5mm with TRIA element type.
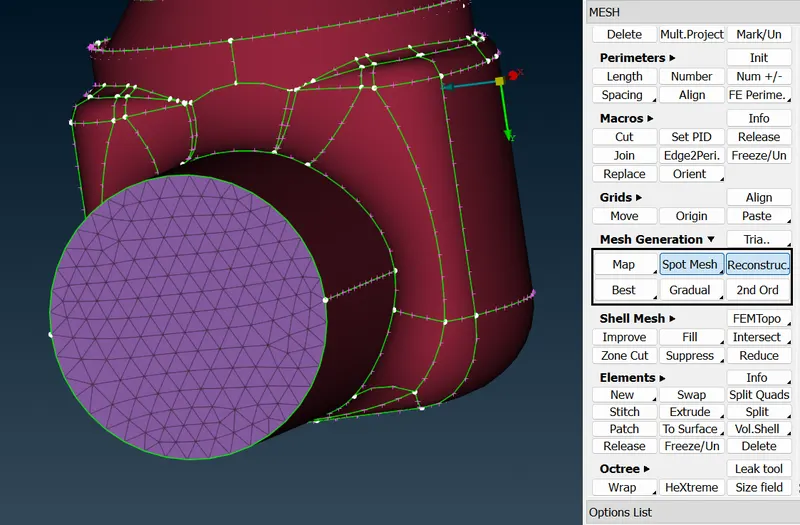
Select the Spot Mesh at Mesh Generation feature to create mesh over the model. We could Mesh by selecting each region or whole PID by isolating PIDs.
Results:
CASE 1:
Target length:5mm
Maximum length: 7mm
Minimum length: 3mm
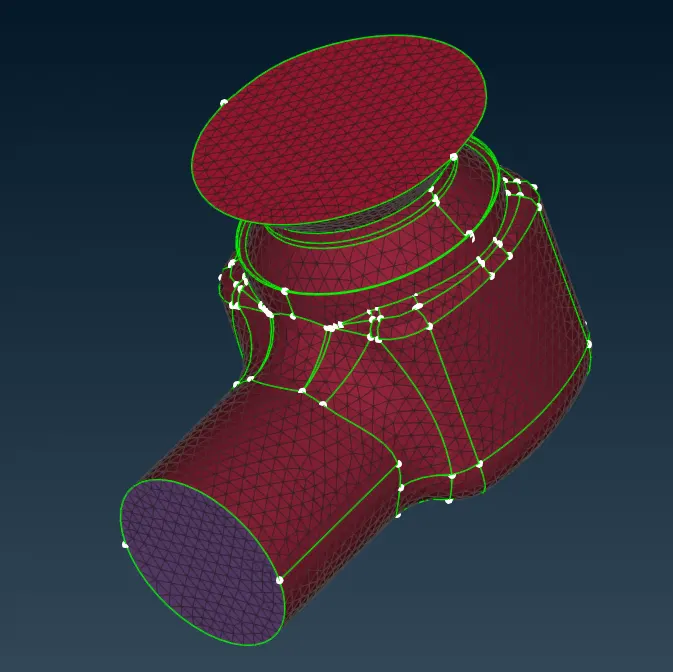
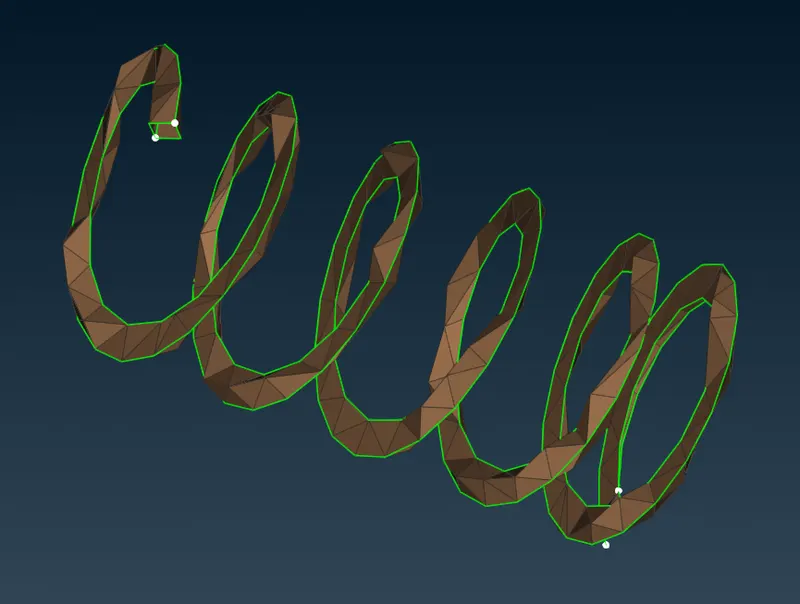
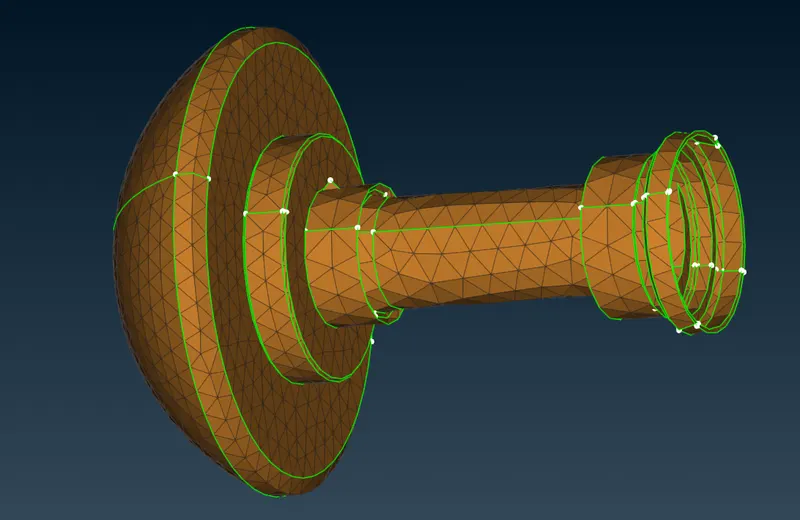
CASE 2:
Target length:3mm
Maximum length: 5mm
Minimum length: 1mm
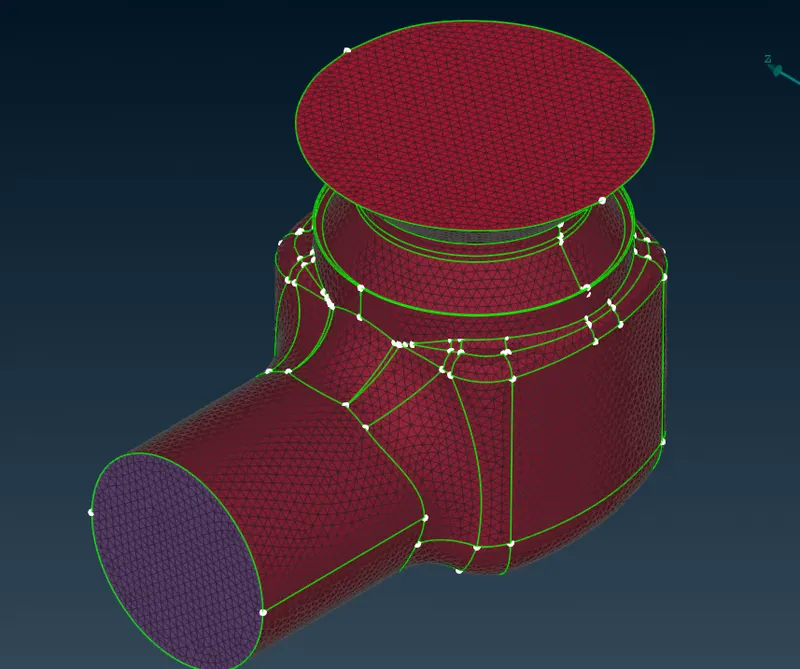
CASE 3:
Target length:1mm
Maximum length: 2mm
Minimum length: 0.5mm
Conclusion:
This project has been an excellent learning opportunity to explore the world of geometry cleaning and meshing using ANSA software. Through this project, I have learned how to effectively clean up complex 3D models and generate a mesh that accurately represents the geometry of the model.
One of the key takeaways from this project is the importance of the target length of the mesh. I have learned that the mesh quality can be greatly improved by reducing the target length, resulting in a more defined model.
Overall, this project has provided me with a strong foundation in geometry cleaning and meshing using ANSA software.