Week 2 Challenge : Surface meshing on a Pressure valve
REPORT
AIM :
TO DO TOPOLOGY CLEANUP FOR THE GIVEN MODEL AND TO MESH THE ENTIRE GIVEN MODEL WITH THREE DIFFERENT TARGET LENGHTS AS 1mm, 3 mm & 5 mm.
PROCEDURE :
TOPOLOGY CLEAN UP STEPS
1. Open the ANSA model of pressure valve given by skill lync in Ansa Software.
2. After opening the model we can see that many places are not fully closed.
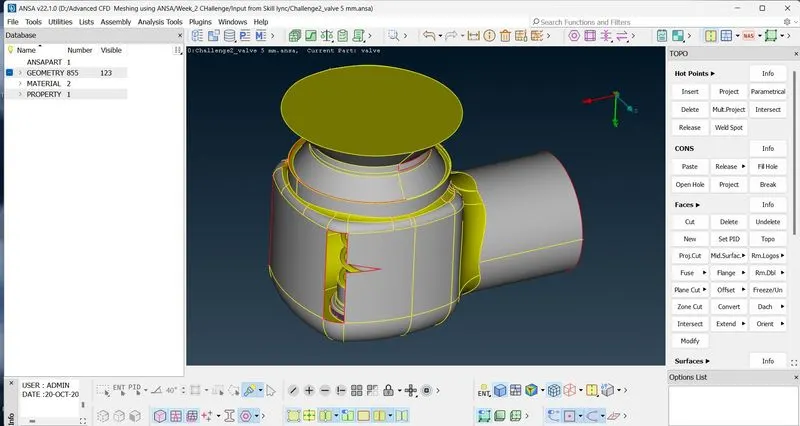
3. So, we have to find the unclosed surface in the model.
for finding the unlcosed surface we have to click checks --->Geometry --->Execute.
4. After clicking the execute it shows as the results were closed surfaces & cracks in the model will be highlighted.
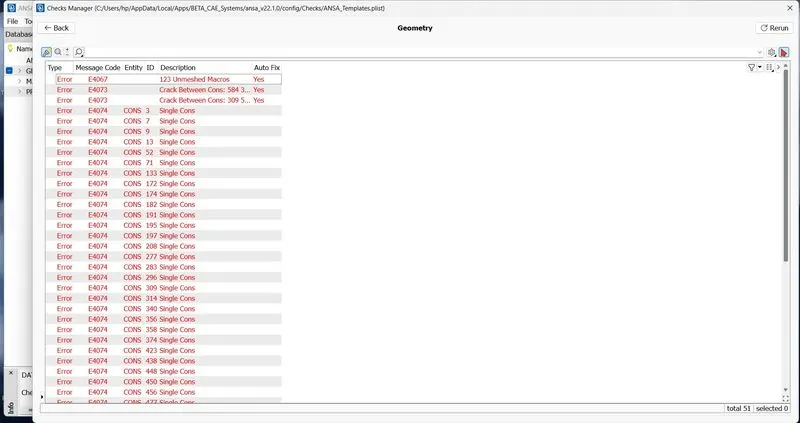
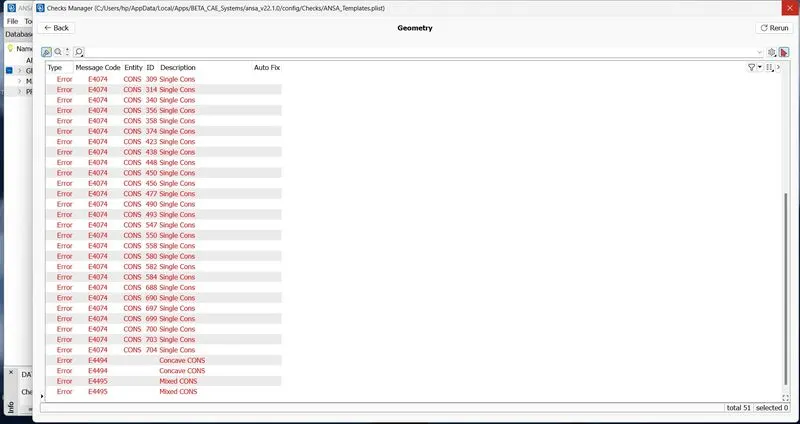
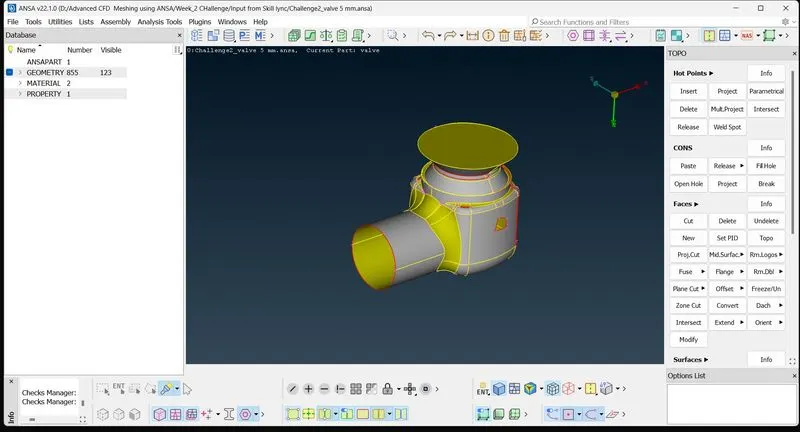
5. After finding the unclosed surfaces / faces of the model, we have to create all the faces which have to be closed to mesh the pressure valve model.
6. We have selected the inlet portion first to be closed, to close the inlet nozzle diameter we have to follow the following comments
TOPO -->Cons --> fill holes --> select the circle of the inlet nozzle --> middle click the mouse.
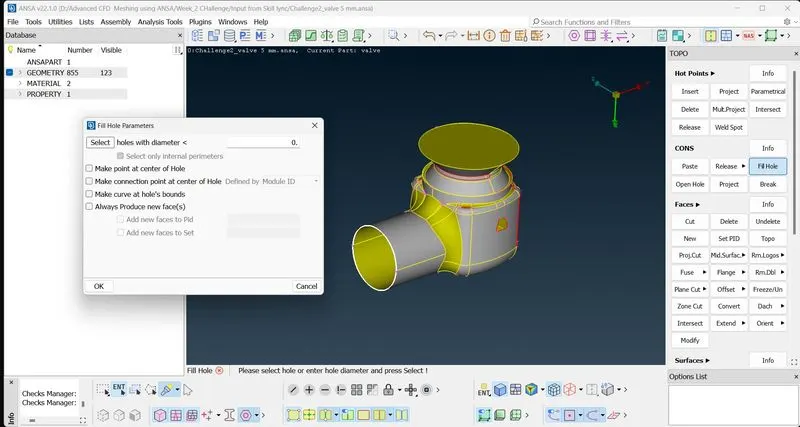
7. Next we have selected the smaller portion to be closed as shown below
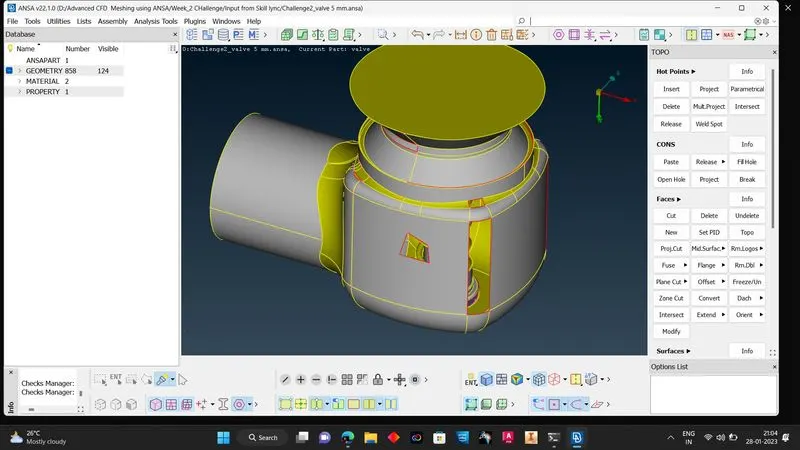
8. For filling the face of the smaller portion in valve, we have click the following comments
TOPO --> Face --> New --> New Face option --> exsiting Surface --> Select the Cons of the model to be closed (BY turning ON Loop, so that it will select all the cons presented) --> click on any existing surfaces presented near the smaller portion which have to be closed --> middle click the mouse --> by middle click the mouse a surface will be generated and the smaller portion will be closed as shown.
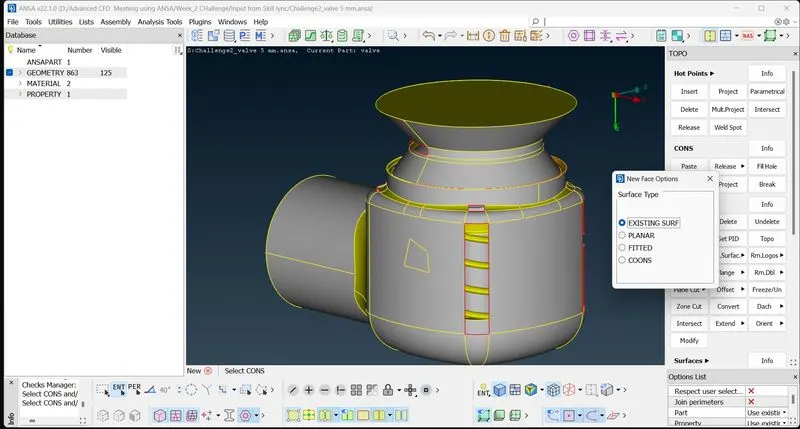
9. We can close all the unclosed surface of the models with the help the followings comments like we did previously
i) Fill Holes
ii) New face options - Existing, planar, fitted, COONS.
Every comments will show as a preview results so that we can select a suitable face for the model.
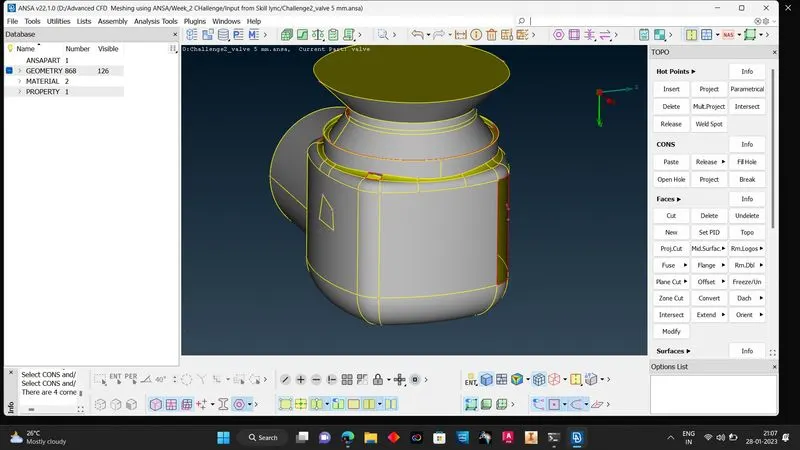
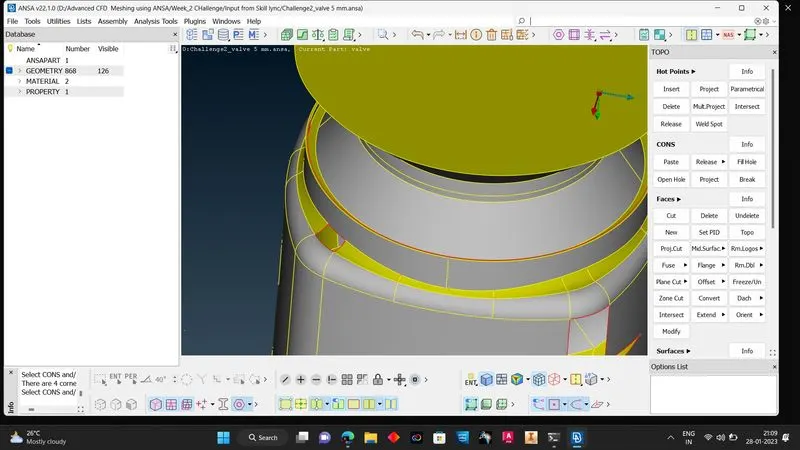
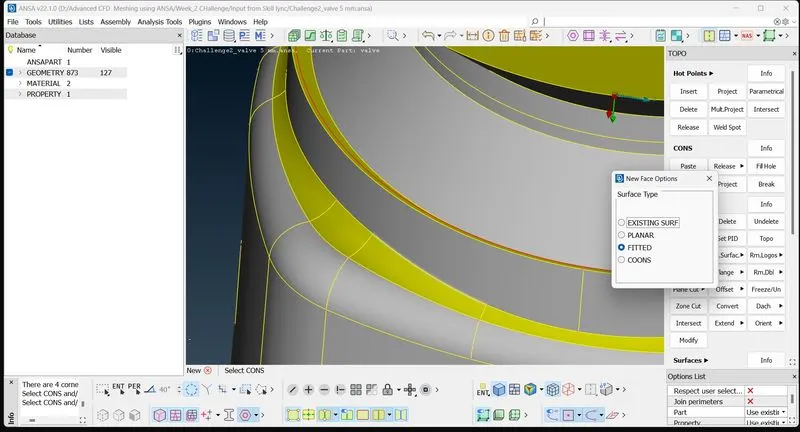
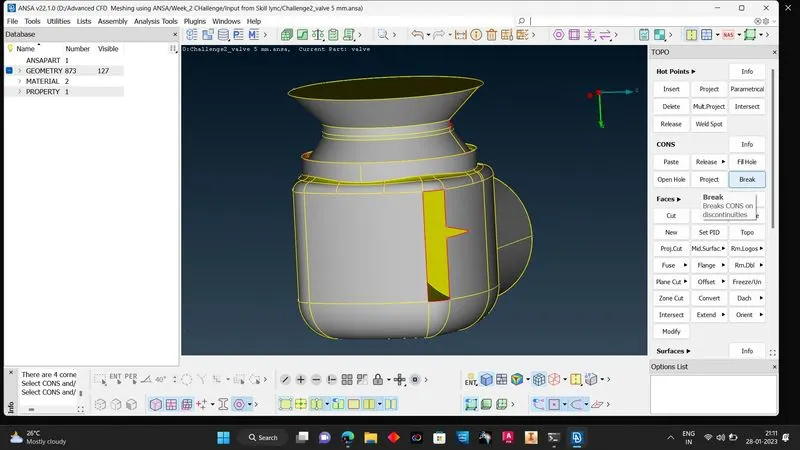
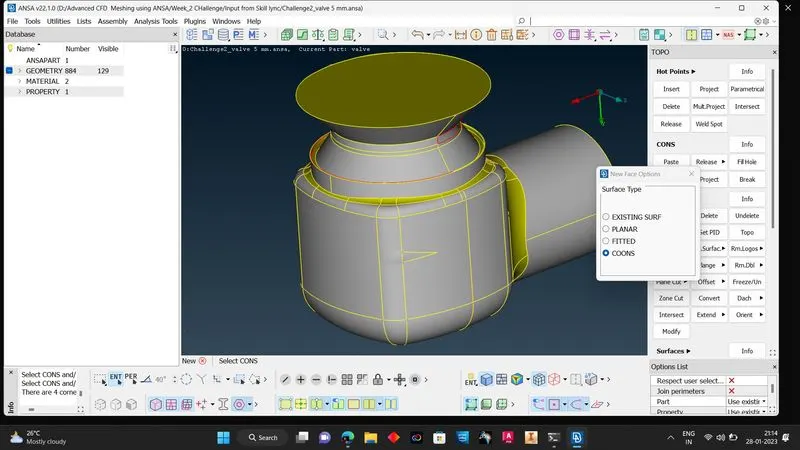
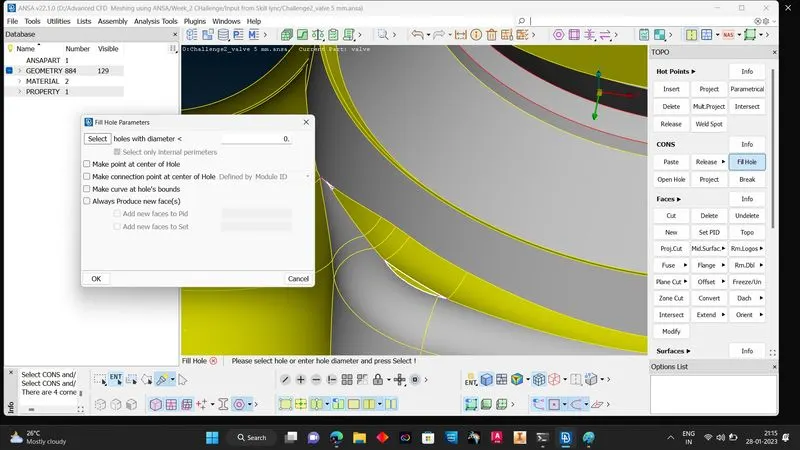
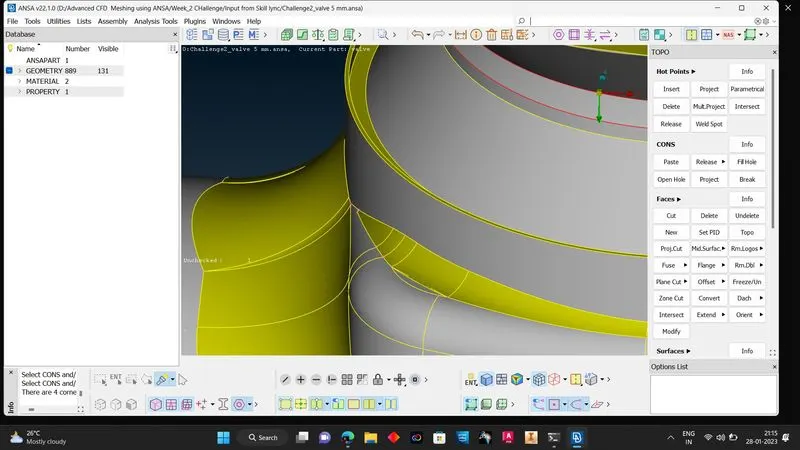
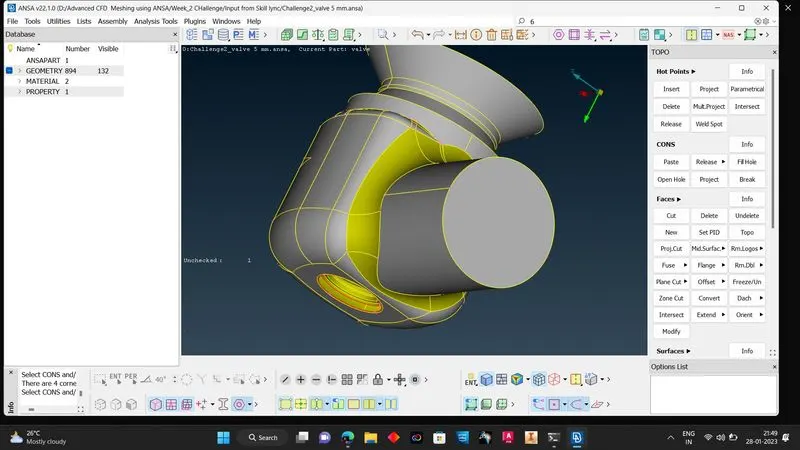
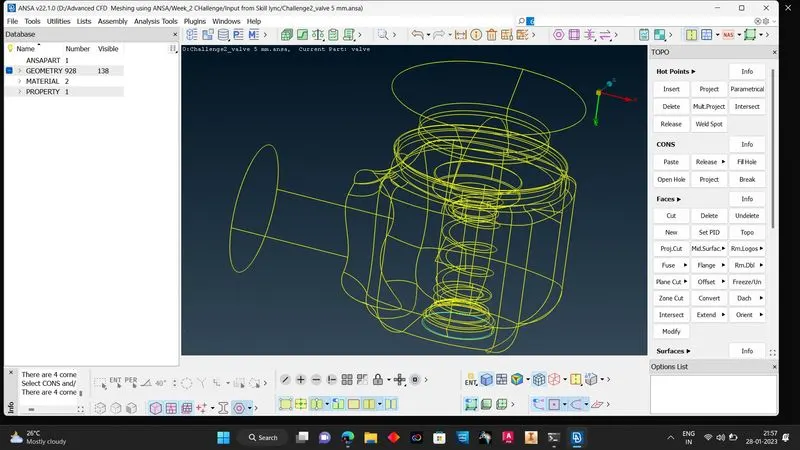
10. After closing all the unclosed face/surface of the model we can cross checked by clicking control+shift, so that wireframe view will be generated. With the help of wire frame we can confirm that all the surfaces are closed.
PID CREATION STEPS (to create PID & Colours for all the parts of the pressure valve model)
1. We should assigned PID For different parts of the pressure valve by clicking the following comments
Properties -->rightclick --> New --> Pshell --> Pshell as given in the below picture
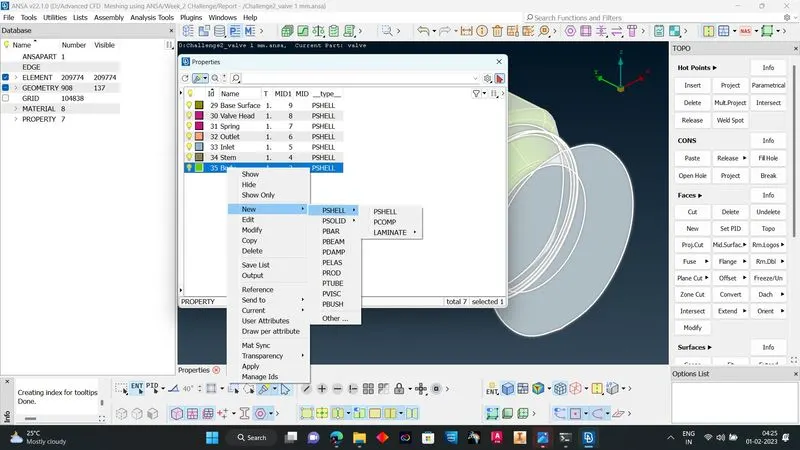
2. We have created 7 PID's for different parts of the pressure valve like body, stem, inlet, outlet, spring, valve head, base surface.
3. After creating all the PID for the parts, we have select different colours for identifying the parts as shown in the above picture.
4. After completing all the PID creating steps, we can now move on to meshing step.
MESHING STEPS (meshing with different target length such as 1mm, 3mm & 5 mm)
1. Meshing length has to be 1mm, 3mm & 5mm which is given by Skill lync.
2. Then, we have to click mesh button for starting our mesh.
3. By clicking mesh an we have to select our mesh length by selecting length option in parametric options.
4. Mesh Length is the difference between 2 Nodes.
5. By clicking length we have to select the cons by clicking shift+left button a box will open and we can select the model to be selected (perimeters) by clicking left click in the mouse. It will ask us the mesh length to be made, I have given 5mm mesh length. since, the challenge as to be done in 5mm. (1st Case i have used 5mm as Target Lenght)
6. Same way for macrons as well.
7. All the Setting the mesh length as 3mm is perimeter as well as in macrons.
8. We have to click the mesh parameter and apply target length is 5mm, minimum length as 3mm and element type as TRIA, since the challenge as to be done in tria element type, then click on OK.
9. I have turned ON only Body part PID in properties box, so that remaining parts will be unvisible / hidden.
10. Now, we have to create the mesh. so for that we have select mesh generation --> spot mesh (now we are selecting the spot weld) by clicking the spot mesh it will ask us 3 options like select, regenerate & visible. I have selected visible option, so that only visible parts of the model only will be meshed.
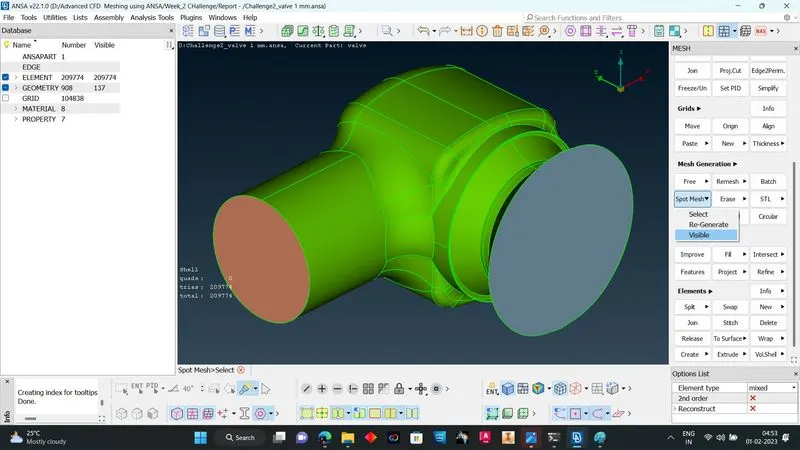
11. repeating the step 10 for all the parts of the pressure valve we can mesh it easily for 5mm.
12. Similarly we can follow the above steps for target length of 1mm & 3mm.
RESULTS :-
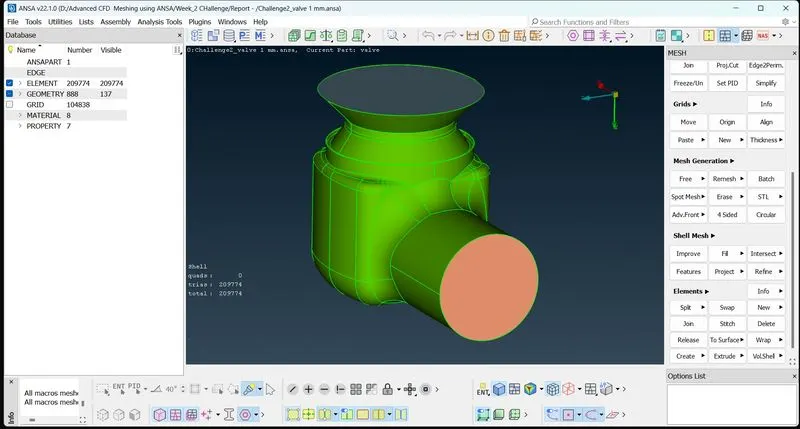
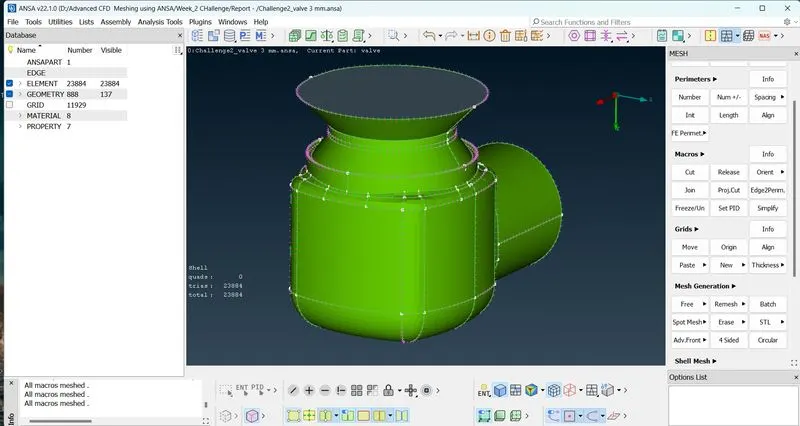
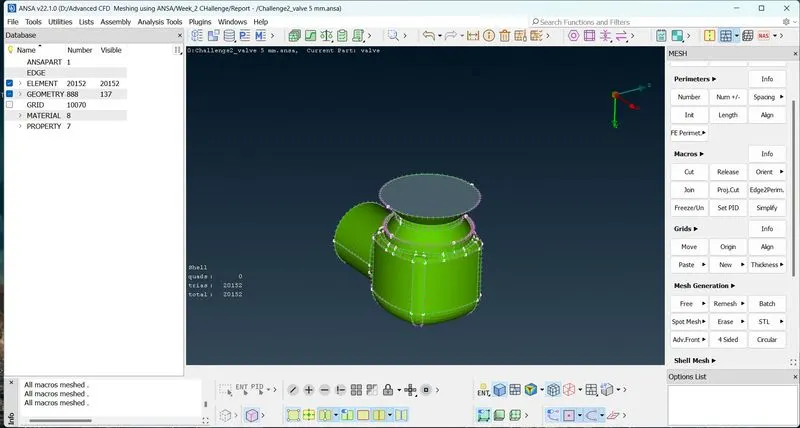
TOPOLOGY CLEANUP FOR THE GIVEN MODEL AND MESHING THE ENTIRE GIVEN MODEL WITH THREE DIFFERENT TARGET LENGHTS AS 1mm, 3 mm & 5 mm AS BEEN DONE SUCCESSFULLY. (IMAGE ATTACHED BELOW)
CONCULSION :-
We can take 5 mm as the target length because its meshed macrons/parts Numbers (qty) is lesser compared to the other two target lenghts (1mm & 3mm).
we can use 1mm & 3mm where the dimensions are below the target length of 5mm.
(note - the models of 3 different target length are attached with this report)