Week 2 Challenge : Surface meshing on a Pressure valve
AIM
For the given model, check for the geometrical errors and perform Topology cleanup accordingly and perform surface meshing
OBJECTIVE
Set three different target lengths as three different cases and mesh the model.
- Target length = 1mm, 3 mm and 5 mm (i.e. 3 cases)
- Element type = Tria
PROCEDURE
TOPOLOGY CLEANUP
- First of all we have to done topology cleanup ,beacuse the given model has holes on the surfaces and some surafces are missing
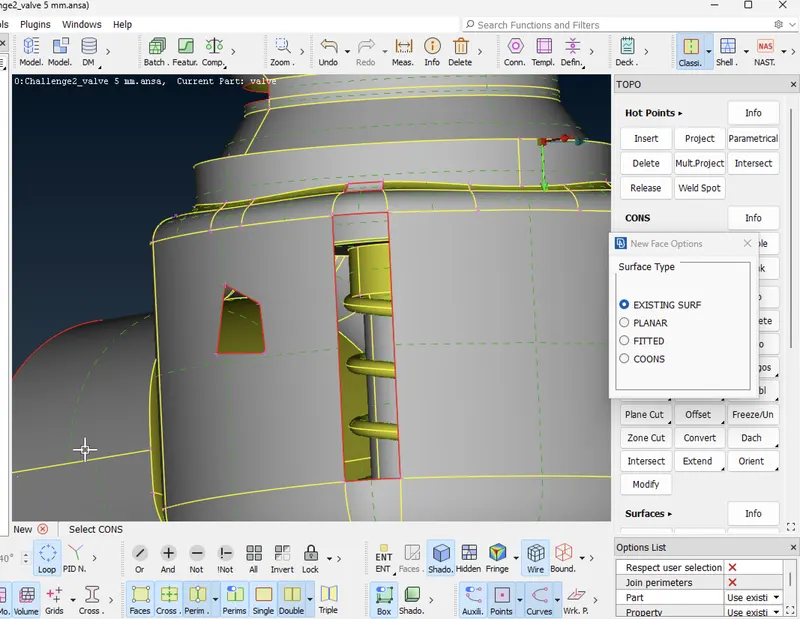
- We have to patch the surfaces to make them suitable for meshing
- We fills the holes by using the option fill holes
- We have to add new surafaces ,for that we use new option
- Then to add new surafces by selecting single coons as shown below we must select the all coons forming the surface
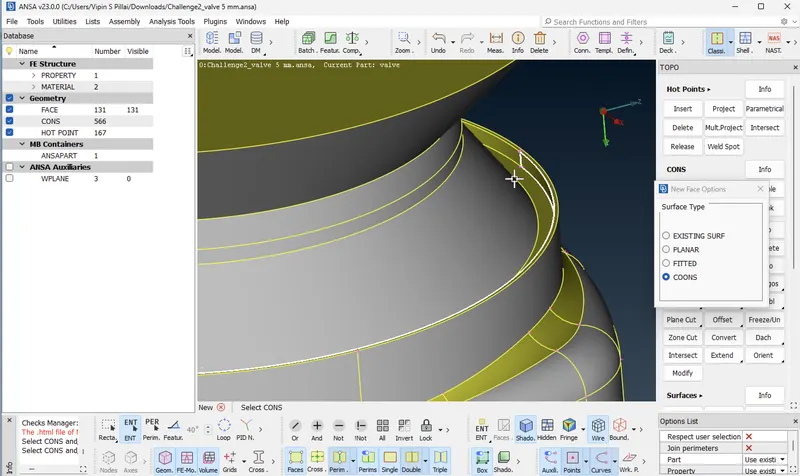
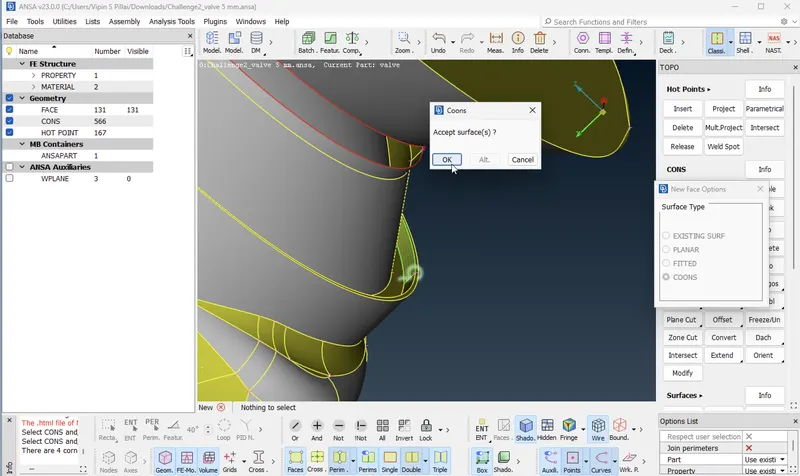
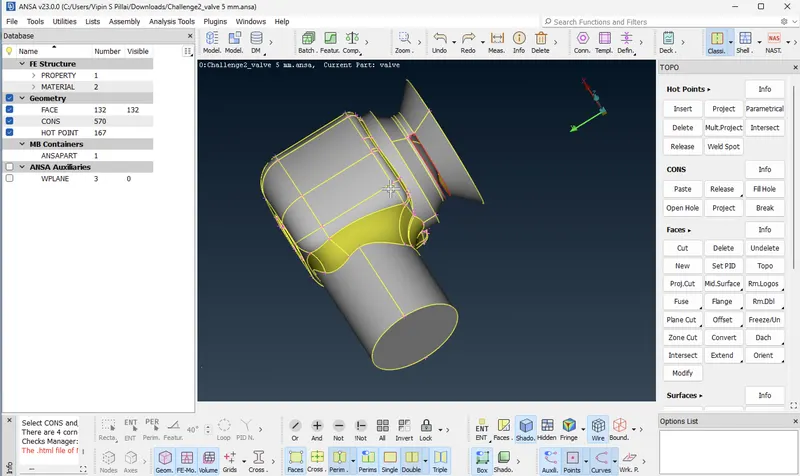
- In this picture we can see the preview ,here we are adding the missing surfase by selecting the coons
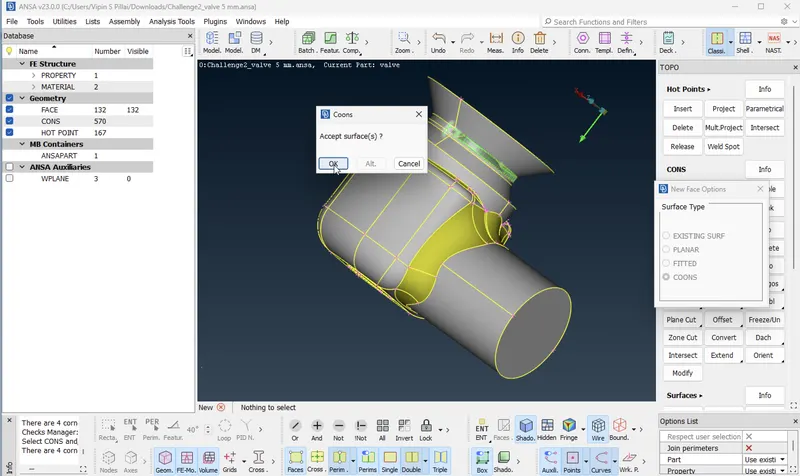
- Here we have to close the hole
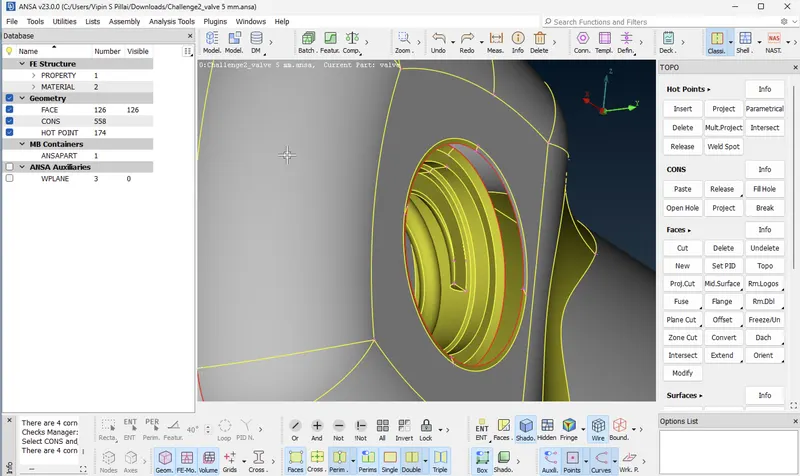
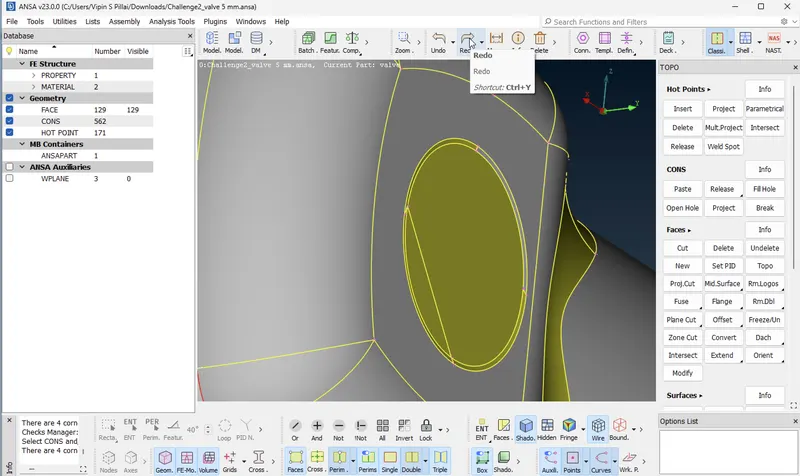
- Closed the hole by using fill hole option
- After completing the topology cleanup we can check the geometry by using the geometry check option
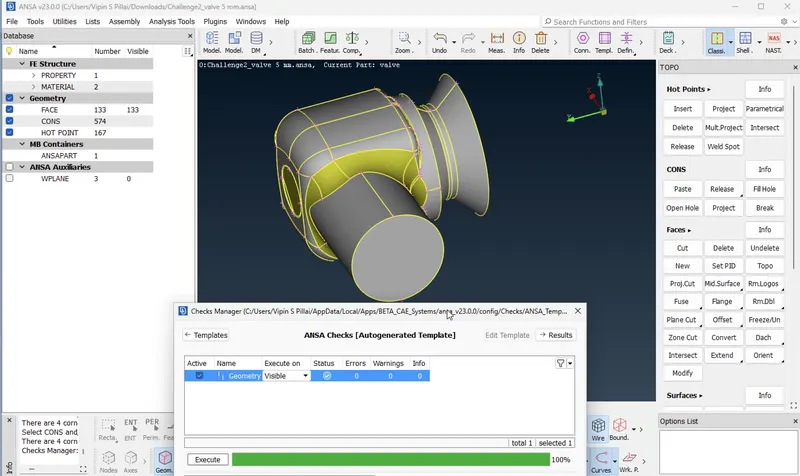
- Result of the error was ok ,ie we have no errors
- Then we have to create different parts within the model
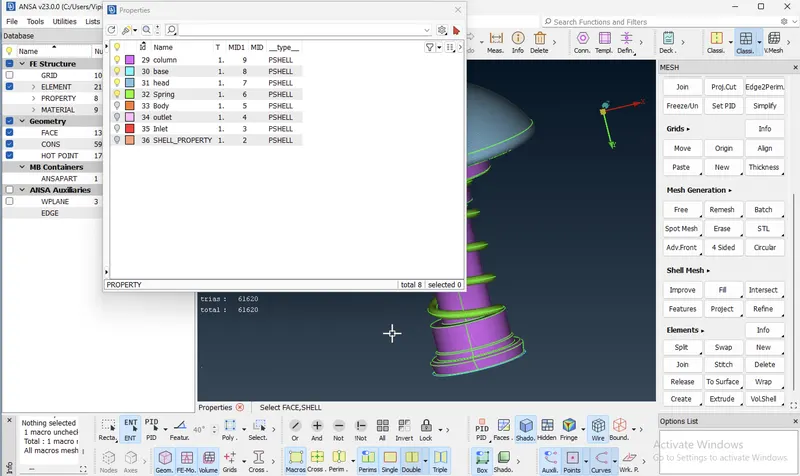
- We divides the surafces into base ,spring ,column,inlet,outlet and body
- We created PID for each of the above by using PSHELL option
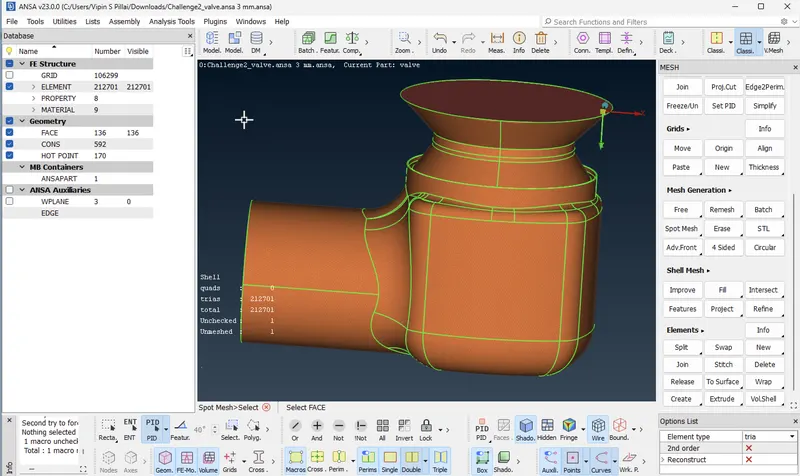
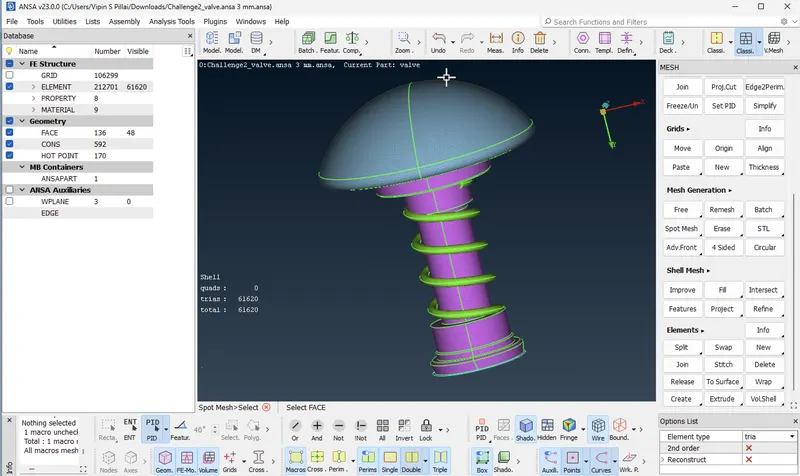
- We gives different colors for different surafces and we can hide and unhide surafaces as per our needs by clicking the 'bulb' icon
MESHING
As part of challenge we are performing meshing for three different target length .Procedures for all are same ,only the thing is to change is the target length
Steps
- First we have to select the classic mesh option from the mesh deck
- Then we have to select length option to set target length
- We must set target length in parameters,macrons,mesh parameters and quality criteria
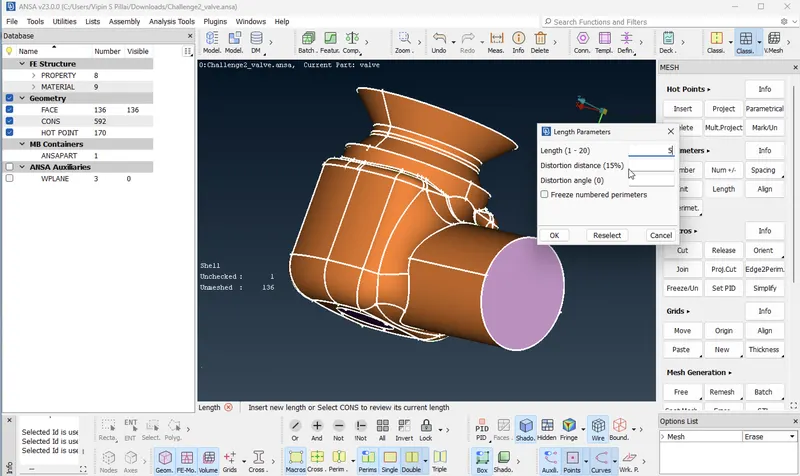
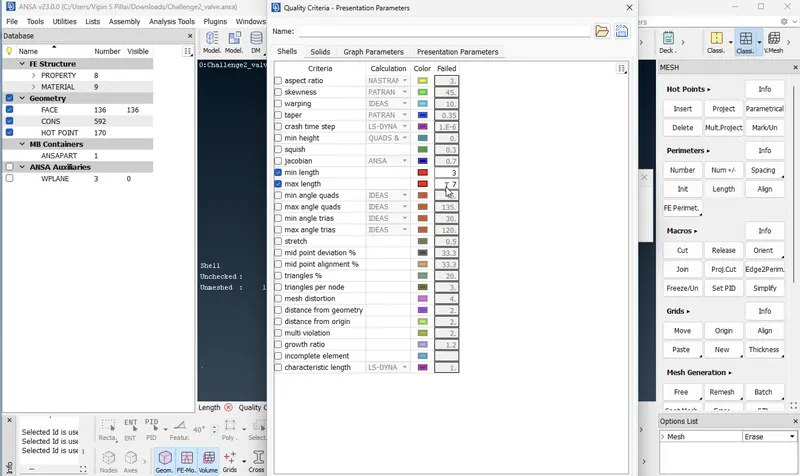
- After setting the target length we can start meshing by using spot mesh option
- Here we uses PID option to select parts for meshing
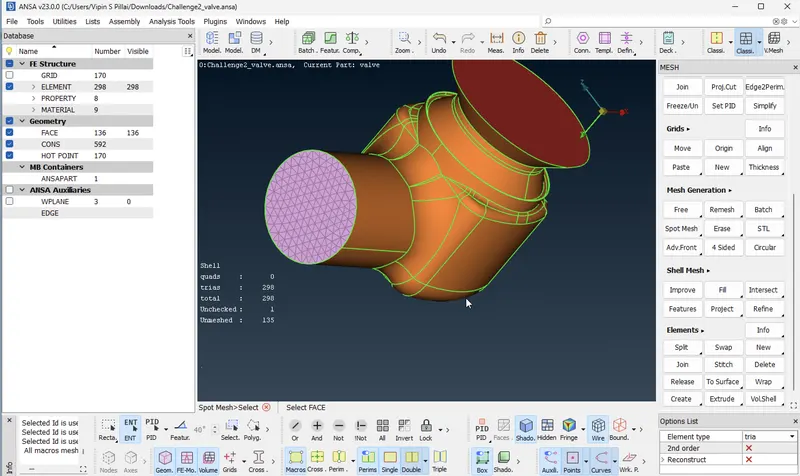
- We completed the exterior meshing(5 mm)
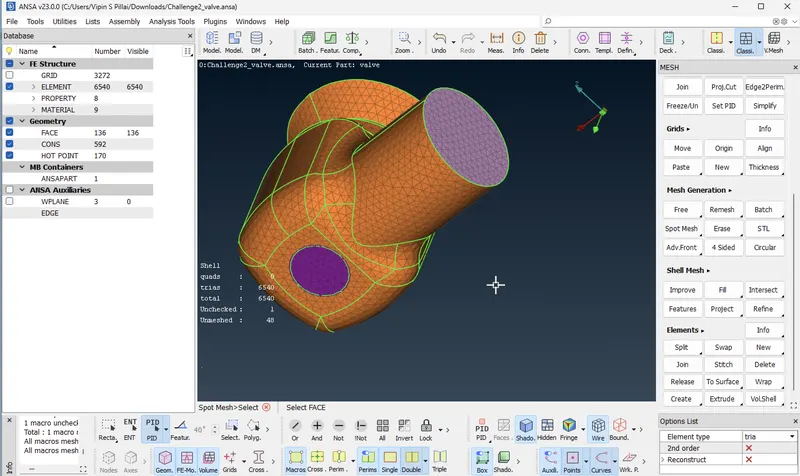
- Then we have to isolate the interior part by using the property window and we completed the meshing by using spot mesh +PID option
5 mm
- To mesh select the meshing module, select the Length under Perimeters and give 5 mm as Perimeter and in Macros.
- In the meshing parameter give Maximum target length as 7 mm and Minimum target length as 3 mm, for mesh type select Tria.
- In the quality criteria give Maximum target length as 7 mm and Minimum target length as 3 mm.
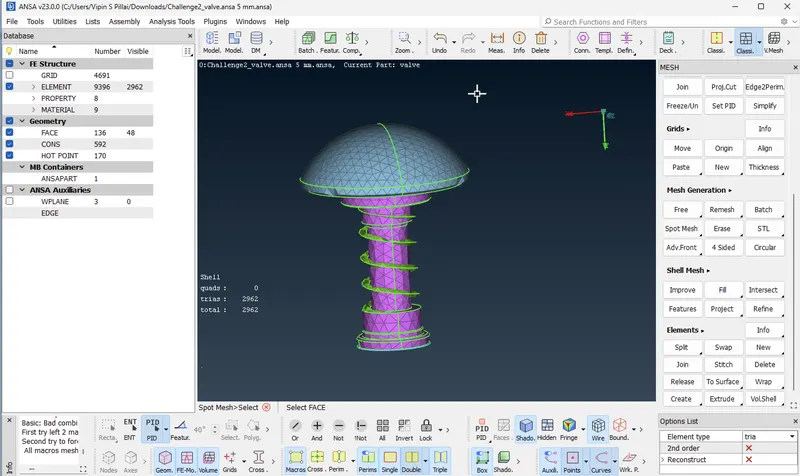
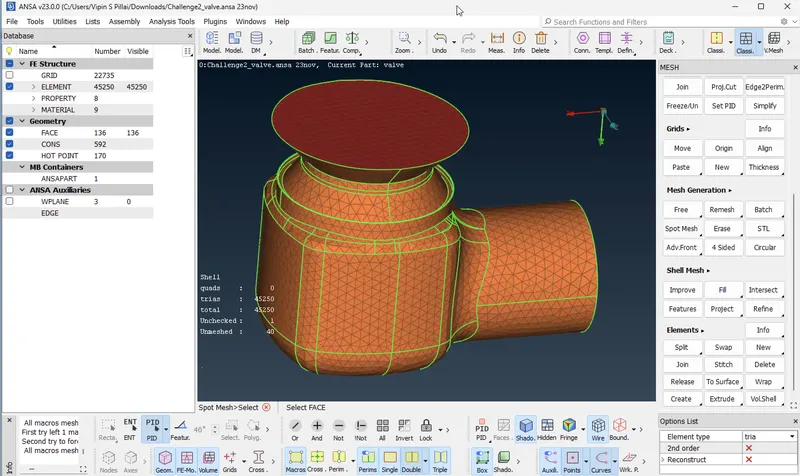
- Completed the meshing for 5 mm target length
3 mm
- To mesh select the meshing module, select the Length under Perimeters and give 3 mm as Perimeter and in Macros.
- In the meshing parameter give Maximum target length as 5 mm and Minimum target length as 1 mm, for mesh type select Tria.
- In the quality criteria give Maximum target length as 5 mm and Minimum target length as 1 mm.
- Exterior
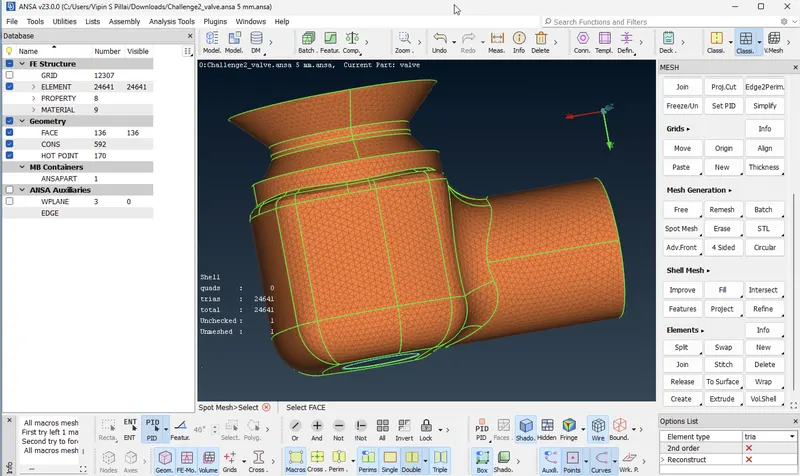
- Interior
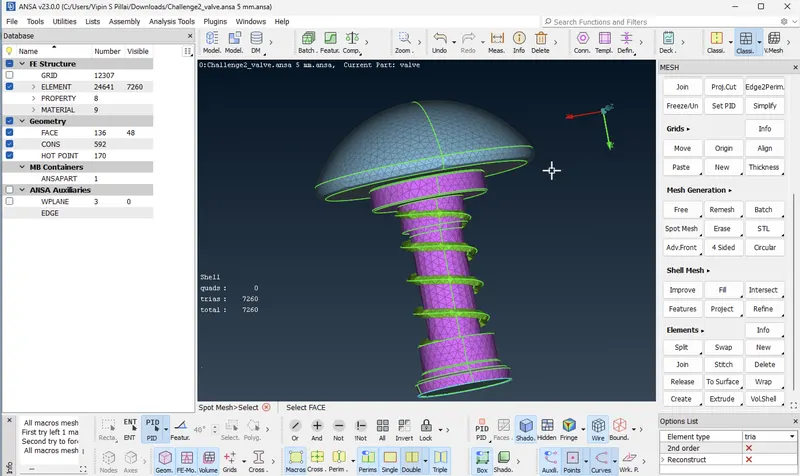
1 mm
- To mesh select the meshing module, select the Length under Perimeters and give 1 mm as Perimeter and in Macros.
- In the meshing parameter give Maximum target length as 2 mm and Minimum target length as 0.5 mm, for mesh type select Tria.
- In the quality criteria give Maximum target length as 2 mm and Minimum target length as 0.5 mm.
- Exterior
- Interior
Observations
- From the results we can see that for 1mm meshing the output is better than the other to
- For small surafaces the meshing results are good for 1mm but for 5mm it is not good
- For 5mm meshing ,meshing results for small surafaces have fefeaturing and mismatch
Conclusion
- From the above observations we can conclude that as size of mesh decrease better is the result
- Also we understands the importance mesh size and how it going reflects on our analysis
All model files we attached below