Week 2 Challenge : Surface meshing on a Pressure valve
Surface meshing on a Pressure valve
AIM;
perform Topology cleanup and check for the geometrical errors for three different target lengths as three different cases.
Given parameters;
- Target length = 1mm, 3 mm and 5 mm (i.e. 3 cases)
- Element type = Tria
Given geometry in wireframe
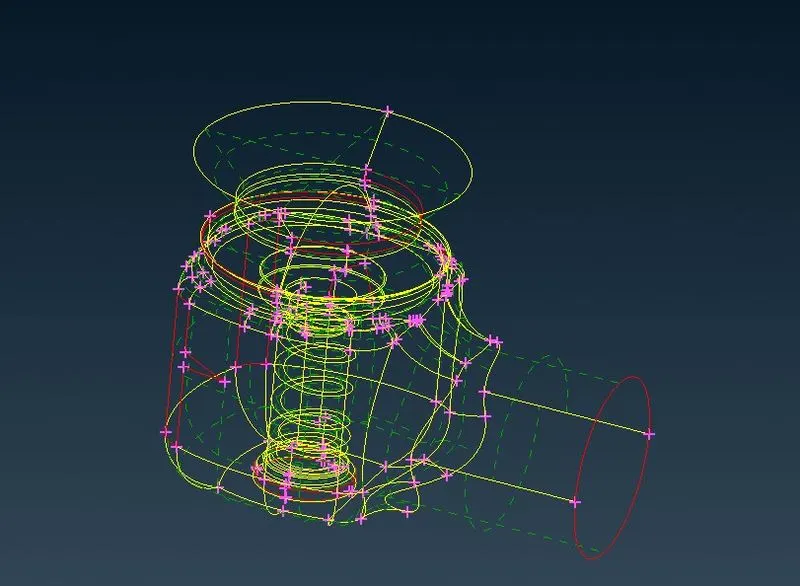
First we are going to clean up the geometrical and fix the surfaces in pressure valve.
lets Switch to shadow mode then fix the surfaces one by one
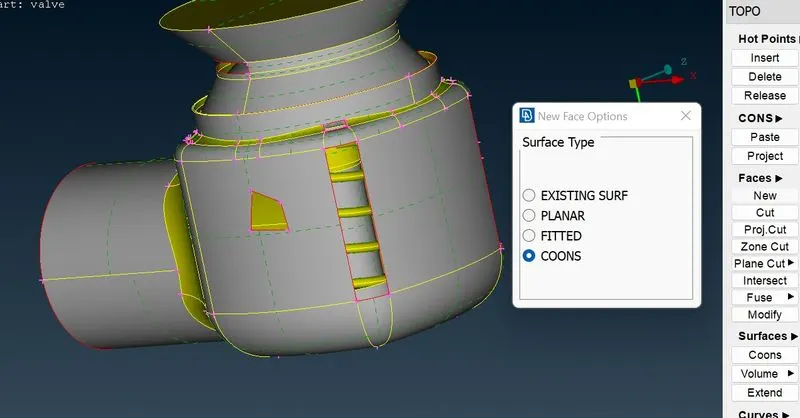
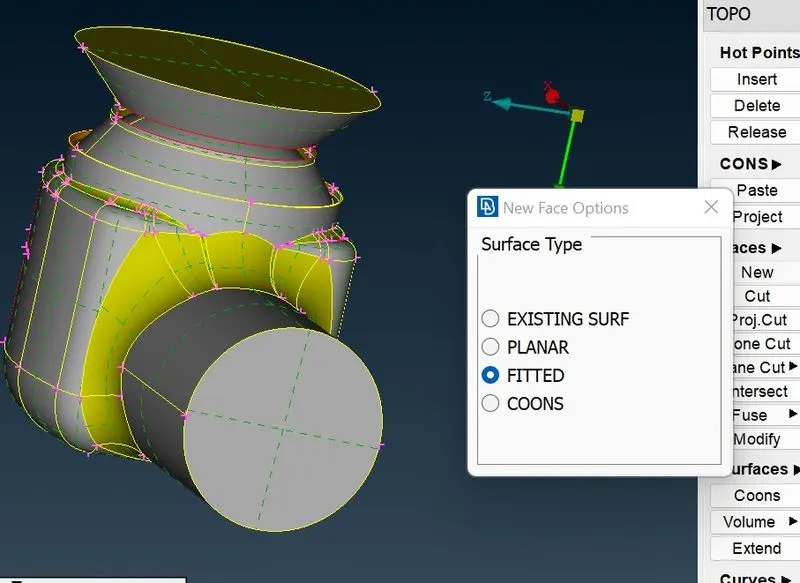
Here there is a surface break on the corner and middle of the surface, we can fix this by using various options from surface type which are 1)Existing surf, 2) Planar, 3)Fitted, 4)Coons these options are used to fill or form the surface by clicking Faces>Surface type
In this particular area we are using coons if there is need to fix the cornering or curvy area of surface coons are used, it needs closed boundary for selections.
After clearing the red cons the surface look like this are shown below.
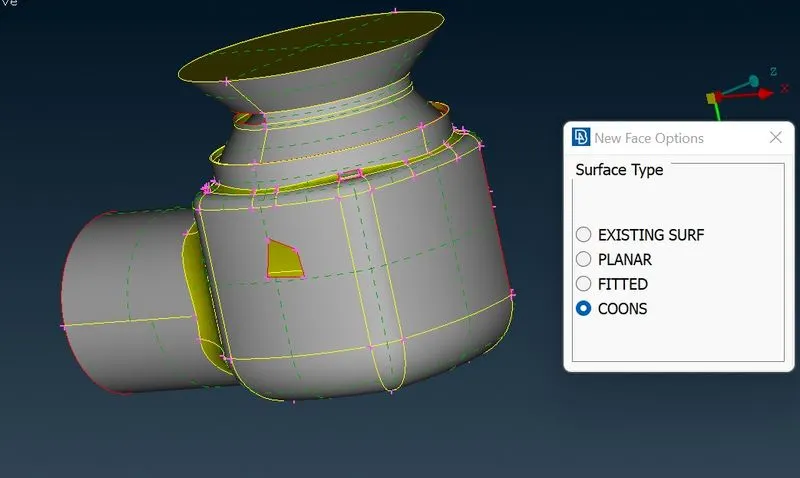
Outlet of valve requires the closed surface for that we are selecting Fitted. Fitted and planar are working morelike similarly
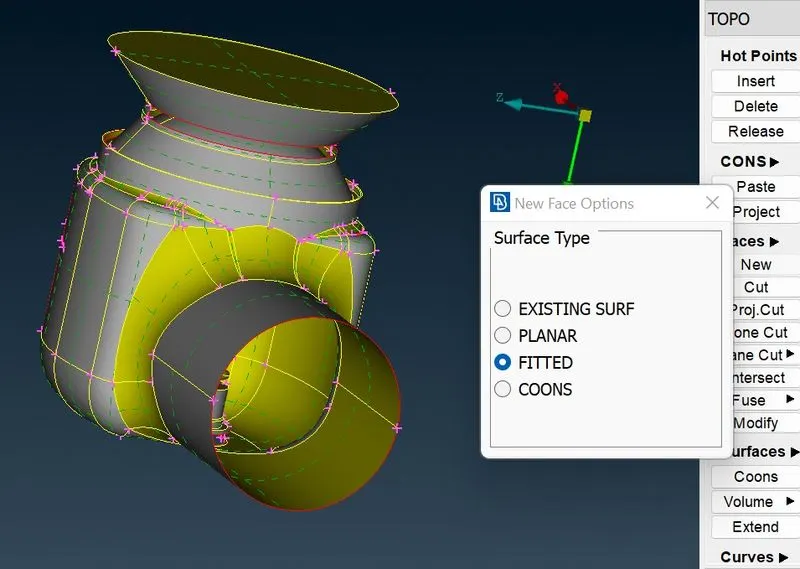
its perfectly patches the hole by creating new surface.
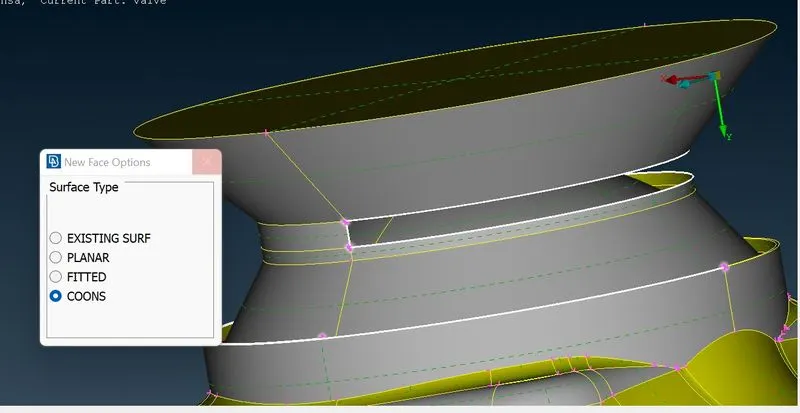
By creating the new surface by coons, we merging the inlet with body.
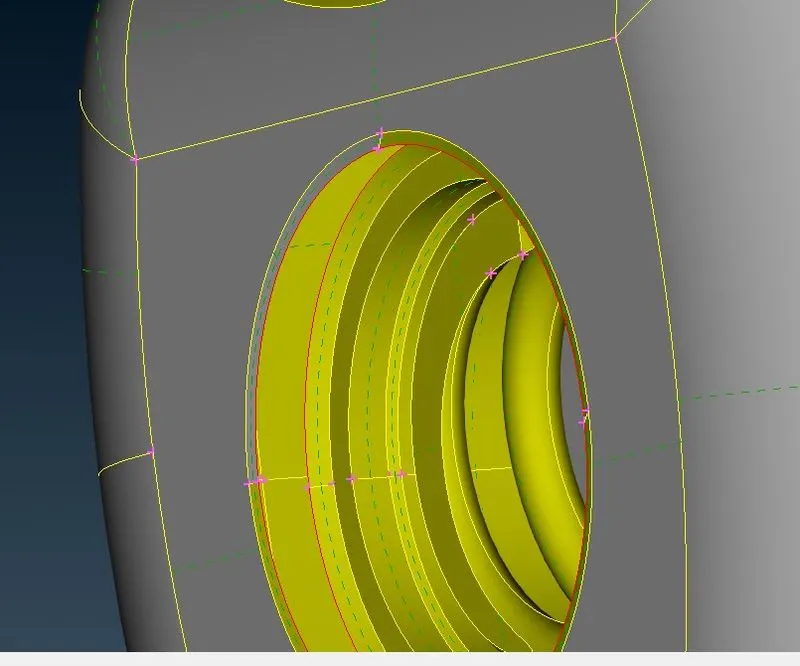
There is a red con inside the bottom of valve, this is a tricky area to fix the surface for that we hide some outer area of model by using binary operation(NOT)
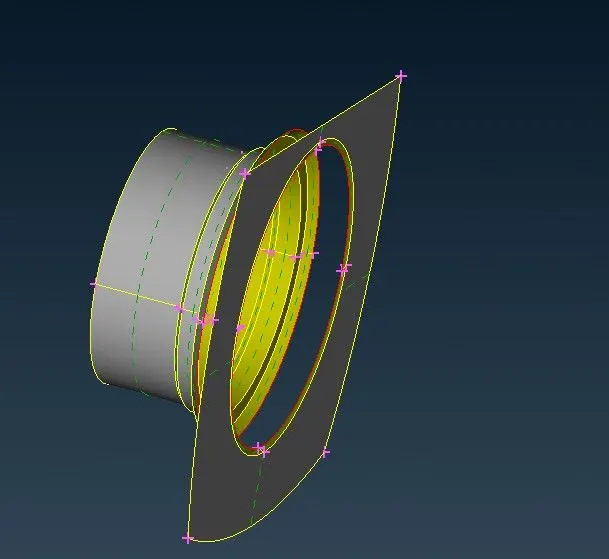
Now we can get a clear view of affected area, here we have to connect two parallel surfaces
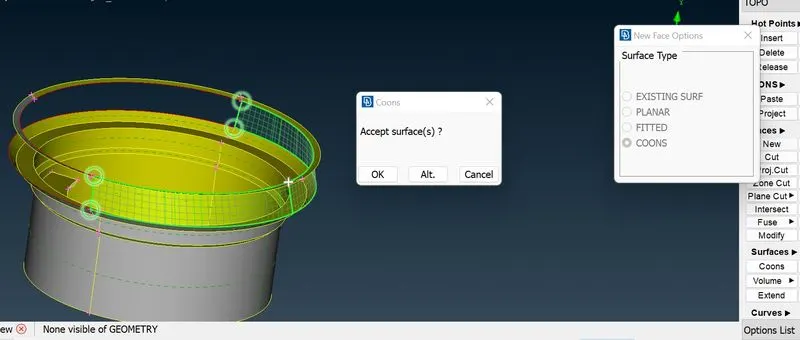
we can use coons for this surface by parallel selection to merge them.
After finishing the geometry clean up, we have to check the geometry which we did whether still there is an error to clean up.
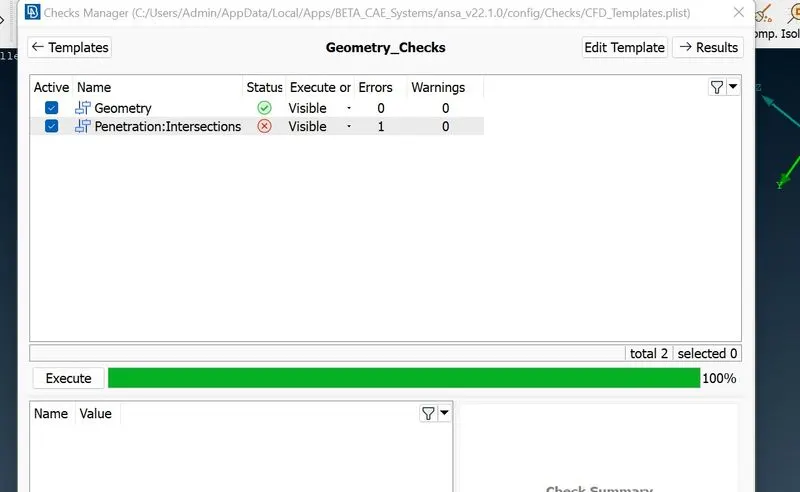
Here we cleaned up geometry completely but there is an intersection error. for that we have to assign the PID for each and every component of pressure valve.
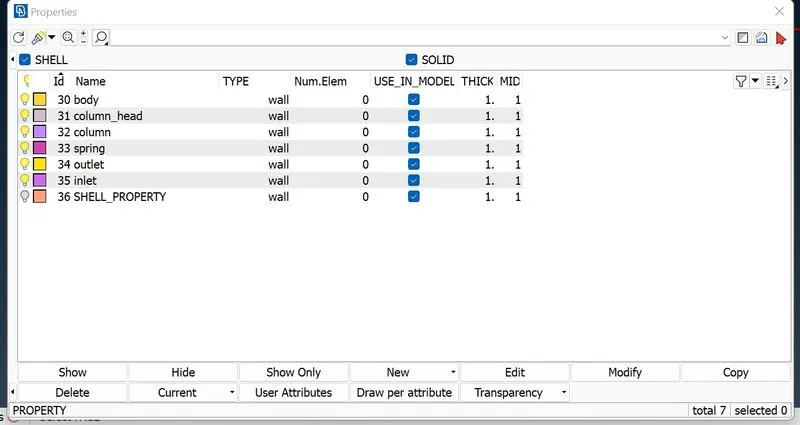
Specify the component name in the PID interface and isolate the corresponding component by using PID region and binary operation.
Spring and column parts are need to fix from the intersection 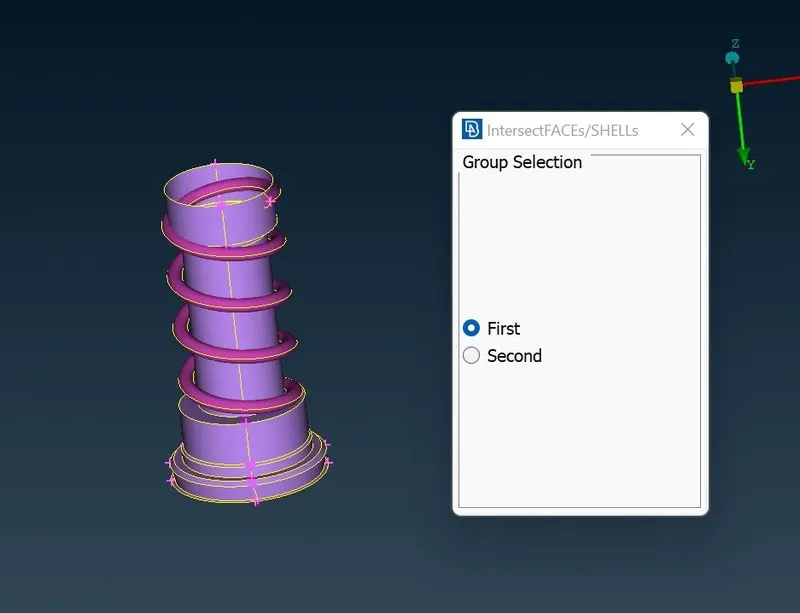
From Face>intersect select the component to fix the intersection.
Both components are intersect each other in 7 areas, so we have to delete this
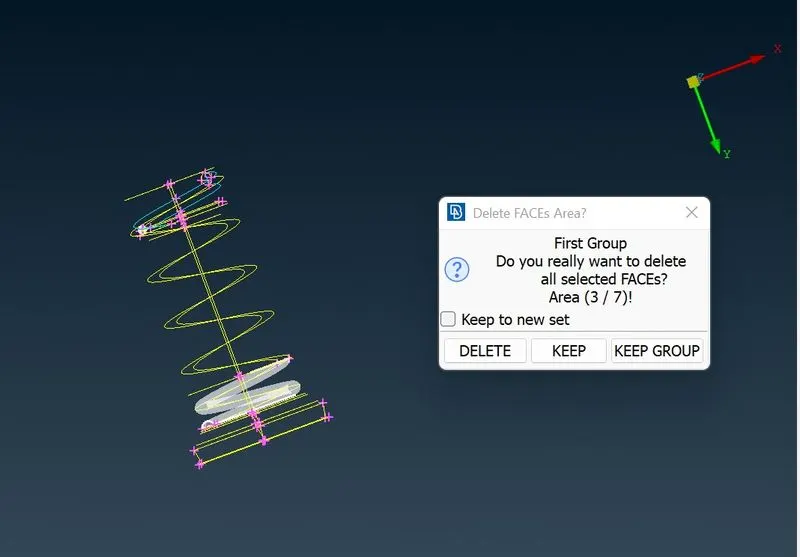
In wireframe mode we can see the intersections clearly
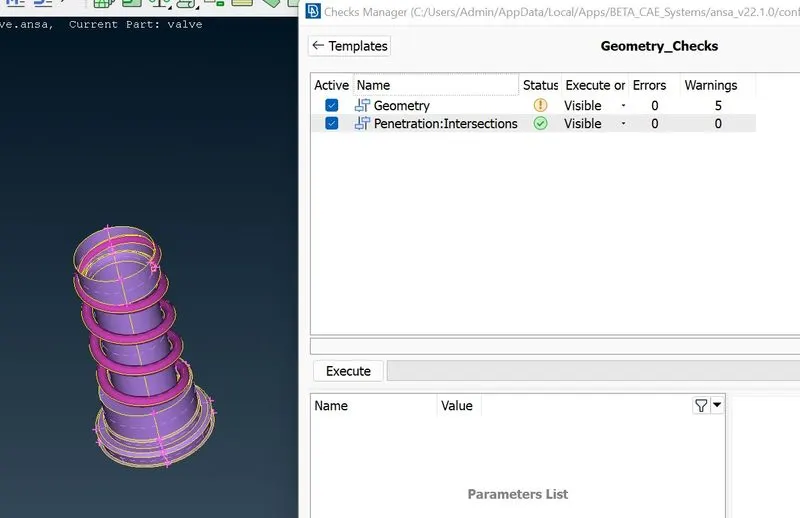
Finally we cleared the intersection, but there is some warning rises up in geometry
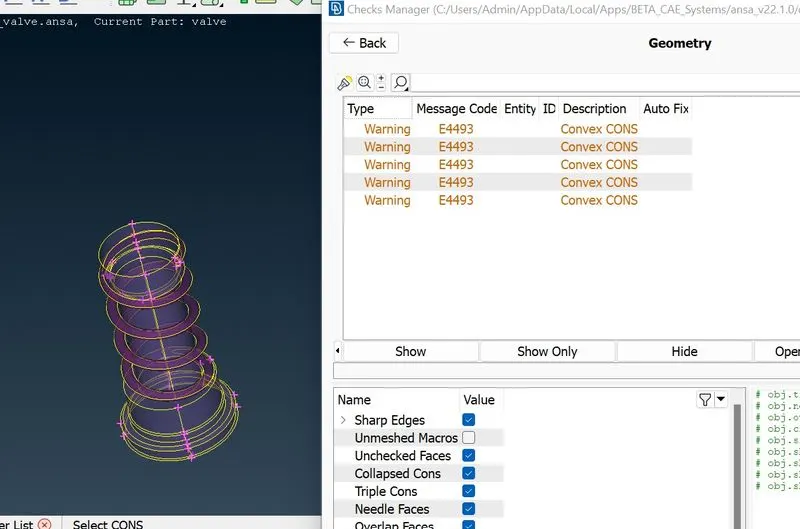
those warnings are that we deleted while intersections but they are negligible.
MESHING:
First we specify the maximun and minimum target length in Mesh parameter
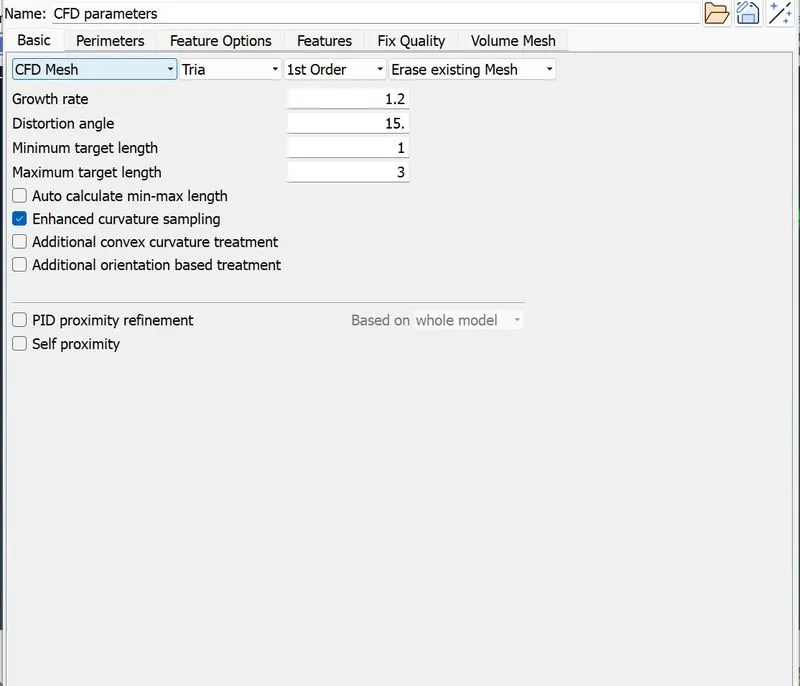
Also in quality criteria we can define the maximum and minimum length
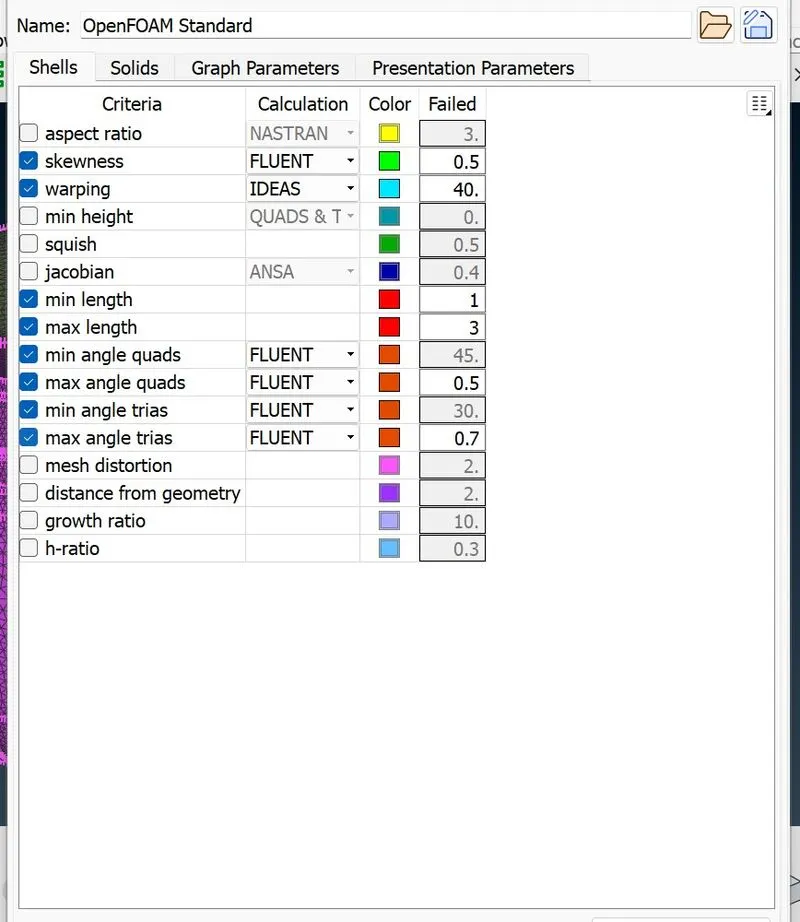
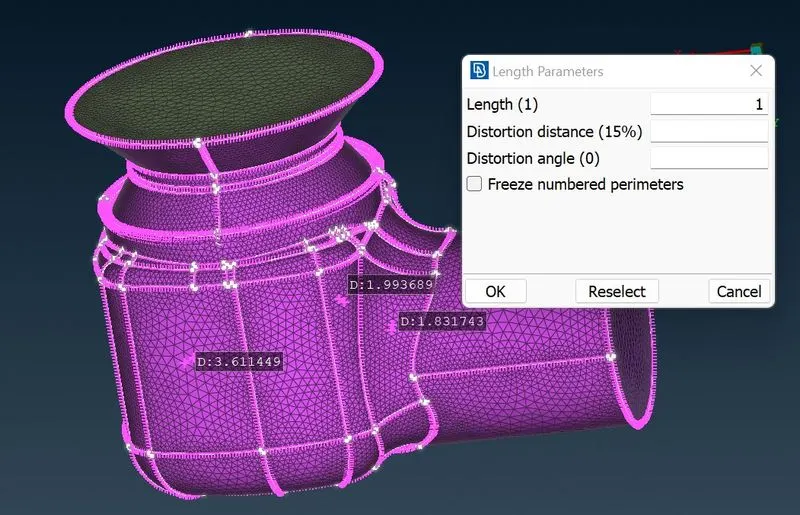
Specifying the perimeter and macrons length(1-3)
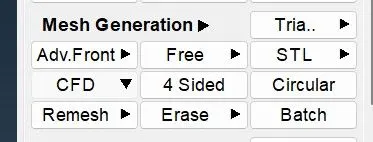
Here we are using CFD mesh from the mesh generation
Final model
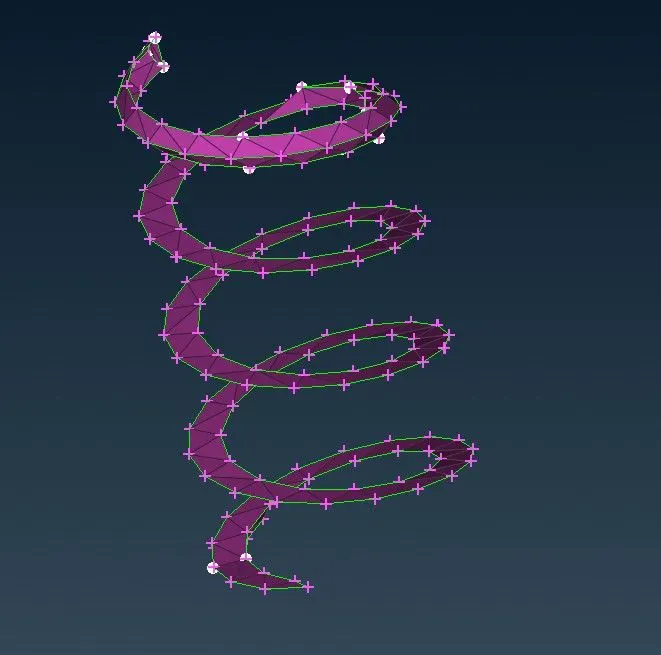
Case :1
Target length = 5mm
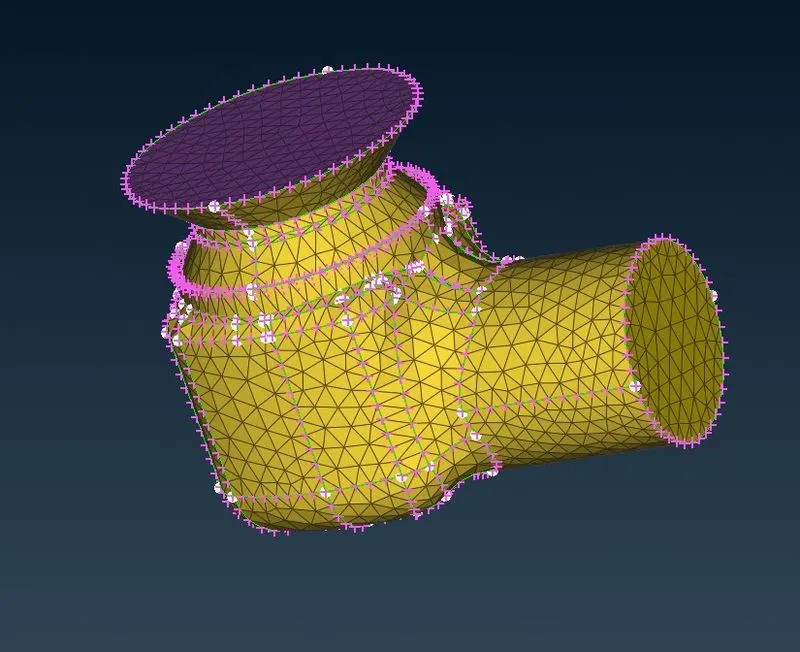
In this case mesh elements are larger, so the mesh accuracy is minimum
Case :2
Target length= 3
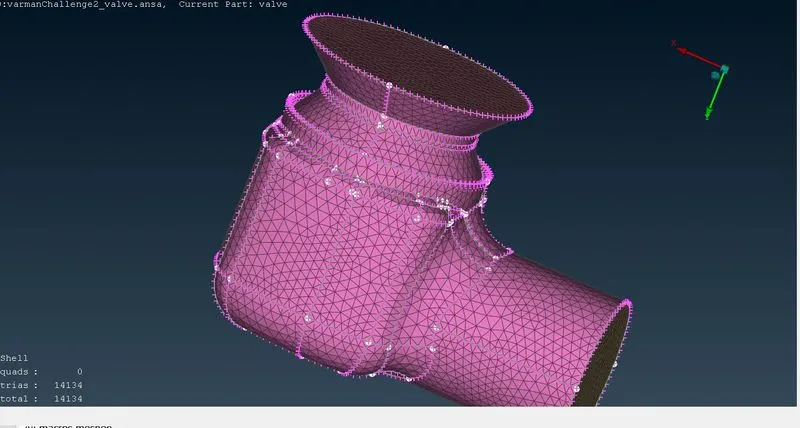
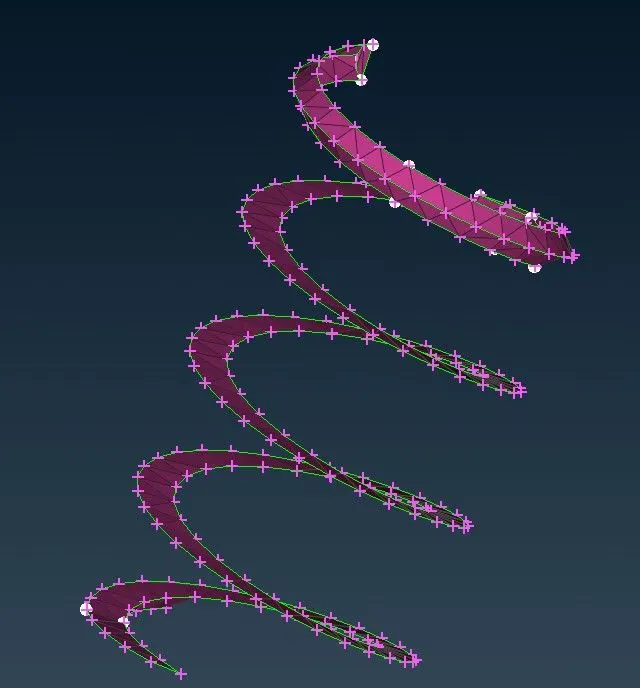
case :3
For target length = 1mm
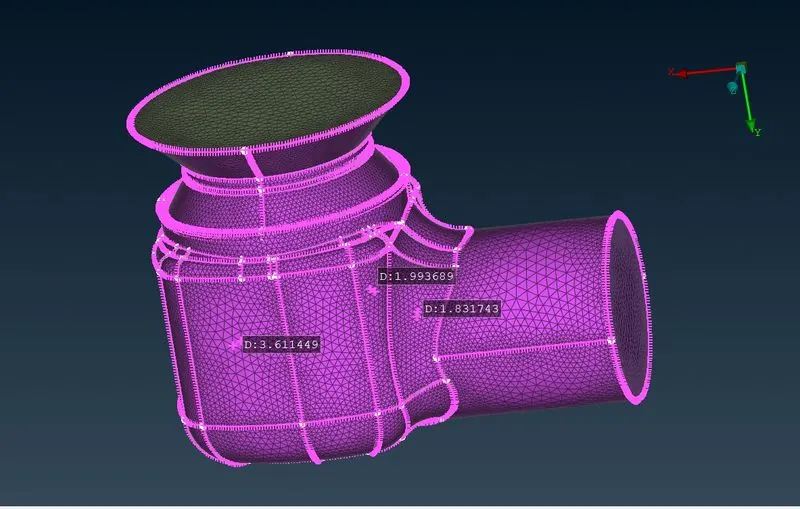
Spring looks solid because of smaller meshing element.
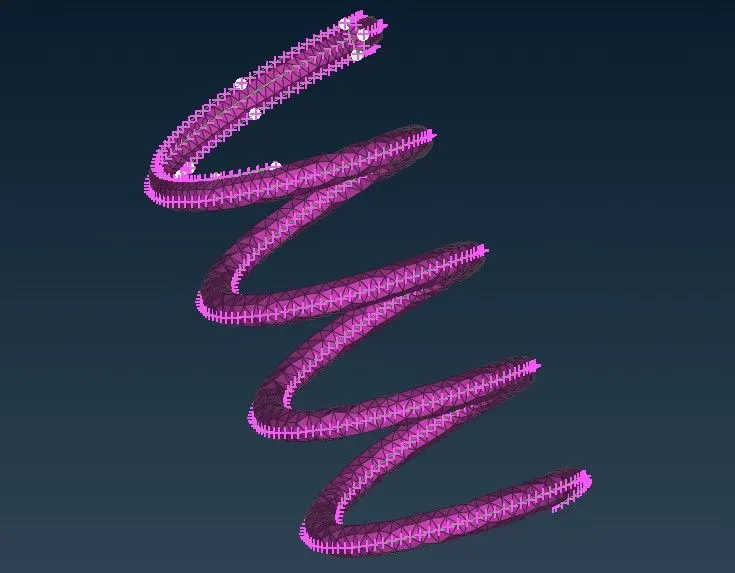
1mm length is looking more accuracy than rest of two because the distance between the two nodes are too small and our final outcomings are fine meshing.