Week 2 Challenge
Ans 1.1
To assign a circular section to a column in STAAD Pro, we can follow these steps:
- Go to the Properties window.
- Click on the Define Property button.
- In the Define Property dialog box, select Circle from the Type list.
- Enter the radius of the circle in the Radius field.
- Click on the OK button.
- Select the column that you want to assign the circular section to.
- In the Properties window, click on the Section list and select the circular section that you created.
- Click on the OK button.
Ans1.2
To assign a unit system to a .std model file in STAAD Pro, we can follow these steps:
- Open the .std model file in a text editor.
- Find the UNIT command.
- Enter the desired unit system in the LENGTH and FORCE fields.
- Save the .std model file.
Ans1.3
The following parameters need to be specified while using the "Bay Frame" option in STAAD Pro:
- Model Name : This is the name of the model.
- Length : This is the overall length of the frame.
- Height : This is the overall height of the frame.
- No of Bays Along Length : This is the number of bays along the length of the frame.
- No of Bays Along Height : This is the number of bays along the height of the frame.
- Bay Length : This is the length of each bay. If this is not specified, then the bay length will be equal to the overall length divided by the number of bays along the length.
- Member Property : This is the property of the members in the frame.
- Supports : This specifies the supports for the frame.
- Loads : This specifies the loads on the frame.
Ans1.4
STAAD Pro incorporates a wide range of codal standards for the design of structures. Some of the most popular codal standards incorporated in STAAD Pro include:
- American Society of Civil Engineers (ASCE) 7 : This is the standard for structural design in the United States.
- International Building Code (IBC) : This is the standard for building construction in the United States.
- Indian Standard (IS) 800 : This is the standard for structural design in India.
- Eurocode (EC) : This is a set of standards for structural design in Europe.
- Australian Standard (AS) : This is the standard for structural design in Australia.
STAAD Pro also supports a number of other codal standards, including those for Canada, China, Japan, and the United Kingdom.
Ans1.5
To specify the design compressive strength for a RCC section in STAAD Pro, you can follow these steps:
- Go to the Design panel.
- Click on the Define Parameters button.
- In the Define Parameters dialog box, select Design Parameters from the Category list.
- In the Design Parameters list, select FC.
- Enter the design compressive strength of the concrete in the Value field.
- Click on the OK button.
The design compressive strength of the concrete will be used to calculate the allowable compressive stress for the RCC section.
Ans2.1
The input steps involved in RCC design are:
- Geometry : This step involves defining the geometry of the structure, including the dimensions of the members, the location of the supports, and the loads applied to the structure.
- Properties : This step involves defining the properties of the materials used in the structure, including the concrete strength, the steel reinforcement strength, and the modulus of elasticity of the materials.
- Supports : This step involves defining the supports for the structure, which can be fixed, pinned, or roller supports.
- Loading : This step involves defining the loads applied to the structure, including dead loads, live loads, wind loads, and earthquake loads.
- Specifications : This step involves defining the design specifications for the structure, which can be based on a variety of codes and standards.
The input steps are the first step in the RCC design process. Once the input steps are complete, the structure can be analyzed and designed.
Ans2.2
The main difference between fixed and enforced support conditions in STAADPro is that fixed supports prevent all movement of the member at the support, while enforced supports allow for some movement of the member at the support.
- Fixed support: A fixed support prevents all movement of the member at the support, including translations and rotations. This means that the member cannot move at all in any direction. Fixed supports are typically used for foundations and other elements that are not expected to move.
- Enforced support : Enforced support allows for some movement of the member at the support, but the movement is limited. This means that the member can move in a certain direction, but only within a certain range. Enforced supports are typically used for elements that are expected to move slightly, such as columns and beams.
In STAADPro, fixed supports are denoted by the FIXED support type, while enforced supports are denoted by the ENFORCED support type.
Here is a table summarizing the key differences between fixed and enforced support conditions in STAADPro:
| Feature | Fixed Support | Enforced Support |
|---|---|---|
| Movement | No movement allowed | Limited movement allowed |
| Translations | Locked | Allowed within a range |
| Rotations | Locked | Allowed within a range |
| Typical use | Foundations, elements not expected to move | Elements expected to move slightly |
| STAADPro support type | FIXED | ENFORCED |
- Define the model: The geometry of the model can be defined using a variety of tools, such as CAD software, spreadsheets, and text editors. The materials used in the model can be obtained from a variety of sources, such as material suppliers, manufacturers, and design codes. The supports for the model can be defined as fixed, pinned, or roller supports. The loads applied to the model can be dead loads, live loads, wind loads, and earthquake loads.
- Specify the analysis type: The type of analysis that will be performed depends on the type of structure and the loads that are applied to the structure. Static analysis is the most common type of analysis, but dynamic analysis and buckling analysis may also be required for certain structures.
- Run the analysis: The analysis can be run using the STAAD Pro software. The analysis results will be generated in a text file or a spreadsheet.
- Review the results: The analysis results should be reviewed to ensure that they are accurate and realistic. The results should be checked for errors and inconsistencies. The results should also be compared to the design specifications to ensure that the structure is safe and meets the design requirements.
- Design the model: The model can be designed based on the analysis results. The design process involves selecting the materials, dimensions, and supports for the structure. The design process also involves checking the structure for buckling and vibrations.
Ans3.2
There are two ways in which a structural framework/model can be created in STAAD Pro software:
-
Node-by-node modeling: In this method, the structure is created by defining nodes and members. The nodes are the points where the members connect, and the members are the beams, columns, and other elements that make up the structure. The node-by-node modeling method is the most flexible method for creating structures, but it can also be the most time-consuming.
- Bay frame modeling: In this method, the structure is created by defining bays. A bay is a group of members that are connected together to form a unit. The bay frame modeling method is faster than the node-by-node modeling method, but it is less flexible.
Ans3.3
STAAD Pro supports a variety of support conditions, which can be used to model the behavior of a structure at its supports. The most common support conditions in STAAD Pro are:
- Fixed support: A fixed support prevents all movement of the member at the support, including translations and rotations. This is the most restrictive support condition, and it is typically used for foundations and other elements that are not expected to move.
- Pinned support: A pinned support prevents rotation of the member at the support, but allows translation. This is a less restrictive support condition than a fixed support, and it is typically used for columns and beams.
- Roller support: A roller support prevents translation of the member at the support, but allows rotation. This is the least restrictive support condition, and it is typically used for beams that are supported on rollers.
- Free support: A free support allows all movement of the member at the support. This is the most flexible support condition, and it is typically used for nodes that are not connected to any other members.
- Spring support: A spring support allows for movement of the member at the support, and the movement is governed by a spring stiffness. This is typically used for elements that are supported on flexible foundations.
- Frictional support: A frictional support allows for movement of the member at the support, but the movement is limited by friction. This is typically used for elements that are supported on rough surfaces.
Ans3.4
To extract the stress distribution for a staircase slab in STAAD Pro, you can follow these steps:
- Create a model of the staircase slab in STAAD Pro.
- Define the loads and supports for the staircase slab.
- Run the analysis of the staircase slab.
- Generate the stress results for the staircase slab.
- Extract the stress distribution for the staircase slab from the stress results.
Here are some additional details about each of the steps involved in extracting the stress distribution for a staircase slab in STAAD Pro:
- Create a model of the staircase slab: The model of the staircase slab should be created using the node-by-node modeling method. This will allow you to define the exact geometry of the staircase slab and the loads and supports that are applied to it.
- Define the loads and supports for the staircase slab: The loads that are applied to the staircase slab can be dead loads, live loads, wind loads, and earthquake loads. The supports for the staircase slab can be fixed supports, pinned supports, roller supports, or free supports.
- Run the analysis of the staircase slab: The analysis of the staircase slab can be run using the STAAD Pro software. The analysis results will be generated in a text file or a spreadsheet.
- Generate the stress results for the staircase slab: The stress results for the staircase slab can be generated using the STAAD Pro software. The stress results will be generated in a text file or a spreadsheet.
- Extract the stress distribution for the staircase slab from the stress results: The stress distribution for the staircase slab can be extracted from the stress results using a variety of methods. One common method is to use the Plot command to plot the stress results in a graphical format. Another method is to use the Export command to export the stress results to a text file or a spreadsheet.
Once the stress distribution has been extracted, it can be used to assess the strength and performance of the staircase slab. The stress distribution can also be used to identify areas of the staircase slab that are prone to stress concentration.
Ans3.5
Here are some additional tips for viewing SFD and BMD in STAAD Pro:
- Use the Plot command to plot the SFD and BMD in a graphical format. This will allow you to visualize the stress distribution and identify areas of the structure that are under high stress.
- Use the Export command to export the SFD and BMD to a text file or a spreadsheet. This will allow you to save the results for future analysis or sharing with others.
- Use the Table command to display the SFD and BMD in a table format. This can be helpful for viewing the detailed results of the analysis.
- Use the 3D View command to view the SFD and BMD in a 3D view. This can be helpful for visualizing the stress distribution in a structure in three dimensions.
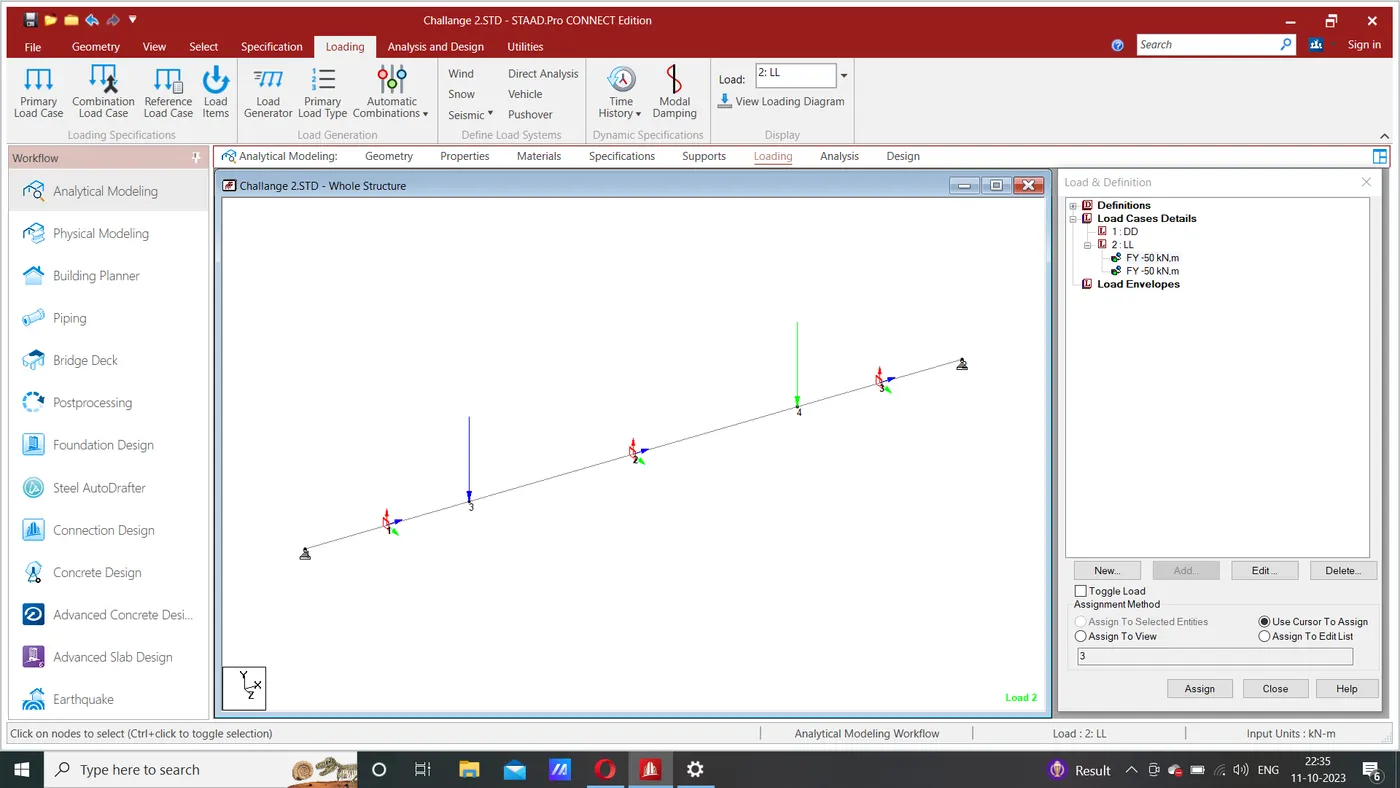
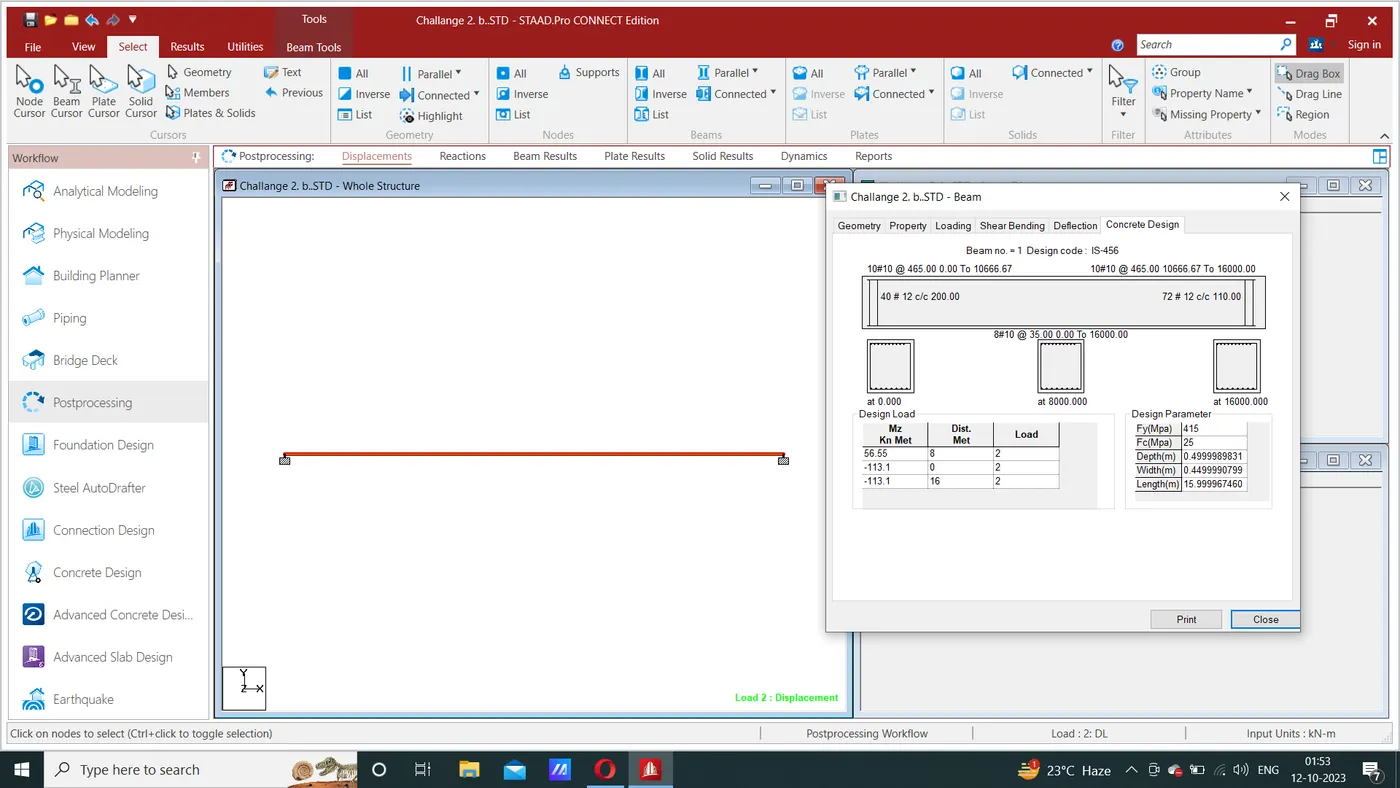
PRACTICAL: Given problem is analysed & .std files are attached along with the screenshots.
Please find the attachments.