Week 2- 2R Robotic Arm Challenge
The Code:
Let us first take a look at the code for the forward kinematics of a robotic arm:
%Resetting and Clearing Workspace
clear all
close all
clc

%Inputs
l1 = 1;
l2 = 0.5;

theta1 = linspace(0, 90, 8);
theta2 = linspace(0, 90, 8);

ct = 1;

for i = 1:length(theta1)
    THETA1 = theta1(i);
    for j = 1:length(theta2)
        THETA2 = theta2(j);
        x0 = 0;
        y0 = 0;

        x1 = x0 + l1*cosd(THETA1);
        y1 = y0 + l1*sind(THETA1);

        x2 = x1 + l2*cosd(THETA2);
        y2 = y1 + l2*sind(THETA2);

        %Plotting


        plot([x0 x1], [y0 y1], [x1 x2], [y1 y2], 'linewidth', 3)
        axis([-0.1 1.5 0 1.5])
        pause(0.03)

        M(ct) = getframe(gcf); %get current figure
        ct = ct + 1;
        end
end

movie(M)
videofile = VideoWriter('E:\Matlab for Mechanical Engineering\forward_kinematics.avi', 'Uncompressed AVI');
open(videofile)
writeVideo(videofile,M)
close(videofile)
Screenshots of Output: (Final)
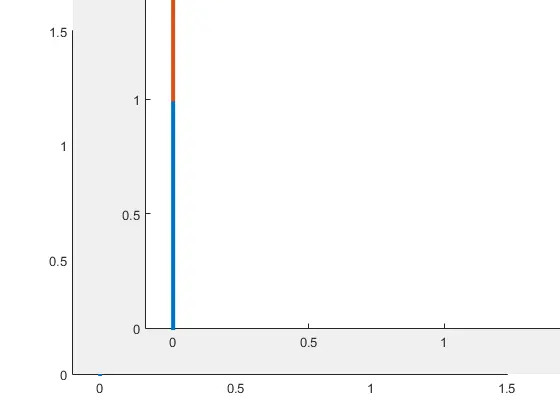
Explanation:
Explanation of the Code
We start initially by clearing and resetting our workspace.
- We are required to simulate the forward kinematics of a 2R Robotic Arm. We first start by taking the inputs. The arm has two lengths so we are taking l1 and l2 as inputs. With respect to the x-axis, the arm, l1 is making angle theta1 and the arm, l2 is making an angle theta 2. And For the animation frames, we take a counter for convenience(ct).
- Now, to simulate the kinematics, we will require a 'for loop' which will help us generate frames for the simulation and show us the different positions of the two arms with respect to each other. To iterate for the different arms positions with respect to each other, we take two variables 'i' and 'j' for the first and the second arm respectively.
- The first loop is taken for the positions of the first arm and the second loop is taken for the positions of the second arm with respect to the first arm. We used the 'linspace' command and took 10 different positions for the first and the second arm. So both the loops are required to be executed ten times for ten different angles ranging from 0 to 90 with equal intervals.
- In order to consider angles in the iterations, we take THETA1 and THETA2. THETA1 = theta1(i) and THETA2 = theta2(j) are defined so that we get the angles during the iterations, where 'i' represents the i-th element in the array of theta1 and 'j' represents the j-th element in the array of theta2.
- Inside the second 'for loop' we have taken the values of the initial x and y coordinates. The end position coordinates of the first and the second arm would be the cosine of their respective arm length(l1) along the x-axis and the sine of their respective arm length along the y-axis.
- Now we plot the x and y coordinates having a linewidth of 3. We next define an axis with its x and y coordinates.
- In between each frame generated for the second arm, we are making a delay of 0.3s by using the 'pause' command. Now we are generating frames by using the 'get frame' command (gcf = get current frame) for each individual iteration. We use the counter here that we initially took as input in order to trace the frames.
Creating an animation:
We use the 'movie' command in order to generate our required animation. The 'videofile' is generated using the 'VideoWriter' command in which I specified the path where I wanted my animation to get stored and defined the type of my animation to be an uncompressed AVI. After opening it, we then put our generated animation in the 'videofile' using 'writeVideo'. We terminate our code by closing it.
Thus, our required animation is stored for the 2R robotic arm.
Link for the Animation: https://drive.google.com/file/d/1zzgOKNJNMUukWR1f7nZZbnyZTct3IWLi/view?usp=sharing