Shell meshing of spare wheel holder in HyperMesh
AIM:
To mesh the given component with the given quality criteria and assign thickness.
OBJECTIVE:
The objective of the project is to learn to mesh the mid-surface with complex features and assign thickness.
CAD MODEL:
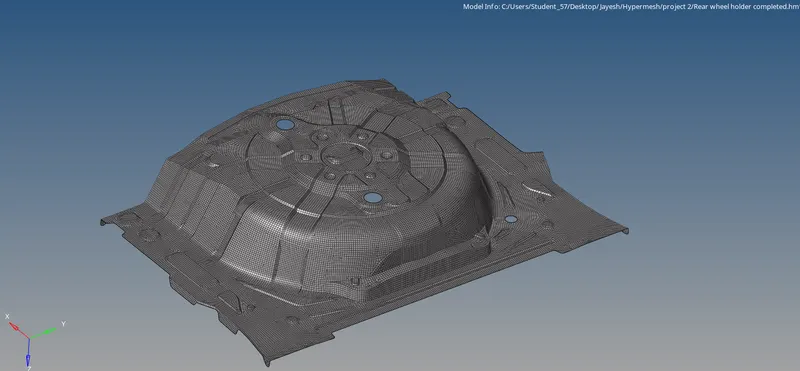
The given model is a spare tire holder which can be seen in most passenger cars nowadays.
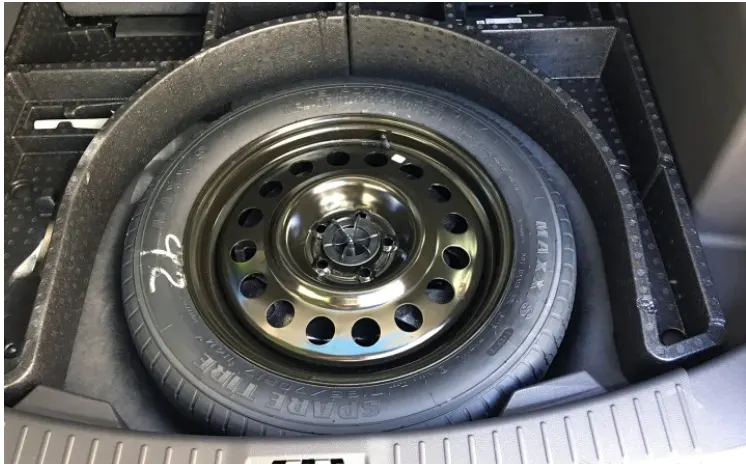
The spare tire holder, as the name says, basically holds the spare tire which is mounted in the boot of the car either on the inside or on the outside.
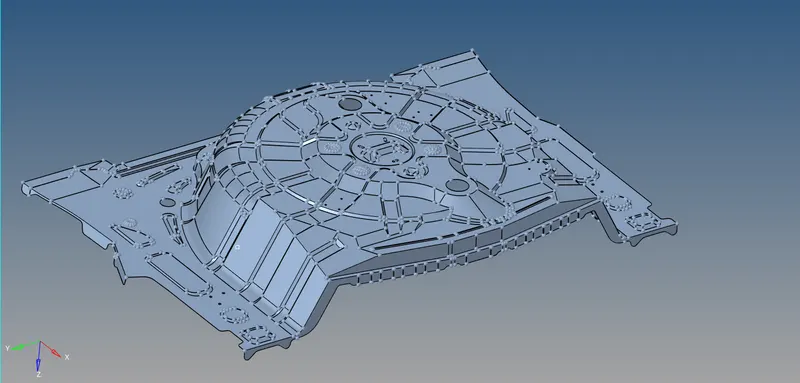
From the given model, we can see that this is a holder mounted in the inside of the car. In the model, there are many features such as beads. These are nothing but a projection from the bottom surface with a particular geometrical shape and a particular height.
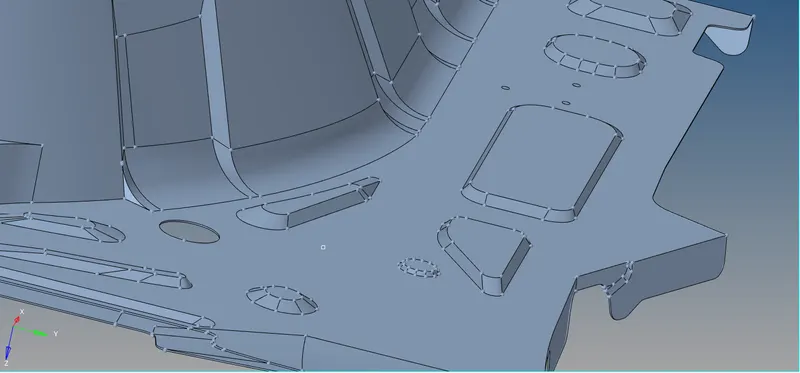
Meshing these features will be a challenging task which needs to be carried out efficiently.
PROCESS:
- Geometry cleanup
- Extract mid-surface
- De-featuring & re-arranging of construction lines
- Meshing
- Resolving quality issues
- Assign property & material cards (and thickness)
- Performing mandatory checks
PROCEDURE:
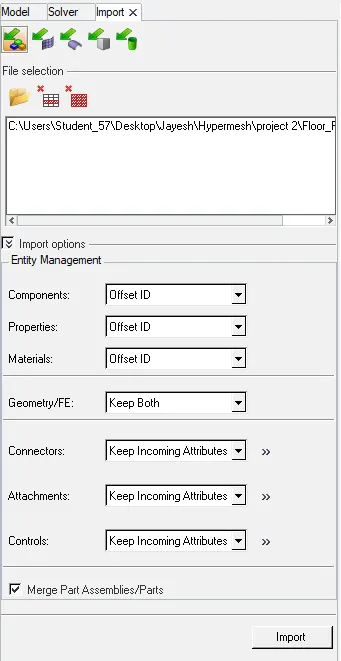
First, we begin with importing the model and start off by performing the geometry checks.
On one surface, we can see there are T edges and some free edges. We need to release all the edges and mask the surfaces to know the real issue happening there.
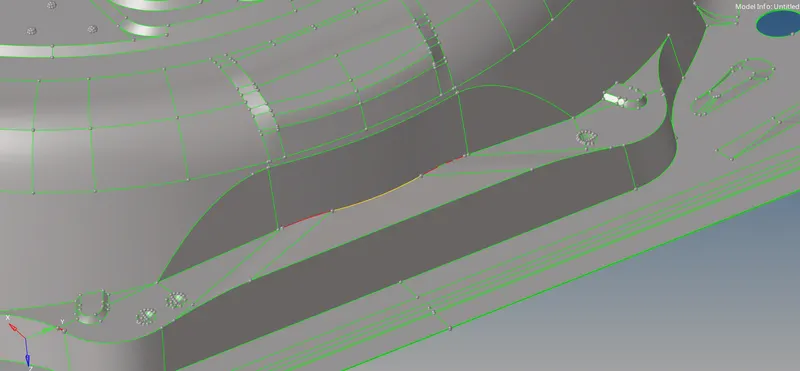
After masking, we found that there are duplicates. They are deleted and now the geometry is perfect.
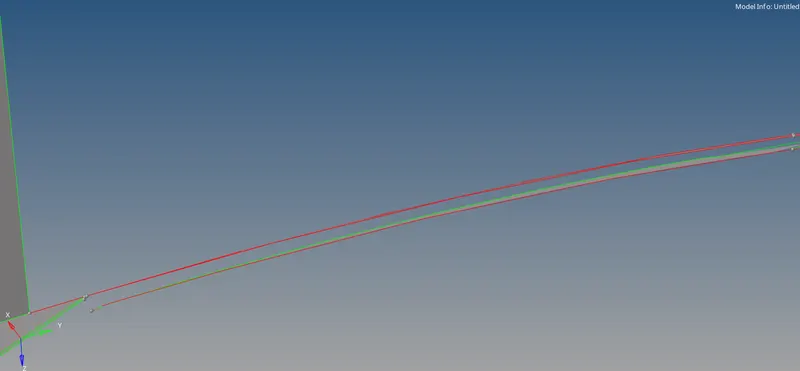
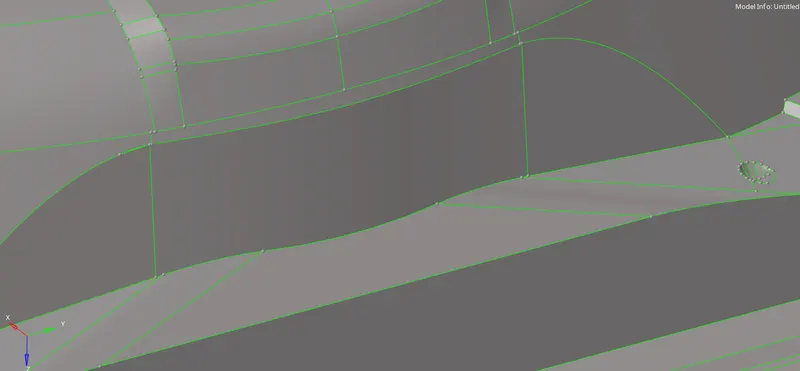
Similarly, we look out for any other geometry imperfections and fix them one by one.
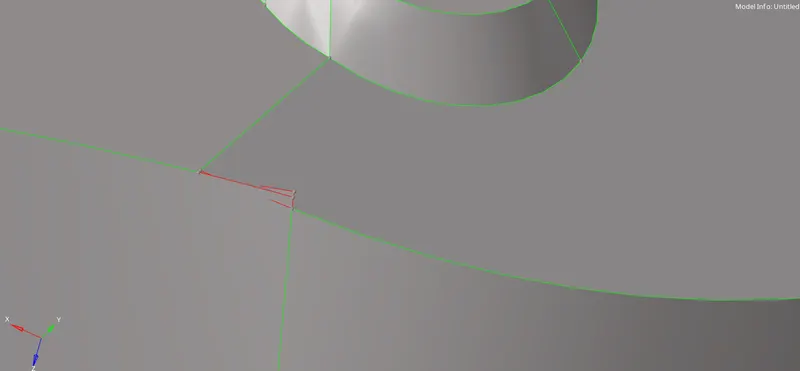
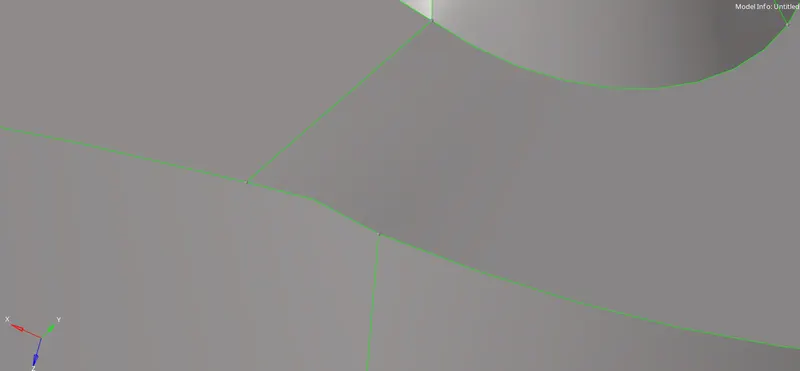
Here, there are small features such as buttons. They are very small and of course fall below the minimum element length.
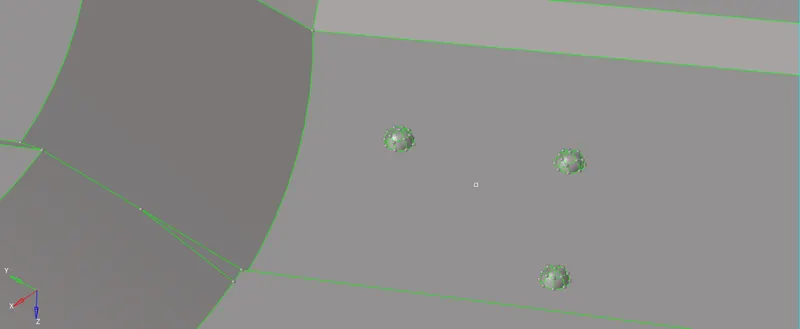
So we will be deleting them and patching up the holes.
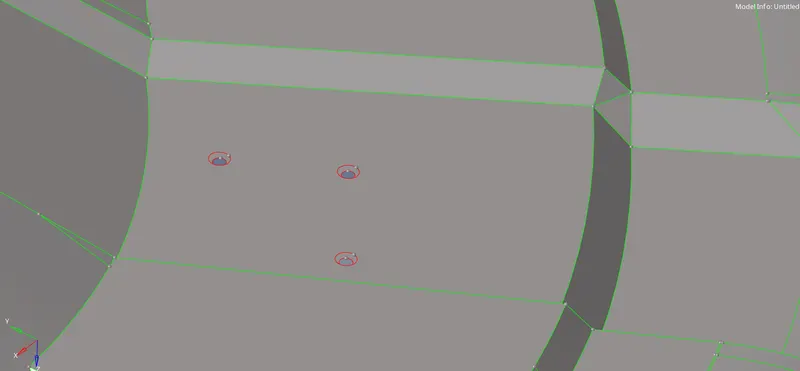
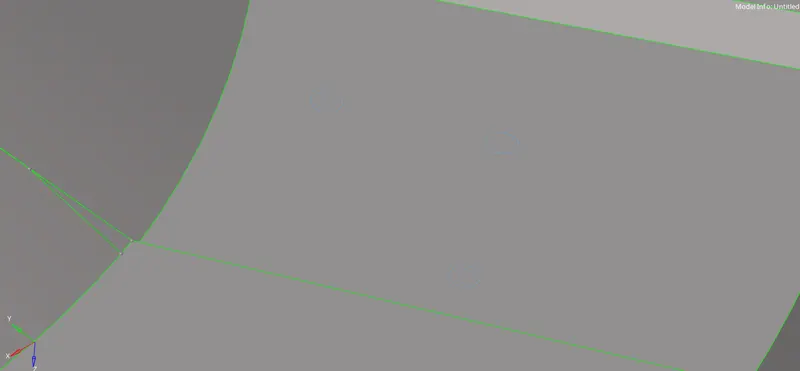
The same way, beads in the top surface are also deleted and patched.
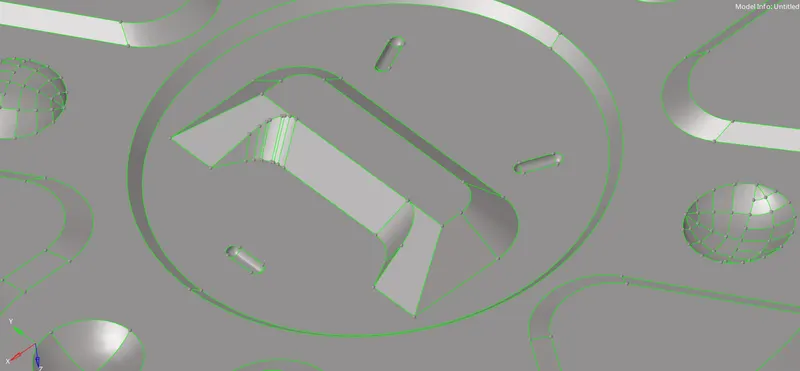
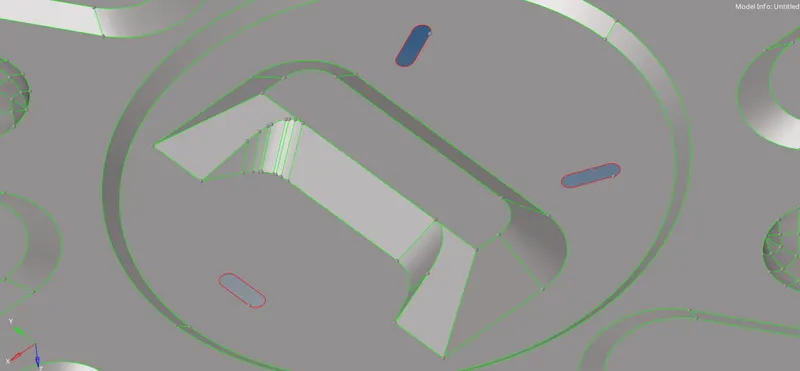
After fixing all the geometrical issues, we keep the model in wireframe mode and make a final check to see if all the geometric issues are fixed.
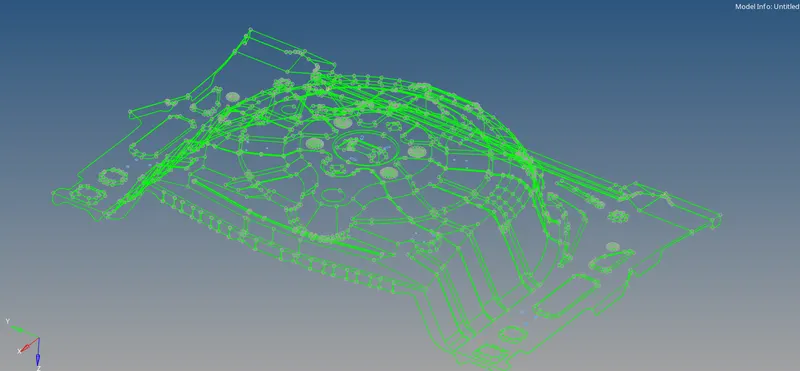
After that, we proceed with mid-surface using the midsurface command button.

The whole model is selected and upon proceeding, the mid-surface is generated automatically.
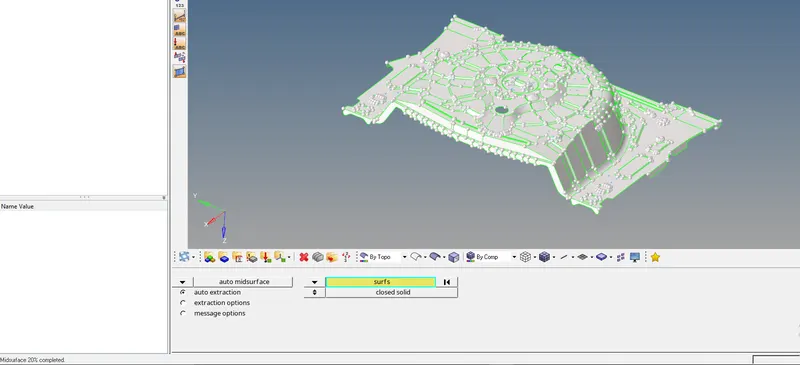
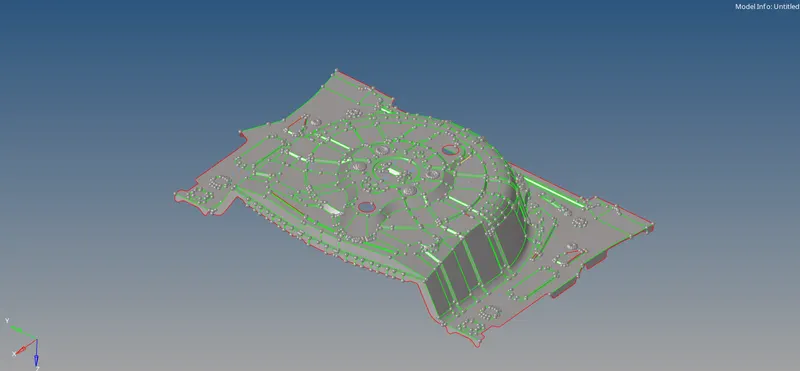
But we cannot assume that this is a perfect mid-surface. Since this is an algorithm-driven process, there may be any deformities and errors on the mid-surface which need to be fixed manually.
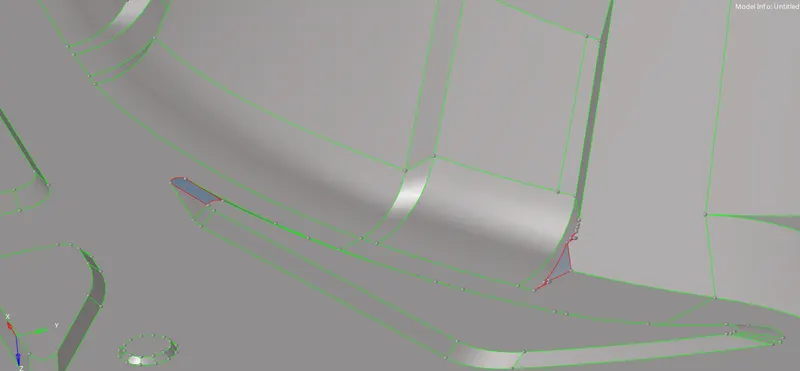
We find places where there are errors such as free edges and deformities such as surfaces not extracted properly.
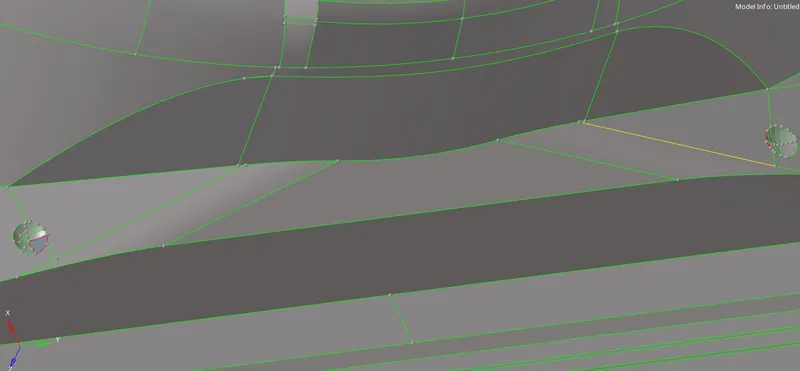
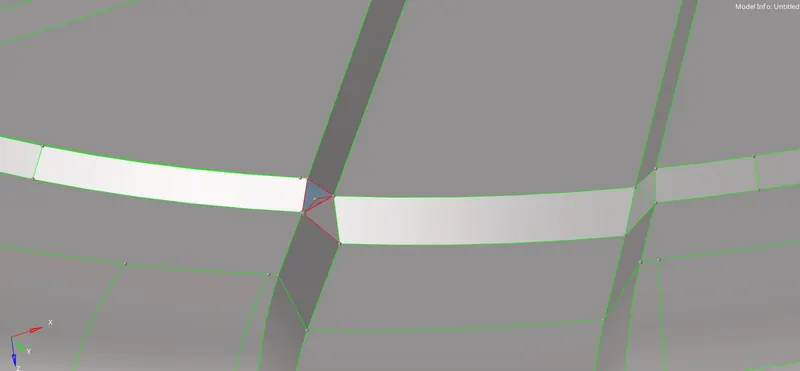
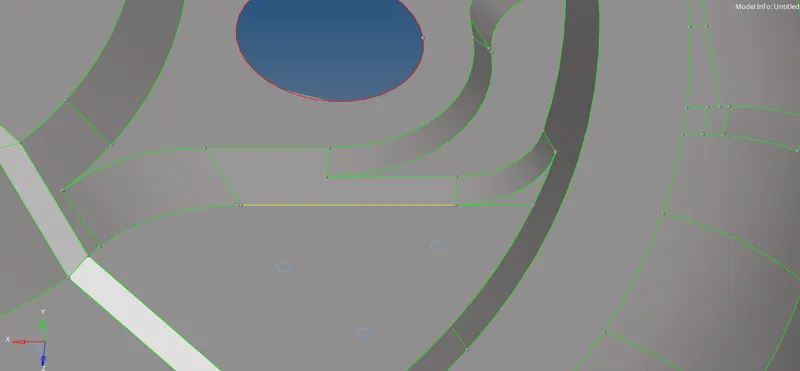
After fixing them manually, we proceed with defeaturing and re-arranging construction lines.
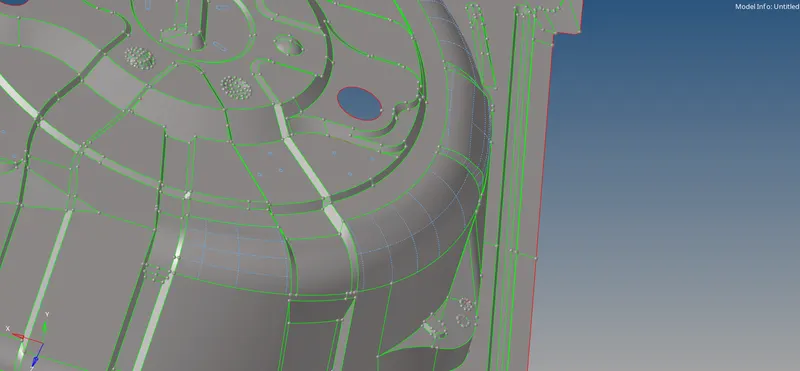
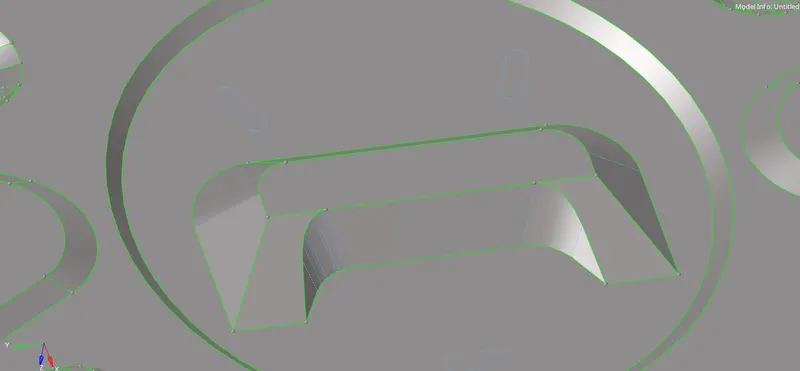
Fillets and construction lines falling below the minimum element length are toggled. The round beads are captured in the form of + so that we can get a decent mesh and there is maximum feature capturing.
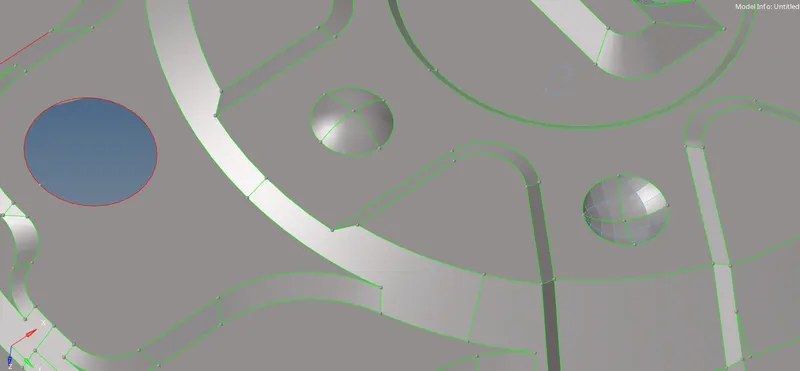
Other features are also captured in a similar manner.
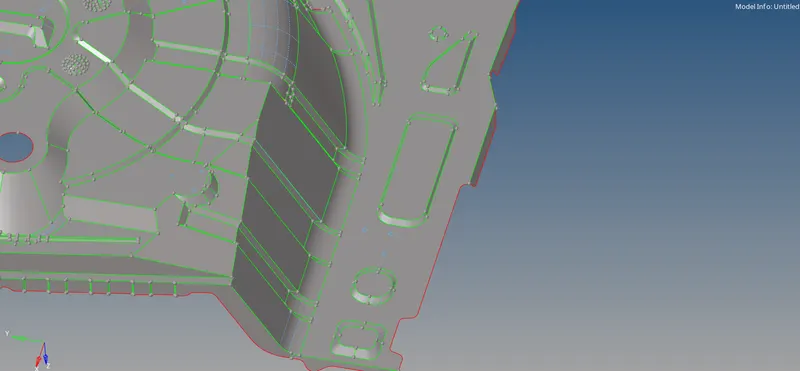
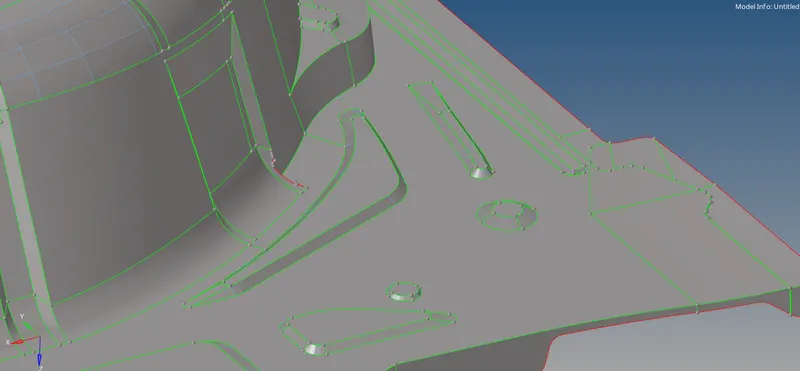
When the construction lines fall close to each other, one of them is toggled and they are re-arranged in this manner.
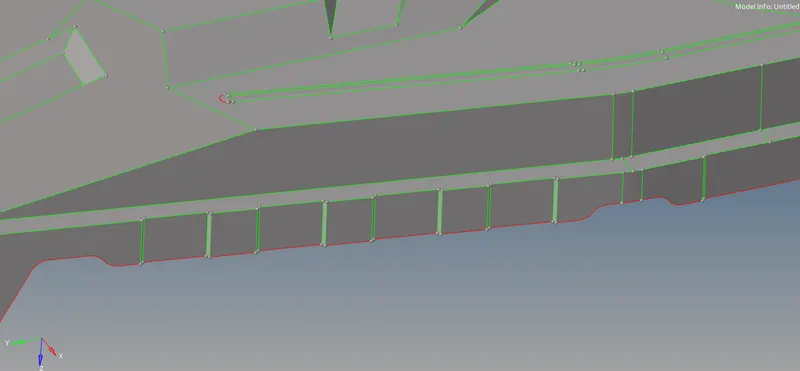
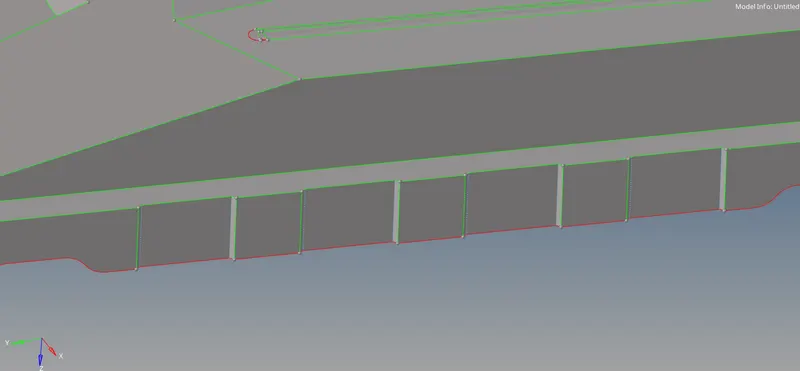
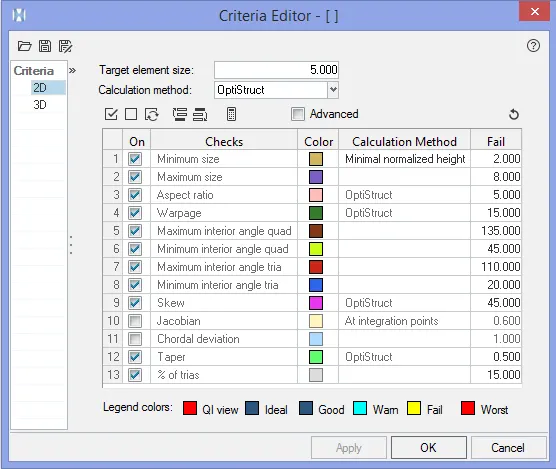
After the construction lines are re-arranged, the quality criteria is set. The target element length is 5 with the minimum & maximum element lengths as 2 and 8. Other quality criteria are as below.
Next, the meshing is started. First the features are meshed and then the base surface is meshed. Meshing is done in the automesh command in the 2D panel.
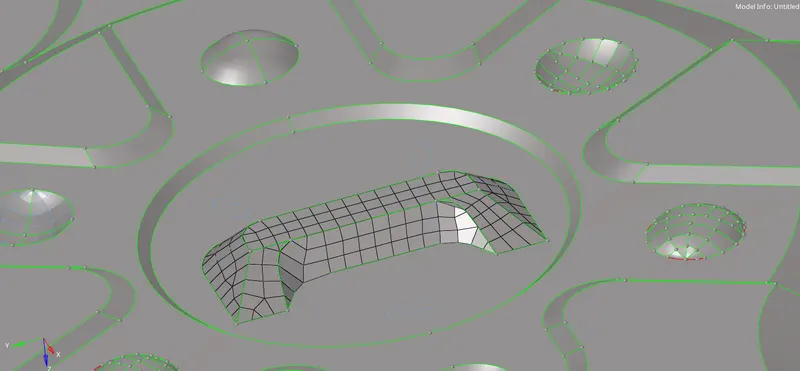
Each feature is meshed separately one by one. Meshing in this manner helps to obtain a better mesh flow on the features.
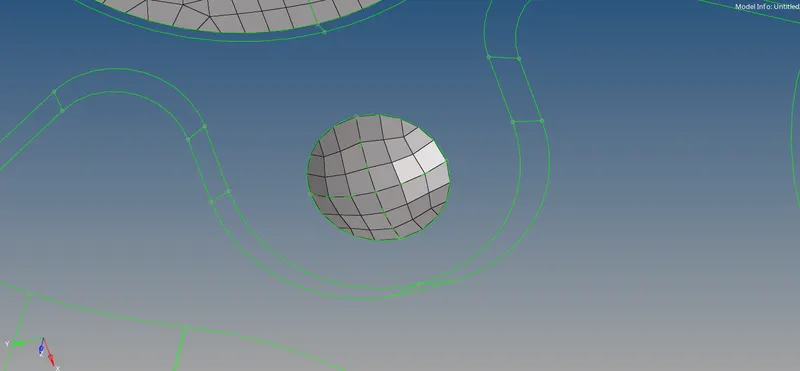
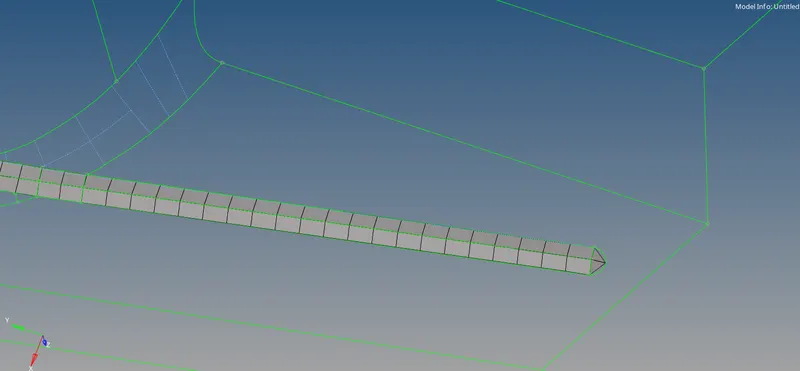
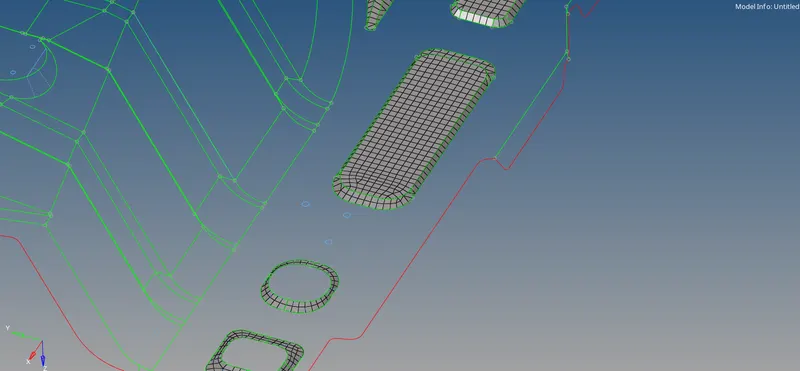
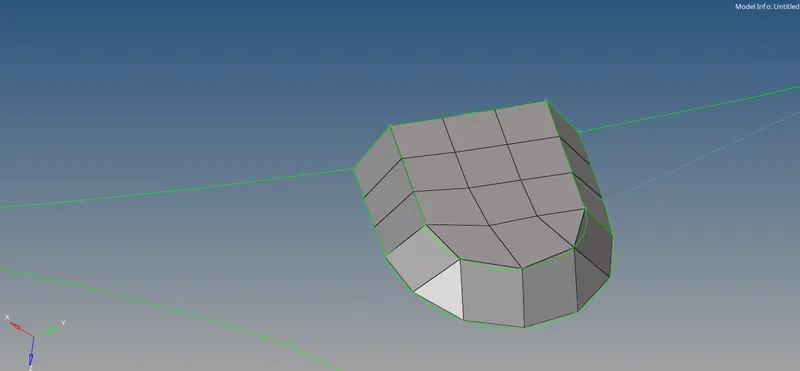
Large surfaces are split into smaller surfaces of box shape to get better mesh flow & control over the number of nodes. The fixing of failing elements for quality can be done simultaneously as meshing is being done on surface by surface or can be done after all the surfaces are meshed.
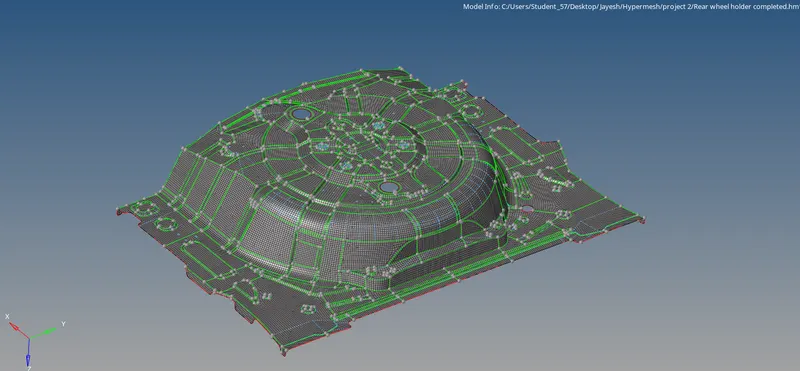
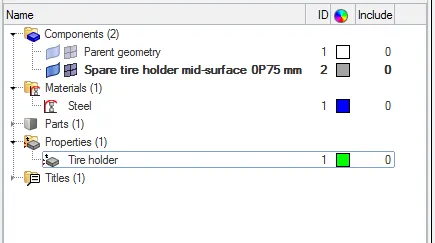
Finally, after the meshing and clearing of the quality issues is completed, the thickness is assigned to the component. A new component collector is created and the mid-surface & FE elements are organized to that collector and material & property cards are created.
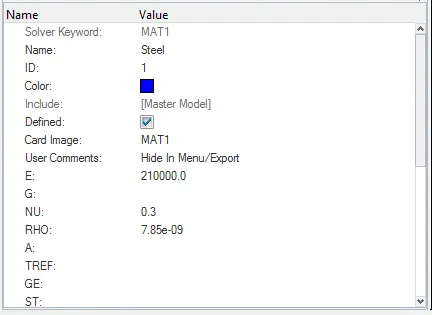
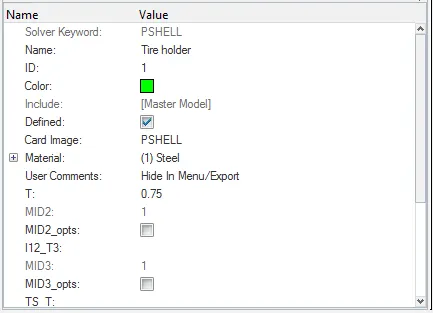
Then they are assigned to the component collector.
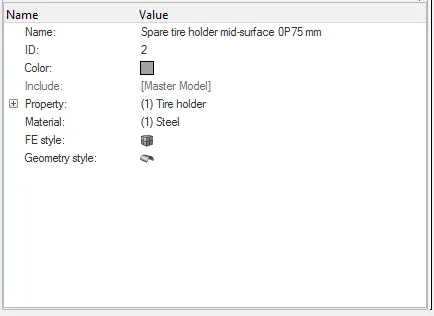
After thickness is assigned, the mandatory checks are performed. First the edges are checked. All the elements are selected and the edges are checked. To view the edges, the mesh visualisation is changed to component mode.
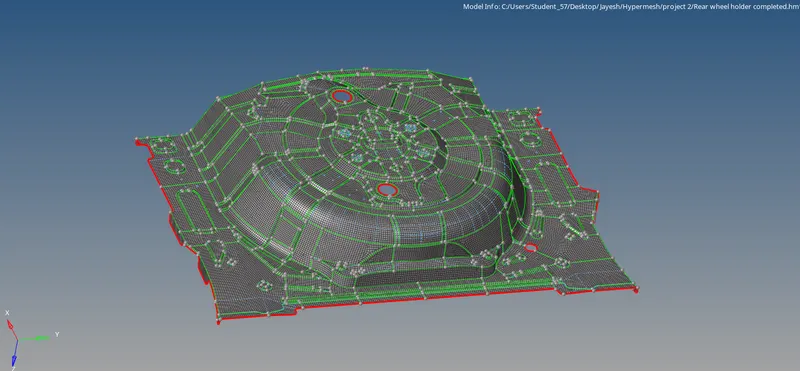
This check is performed for free edges and T-edges. It is mandatory to have free edges only around the holes and around the component.
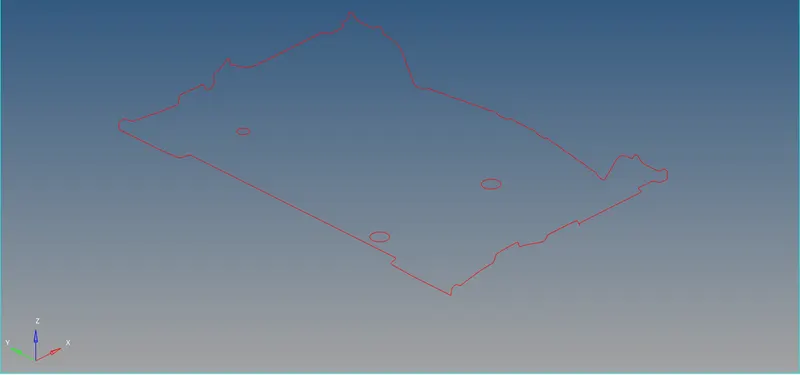
Then the normals are checked for the component. All the elements are selected and the colour normals or vector normals are viewed.
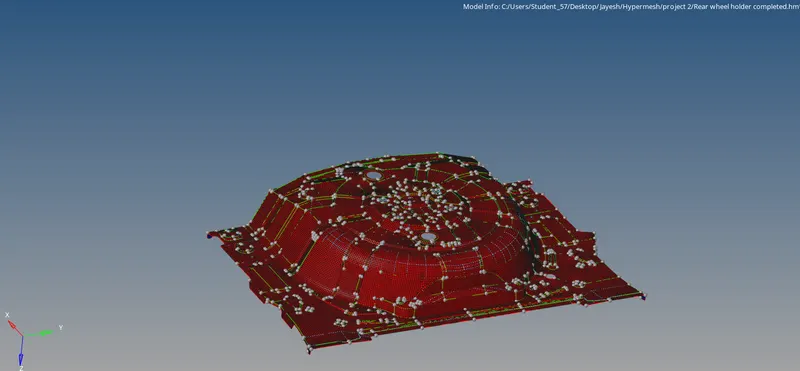
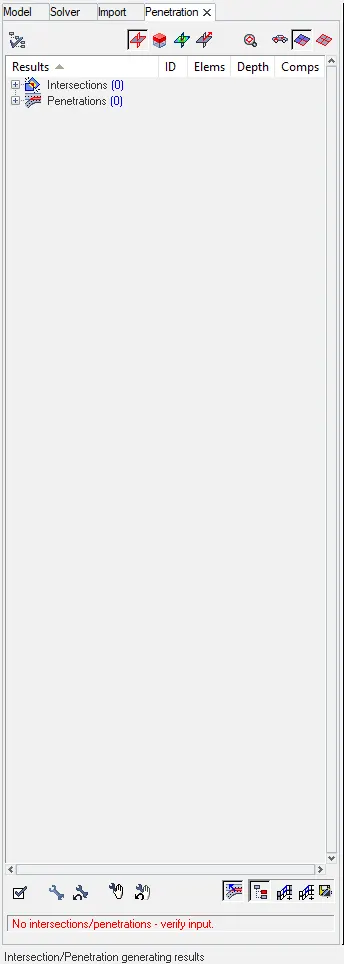
For colour normals, all the elements should have red colour on one side and blue on the other side. In case of vector normals, all the normals should be in the same direction. If the normals are reversed for a few elements, they are corrected. After that, the penetration check is performed.
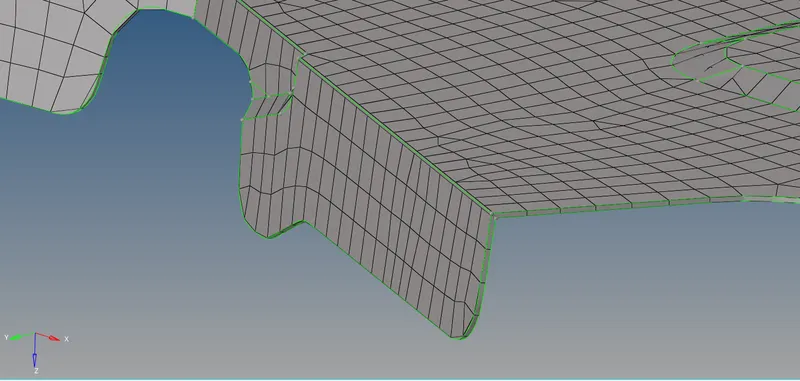
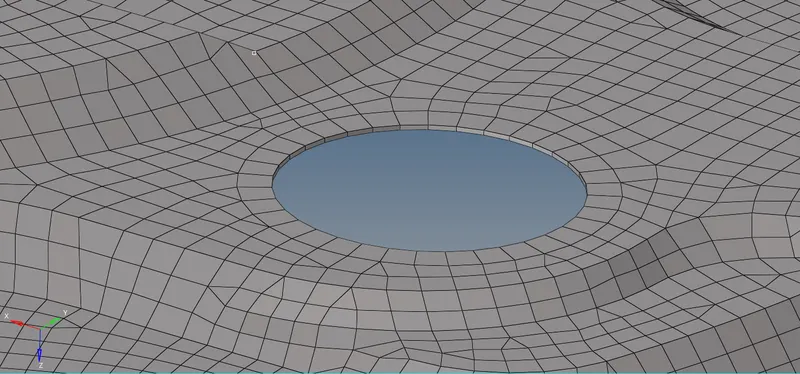
Finally, to see if the FE model represents the original CAD model, the 2D elements traditional representation is changed to 2D detailed element representation.
Thumb rules followed while meshing:
- Back to back trias.
- No tria elements at the edges or hole edges of the component.
- No opposite trias.
- Capture fillets with the same rows of quad elements.
- No rotating quads.
- Trias, if present, maintained in one direction.
RESULTS:
After completing the meshing procedure, we have the meshed FE model obtained.
Completed FE model:
Component collectors:
LEARNING OUTCOMES:
The following are the learning outcomes of this project:
- Importance of meshing features first.
- Methods of de-featuring & re-arranging of construction lines on features.
- Re-arranging of construction lines for maximum feature capturing.
- Meshing without rotating quads, opposite & back to back trias.
- Creating & assigning material & property cards.
CONCLUSION:
Thus the spare tire holder model is mid-surfaced & meshed according to the given quality criteria in Hypermesh. After meshing, the material & property cards are assigned to the FE elements and mandatory checks are performed to ensure we have a perfect FE model.